The Table Android
For help when the Table is not working correctly, try these options in order.
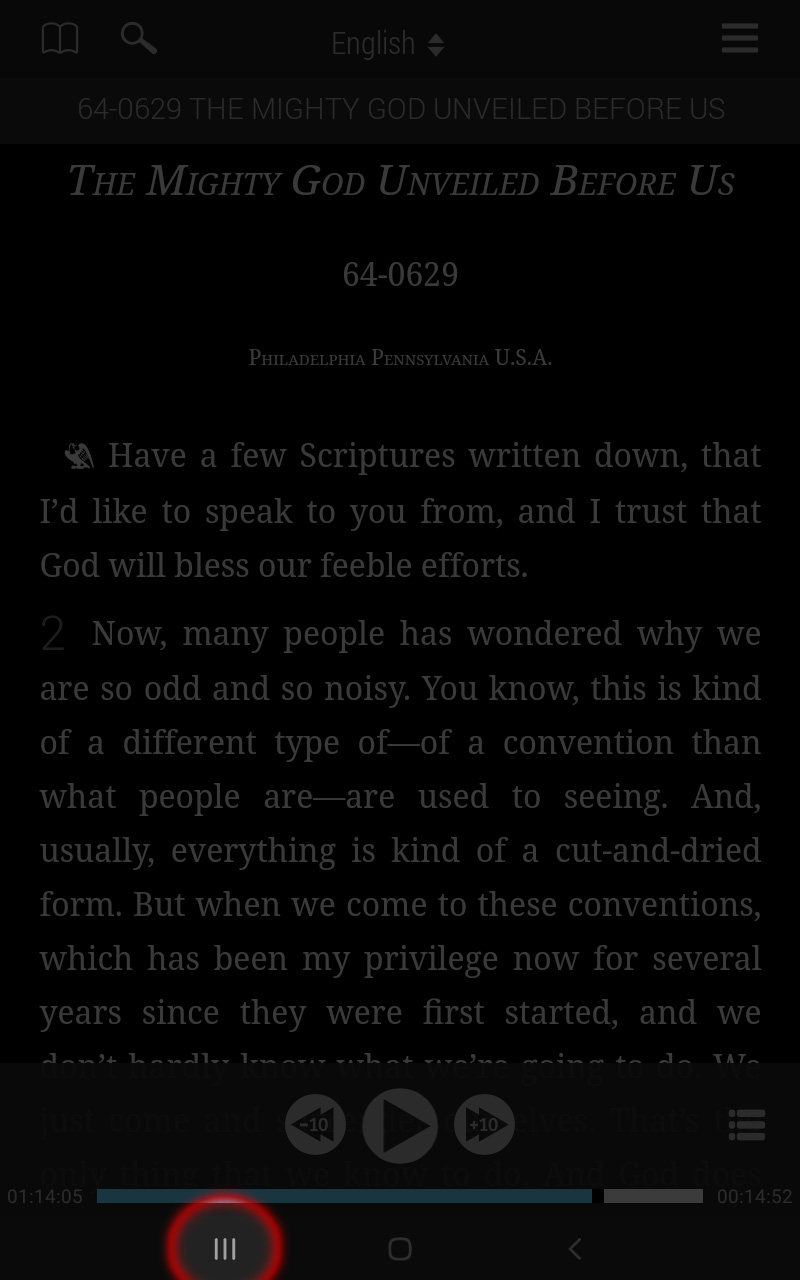
- Reboot The Table application.
- Reboot the device.
- If rebooting does not fix the issue, use The Table Help Options Menu of The Table app. A brief description of what each option does can be found on the following pages.
- Uninstall and reinstall the application.
If you continue to have trouble after trying these solutions, please contact your local VGR office.
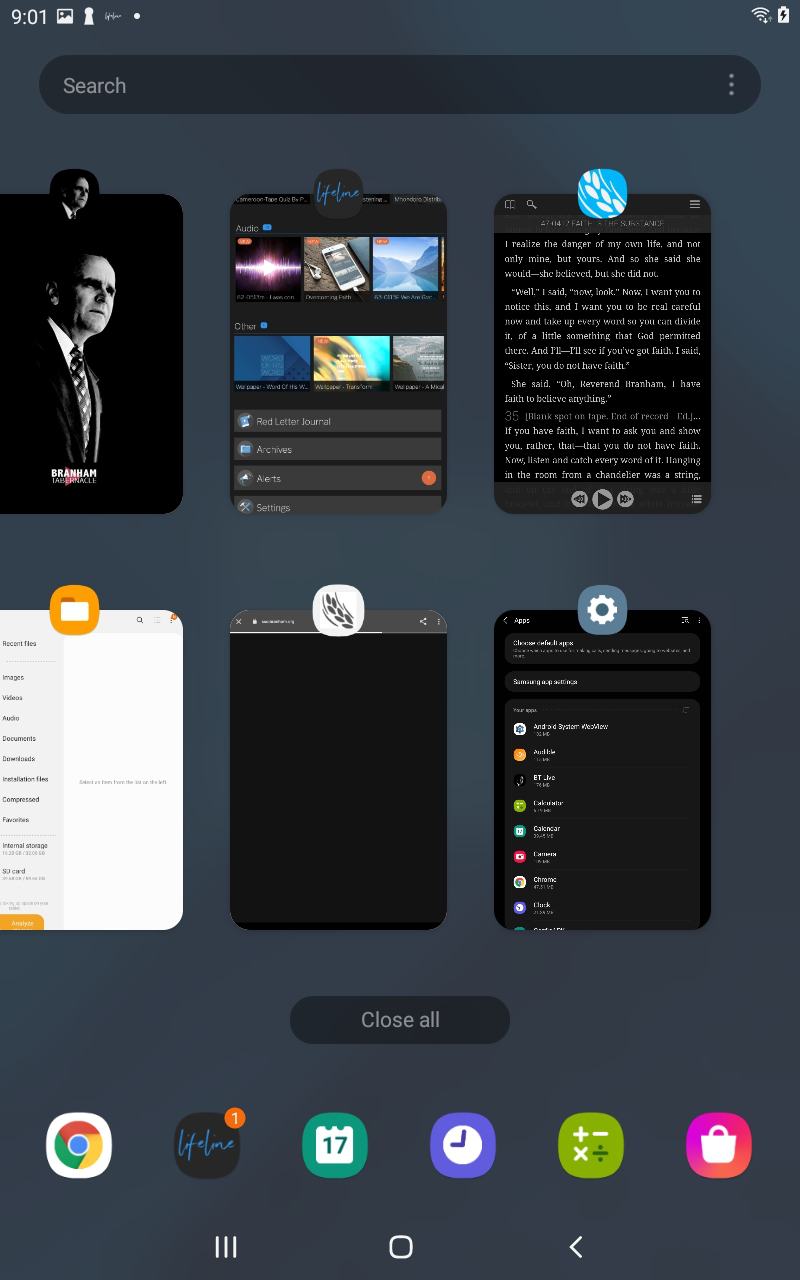
- To reboot The Table, simply press the overview button at the bottom of the screen or swipe upward from the bottom of your screen.
- This will display all open apps.
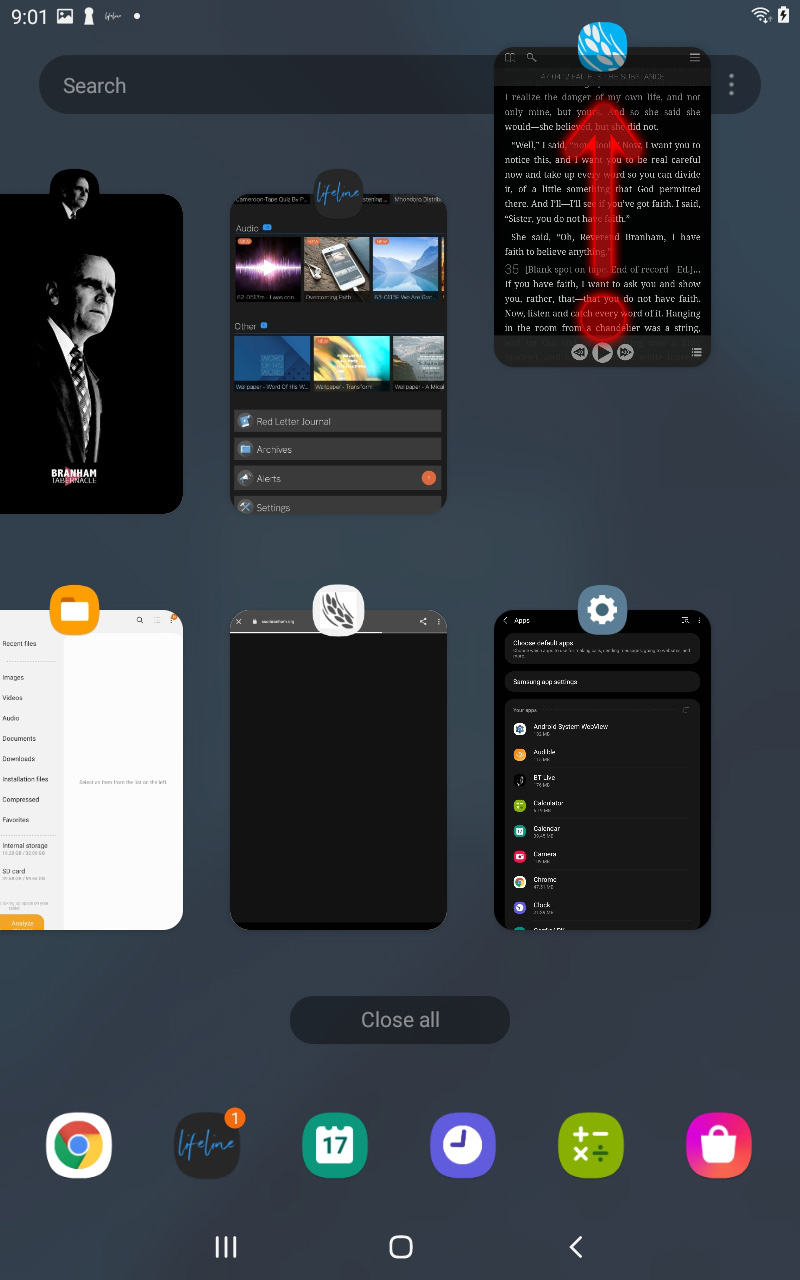
- Depending on your device, you can either select the x to close The Table or swipe the app up or to the right to close.
- Select the app icon to open the app again.

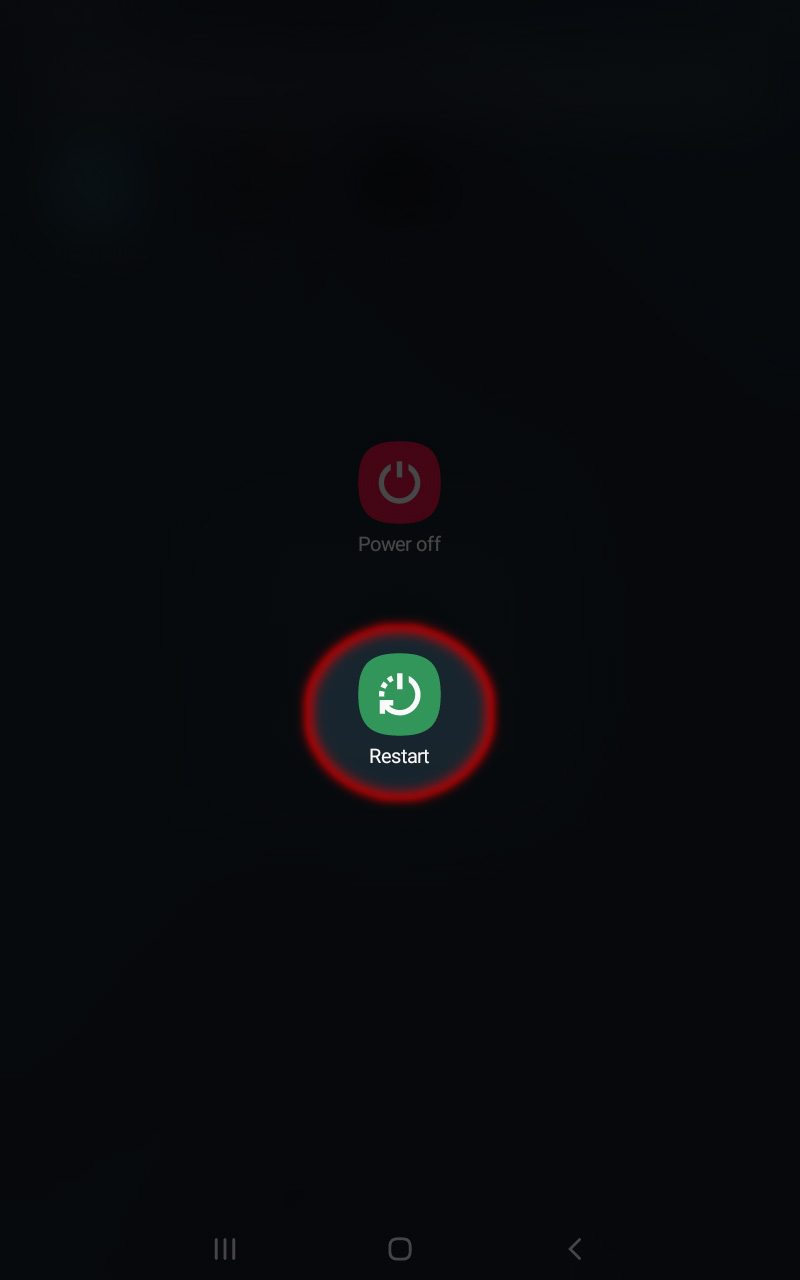
If you are having problems with The Table, try rebooting(restarting) the device.
How to reboot:
- Press and hold power button for about two seconds until the Power Off and Restart options appear.
- Choose Restart.
Access The Help Options Menu
If you have re-booted the Tablet and The Table still has a problem, there is a special menu that you can use to troubleshoot the problem. This document will show you how to fix most issues that come up when using The Table.

There are two ways the Help Menu can be accessed.
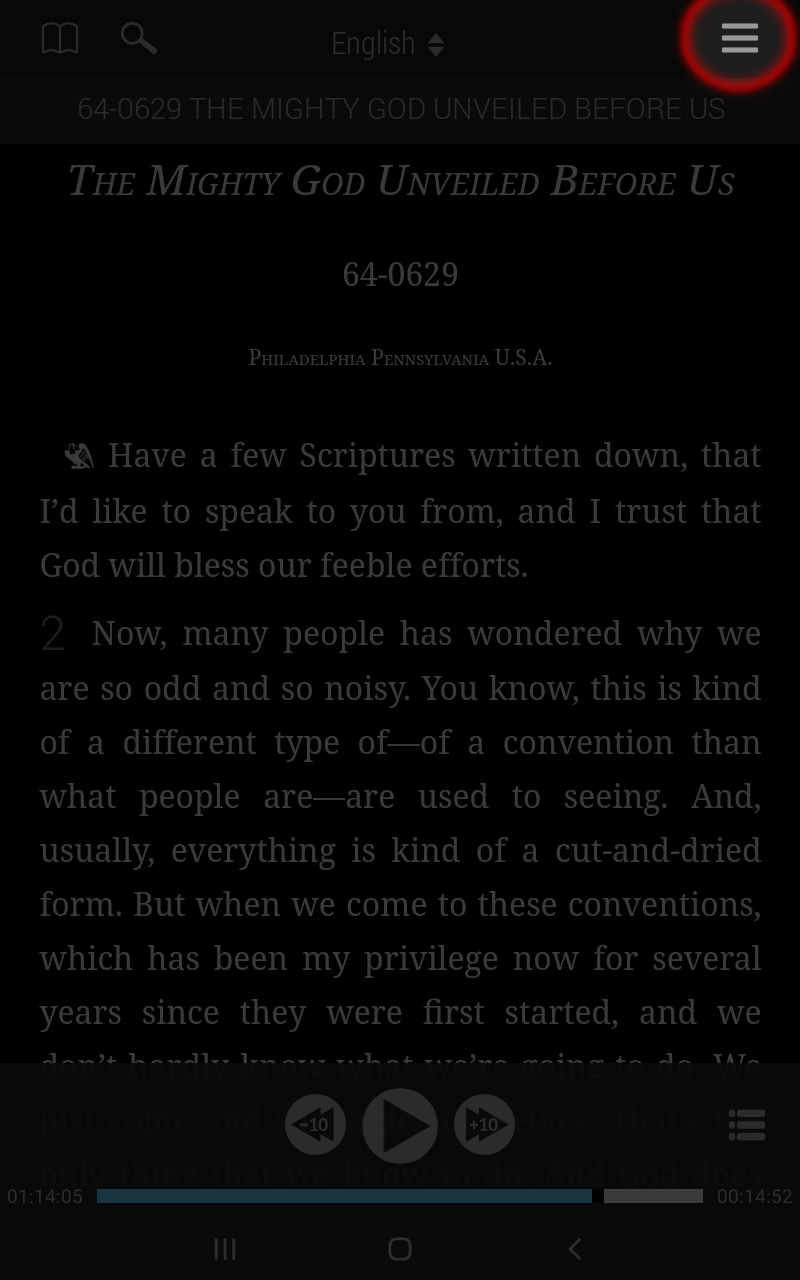
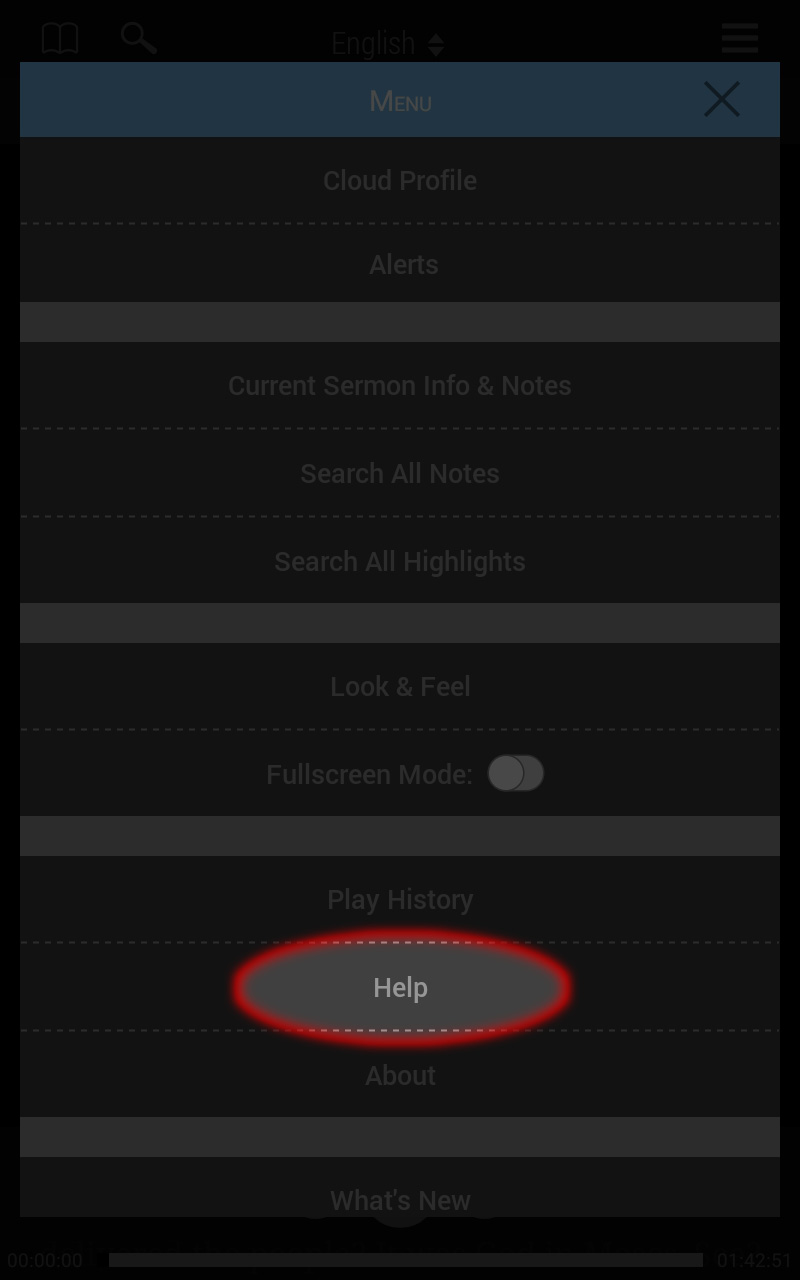
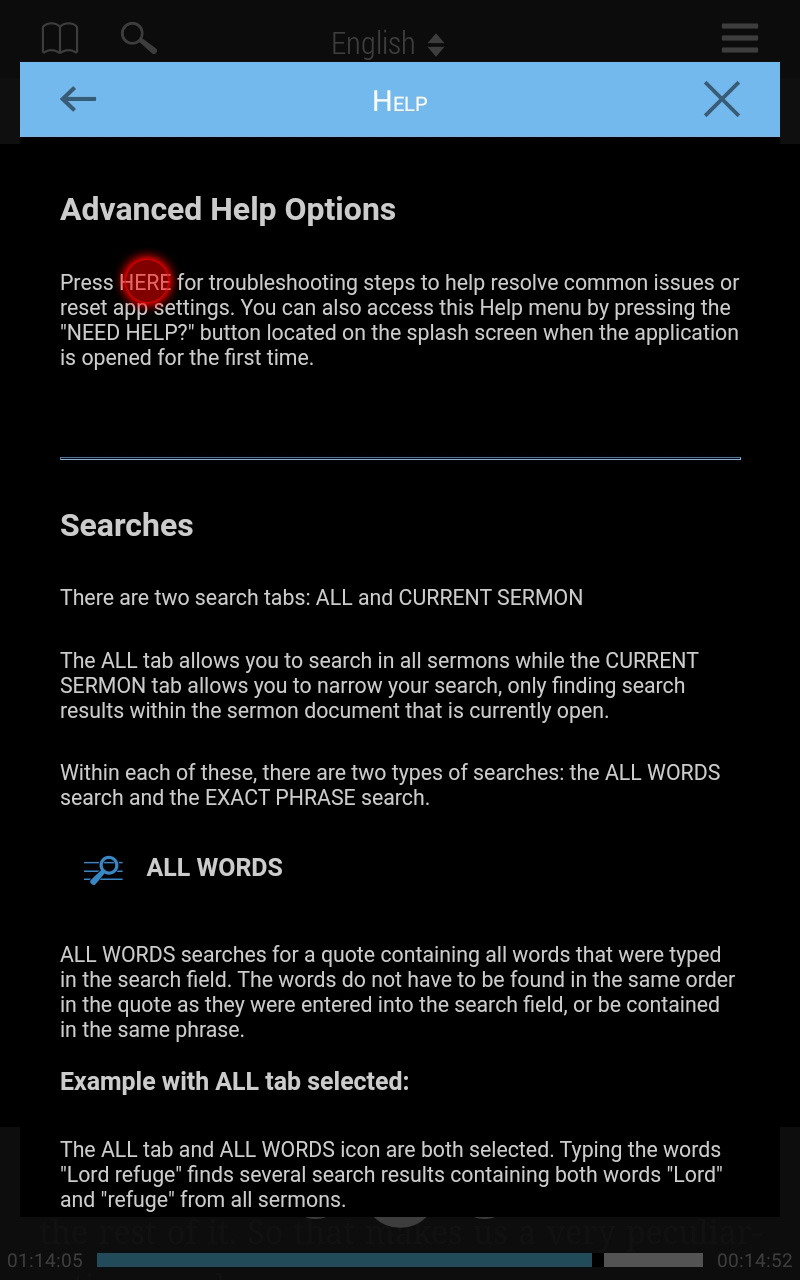
- Select Advanced Help Options at the top of the Help section which is located under menu in the right top corner of the app.
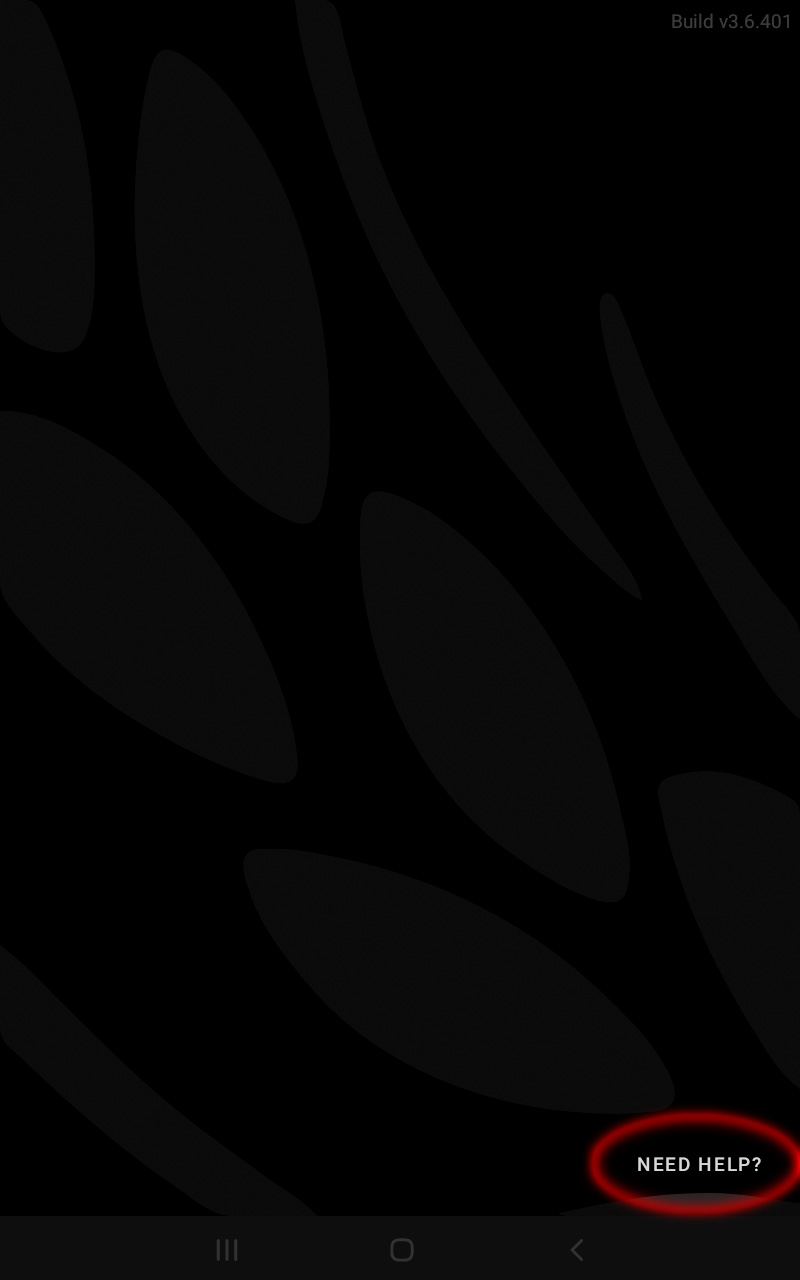
- Select the Need Help option in the bottom, right corner of the splash screen.
- To access The Table Help Options Menu from the splash screen, reboot The Table.
When the splash screen with the wheat logo appears, touch the Need Help? button in the bottom right corner.
Note: You will only have a couple seconds to select the button. You may have to try several times, before you get the Menu.- This will bring up the Help Options Menu.
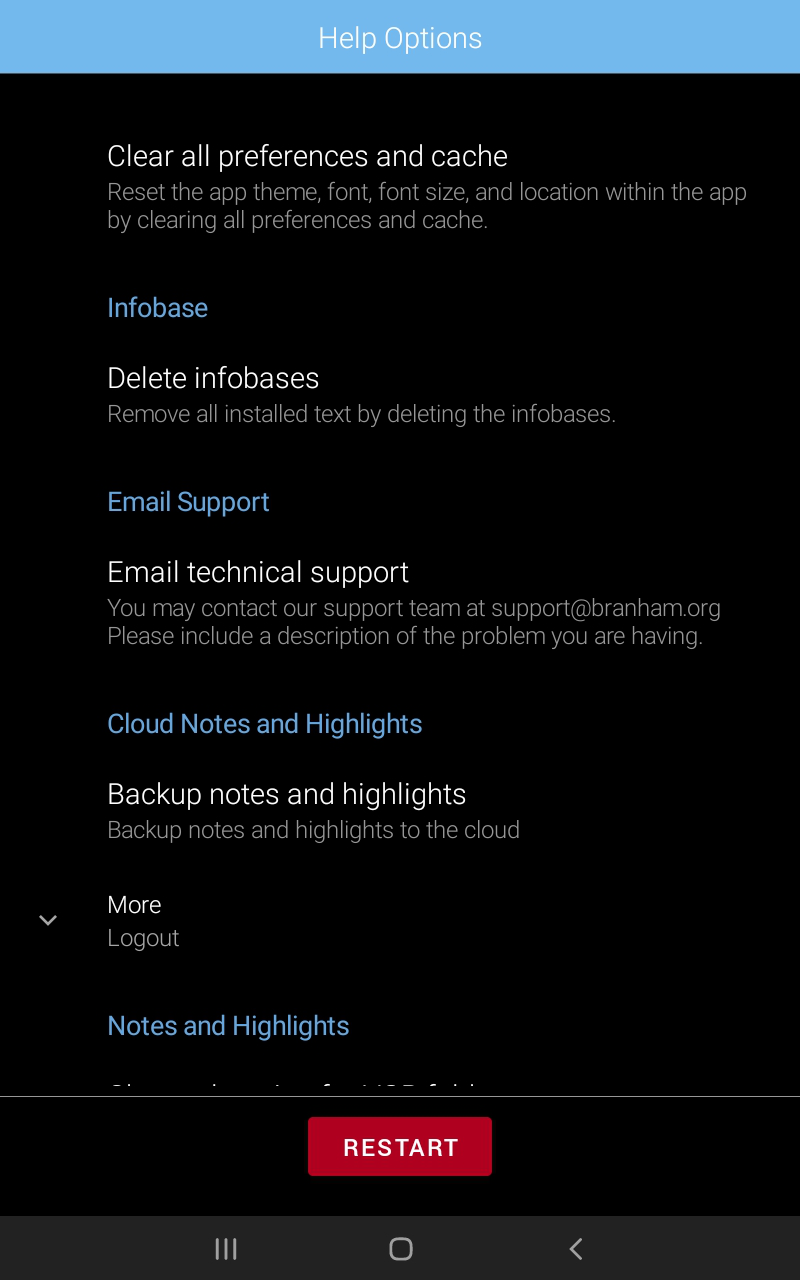

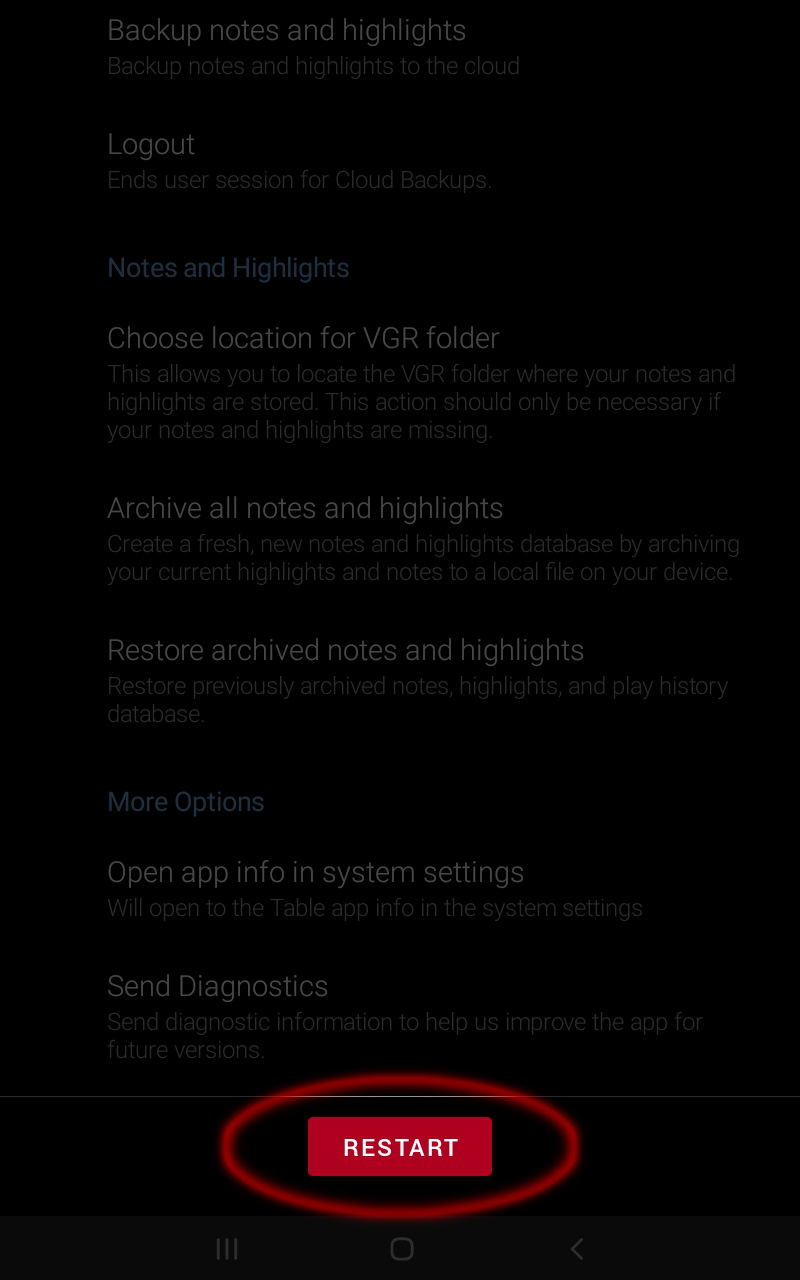
Help Options
Try these help options one by one and select restart.
Infobases
Cloud Notes And Highlights
- Backup Notes And Highlights
- Logout
Note:
The Cloud Notes And Highlights section is only available if you are logged into the Cloud Profile located in the main menu of the app.Notes And Highlights
-
Note:
Depending on the Android version you are running, you will see one of two options:Choose Location For VGR Folder
Restore Notes And Highlights Database From VGR/Defaultprofile.db On Device
- Archive All Notes And Highlights
- Restore Archived Notes And Highlights
More Options
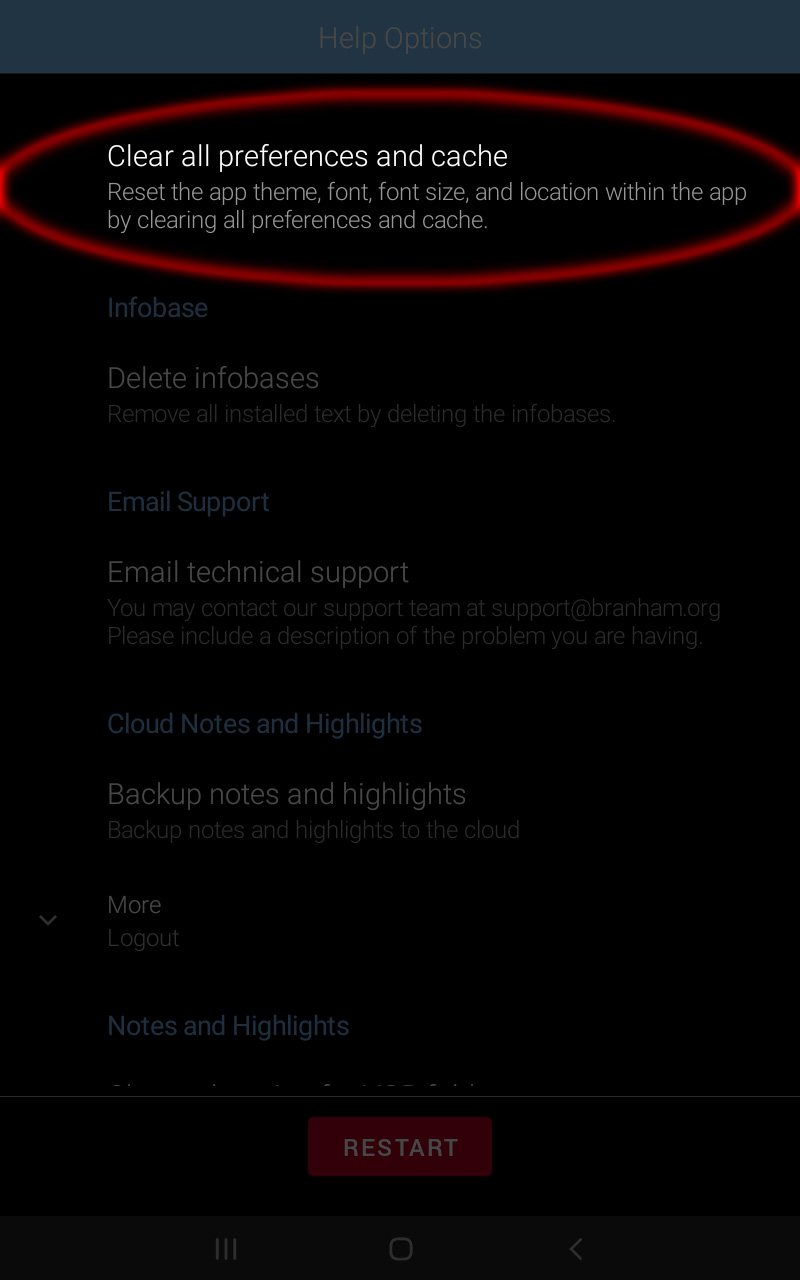
A. Clear All Preferences And Cache
Reset the app theme, font, font size, and location within the app by clearing all preferences and cache.
Try this option first, if your app is repeatedly crashing.
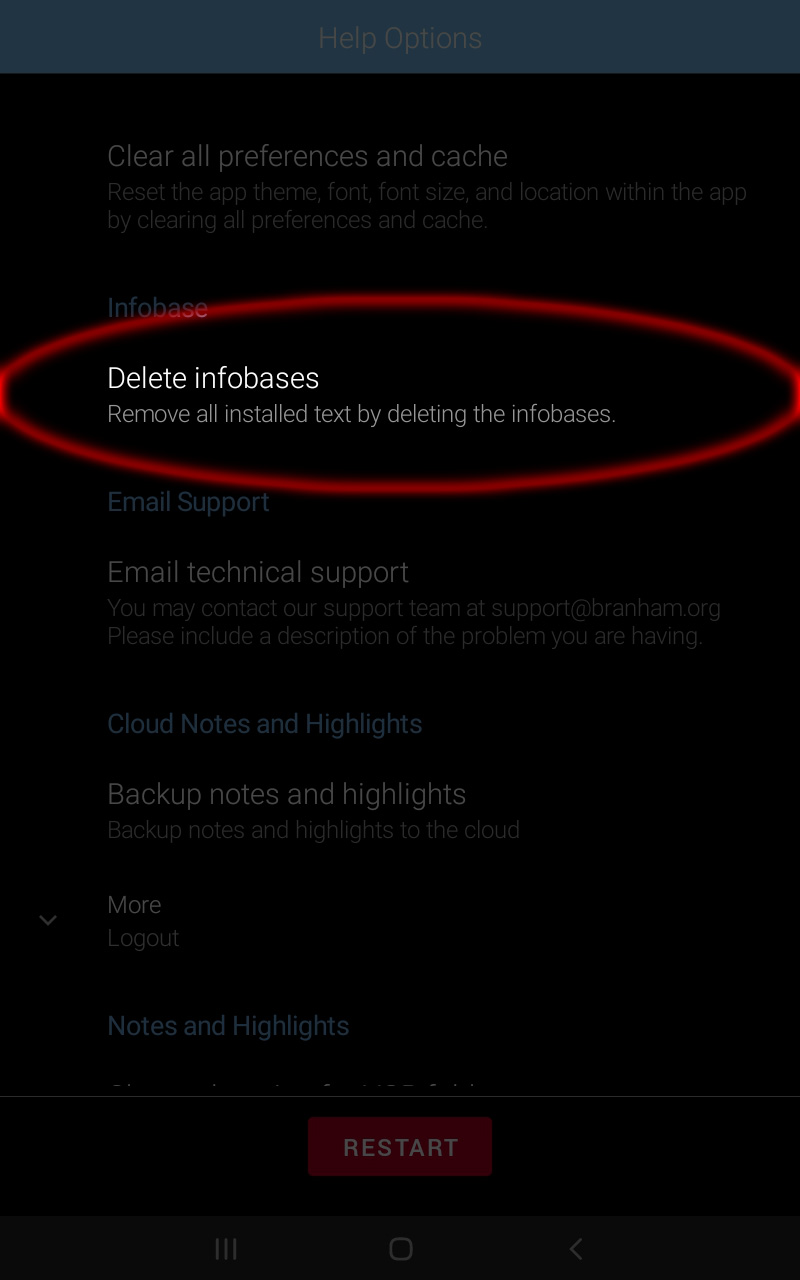
B. Delete Infobases
Remove all installed text by deleting the infobases.
This option should be used if you are having issues with a text upgrade. It will delete all Table text from your tablet and should only be used if you have access to Wi-Fi, in order to re-download the text.
Note:
After selecting this option, select restart if you have manually downloaded additional languages through The Table app which did not originally come loaded on the tablet. In this case, The Table app is downloading and managing your text updates.If you have not downloaded additional languages through The Table app, select the Home button, then open and run the Updates app to redownload the text. The Updates app is responsible for downloading and managing your text updates.
C. Email Technical Support
You may contact our support team at support@branham.org. Please include a description of the problem you are having.
Select this option to email a description of the problem you are having to technical support.

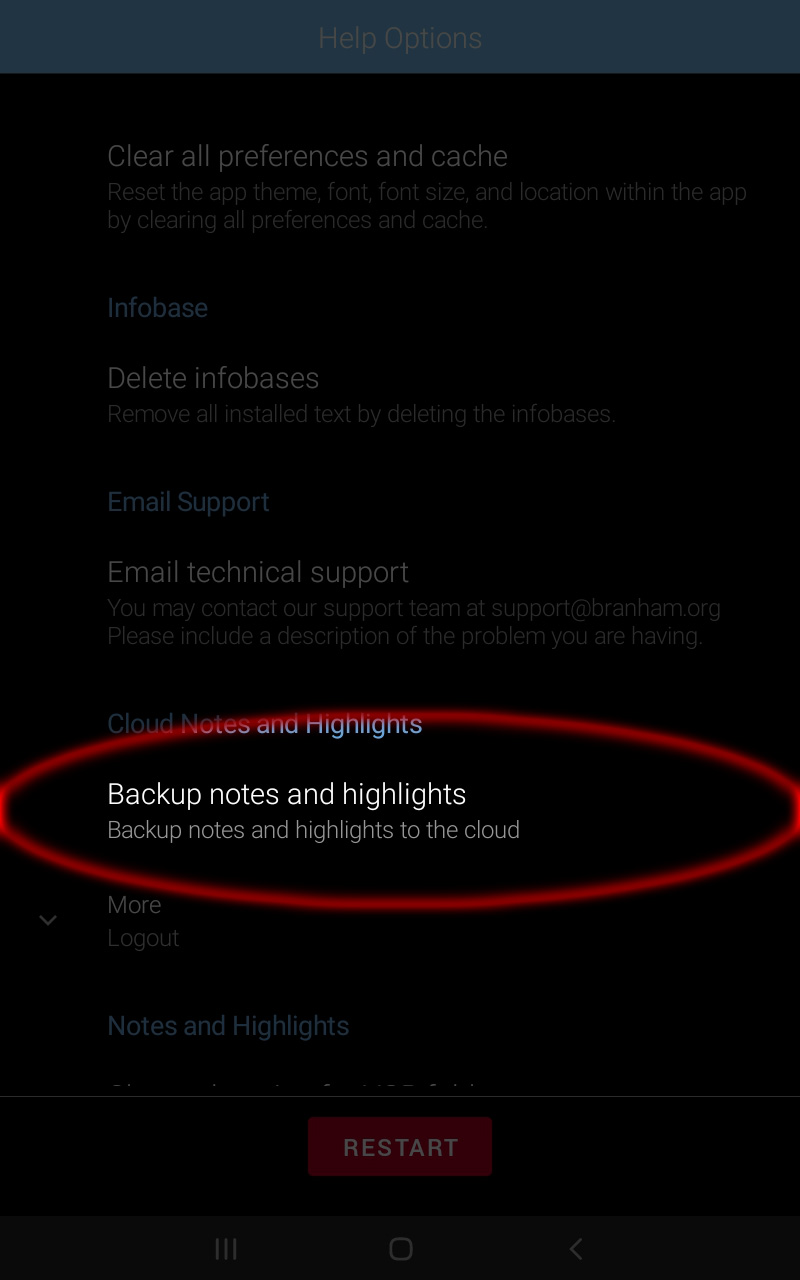
D. Backup Notes And Highlights
Backup notes and highlights to the cloud.
Select this option to save a backup of your notes and highlights to the Cloud.
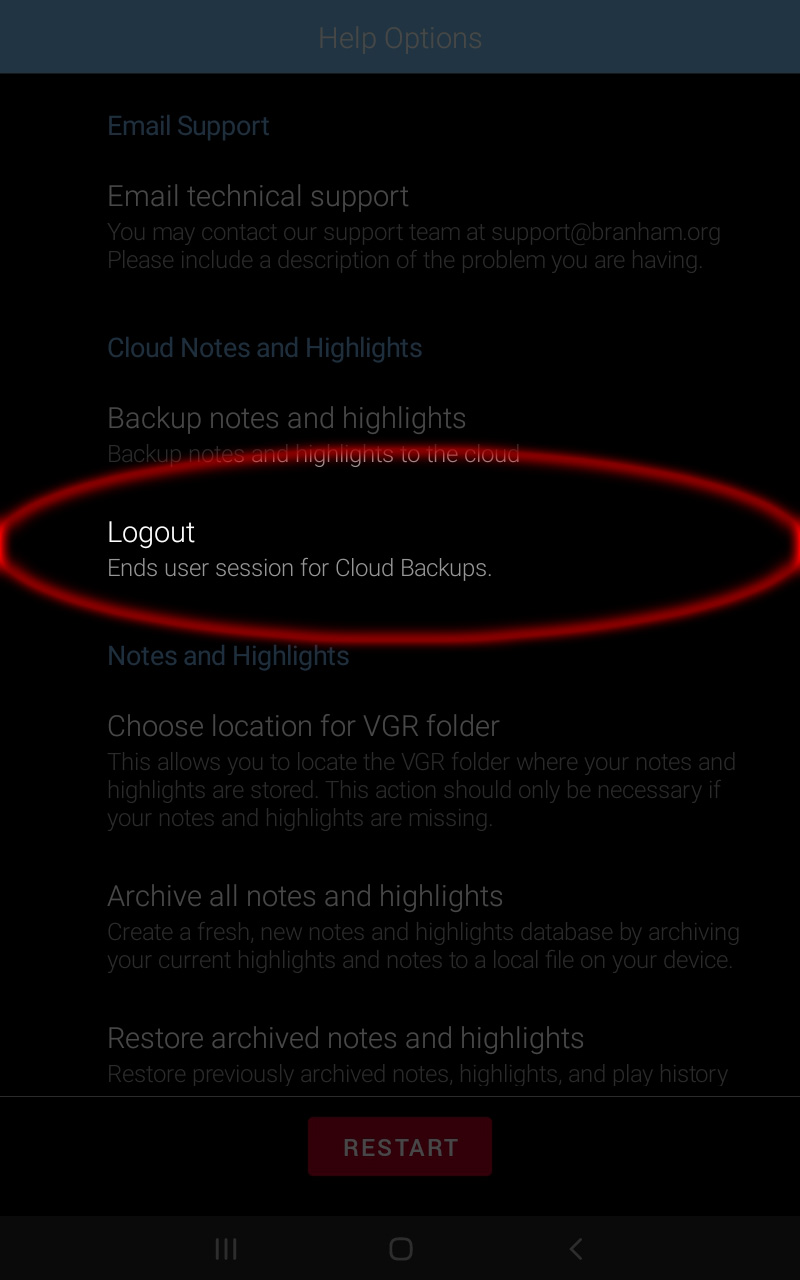
E. Logout
Ends user session for Cloud Backups.
Select this option to logout of your Cloud Profile.
F.
Choose Location For VGR Folder
Restore Notes And Highlights Database From VGR/Defaultprofile.db On Device
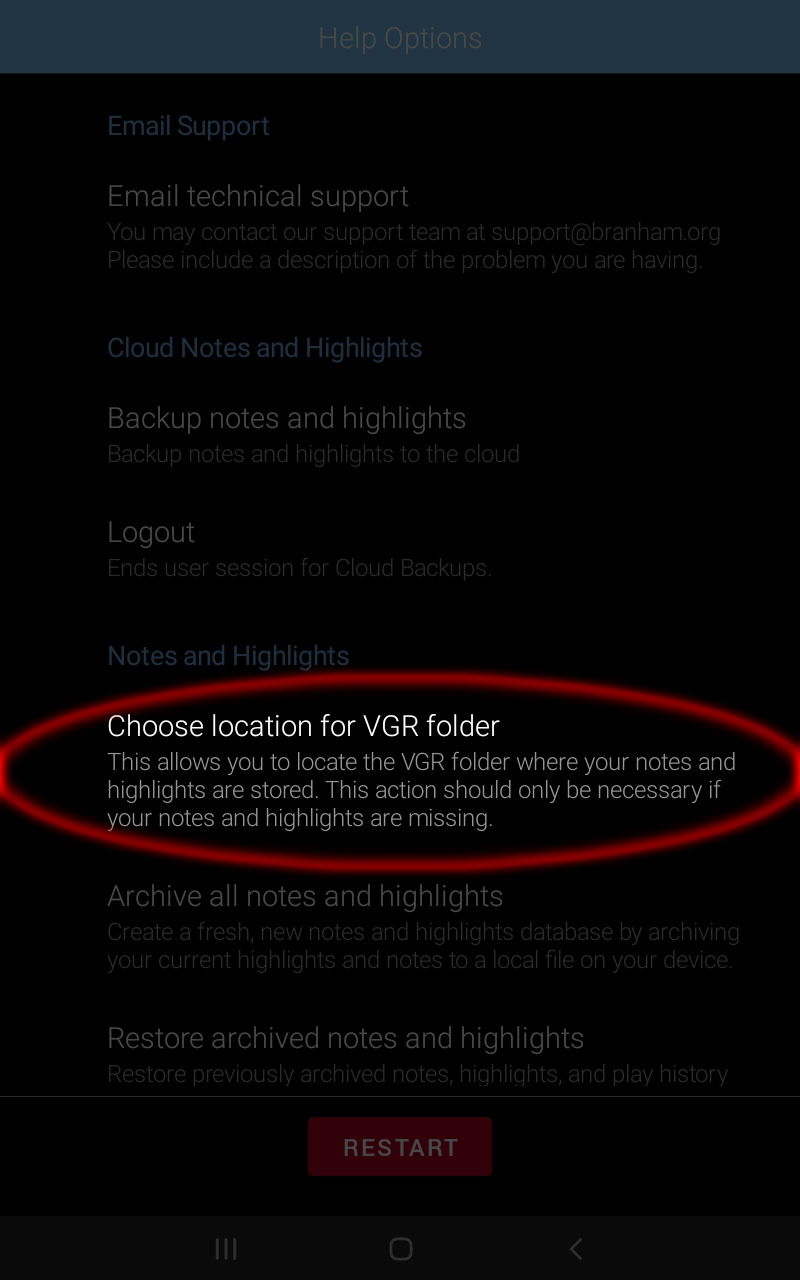
Choose Location For VGR Folder
This allows you to locate the VGR folder where your notes and highlights are stored. This action should only be necessary if your notes and highlights are missing.
If your device is running Android 10 plus, and you have previously made notes and highlights but do not see them in the app, select this option.
The Google Play Store now requires that you choose the location of the VGR folder where your data base may be stored in order for the app to read it.
Follow these steps to choose location for VGR folder:
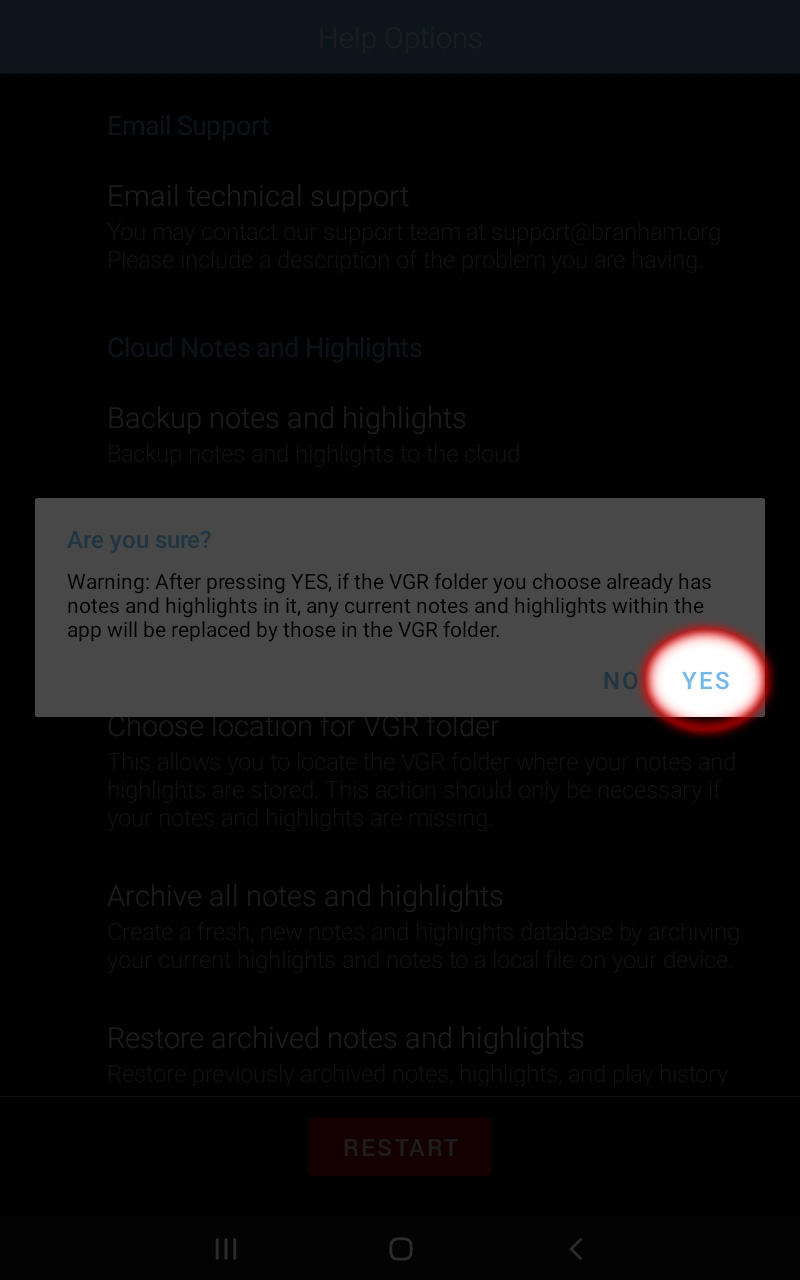
- Select Choose location for VGR folder.
- Select yes you are sure.
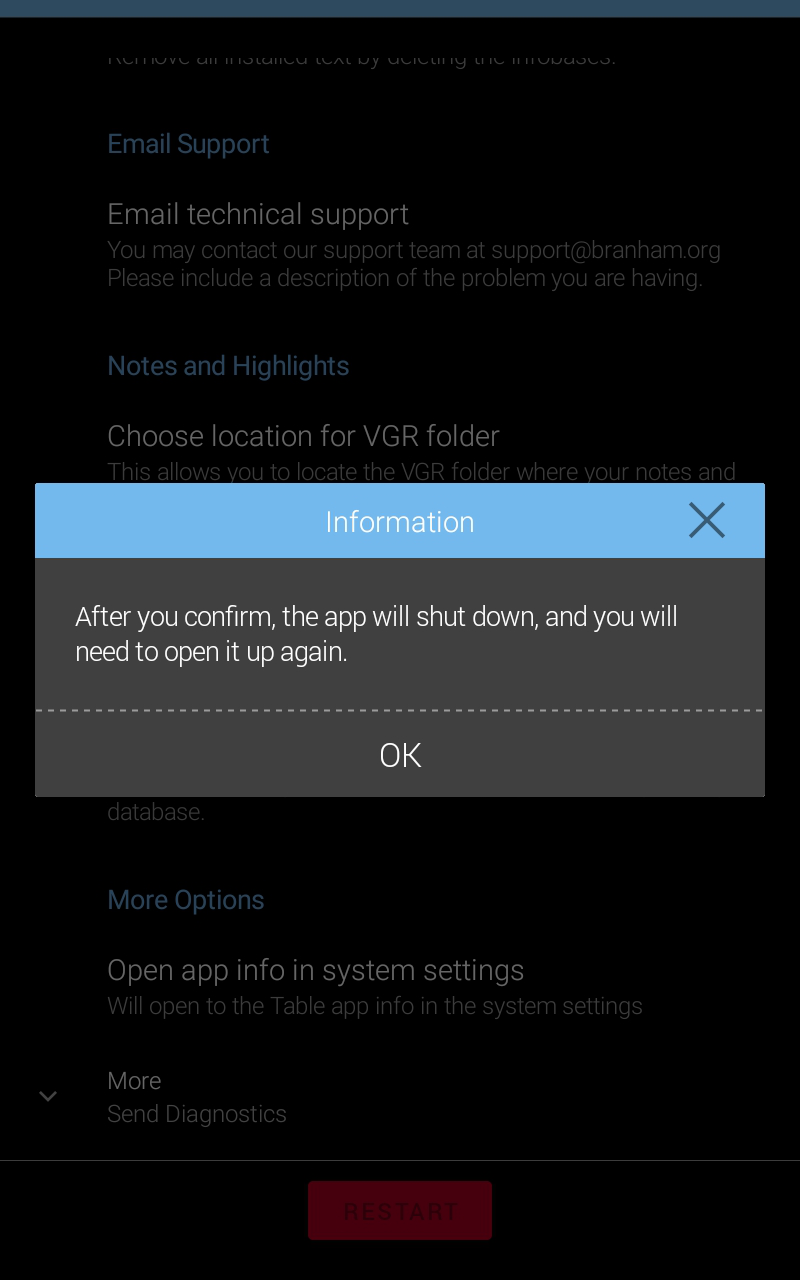
- The Table application will close.
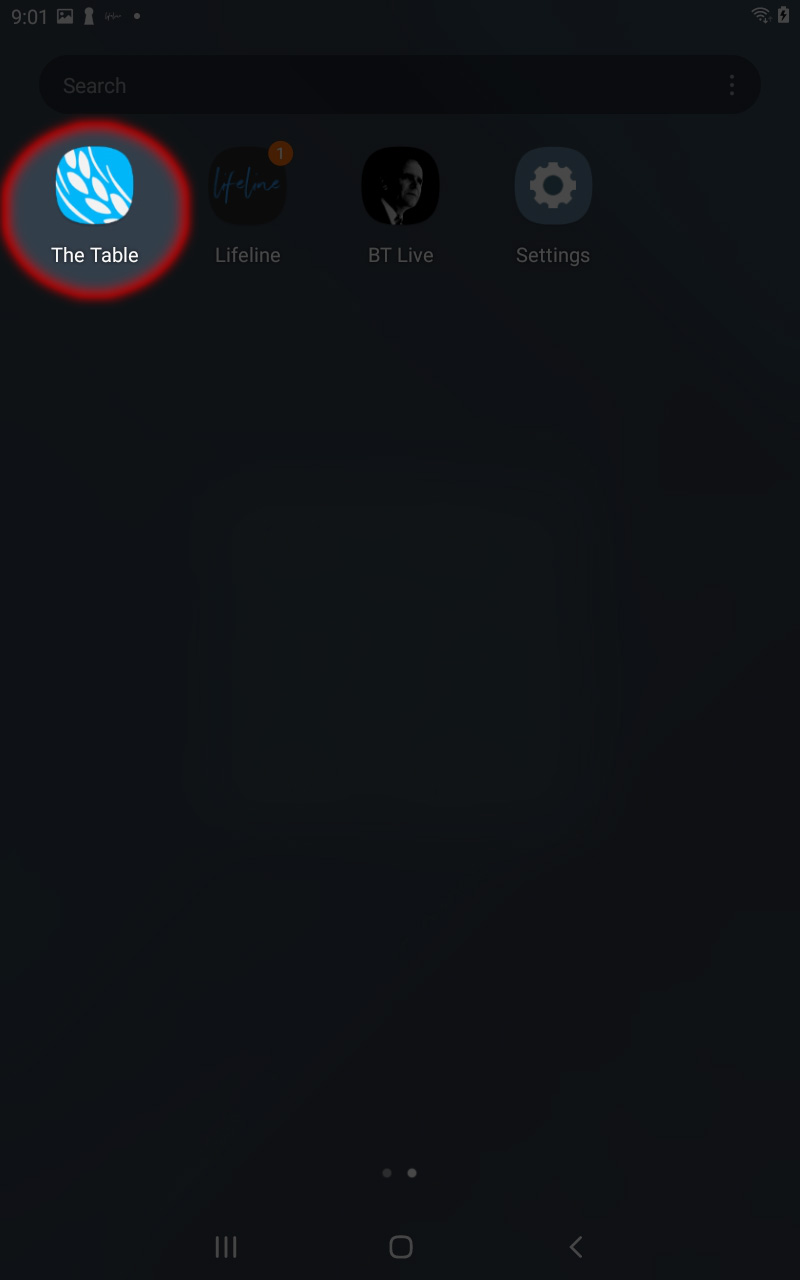
- Reopen The Table application by selecting the icon.
- Select the open file chooser button to continue.
-
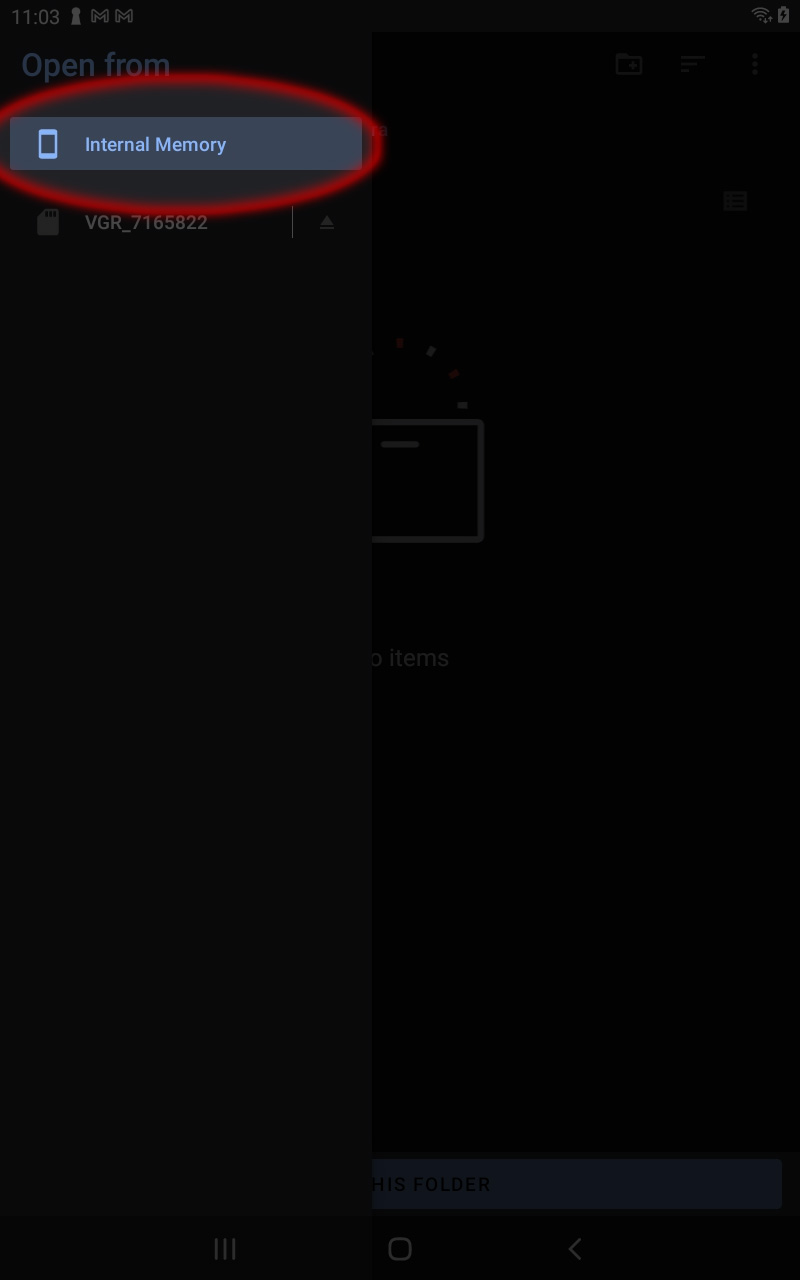
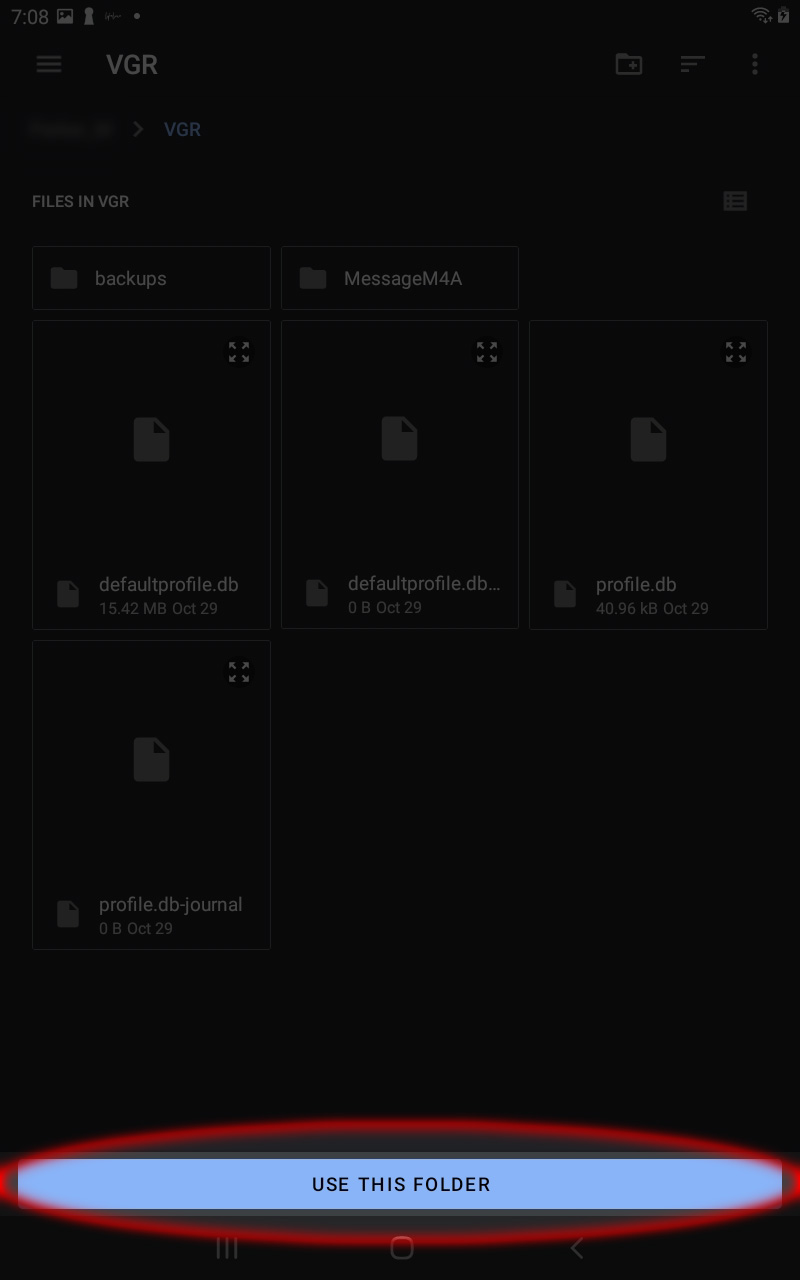
The VGR folder may automatically open. If not, scroll down and select the VGR folder.
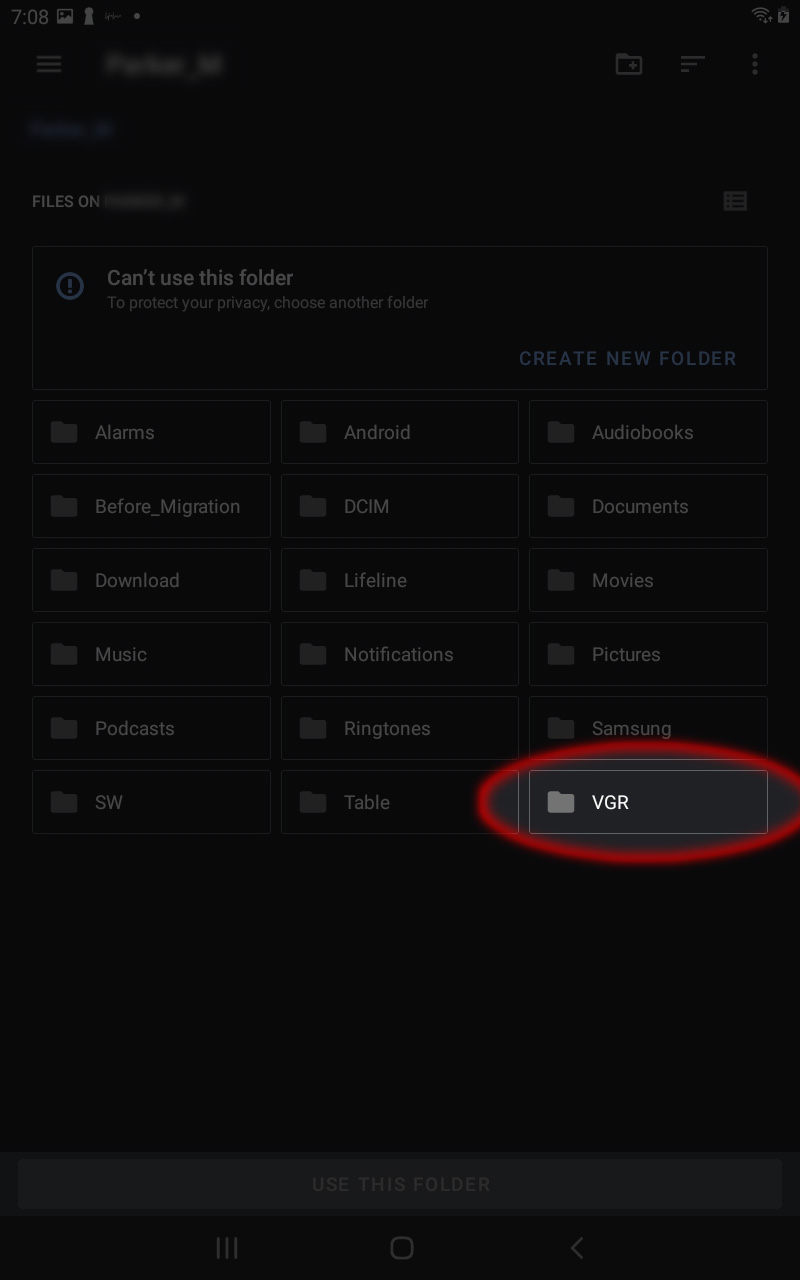
Note:
You may need to press the options menu icon located in the top left corner of the File Chooser to access the internal memory. SD cards received from VGR will also have VGR in the SD card name followed by a number. Please be sure you are selecting the folder simply named VGR located in the internal memory.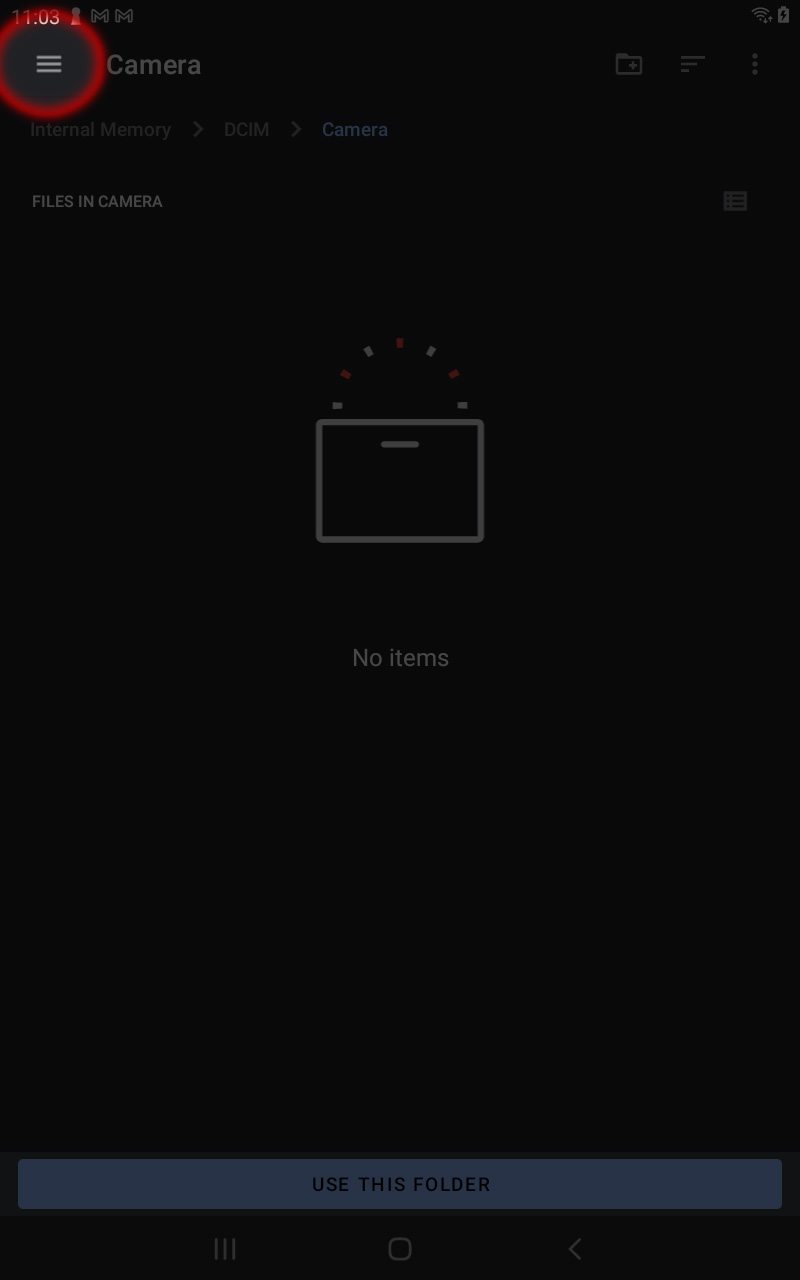
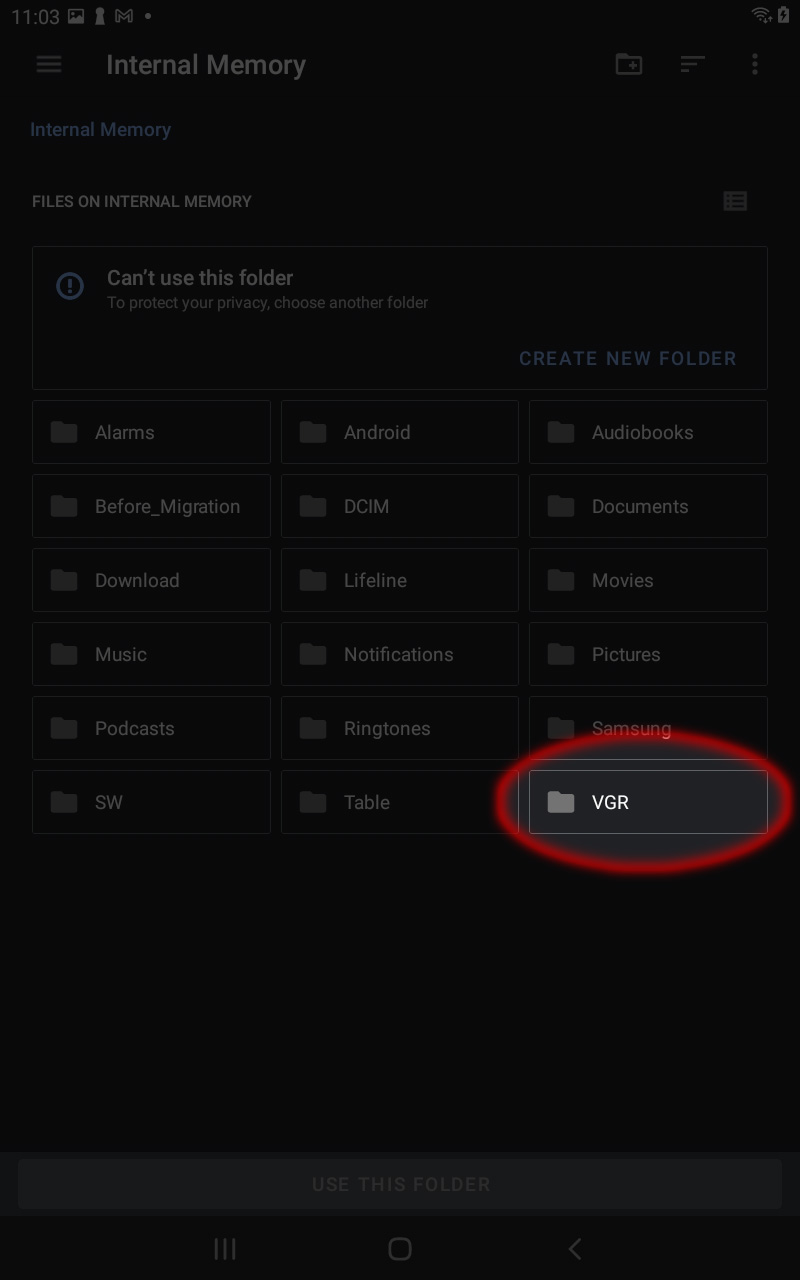
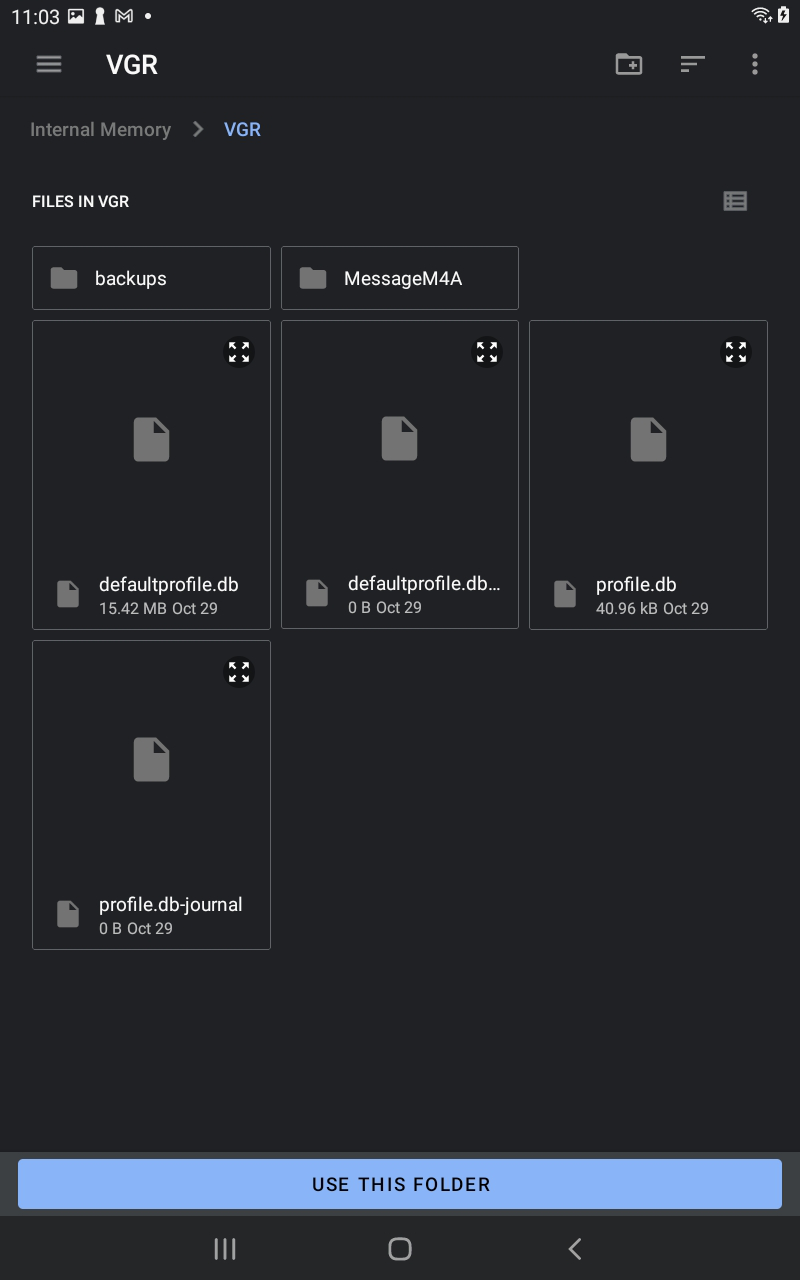
- Select use this folder.
- Allow The Table to access files in VGR.

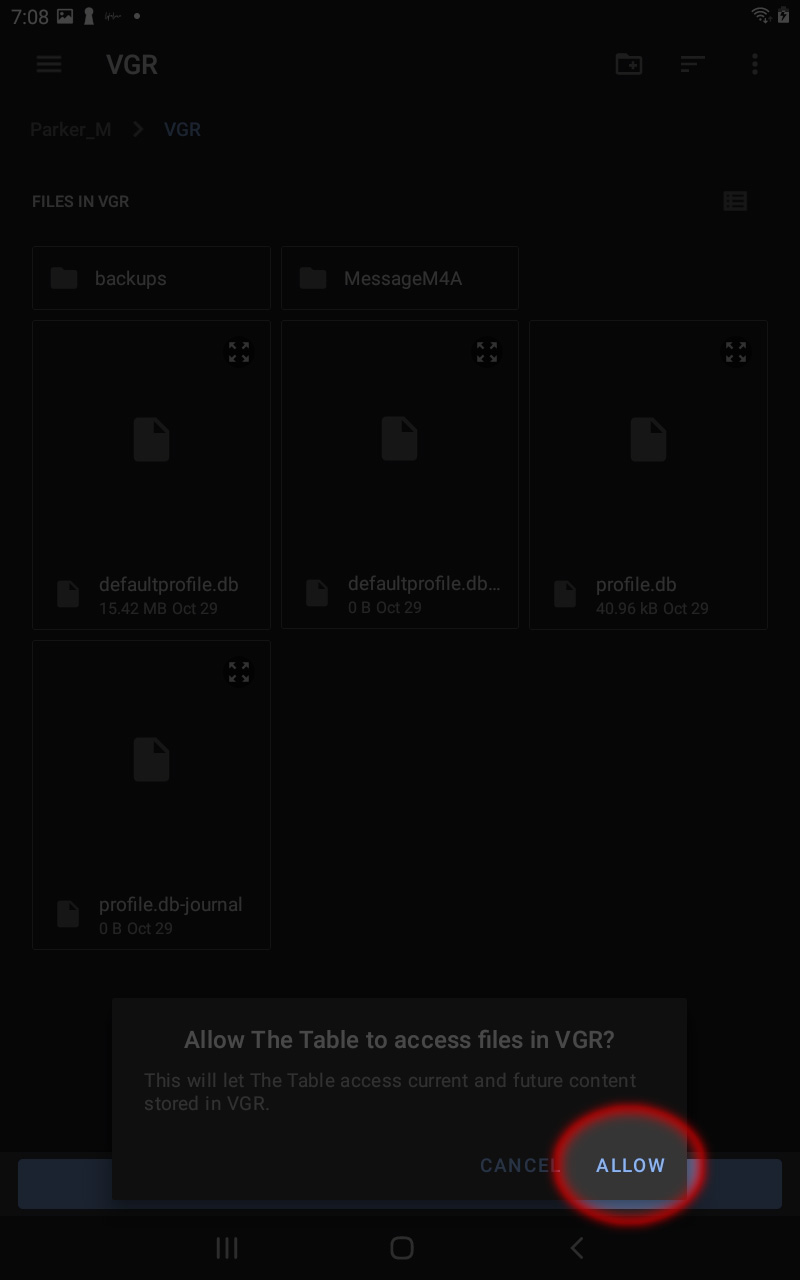
Note:
If you have the latest version of The Table application, your data base may be stored internally within the application and not within the VGR folder location on the internal memory of your device.Logging into the Cloud Profile and creating a backup of your notes and highlights is the best way to retrieve your notes and highlights if you have internet access.
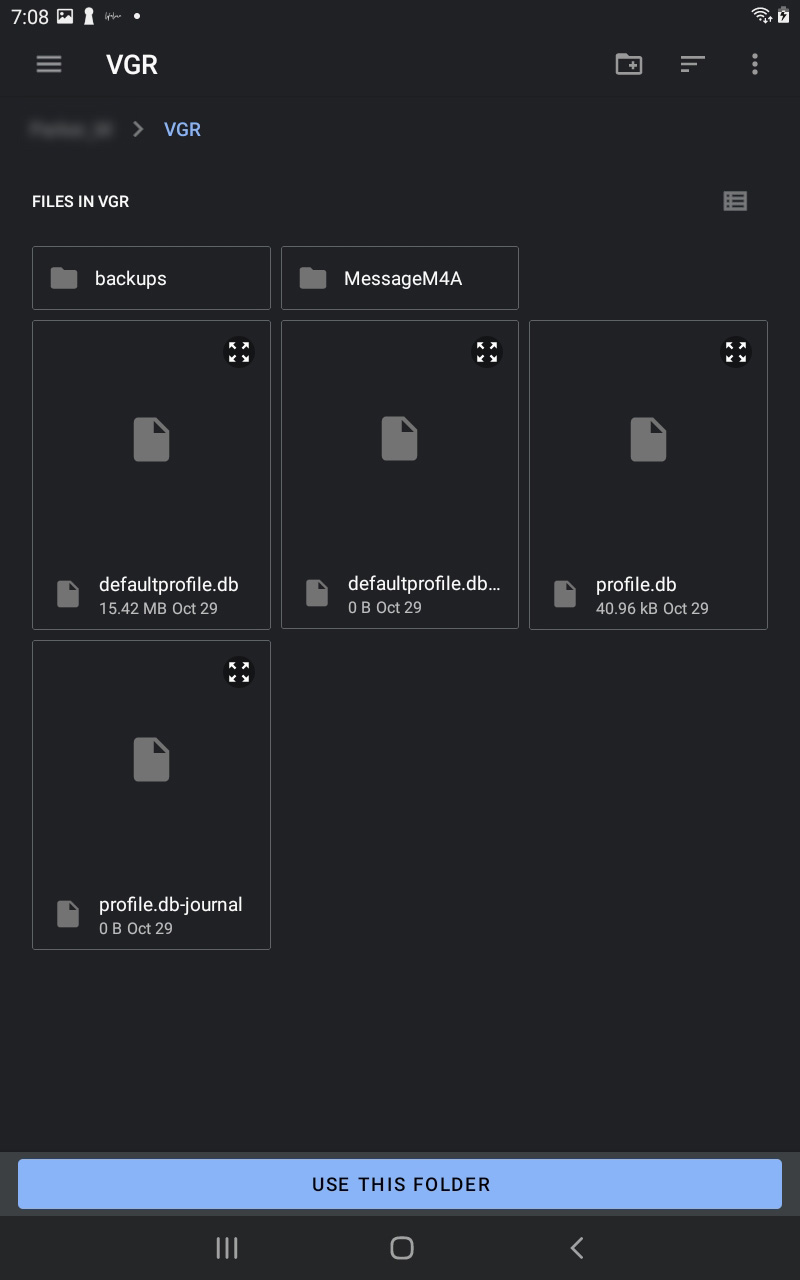
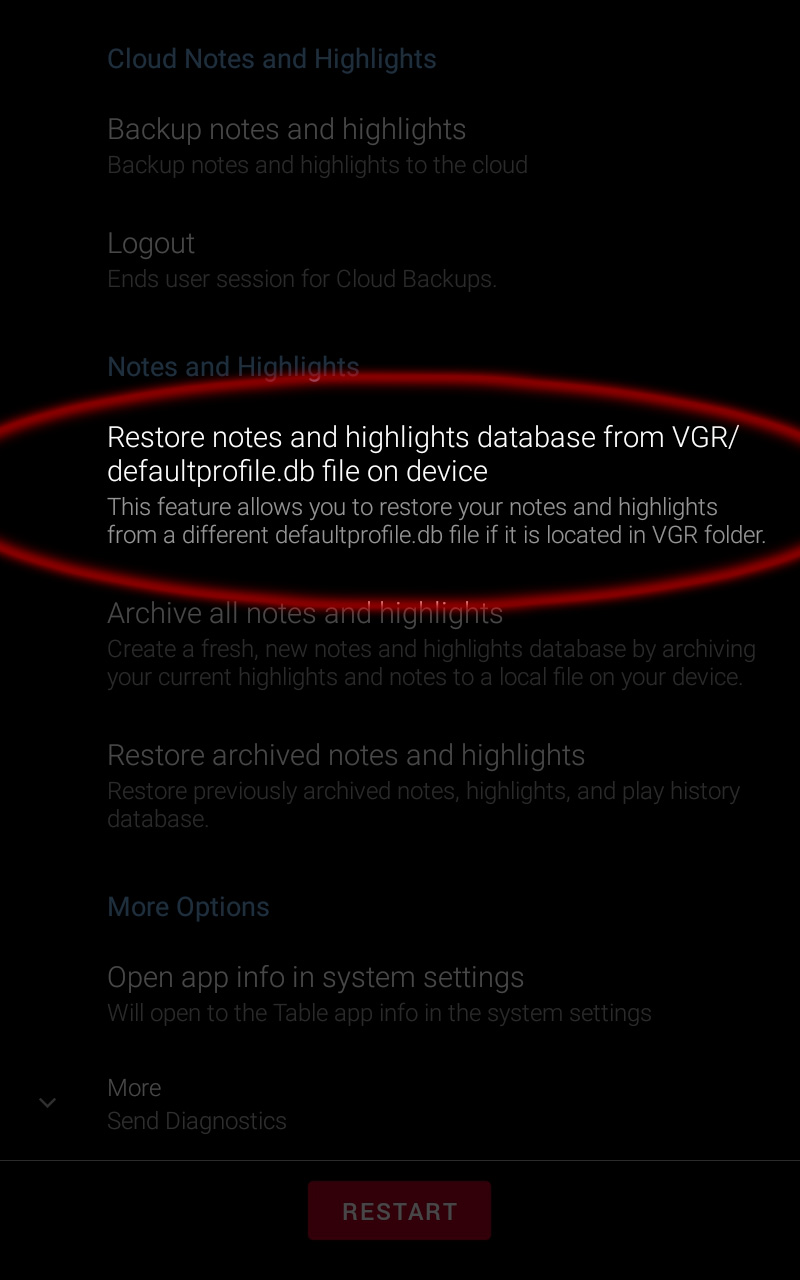
Restore Notes And Highlights Database From VGR/Defaultprofile.db On Device
This feature allows you to restore your notes and highlights from a different defaultprofile.db file if it is located in the VGR folder.
Choose this option if you have copied a data base to the VGR folder by connecting your device to a computer, etc.
The Table app stores the data base file internally and will not recognize you have copied a file to the VGR folder until this option is selected. Once selected, confirm you would like to continue by selecting yes.
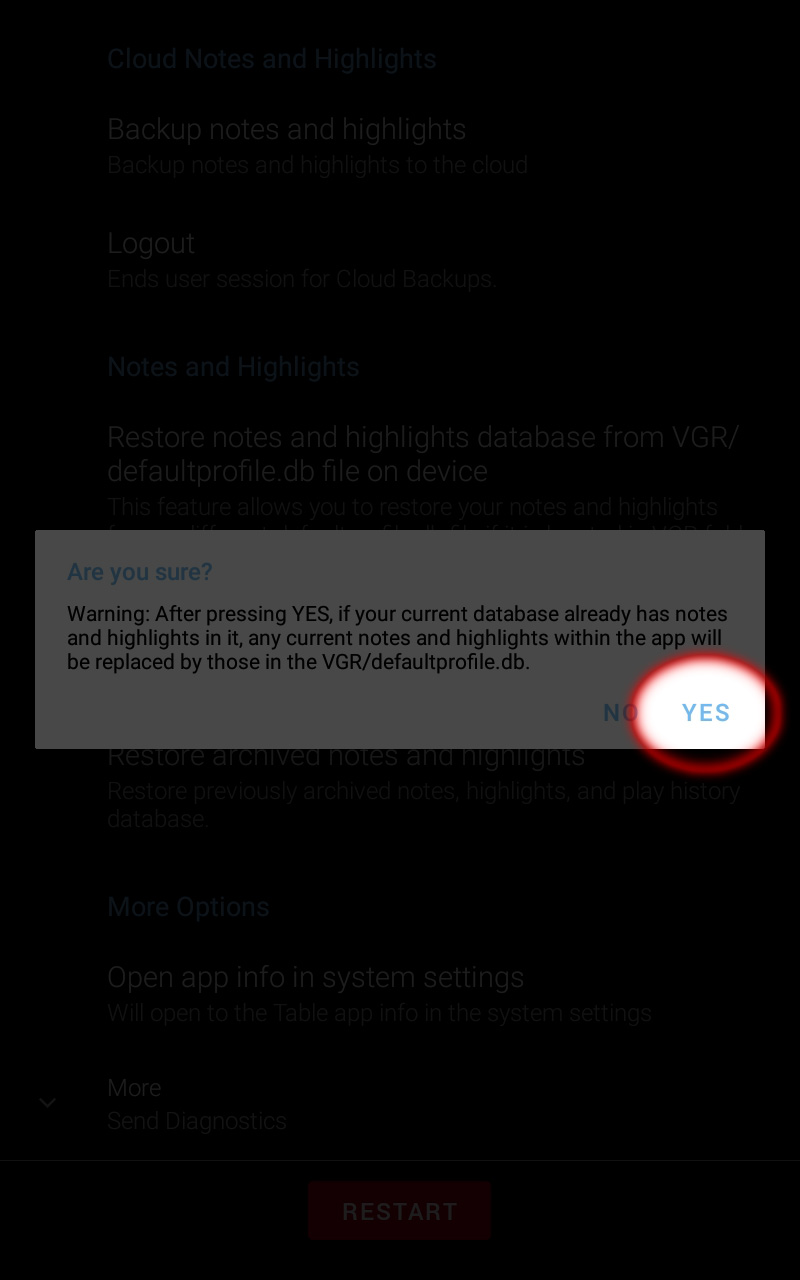
The file will then be moved to the internal app storage and the app will reboot.
G. Archive All Notes And Highlights
Create a fresh, new notes and highlights database by archiving your current highlights.
To access this option, please select the more drop down located under Notes and Highlights.
Reasons to Archive All Notes And Highlights:
- You are having severe issues with your notes and highlights.
- The application is crashing, and the other help options do not fix the issue.
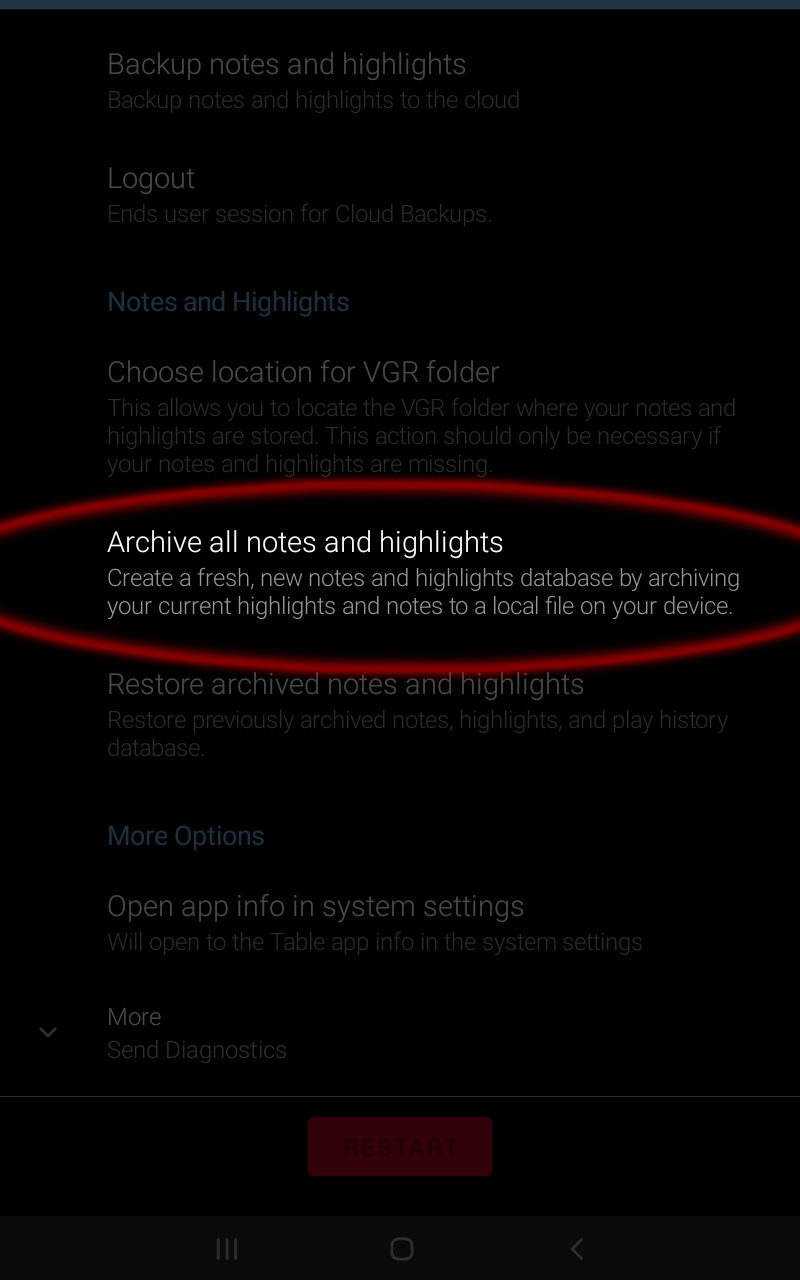
A message will pop up to warn you that if you archive your notes and highlights database, your previous notes and highlights will no longer be accessible. The file is backed up, and a new, blank file with no notes and highlights is created to be used within the app.
Choose Yes if you are sure.

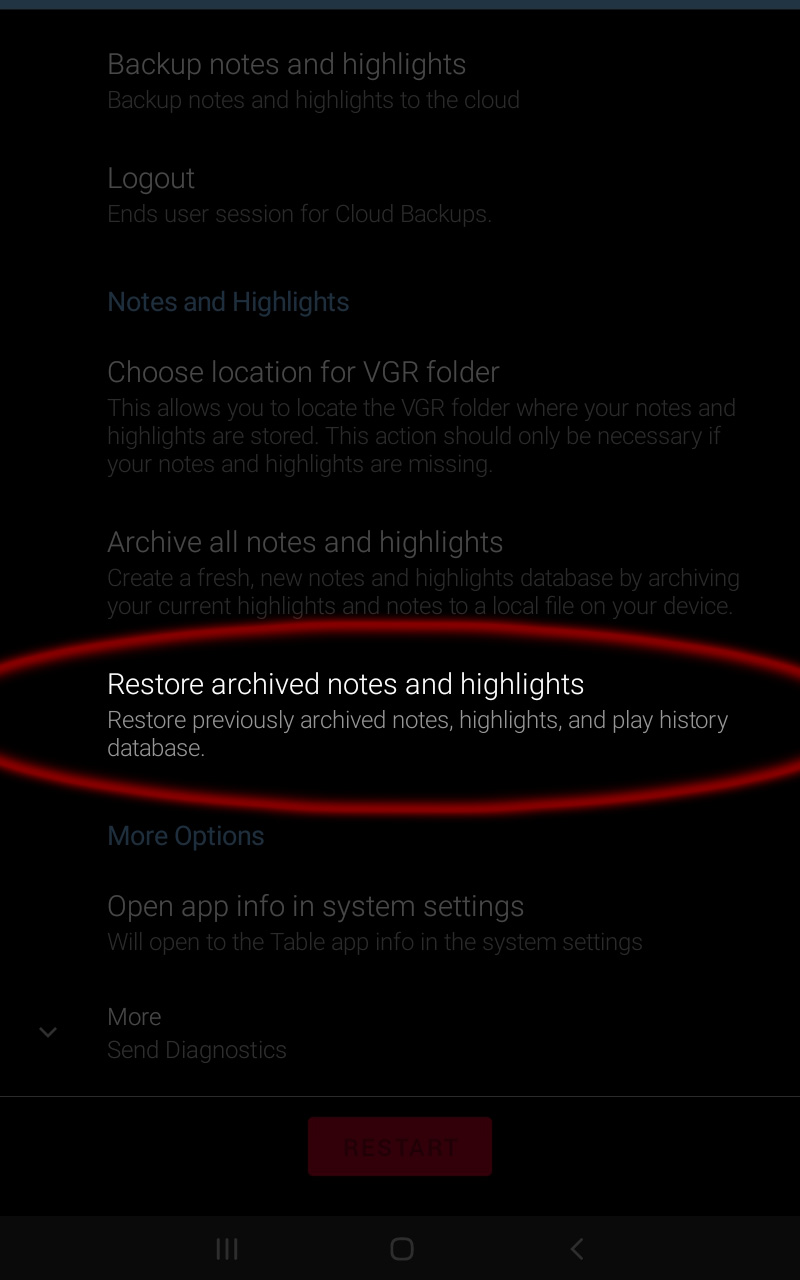
H. Restore Archived Notes And Highlights
Restore previously archived notes, highlights, and play history data base.
This option can be reached by selecting the Advanced drop down located under Notes And Highlights. Please select if you would like to restore a previously archived database.
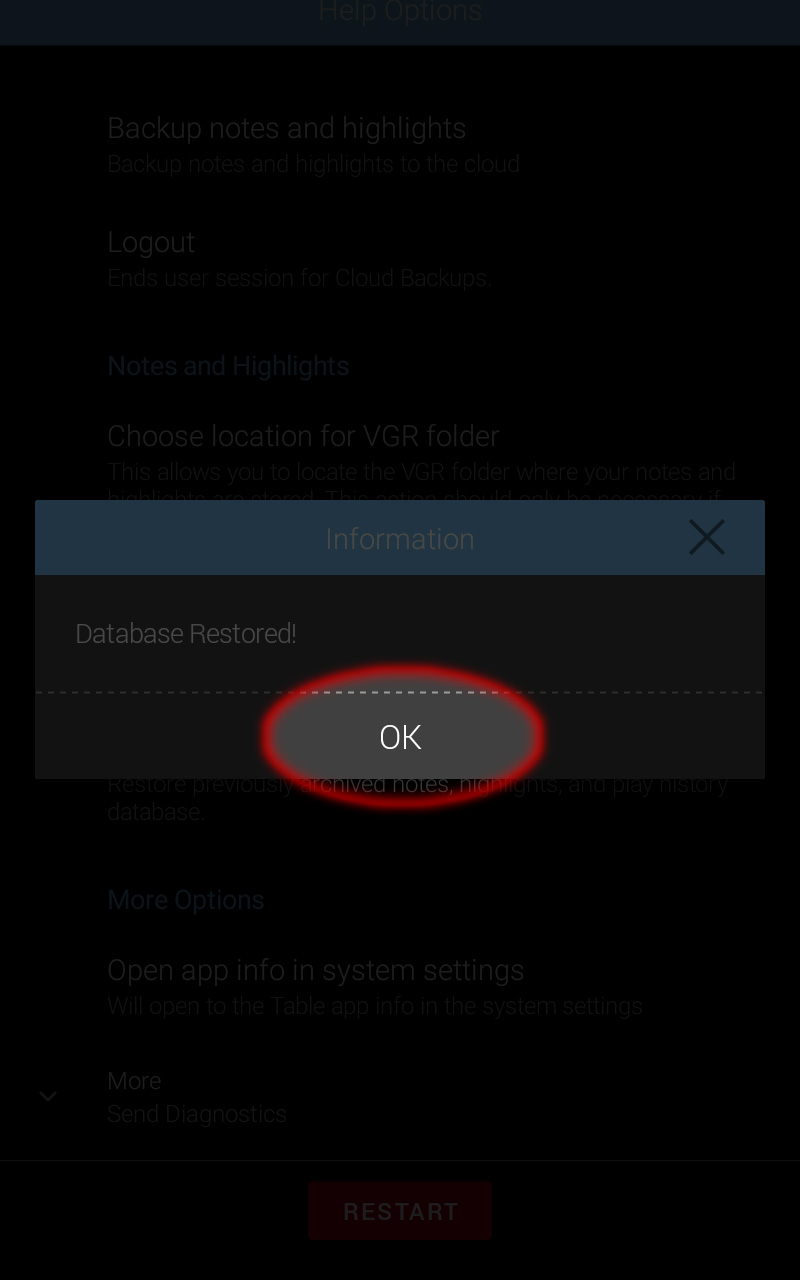
Look at the date and time stamps of the archived files and select one.

A dialog will appear stating the data base has been restored. Select OK.
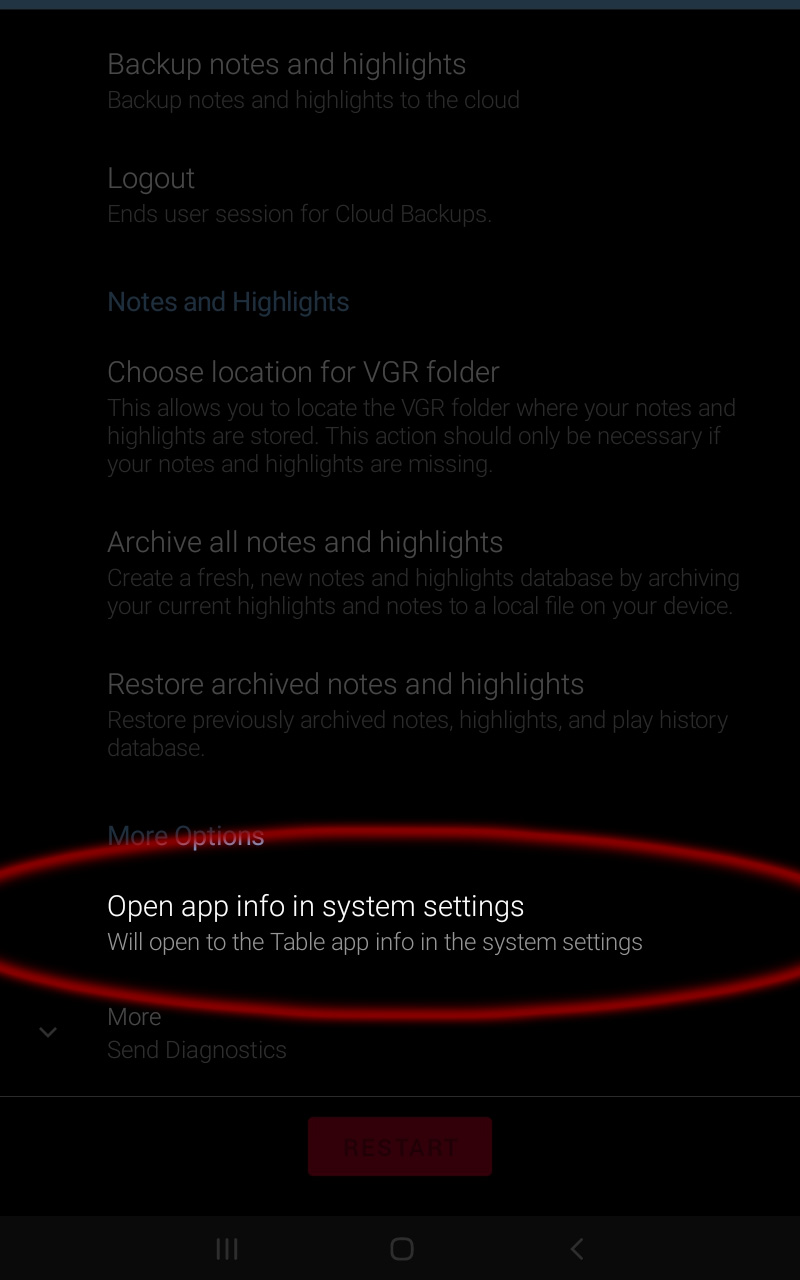
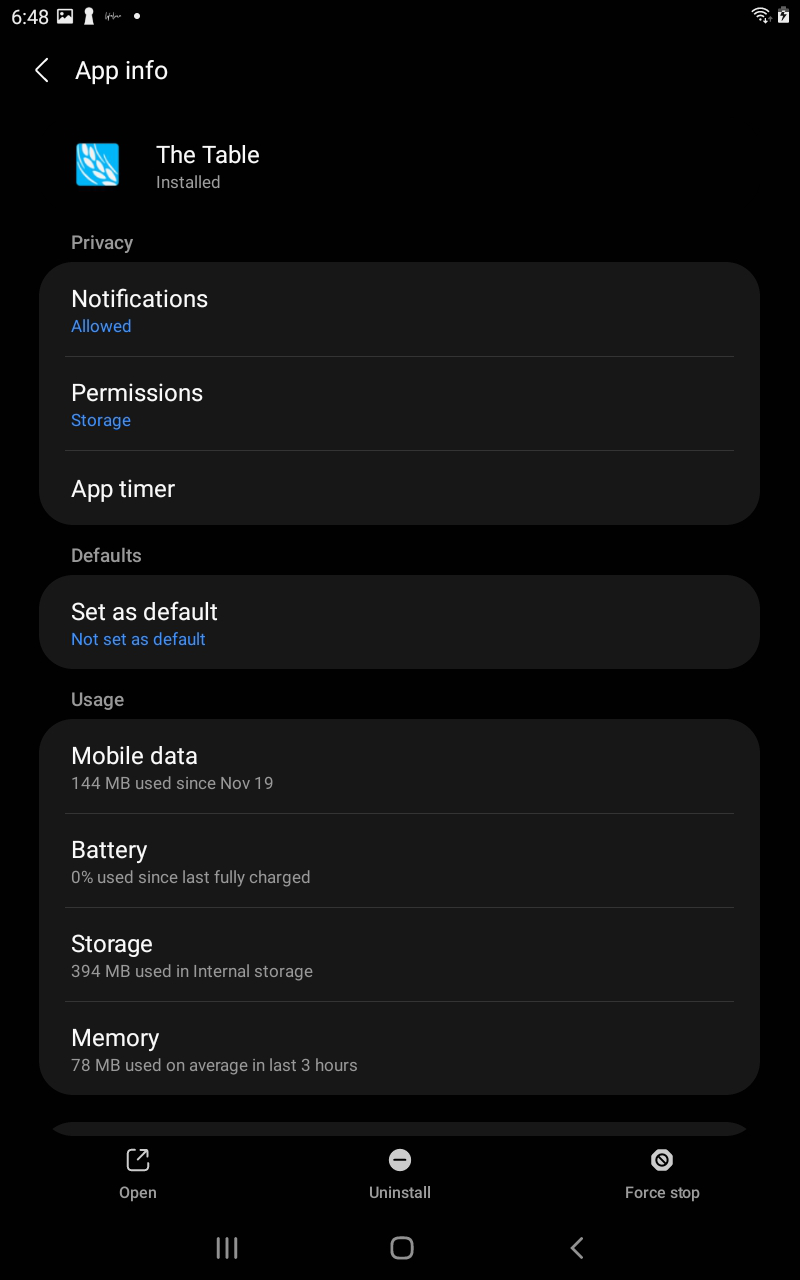
I. Open App Info In System Settings
Will open to the Table app info in the system settings.
Choose this option to view more Table app info in the system settings.
Only alter the settings if you understand their function.
J. Send Diagnostics
Send diagnostic information to help us improve the app for future versions.
Please select this option if you would like to send diagnostic information.
When you are finished making your selections, Restart The Table.
Uninstalling The Table application should fix many application issues.
Warning:
Before uninstalling the application, please login to the Cloud Profile and backup your notes and highlgihts to the VGR server to ensure they are not lost.For more information about The Table Cloud Backups, please see The Table Cloud Backups.
Uninstall:
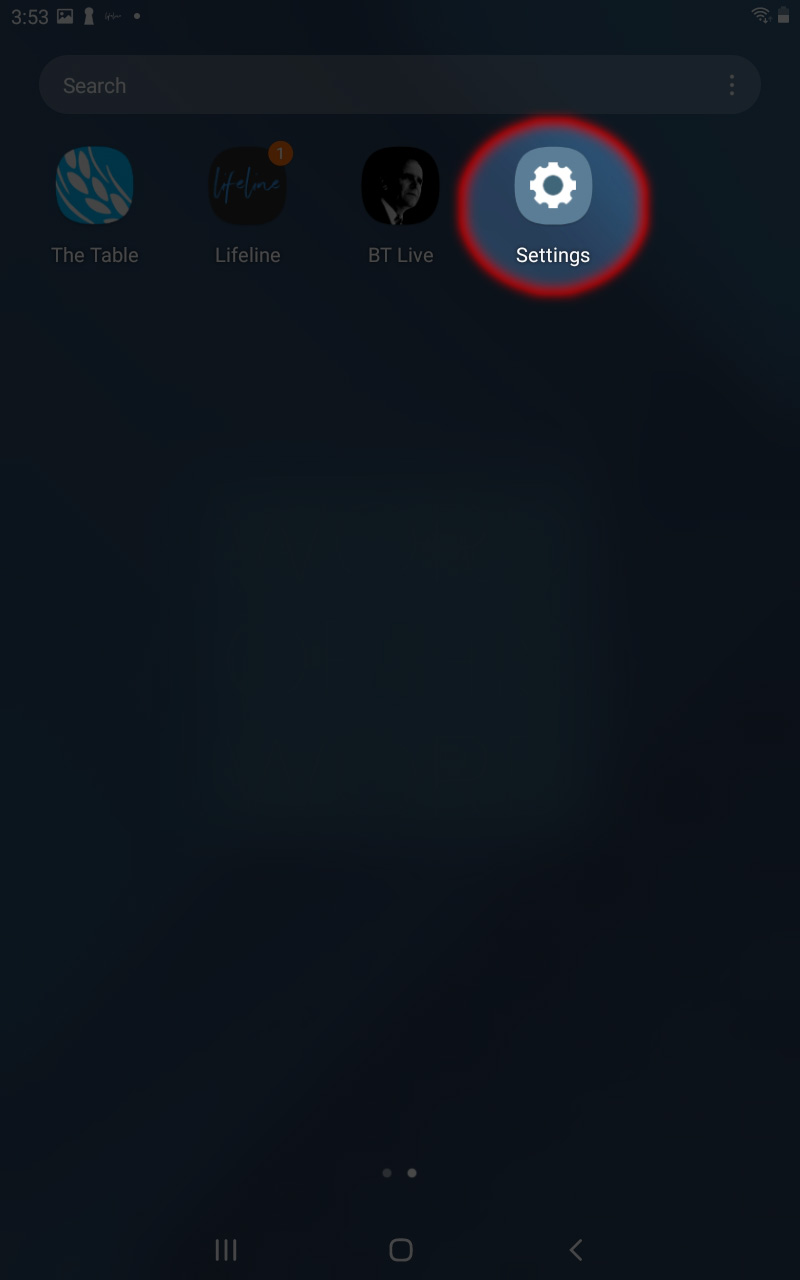
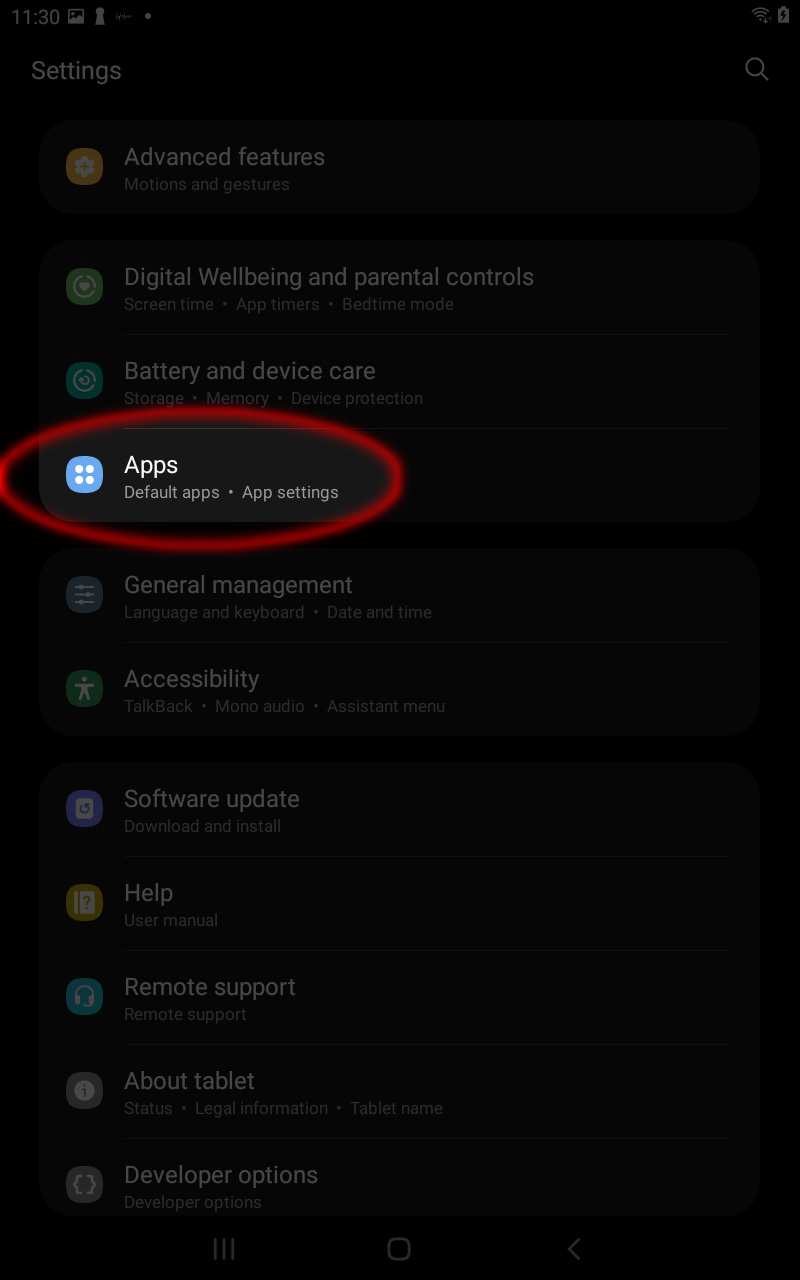
- Open Settings on your device.
- From the list of Settings, please select Apps.
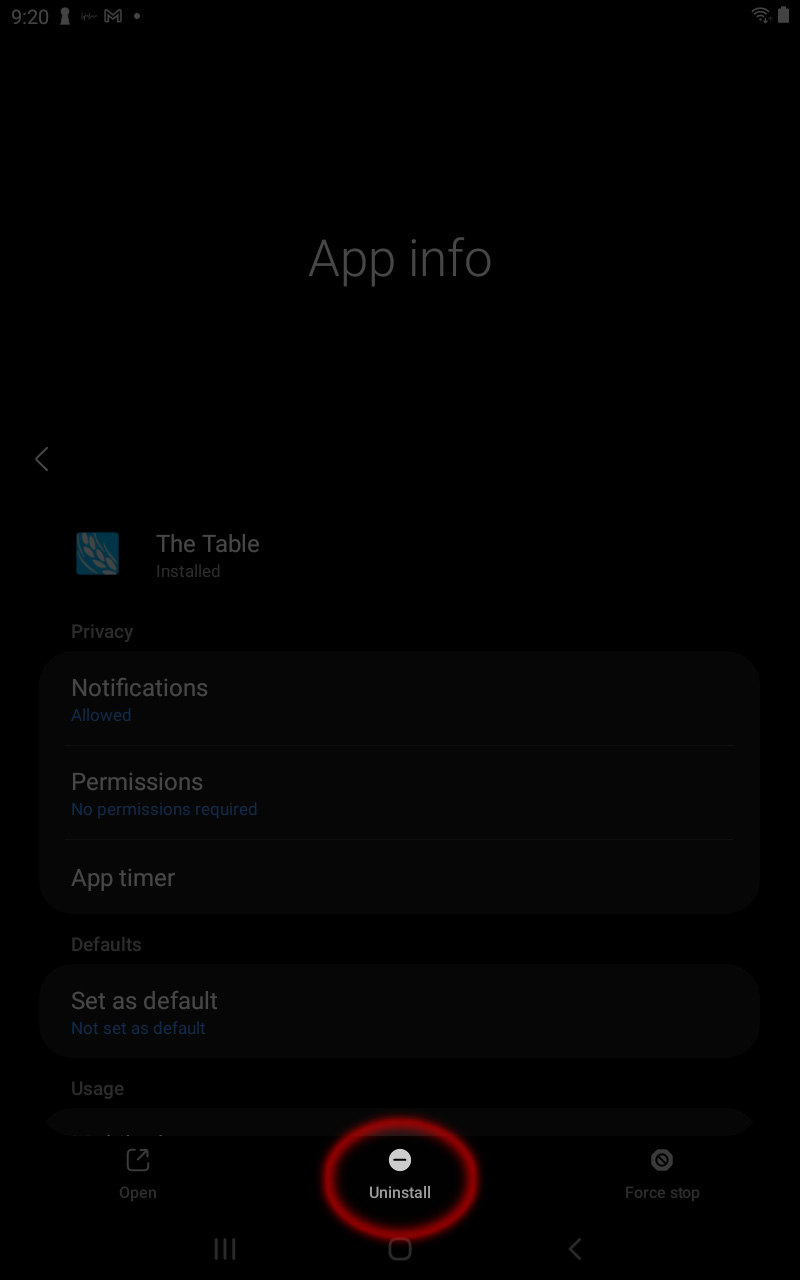
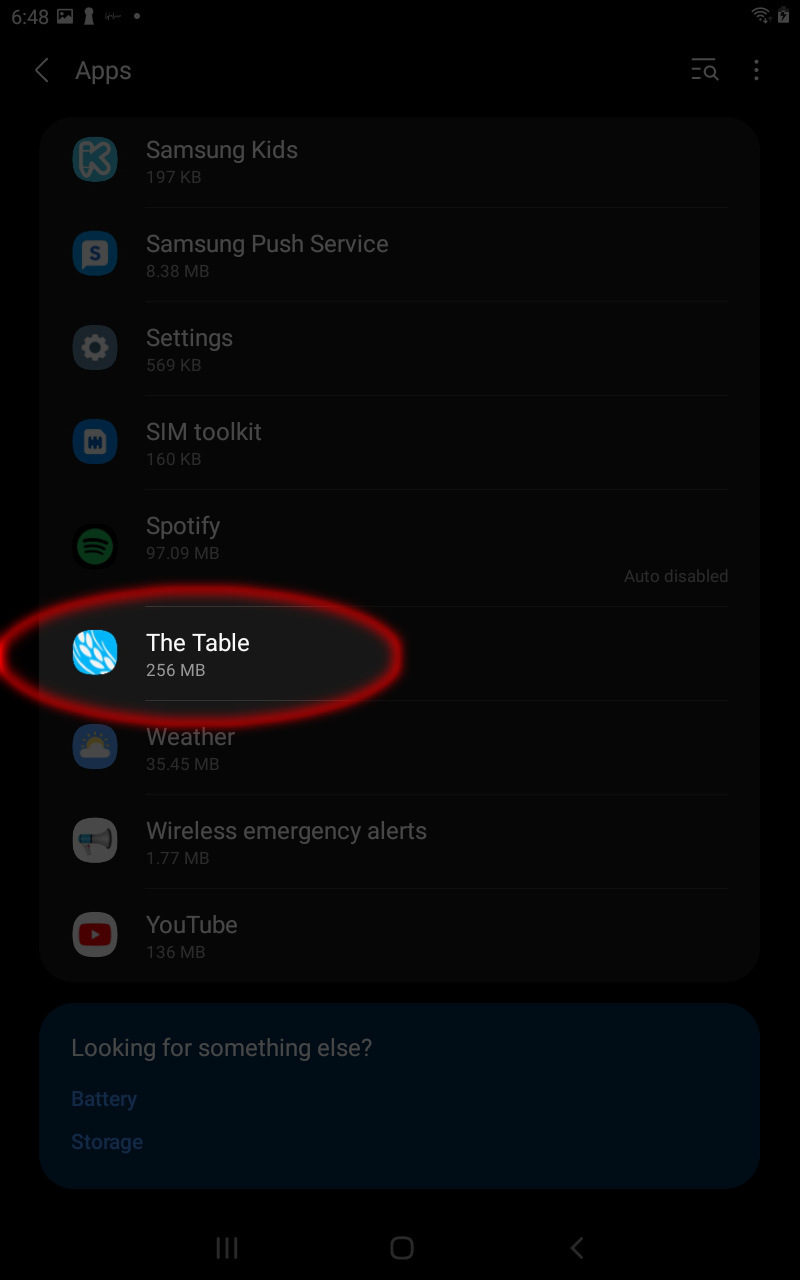
- Select The Table to open the App Info.
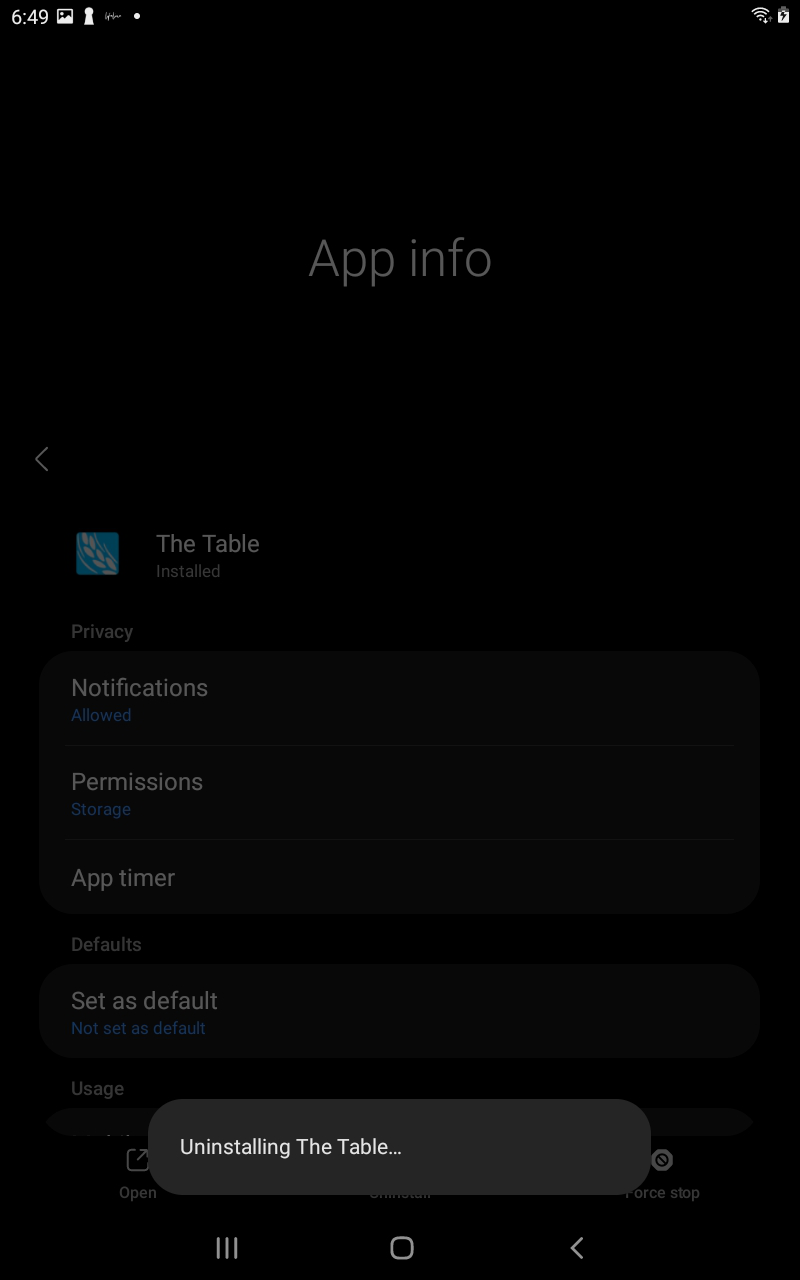
- Select uninstall.
- Confirm you would like to delete all the application data by selecting ok.
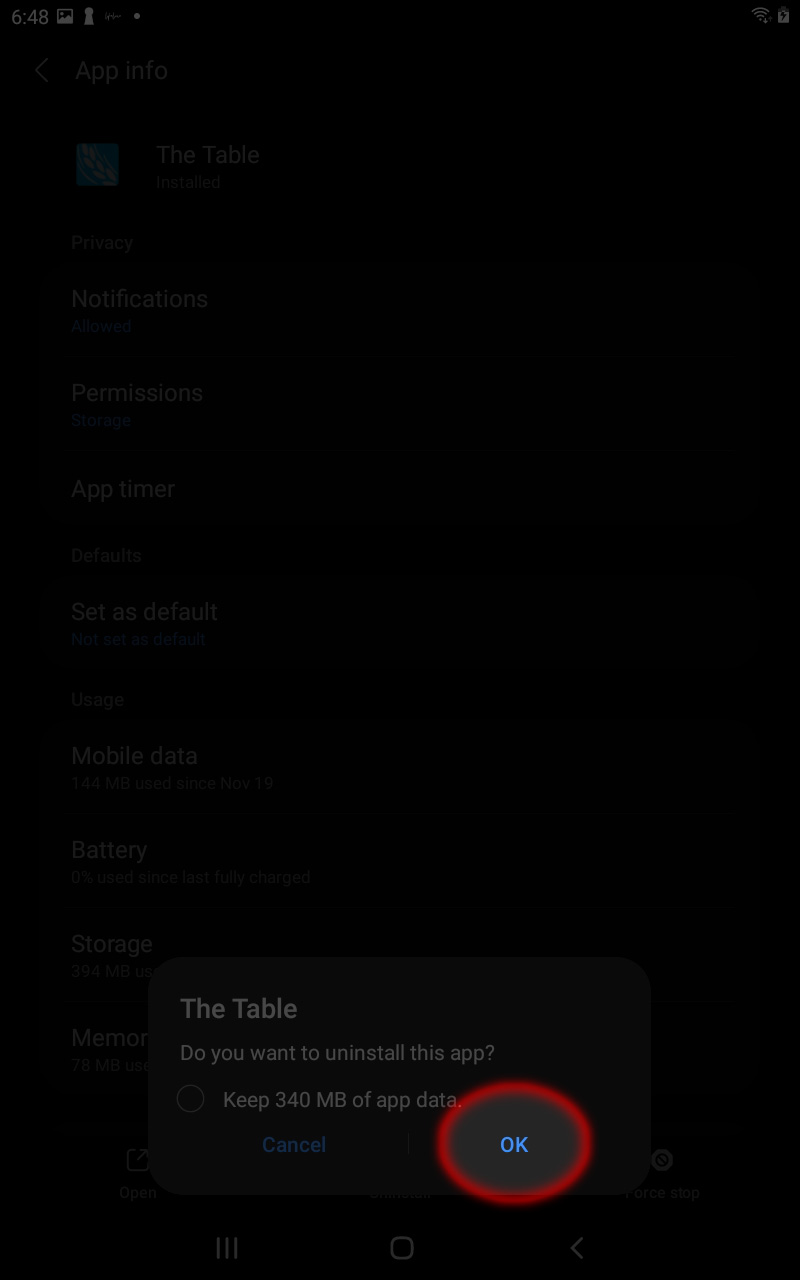
- The Table will uninstall.
Reinstall
The Table Android application may either be reinstalled from the Google Play Store, a Table micro SD card, or if you are using a Kindle Fire, the Amazon Store.
For further instructions, please see:
Installing The Table Android App From The Google Play Store
Installing The Table Android App From The Table Micro SD Card