The Table Guide
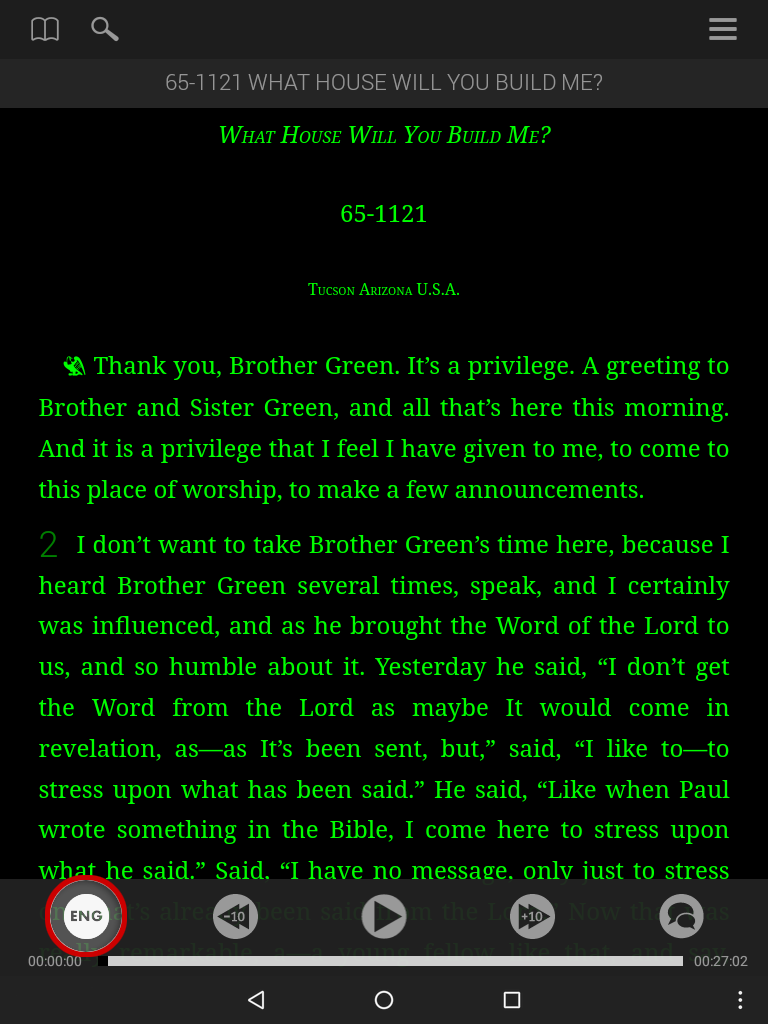
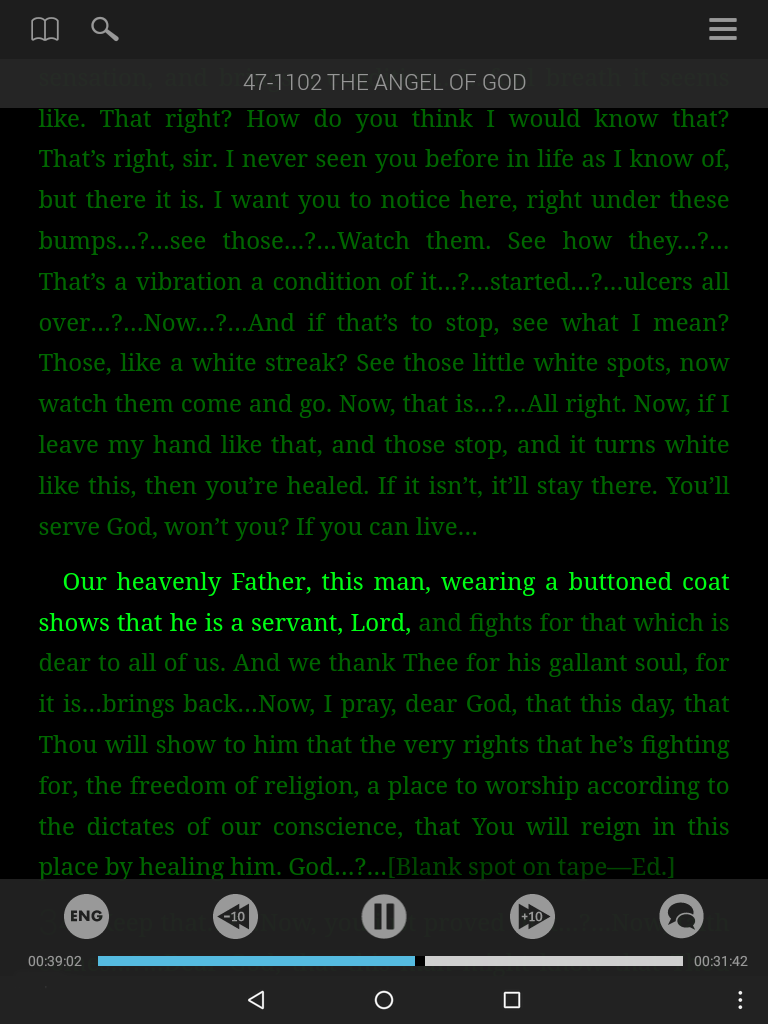
To switch languages, select the language menu icon that appears on the left side of the audio player.
A list of all available languages will appear. Select the one you would like.
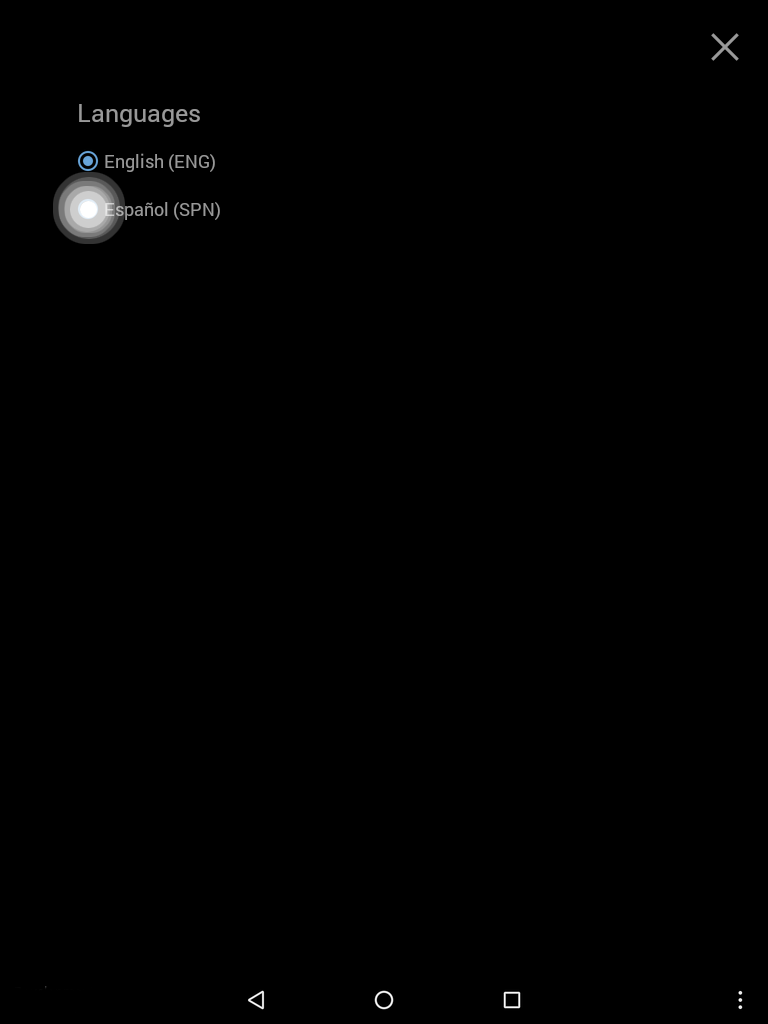
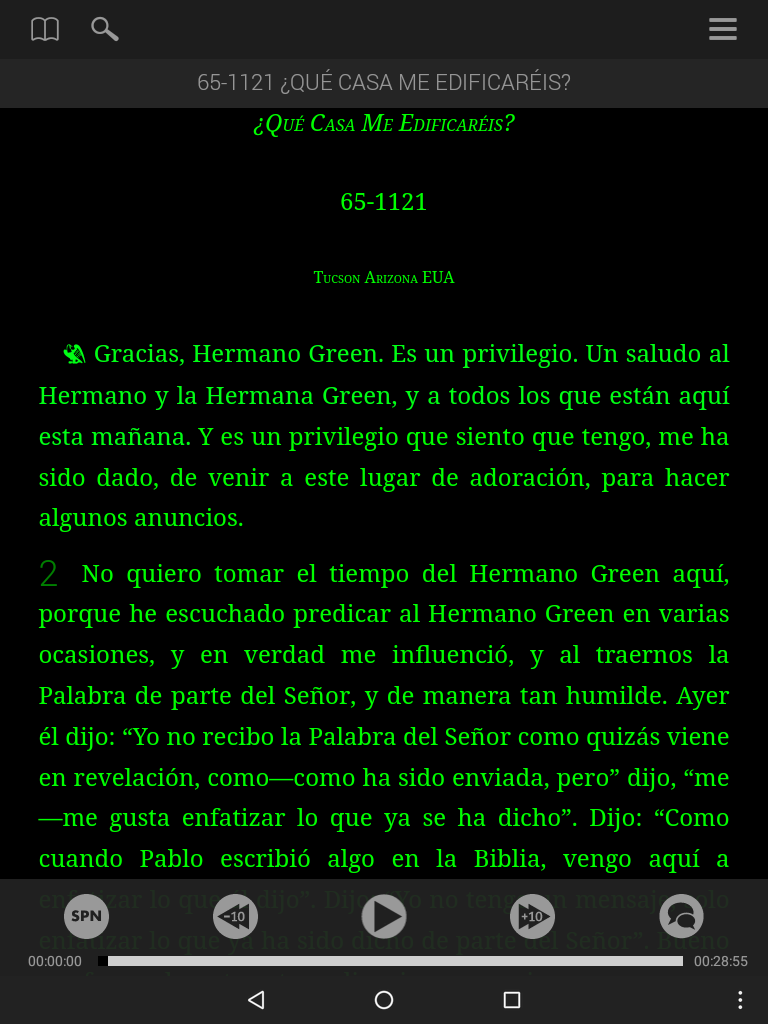
You can now listen to audio translations and read or search text translations in that language.
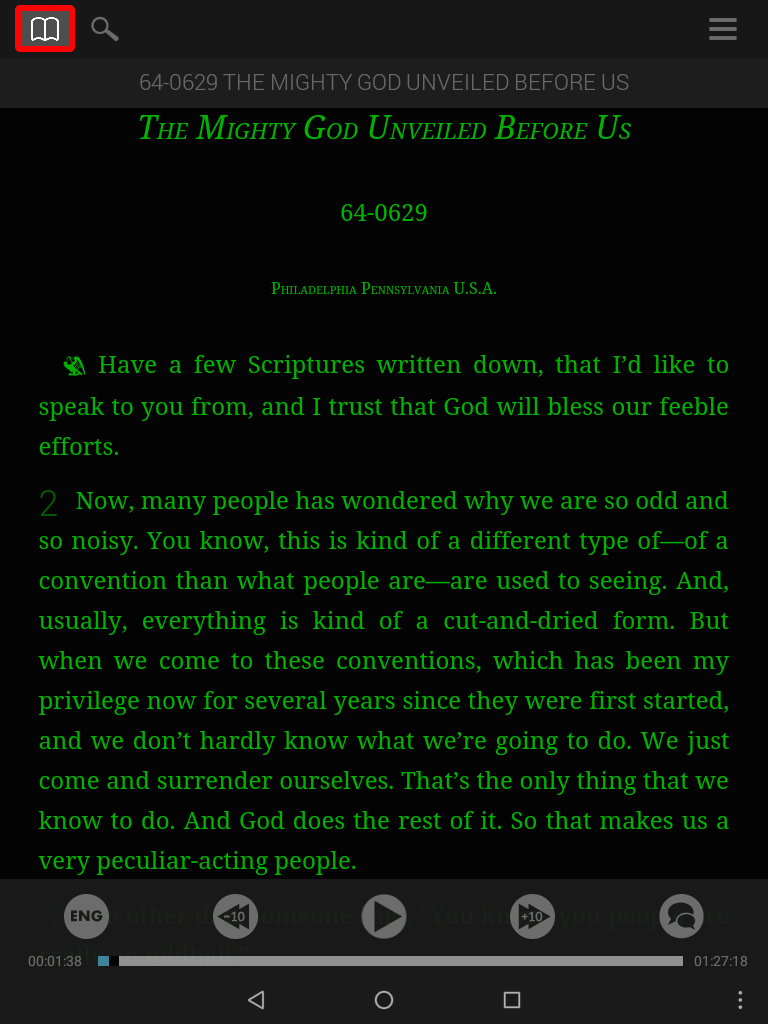
The Sermon Index is designed to help you find a sermon.
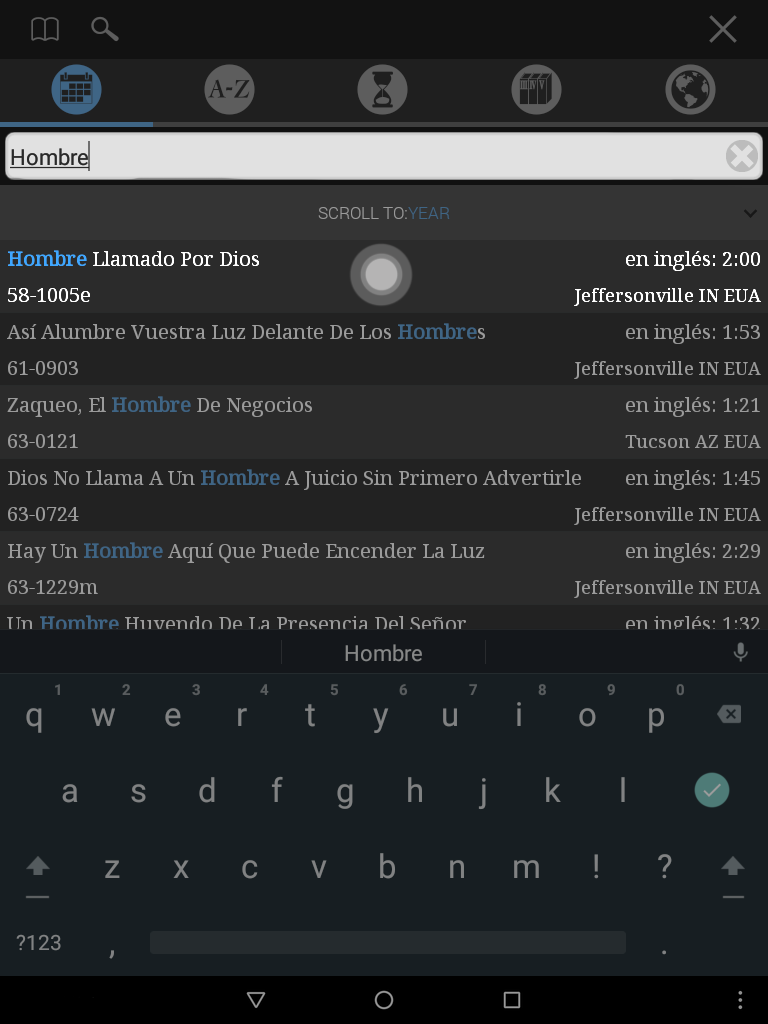
Tap the Sermon Index button at the top, left of the screen to open.
You can search the Sermon Index by sermon date, title or location.
Date Tab
The first tab sorts by the date the sermon was preached.
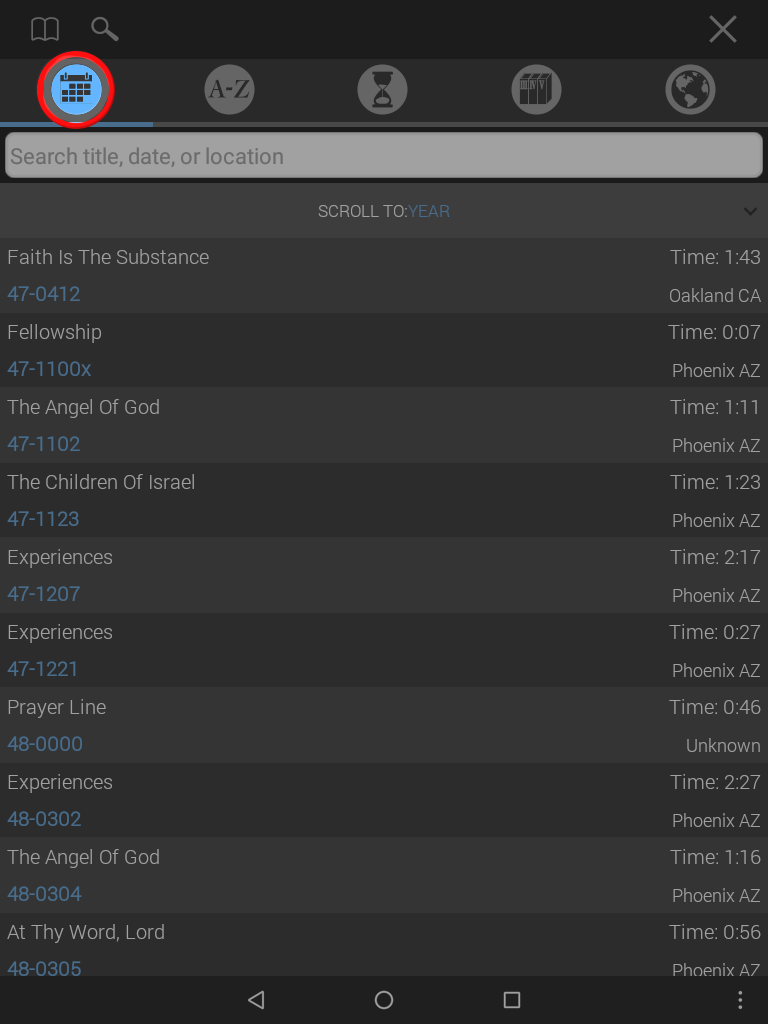
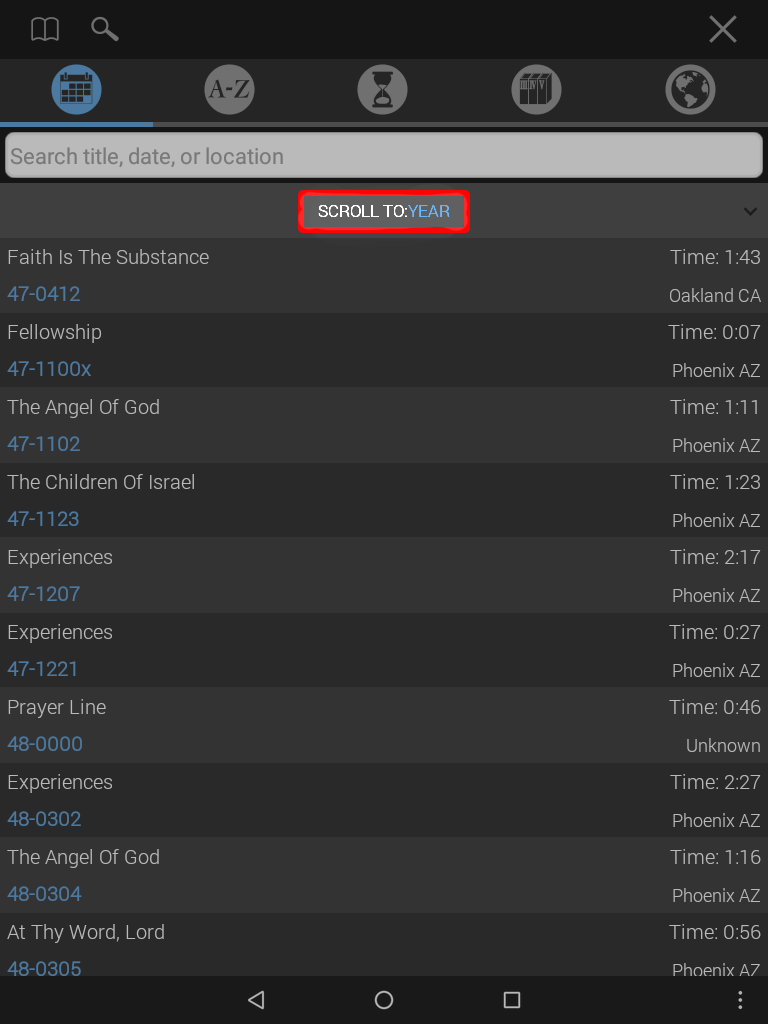
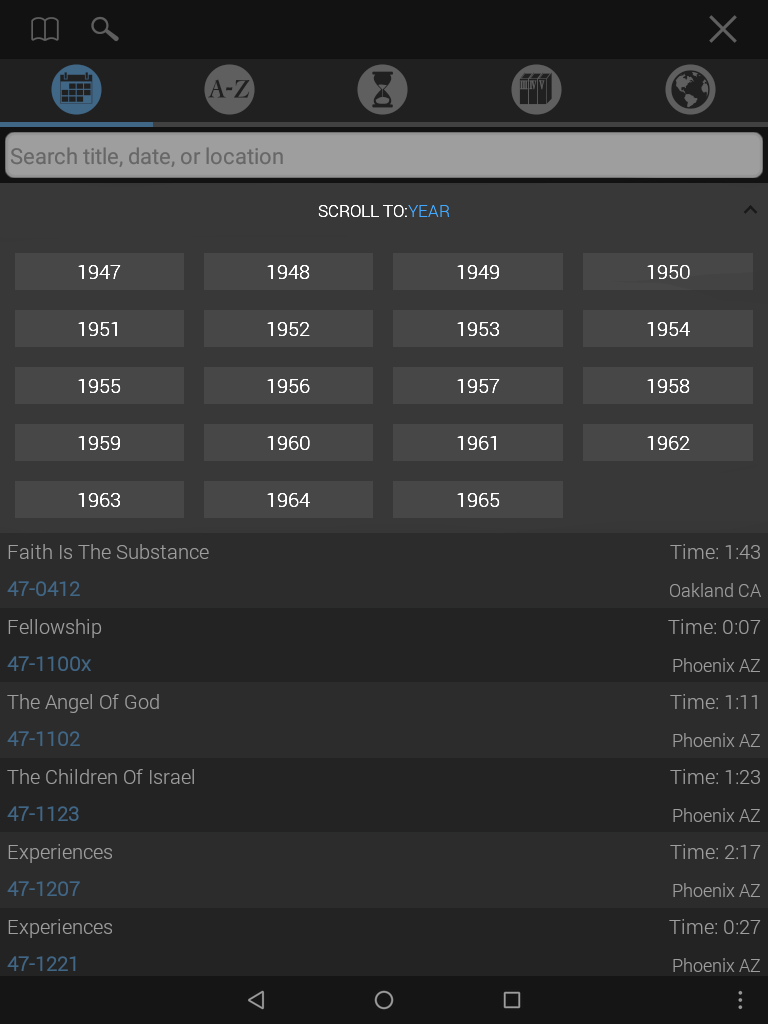
If you would like to skip ahead to a specific year, tap the Scroll To feature above the list of sermons to choose a year.
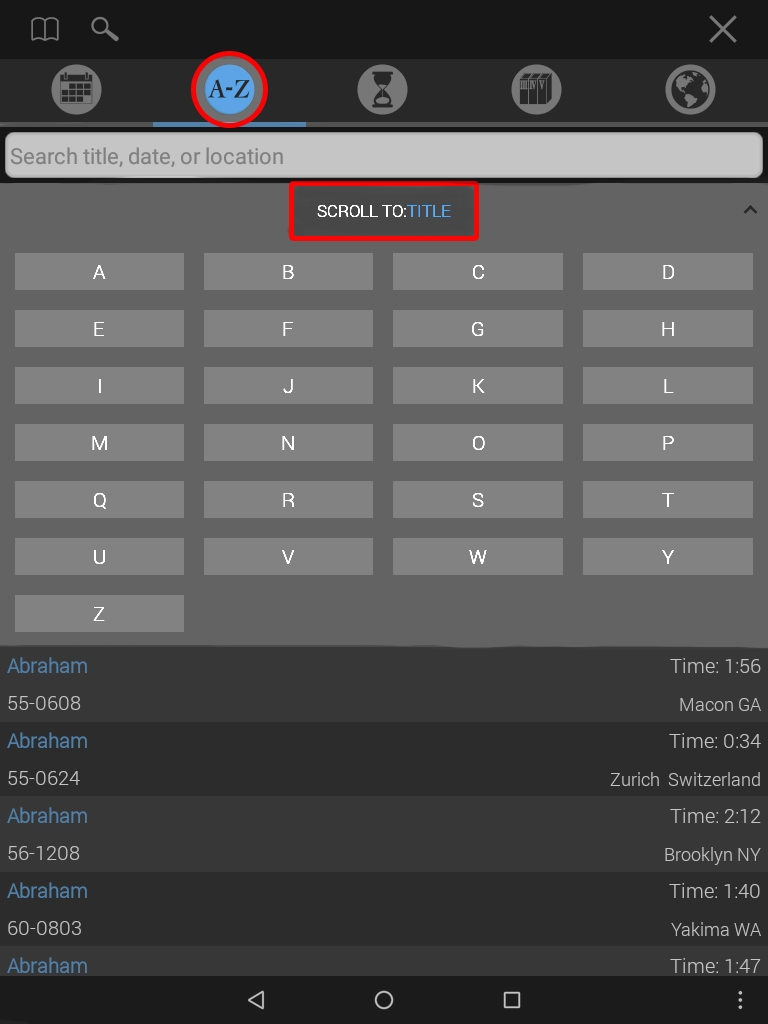
Alphabetical Tab
Selecting the second tab opens the Alphabetical Index where sermons are sorted according to title.
You can search by sermon date, title or location.
Using the Scroll To feature displays sermon titles beginning with a specific letter.
Duration Tab
Touching the third tab sorts by the sermon Duration.
Duration is useful to find a sermon that will play within a certain block of time you have available.
For example: a 45-minute bus ride.
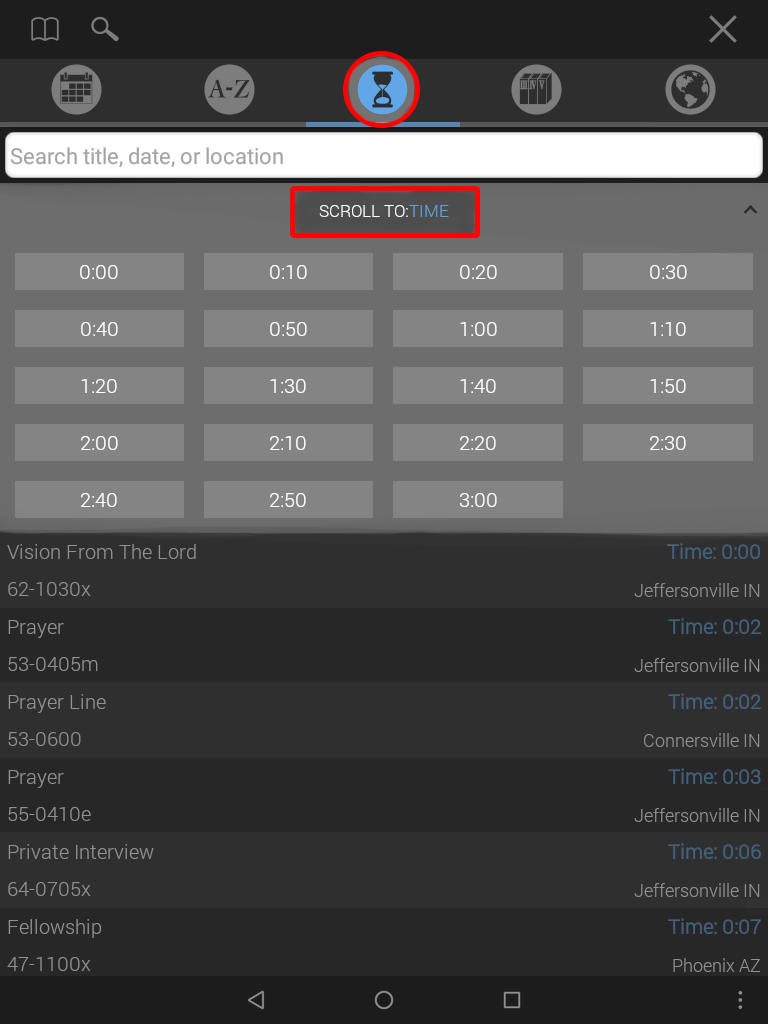
If you would like to skip ahead to a specific length sermon, tap the Scroll To feature above the list of sermons to choose a time.
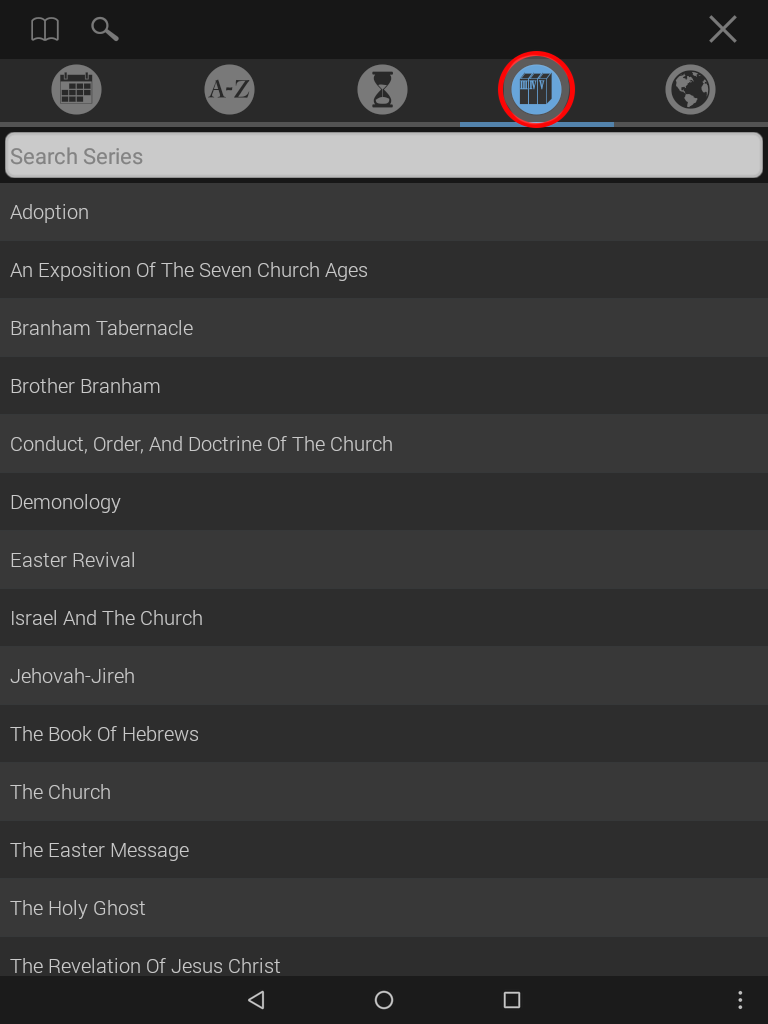
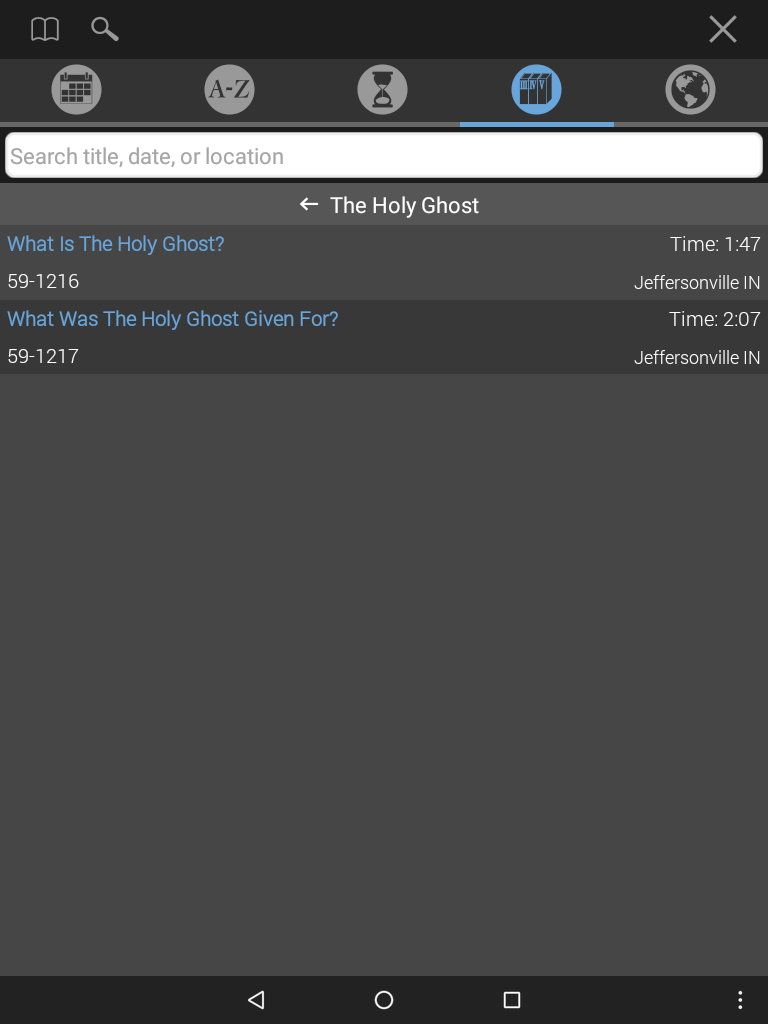
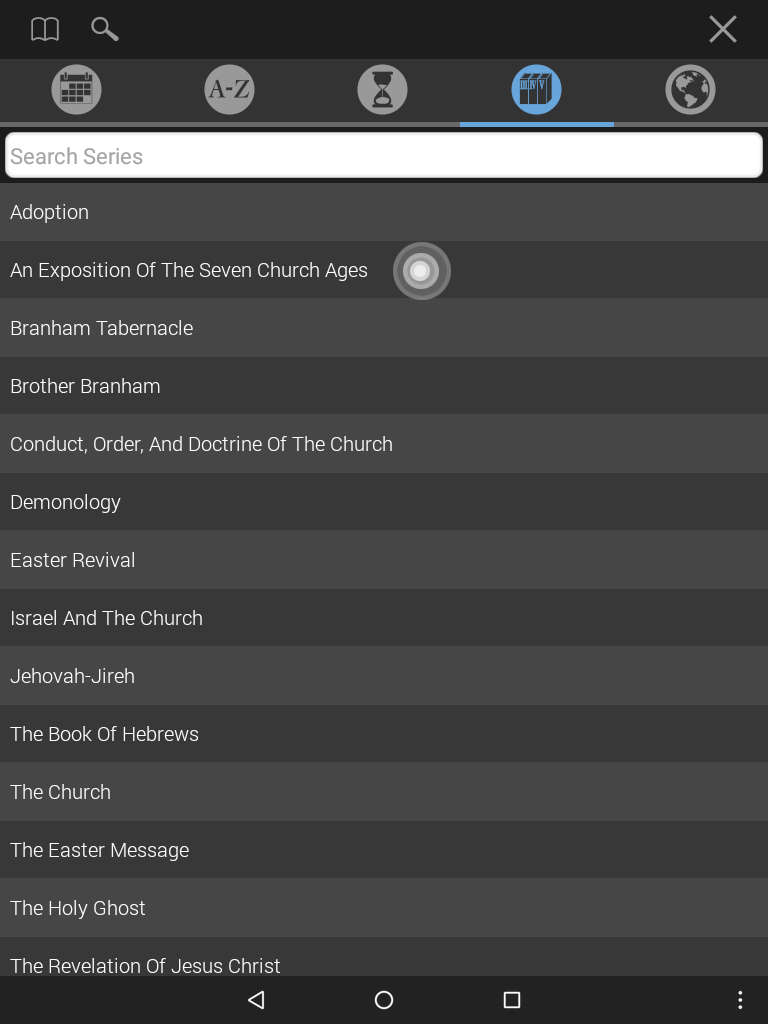
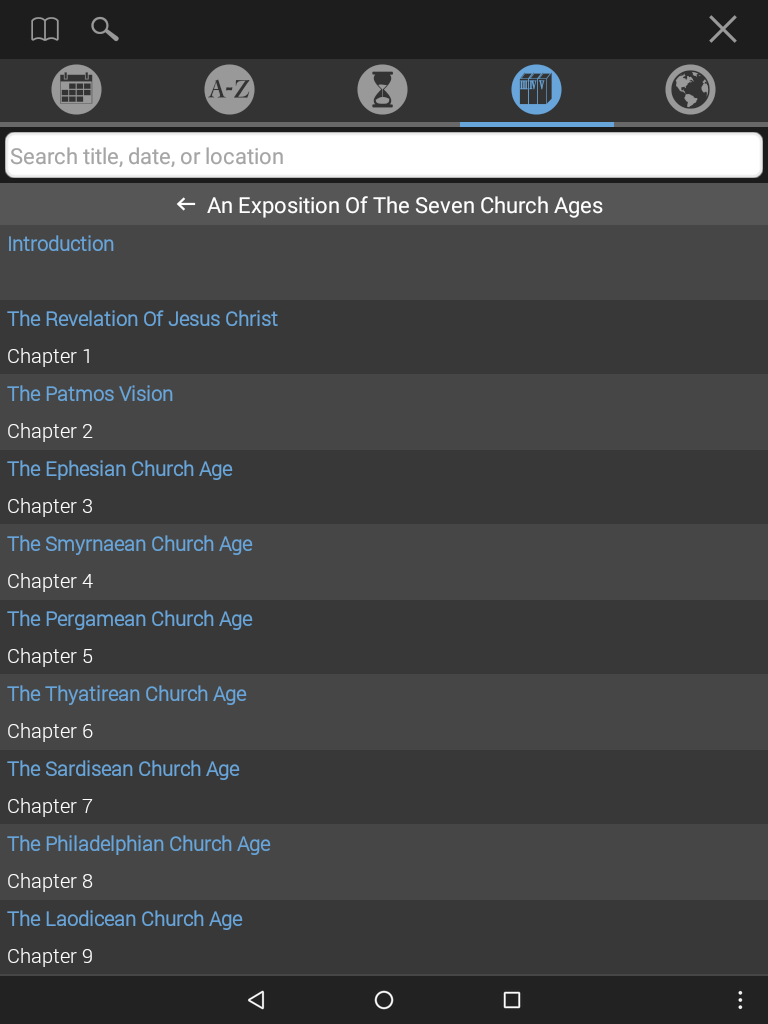
Series Tab
The fourth tab allows you to find a sermon based on series.
Examples: The Seven Seals or Holy Ghost

Location Tab
The last tab allows you to find a sermon based on the location it was preached.
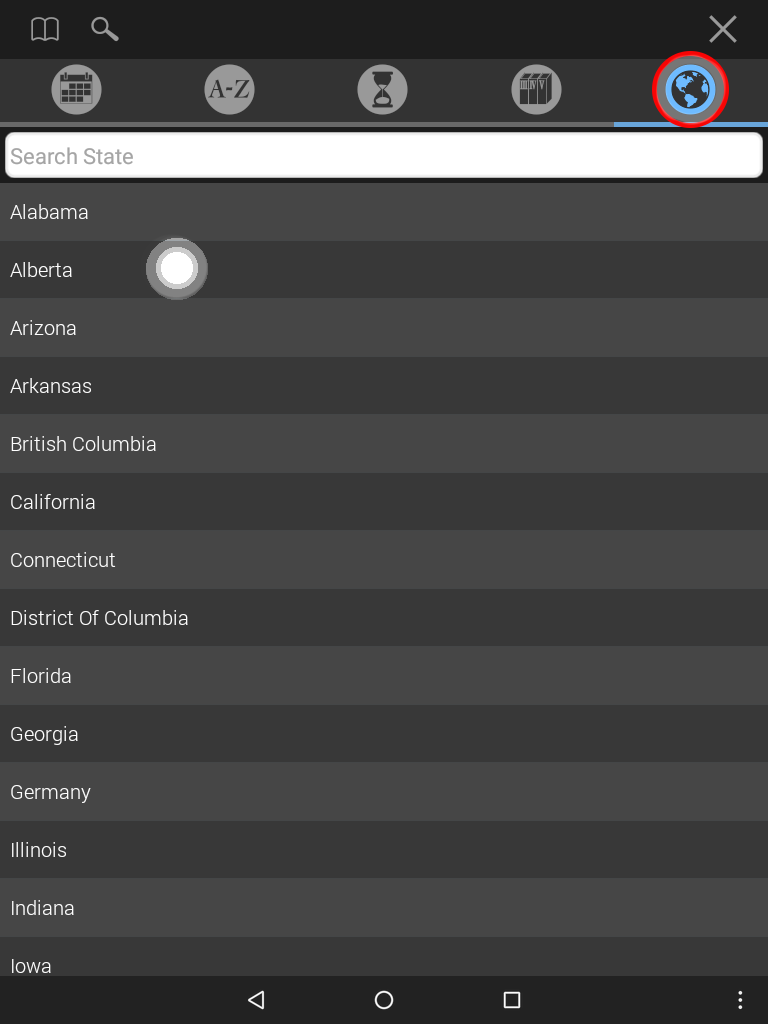
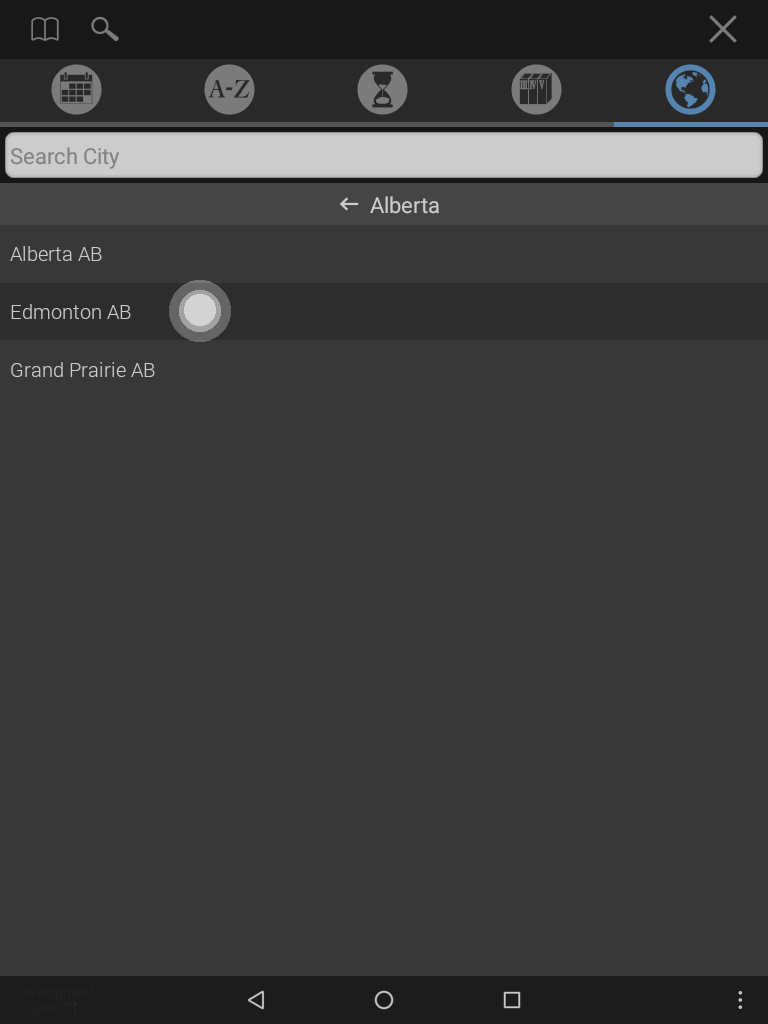
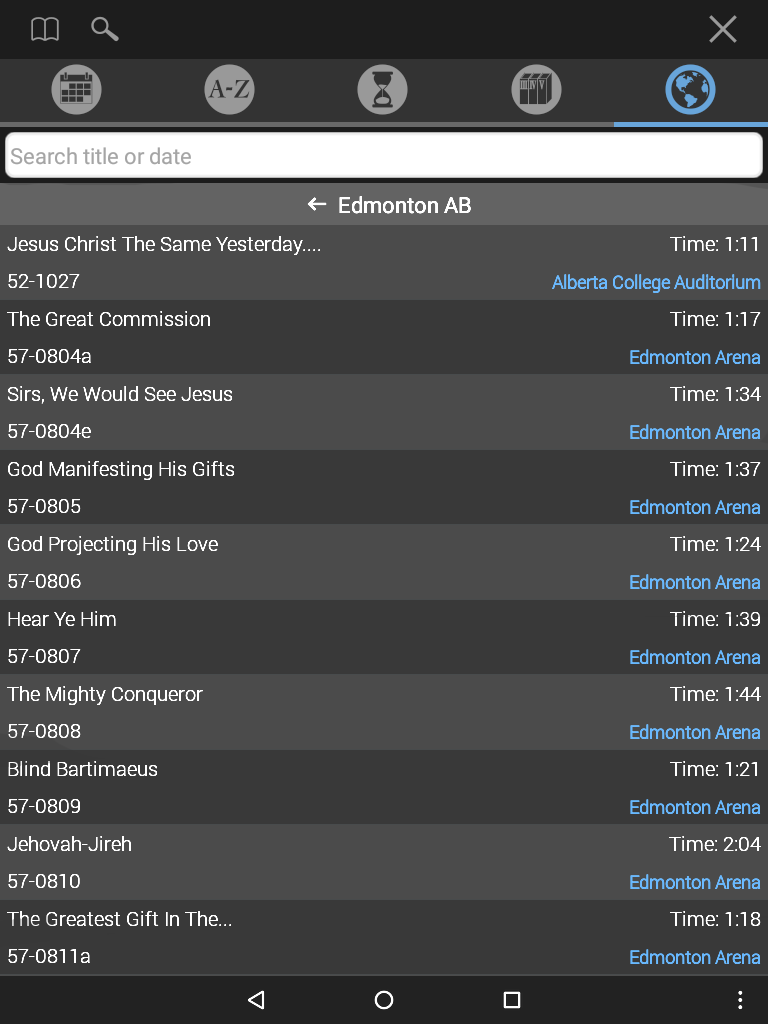
You can drill down from state or country to city.
Once located, tapping on a sermon will load it and return you to the document screen.
- Audio Settings Menu
- Audio Modes
- How To Play Translated Audio
- Switching Audio Formats
- How To Adjust Volume Balance Between Brother Branham And The Translator
Audio Settings Menu
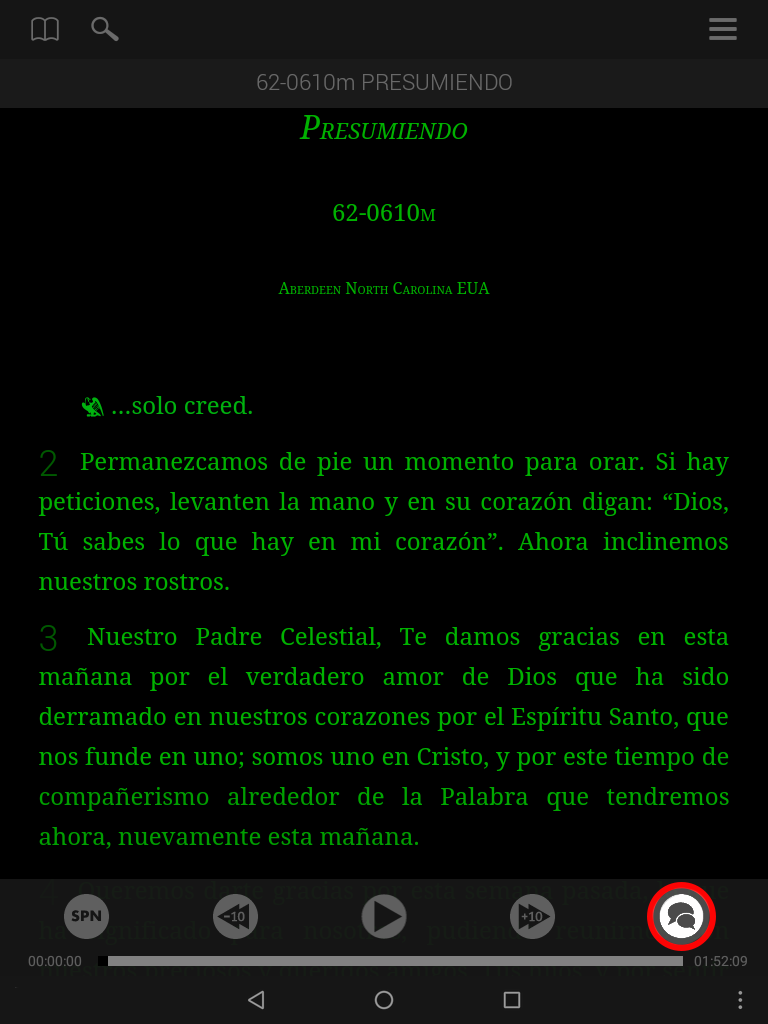
All audio settings for playing translated audio are located under the Audio Settings Menu. This menu is accessed by selecting the Audio Settings icon on the right side of the audio player.
Audio Modes
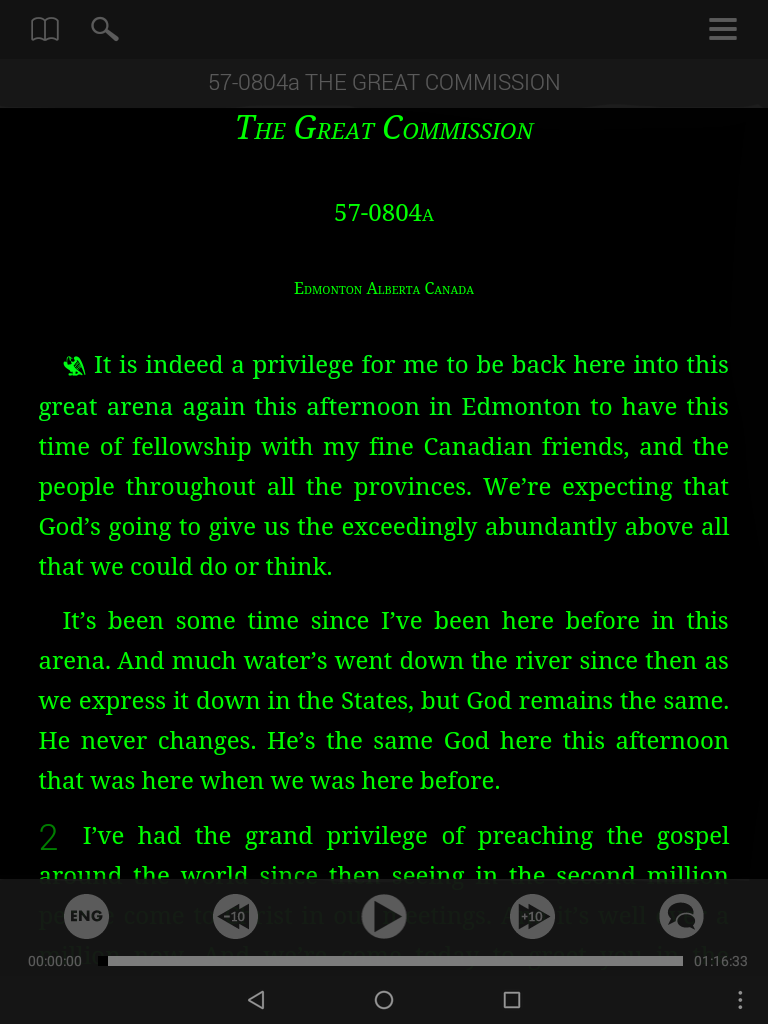
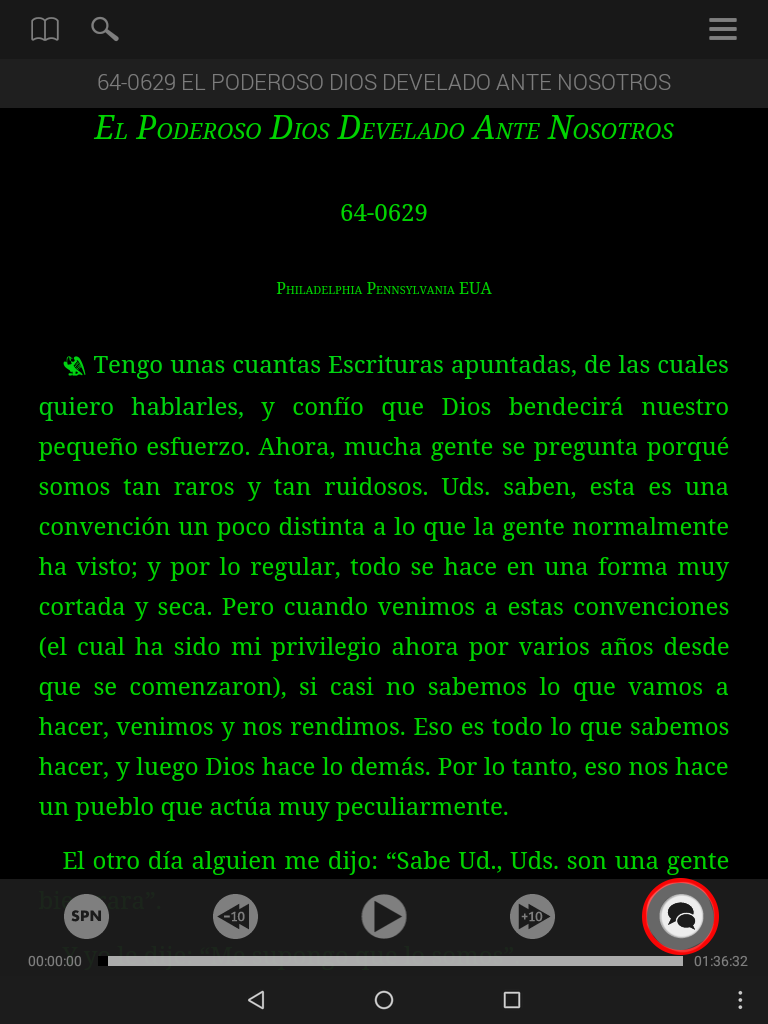
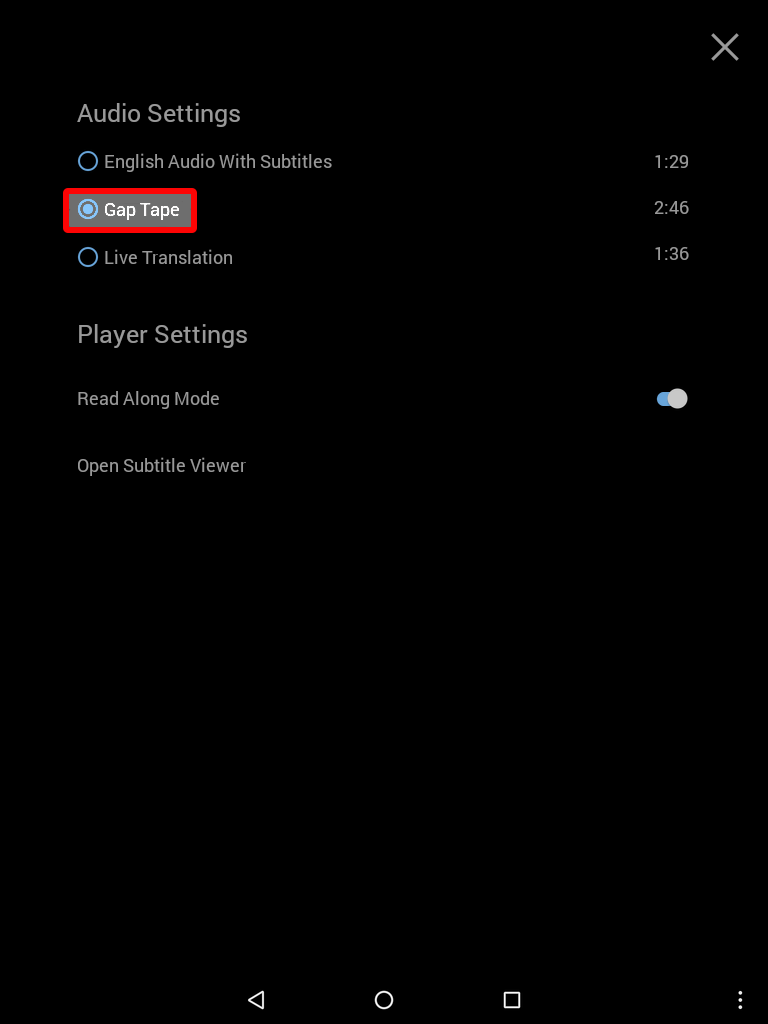
While in a foreign language, there are three audio formats available to choose from: Live Translation, Gap Tape and English Audio With Subtitles.
Live Translation
Live Translation allows Brother Branham and the translator to play simultaneously. There is no pause between Brother Branham and the translator. They both play at the same time.
Gap Tape
In Gap Tape mode, you will hear Brother Branham followed by a translator. When Brother Branham is finished speaking, the English audio will pause until the translator is finished speaking. When the translator is finished, Brother Branham will start speaking again.
English Audio With Subtitles
English audio with subtitles allows the English audio to play while the translated subtitles scroll along. A translator is not heard.

How To play translated audio
- Select a sermon from the Sermon Index to open.
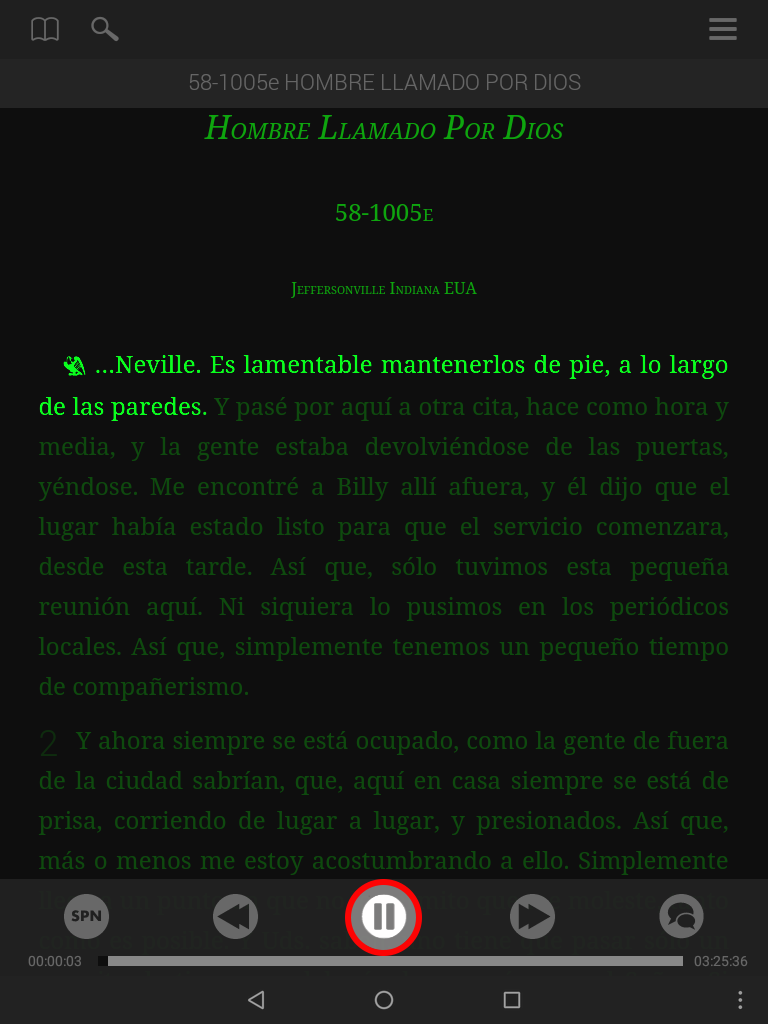
- Press play to begin playing.
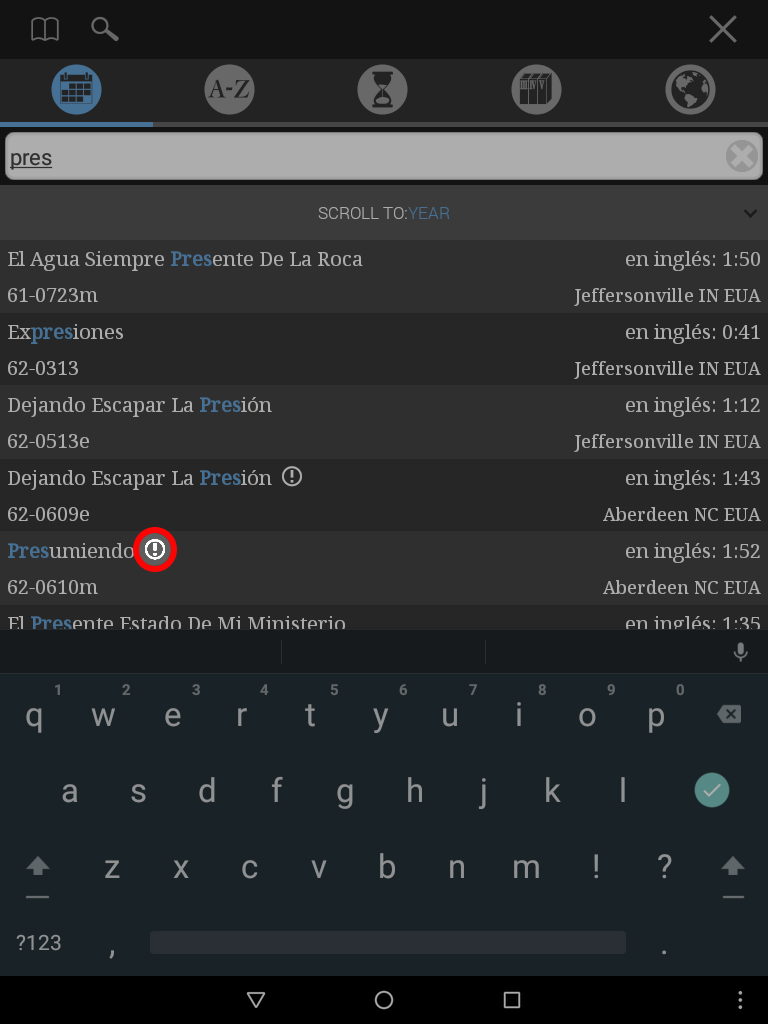
A Missing content symbol will appear next to the sermon title in the Sermon Index to notify the user something is missing. It may be translated audio or subtitles.
If there is no missing content symbol next to the title of the sermon in the Sermon Index, it should have translated audio available to play. If there is a missing content symbol next to the title, it does not necessarily mean it is missing translated audio. It may be missing subtitles instead. Open the sermon to find out.
The audio format will default to English Audio With Subtitles if there is no translated audio available to play.
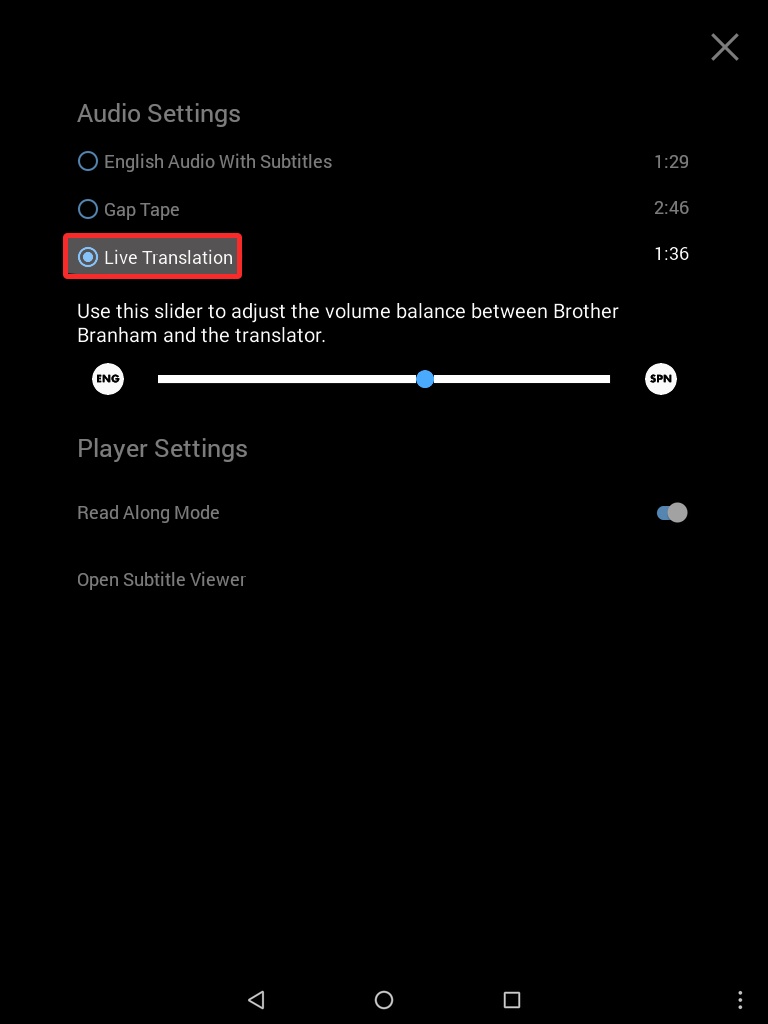
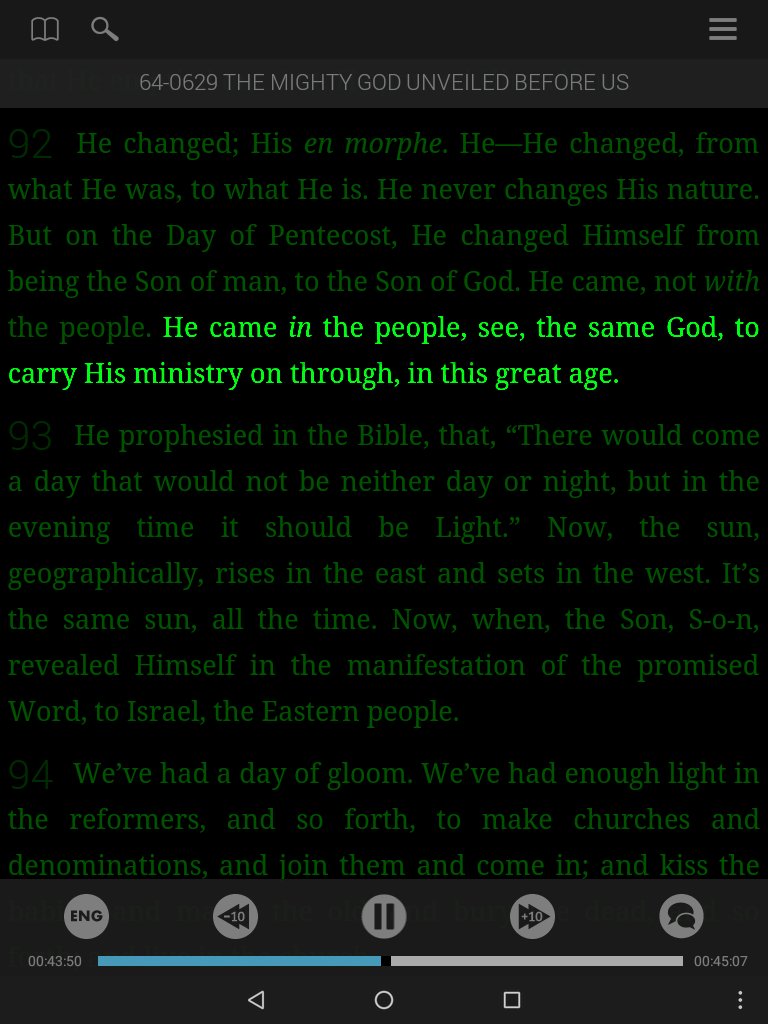
Switching Audio Formats
The Audio Format options are located under the Audio Settings menu.
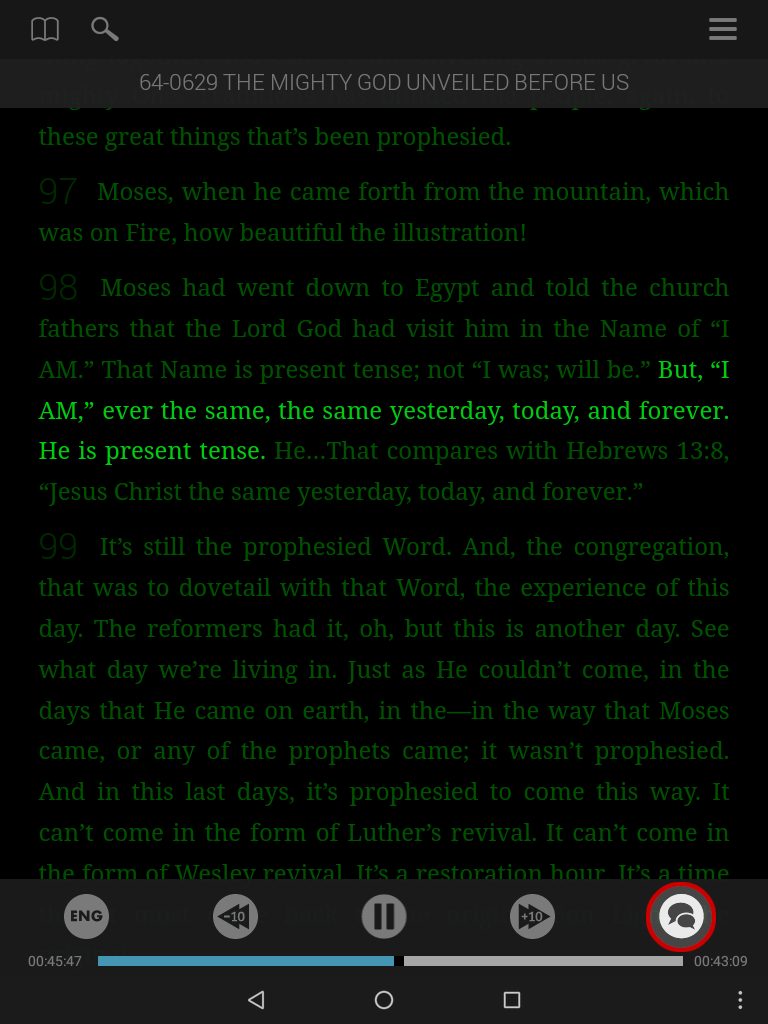
- Locate the audio player. If you are in full screen mode, you may need to scroll down.
- You will see the Audio Settings symbol to the right of the audio player controls.
- Tap the icon to view your options.
- Select one of the three audio format options: Live Translation, Gap Tape, or English Audio With Subtitles.
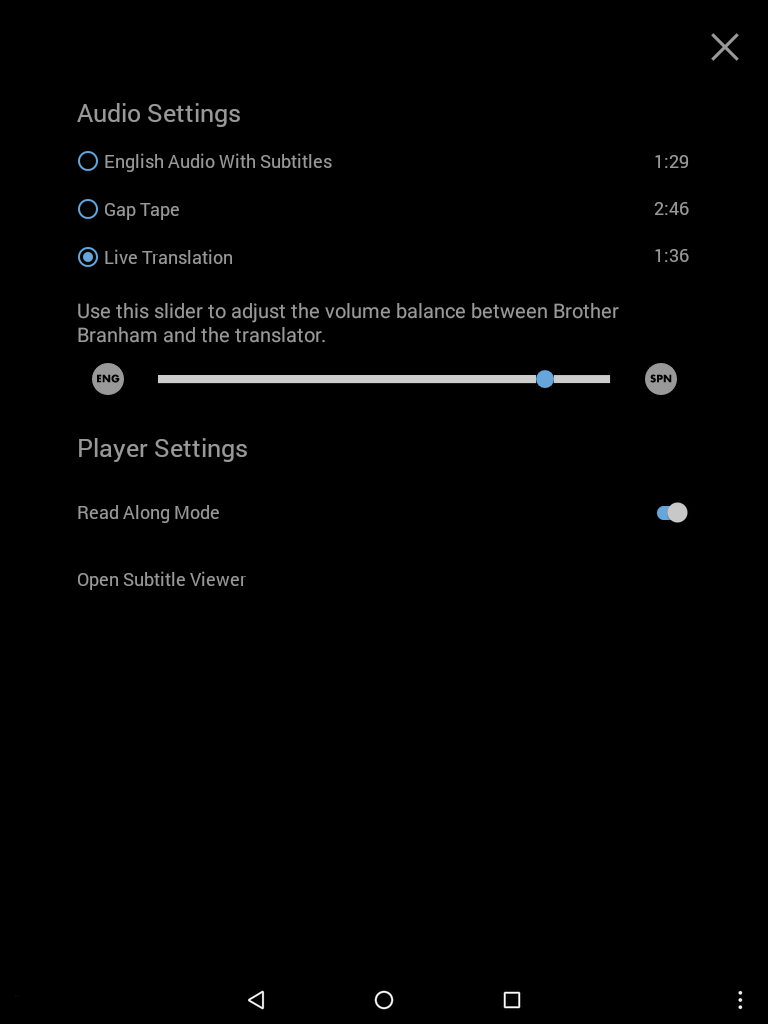
How To Adjust Volume Balance Between Brother Branham And The Translator
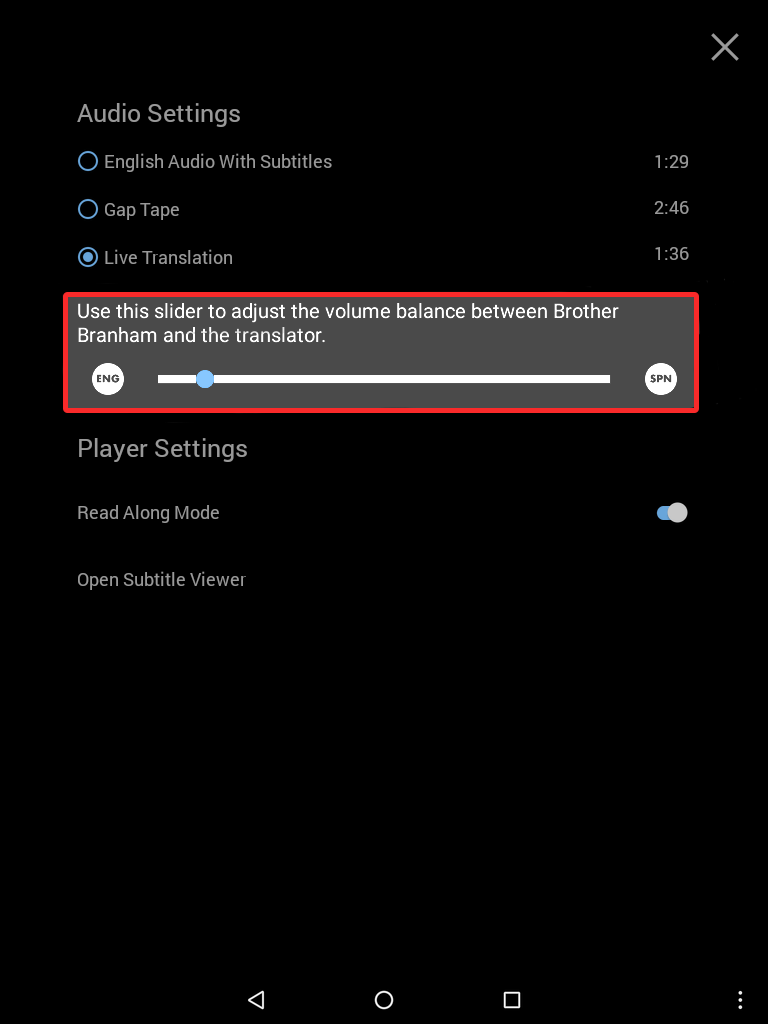
- Select the audio settings icon to open the audio settings.
Once in the Audio Settings, you will see slider bar that can be used to adjust the volume balance between Brother Branham and the translator.
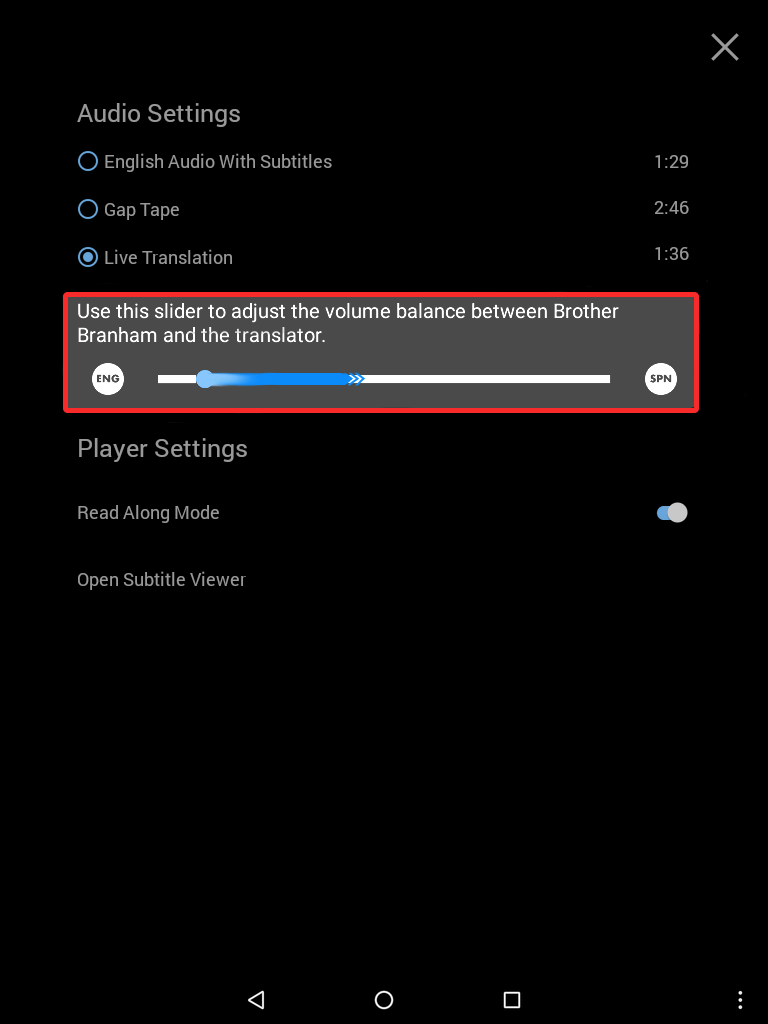
As the slider moves further to the right, the translator will become louder and Brother Branham will become softer.
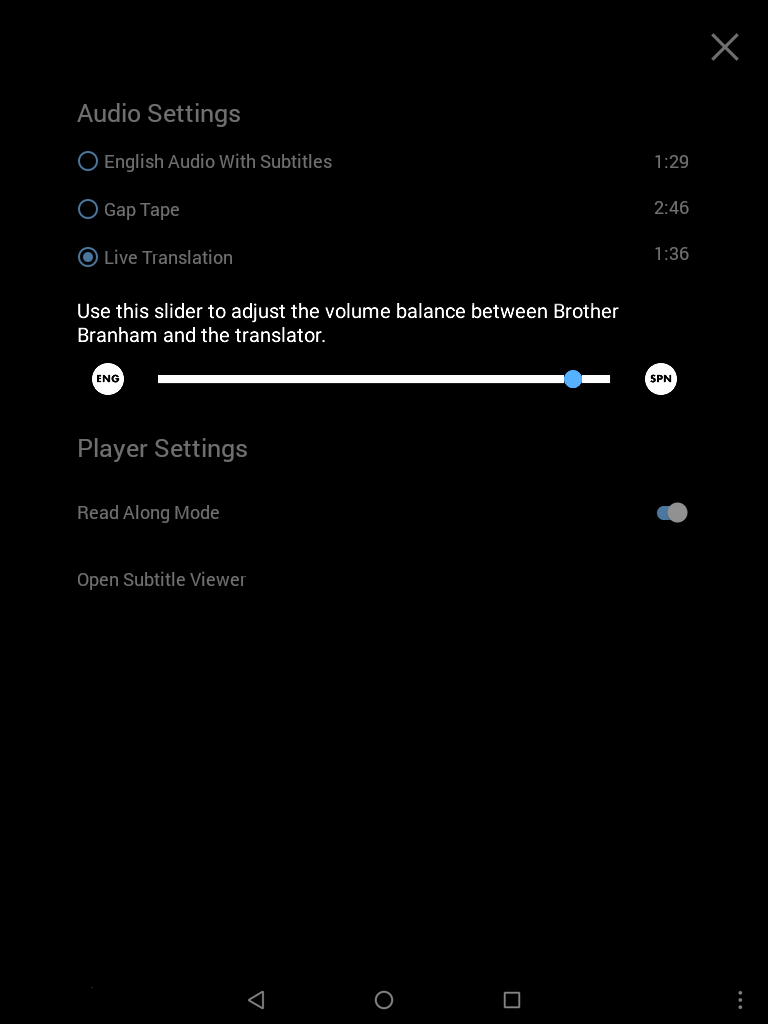
As the slider moves further to the left, Brother Branham will become louder while the translator becomes softer.
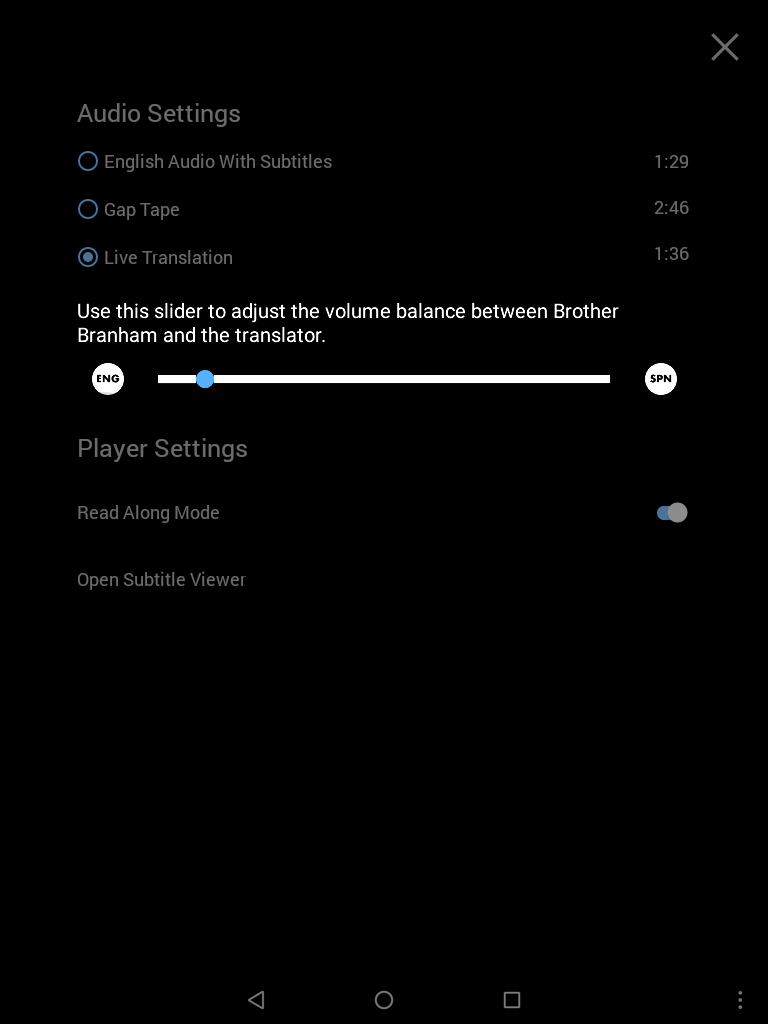
- When you have finished adjusting the balance, select the x to close.

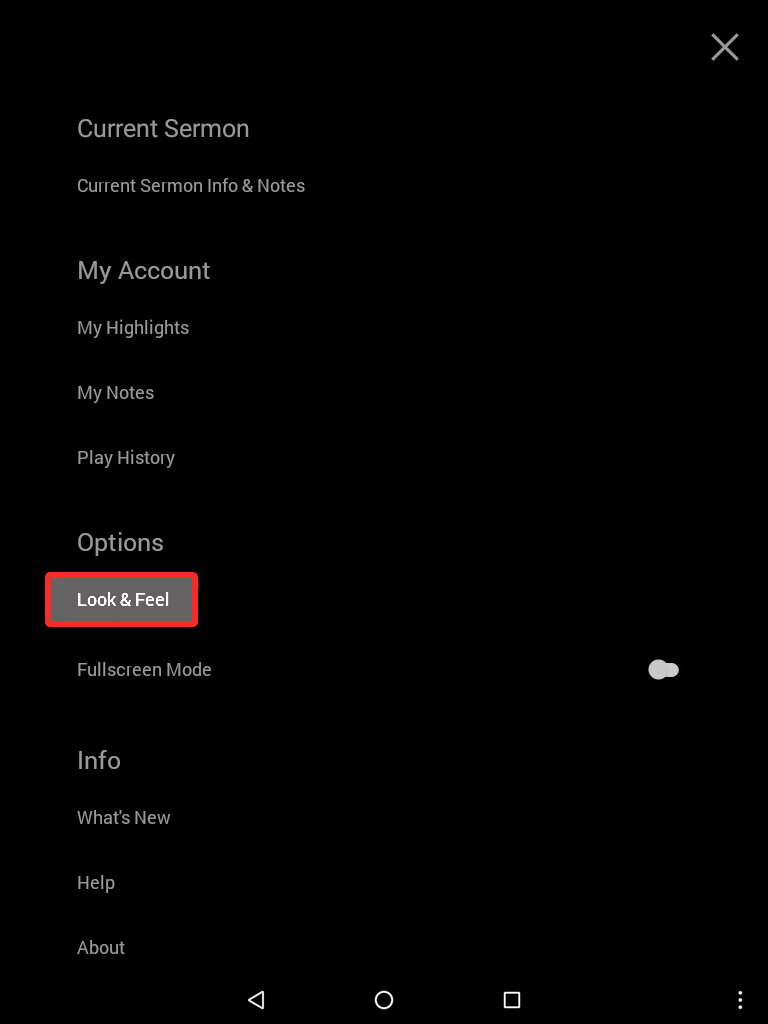
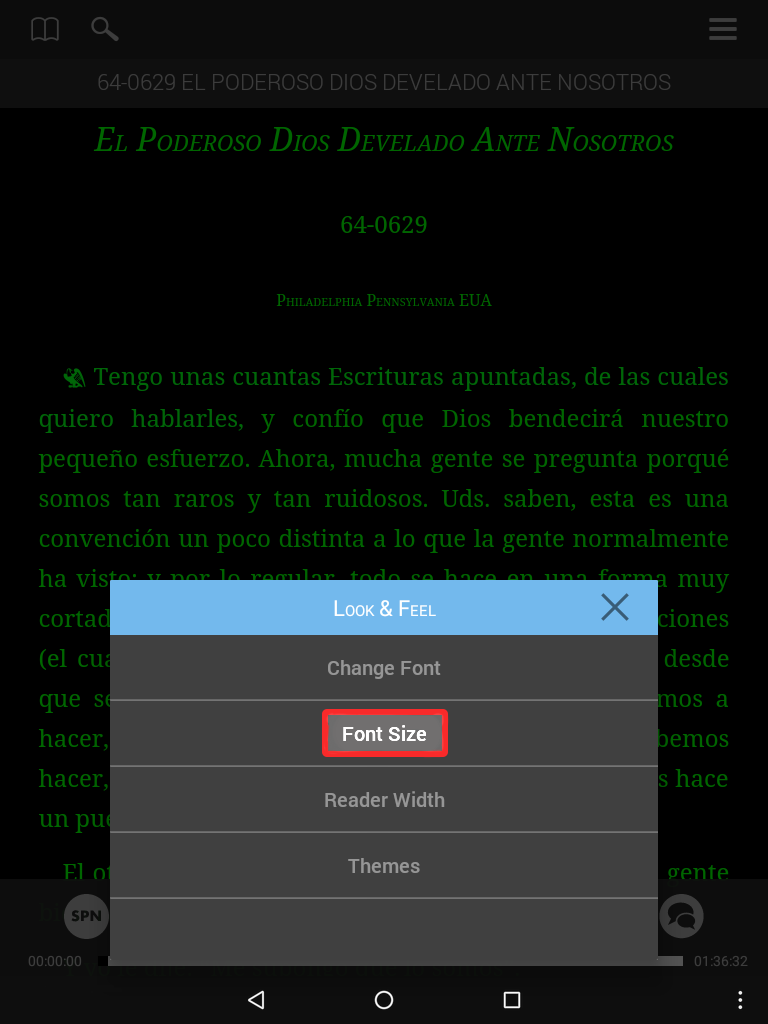
Look & Feel contains your display settings, such as font and themes.
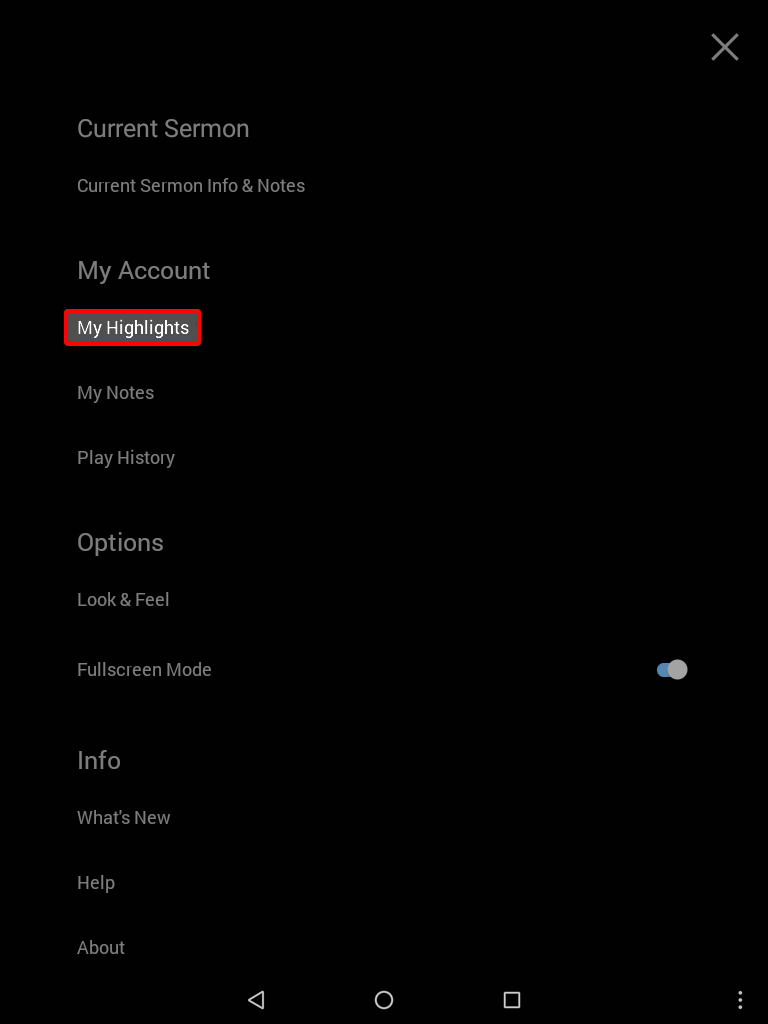
These options are located in the Main Menu. Tap the menu button in the top right corner of the screen, then select Look & Feel to open.

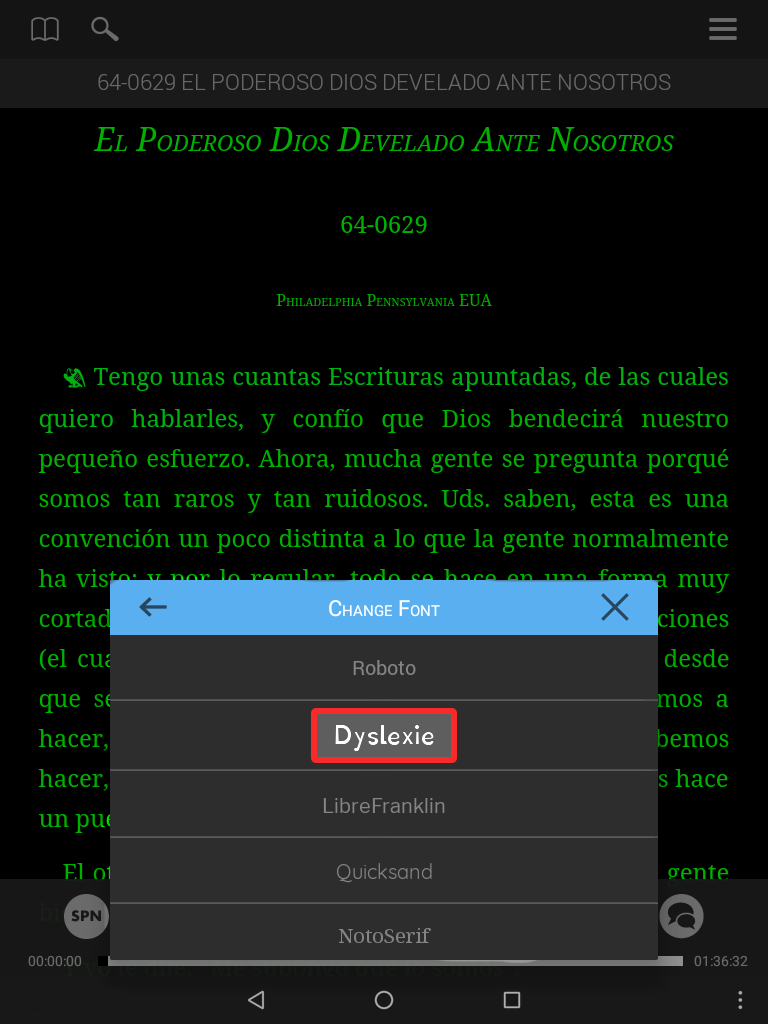
Select to choose a font that works for you.
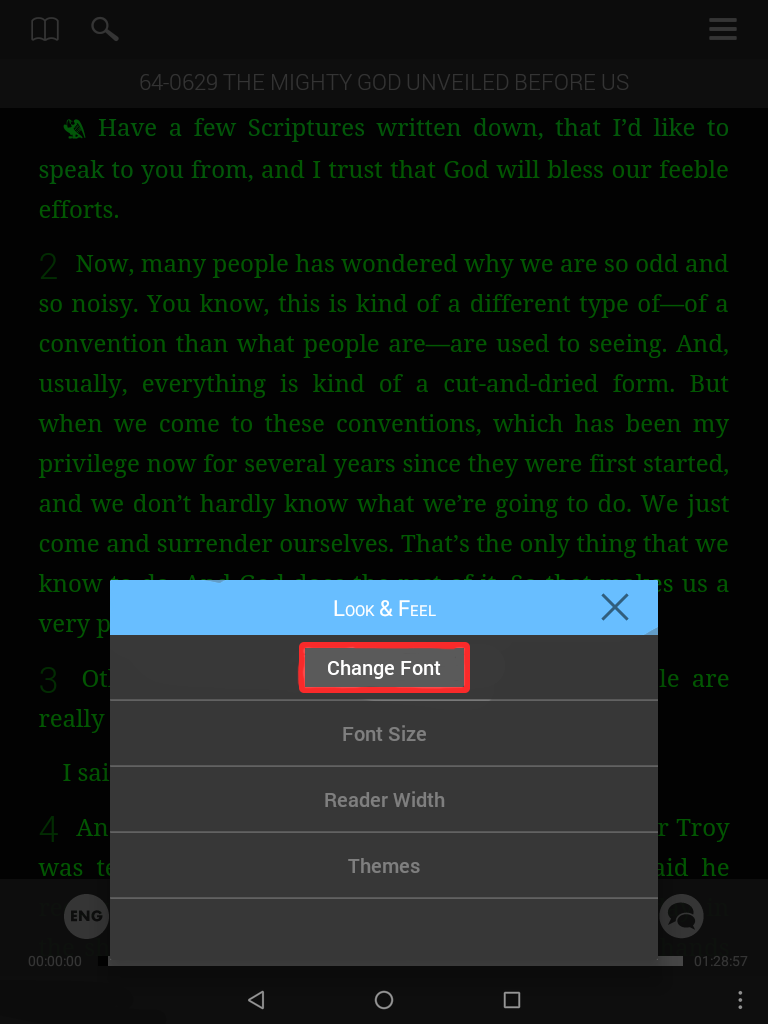
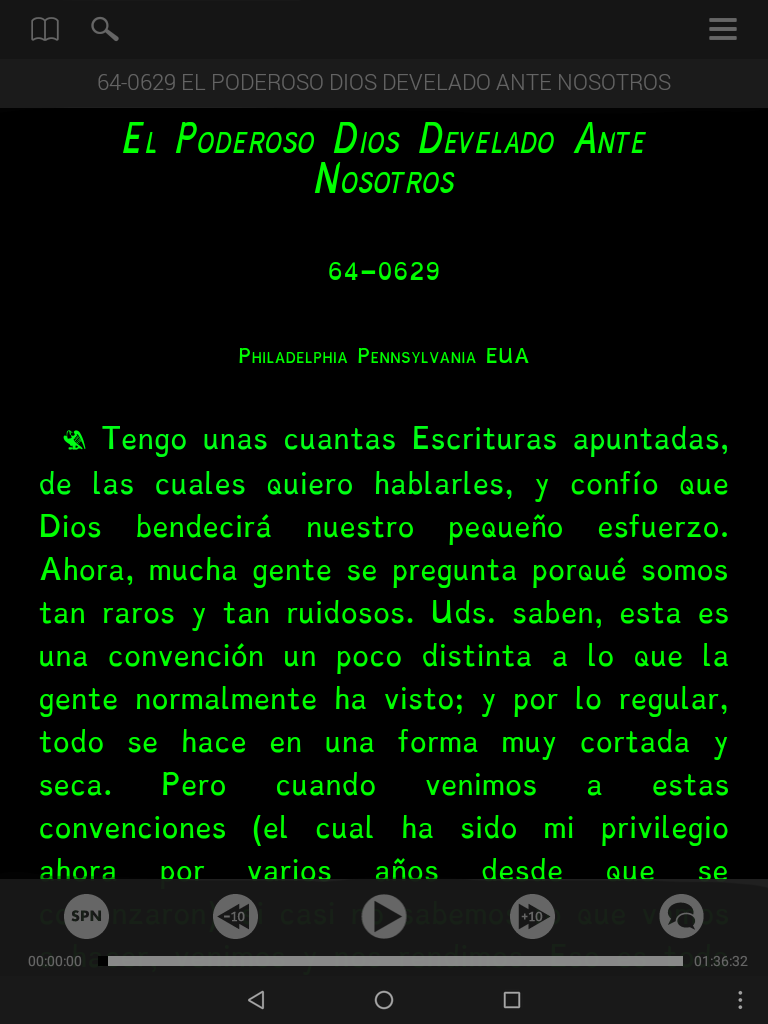
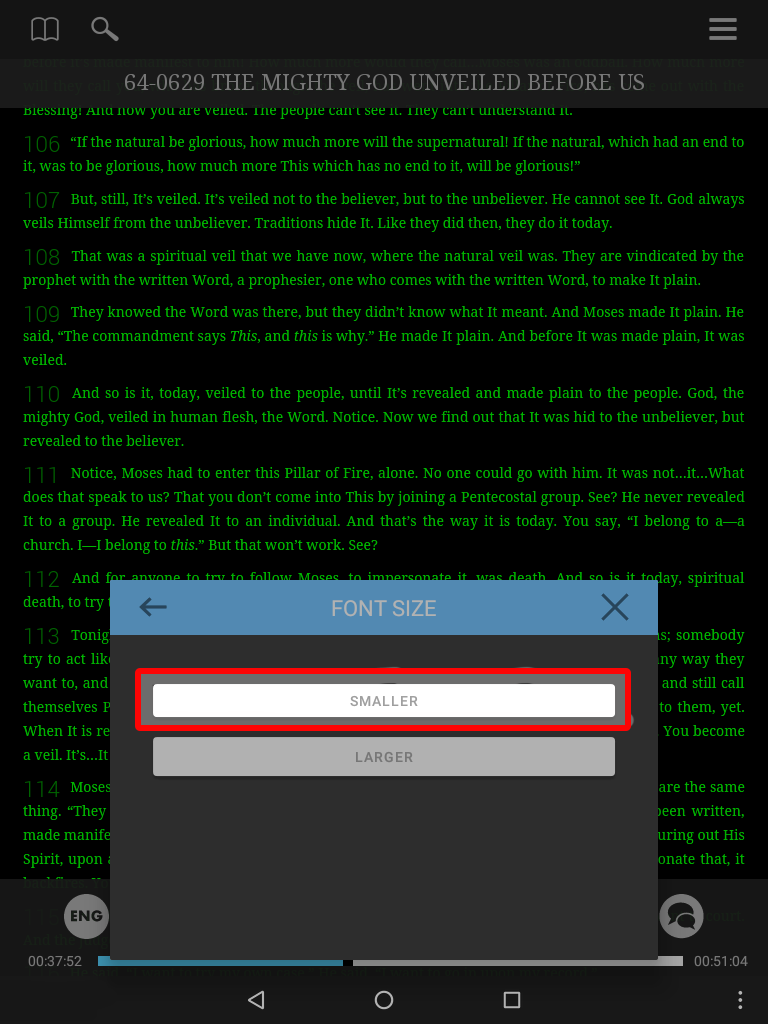
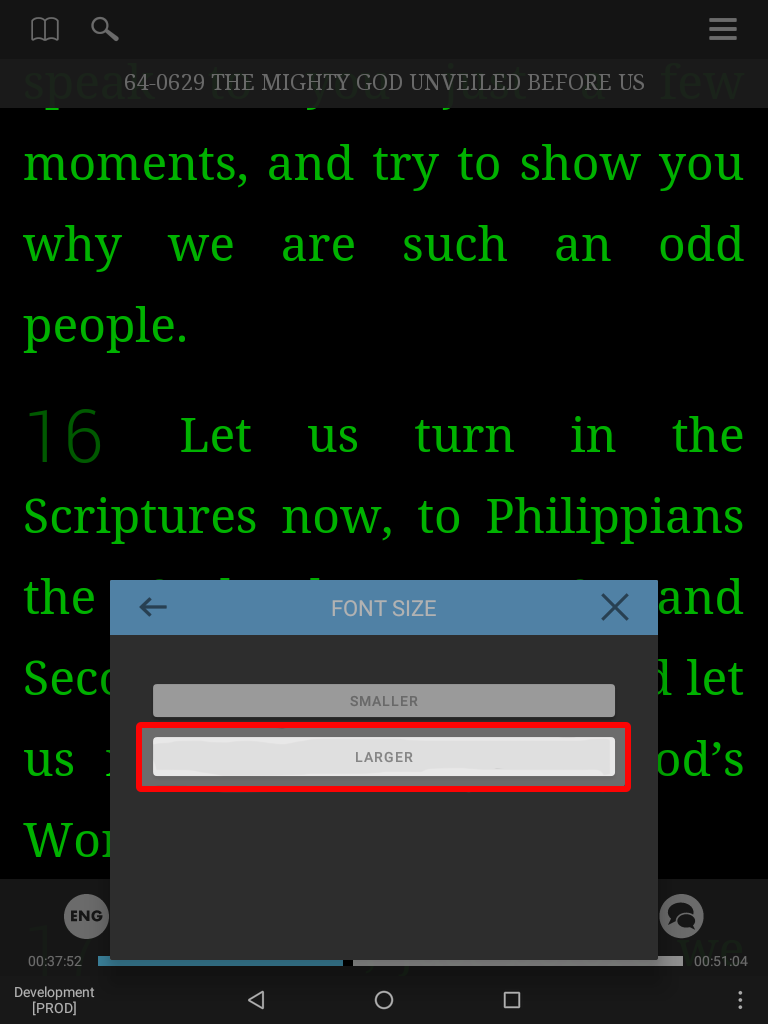
Select to make text smaller or LARGER.
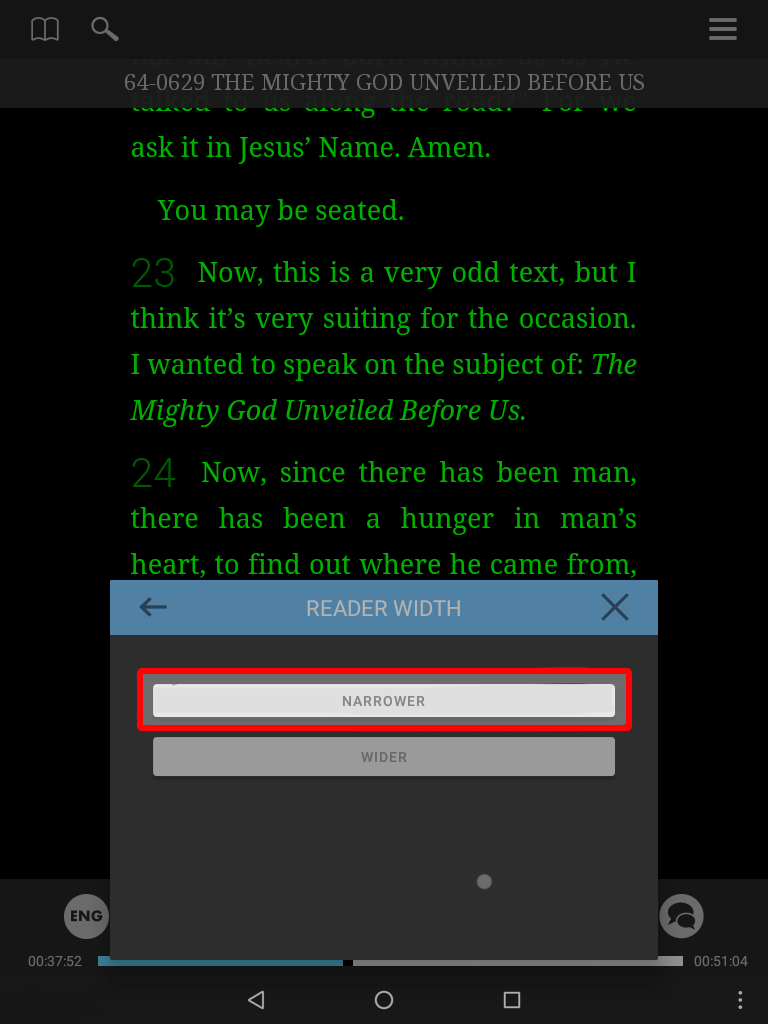
Narrows or widens the margin between the text and the edge of the screen allowing you to center the text or fill the screen.
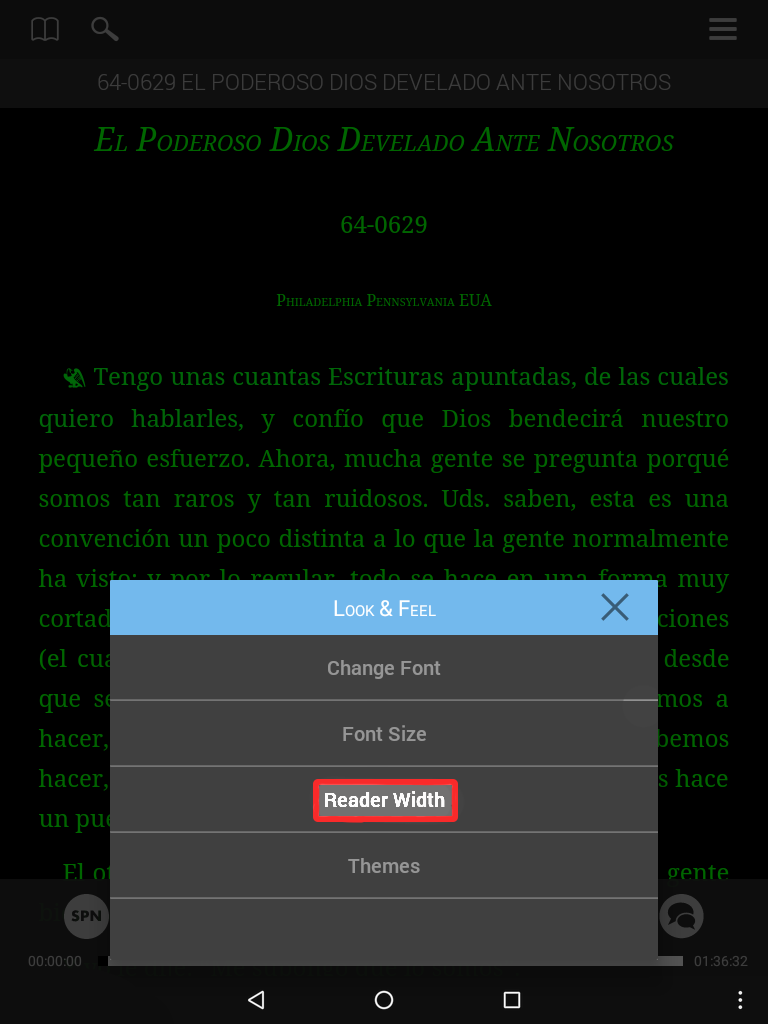

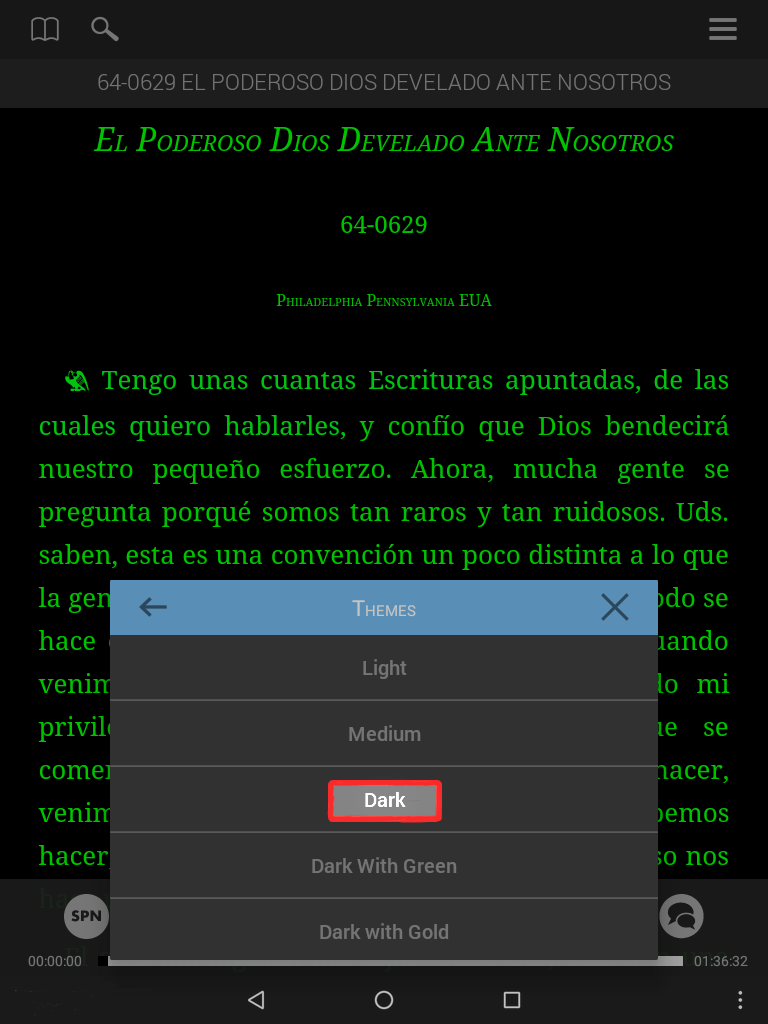
Allows you to choose from a set of themes containing different color text and background colors.

Light
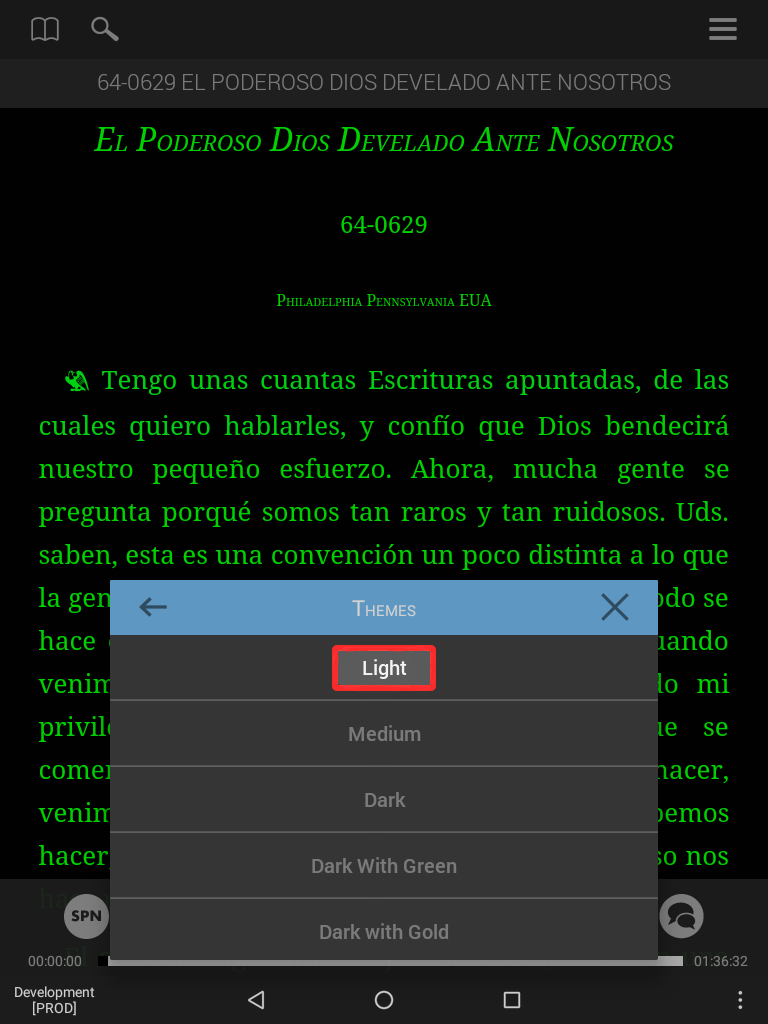
Dark
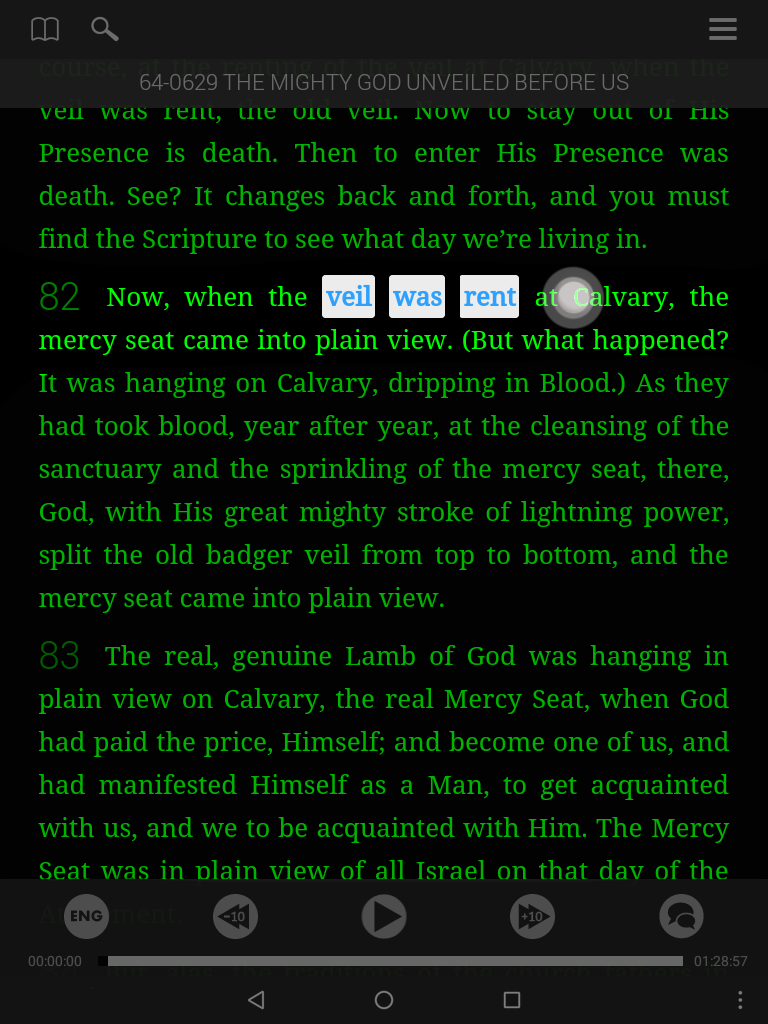
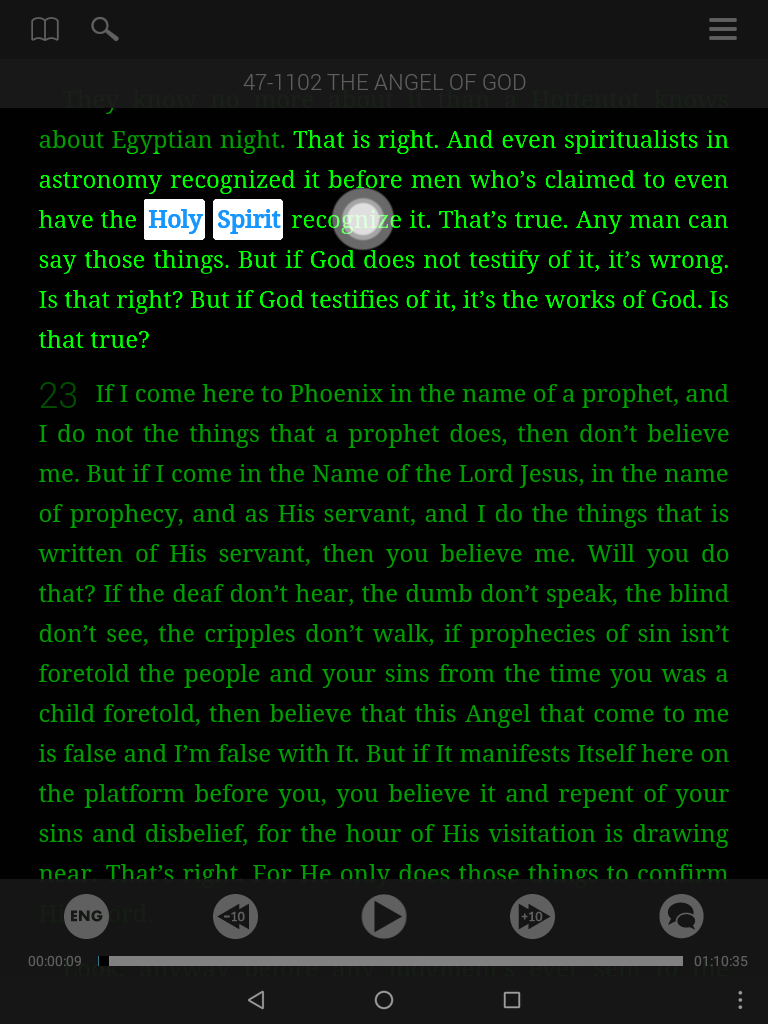
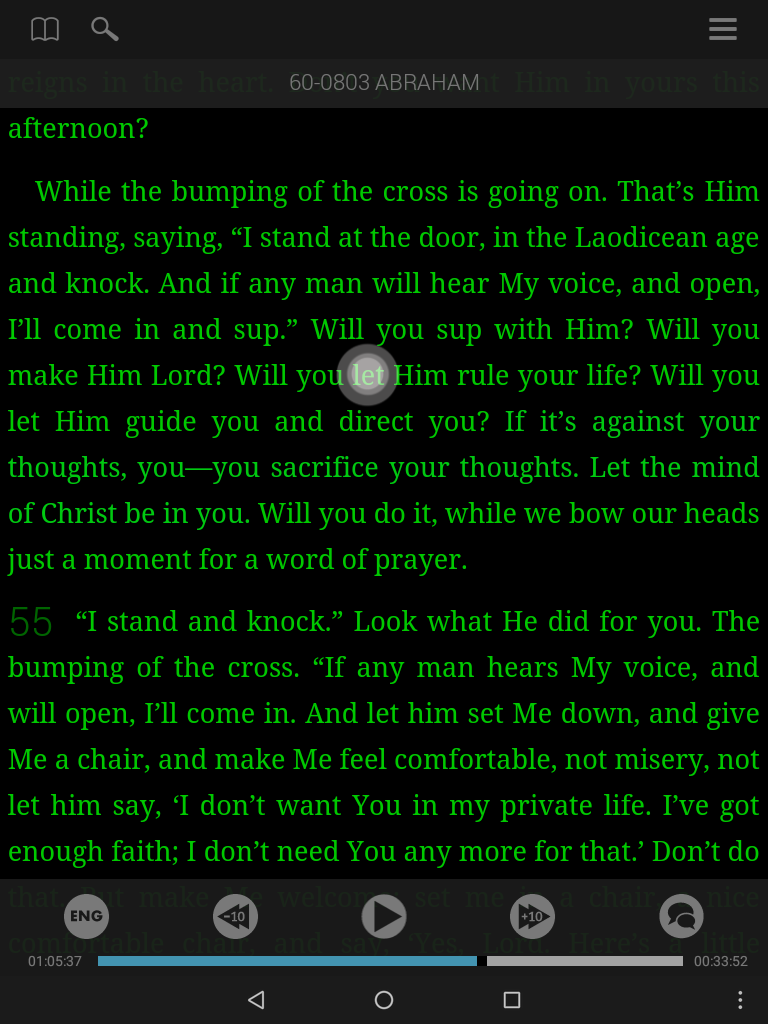
Tap & Play enables you to begin playback from any quote in the sermon. This greatly improves search by allowing you to quickly hear the quote, as Brother Branham spoke it.
Here's how:
- In the search menu: type the query and select your desired quote.
- Tap the text segment you wish to hear.
- Tap the play arrow that appears next to that text segment, and the audio will begin playing.

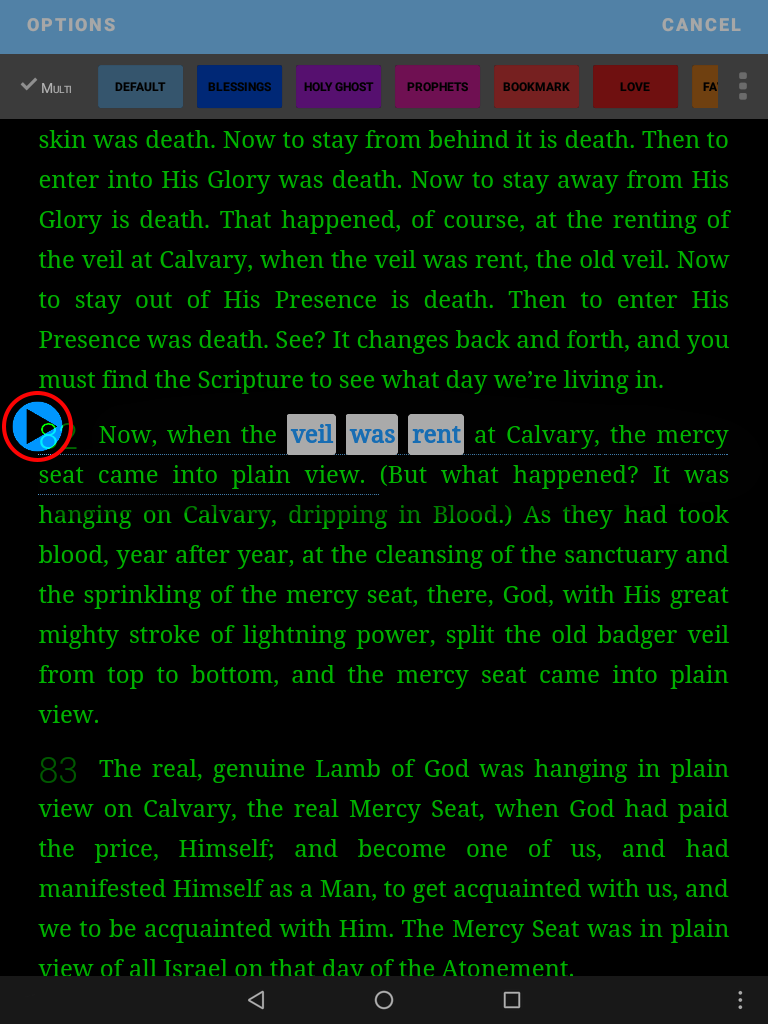
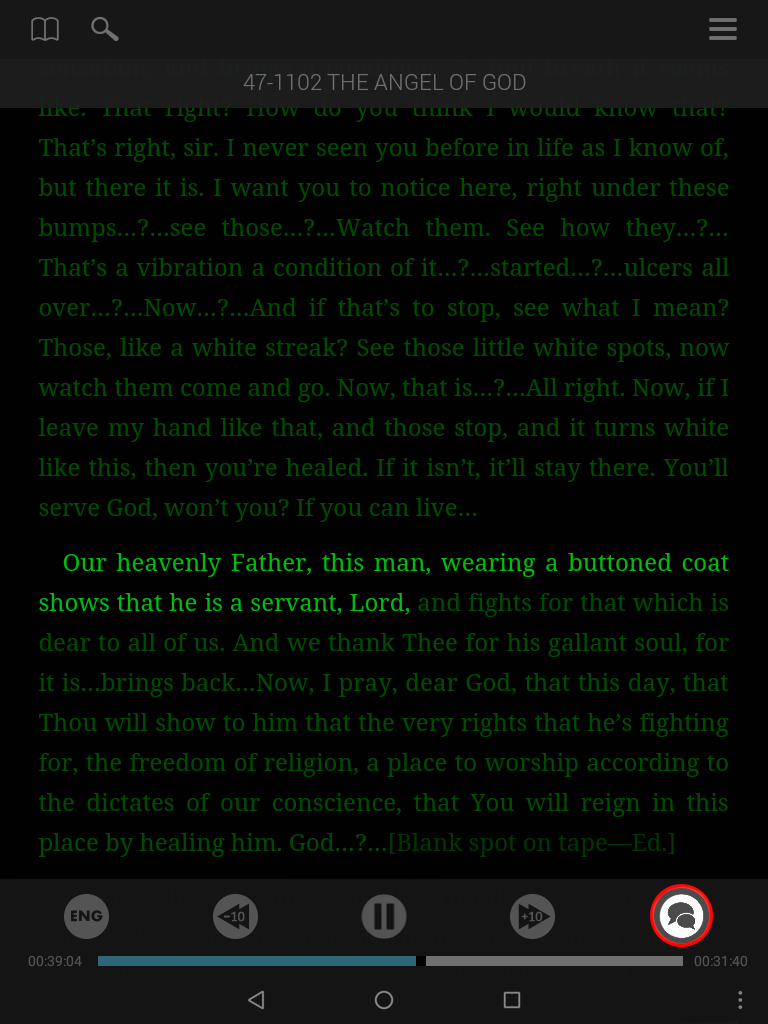
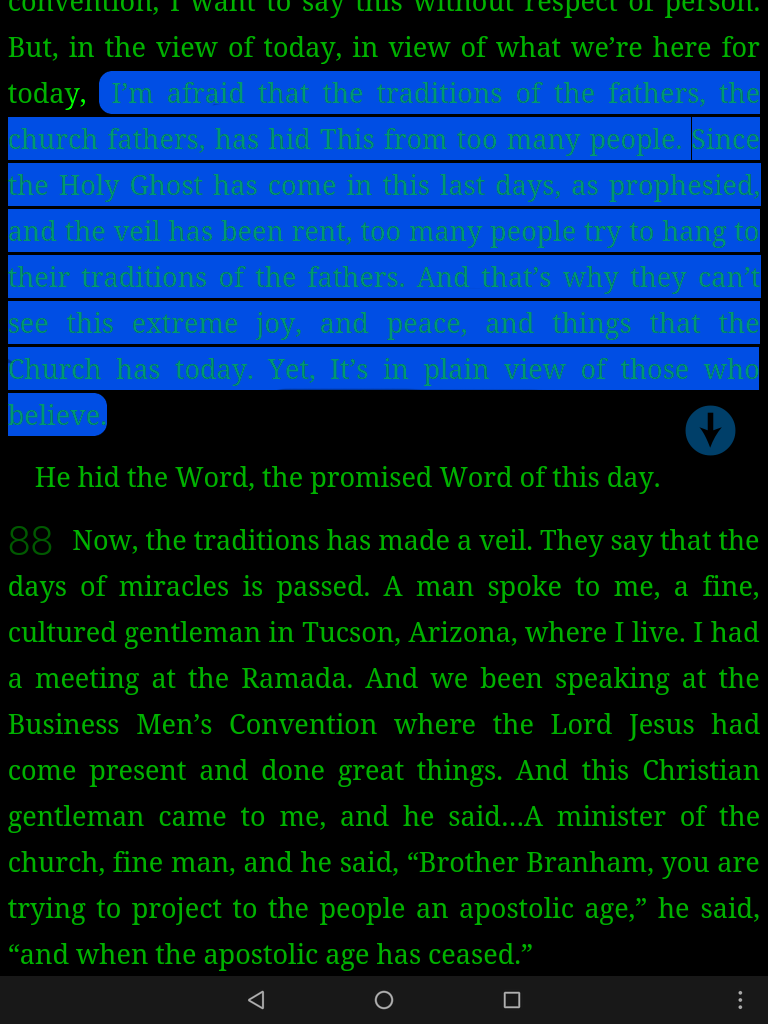
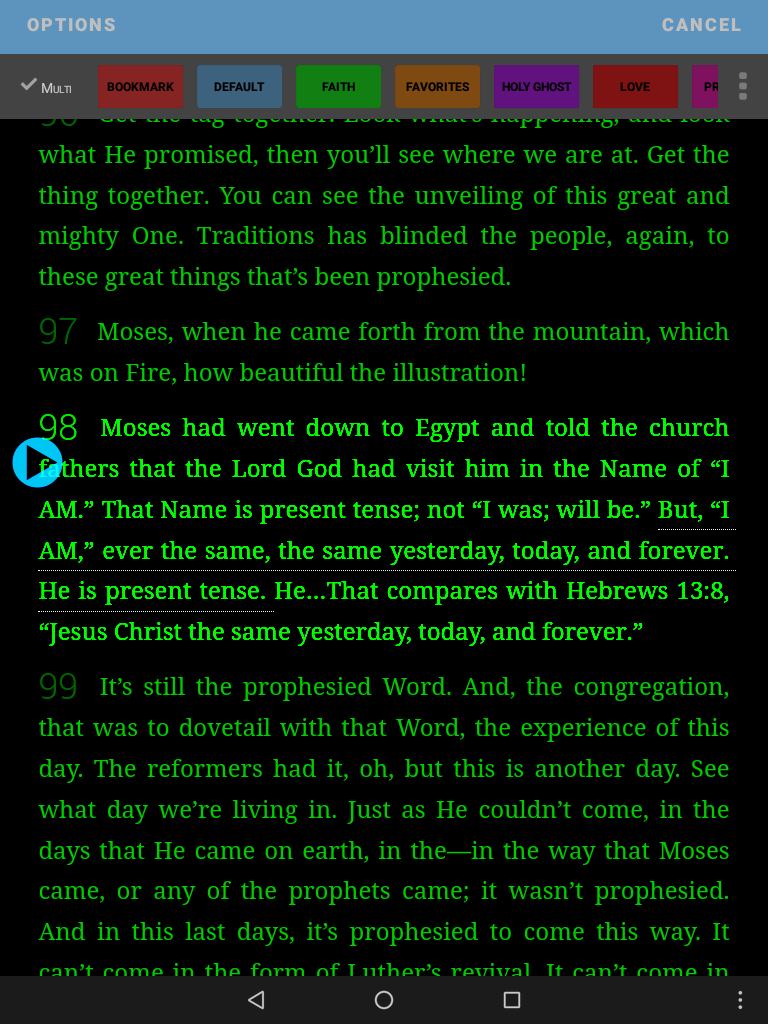
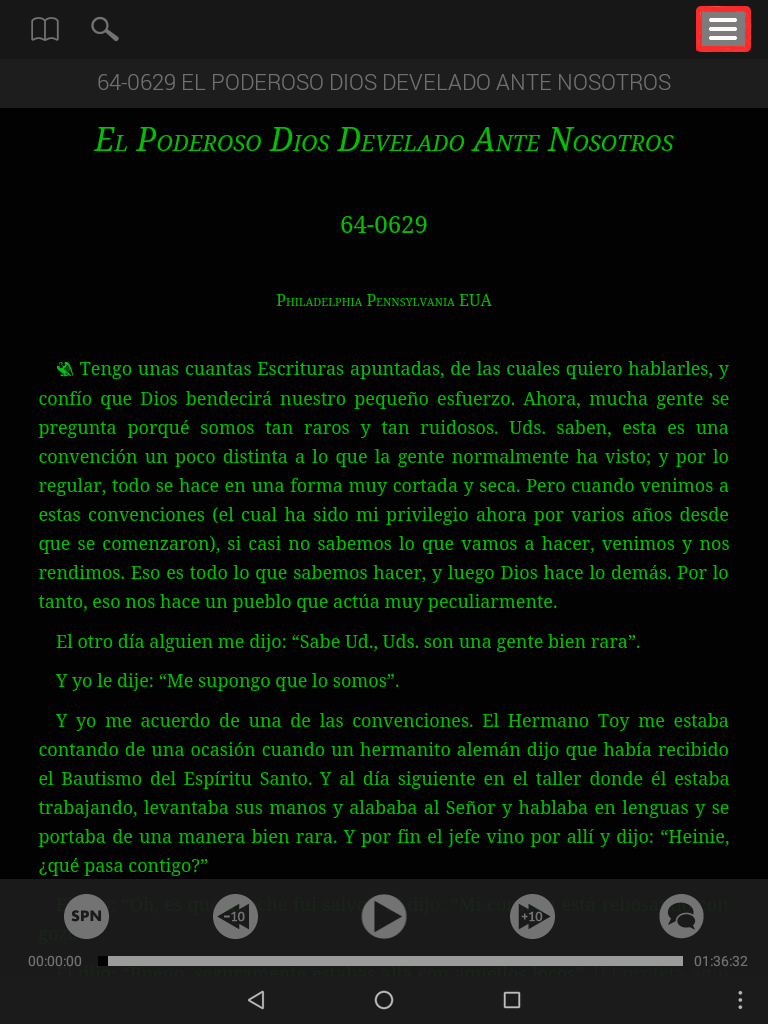
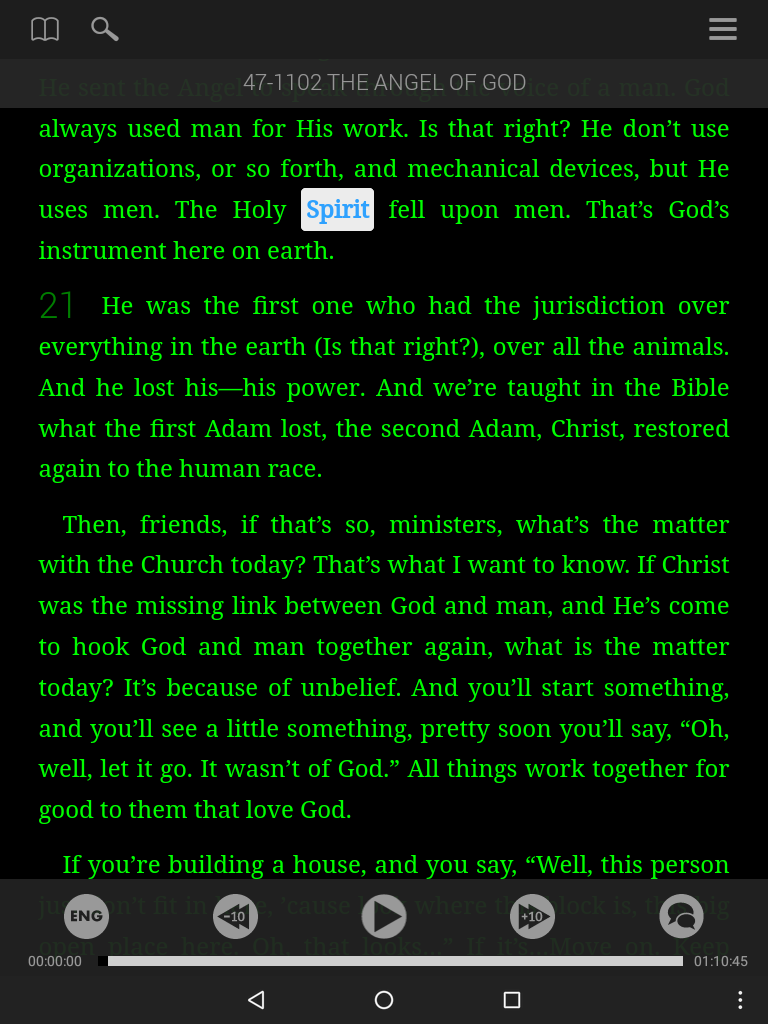
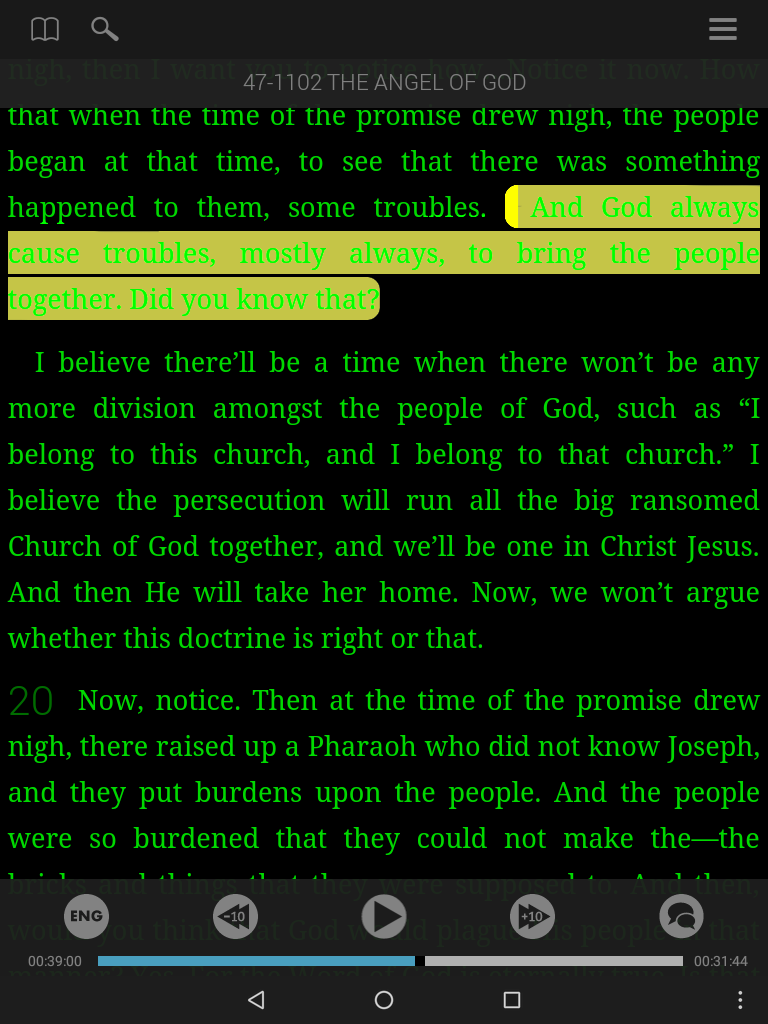
Read Along mode automatically highlights text segments as the audio plays, so you can read as Brother Branham speaks. This mode has been designed to make reading more natural.
To activate Read Along mode:
- Tap the Audio Menu icon located by the audio player controls.
- Tap the Read Along switch to toggle on and off.
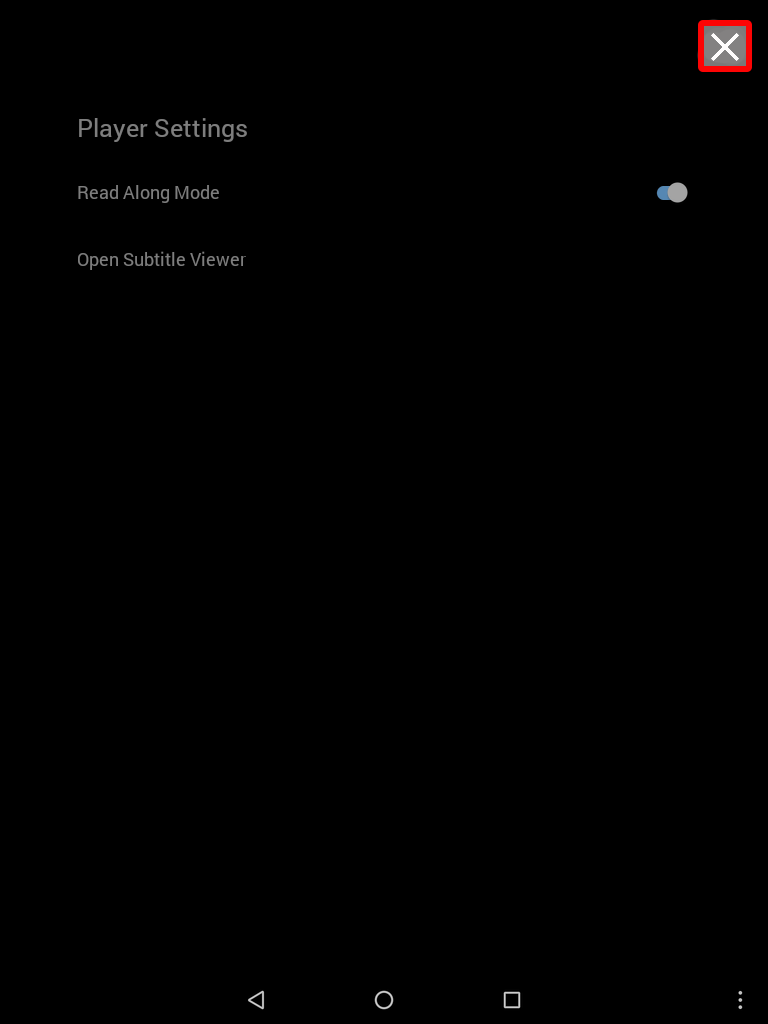
- Tap x to close the Menu.
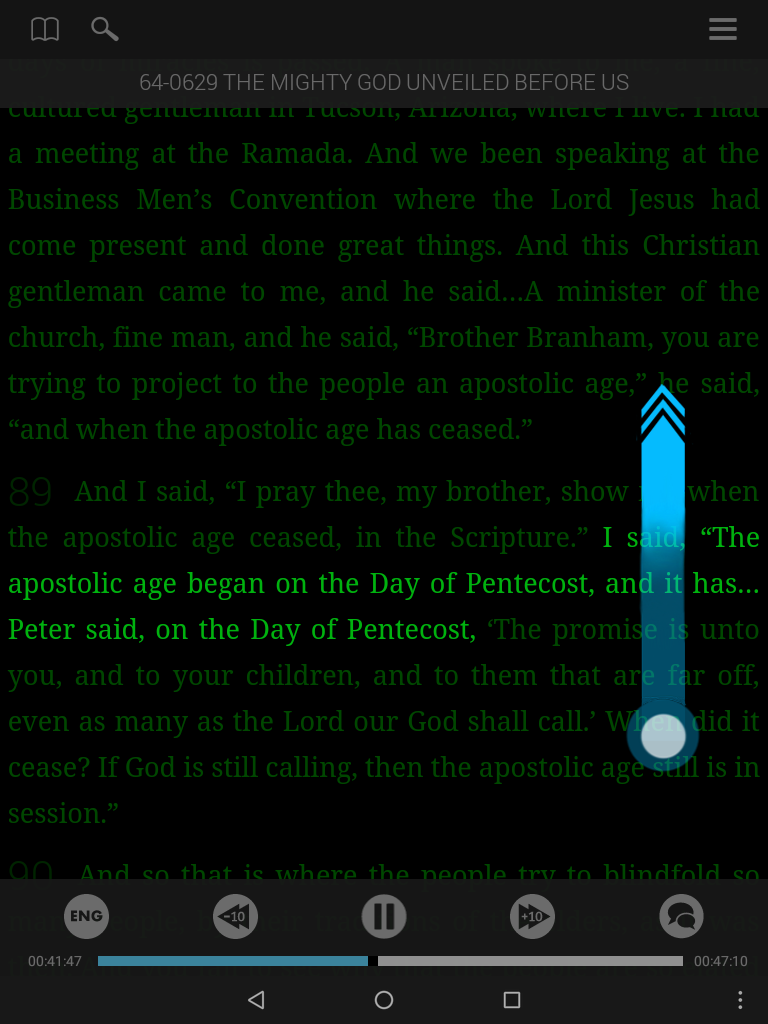
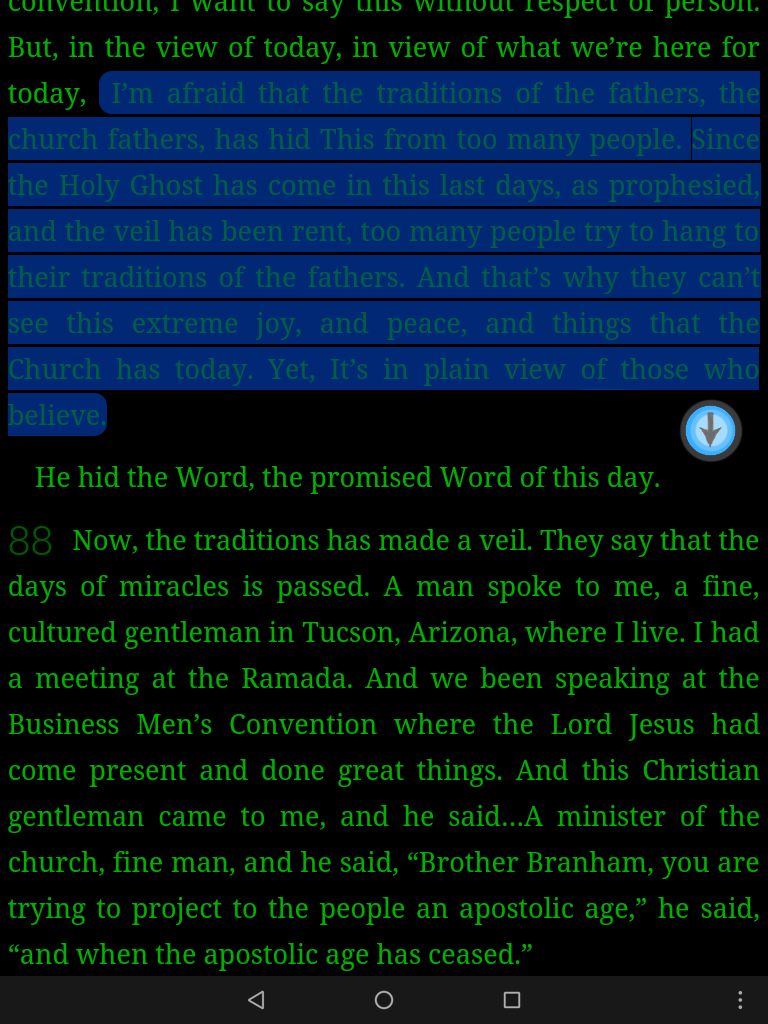
While using Read Along mode, you may want to re-read a quote or stop to highlight one of those golden nuggets. No problem!
Here's how:
- Scroll up to automatically pause Read Along mode.
- Make your highlight.
- When you’re done, tap the sync button to return to the text segment which is currently playing.
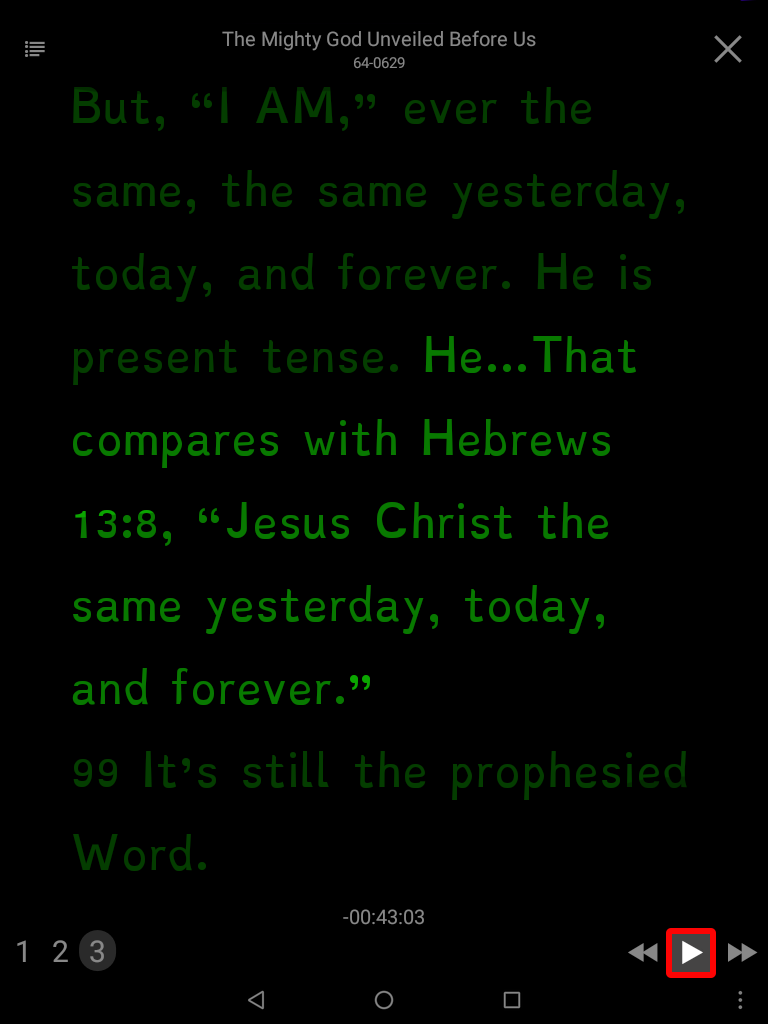
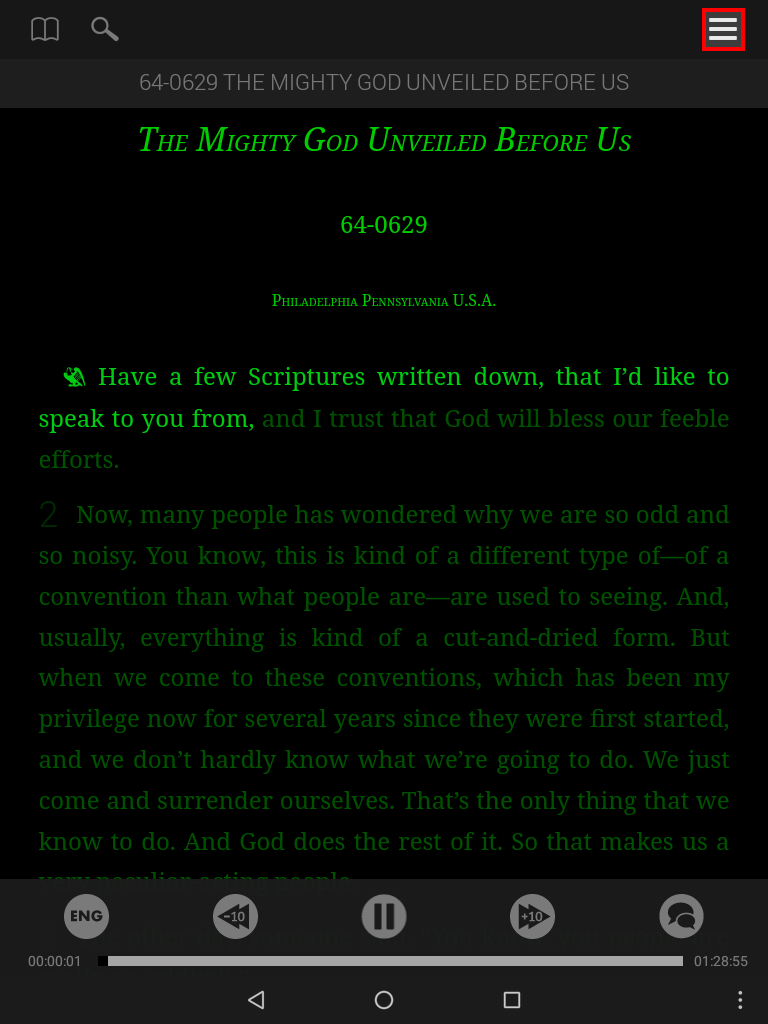
The Subtitle Viewer was built to utilize all of the screen by making text as large as possible. This is perfect for following along with a Tape Service by using a projector.
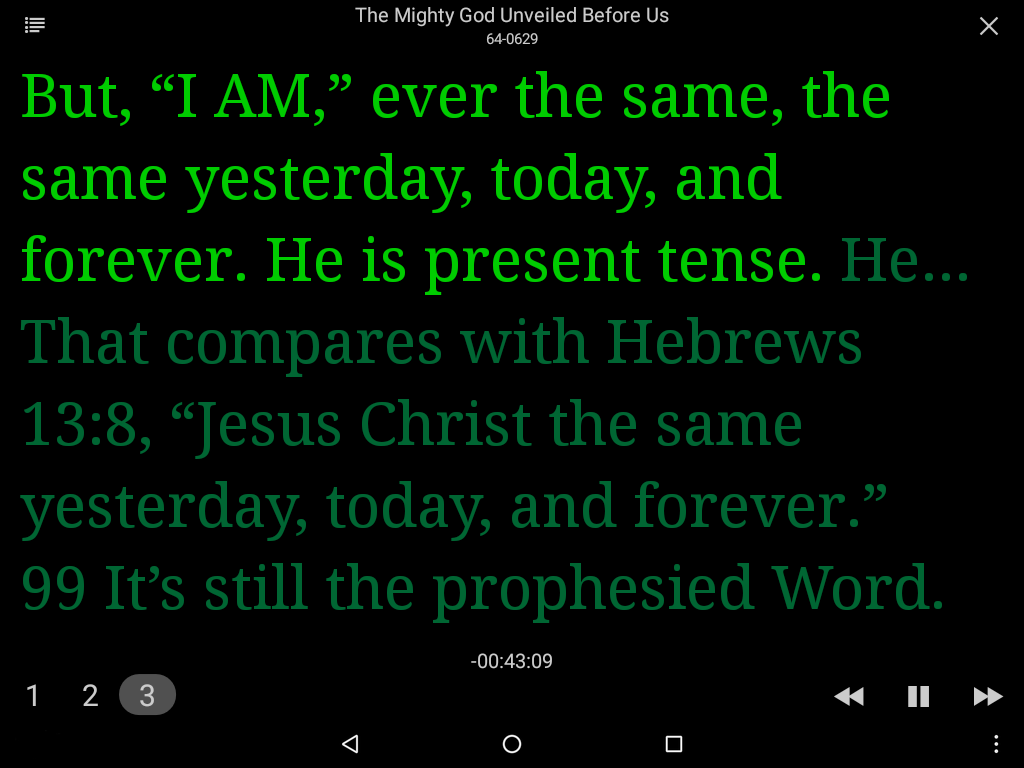
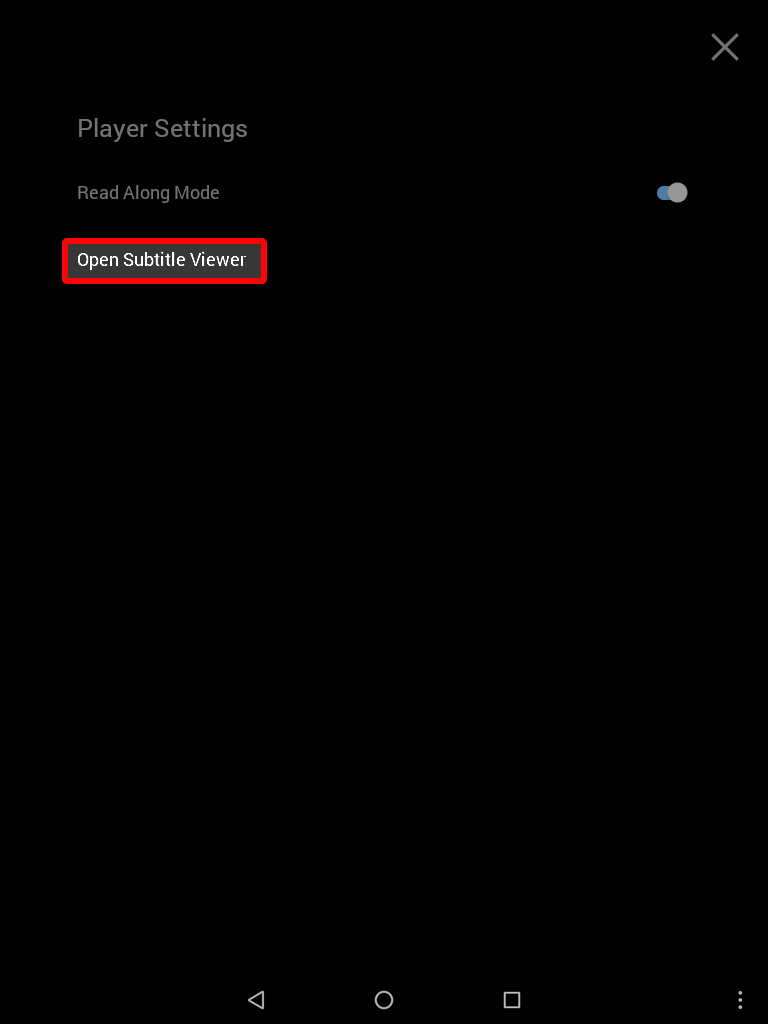
To enable Subtitle Viewer:
- The viewer loads to your current selection. Navigate to where you would like the Viewer to begin.
- Tap the Audio Menu icon located by the audio player controls.
- Tap Open Subtitle Viewer.
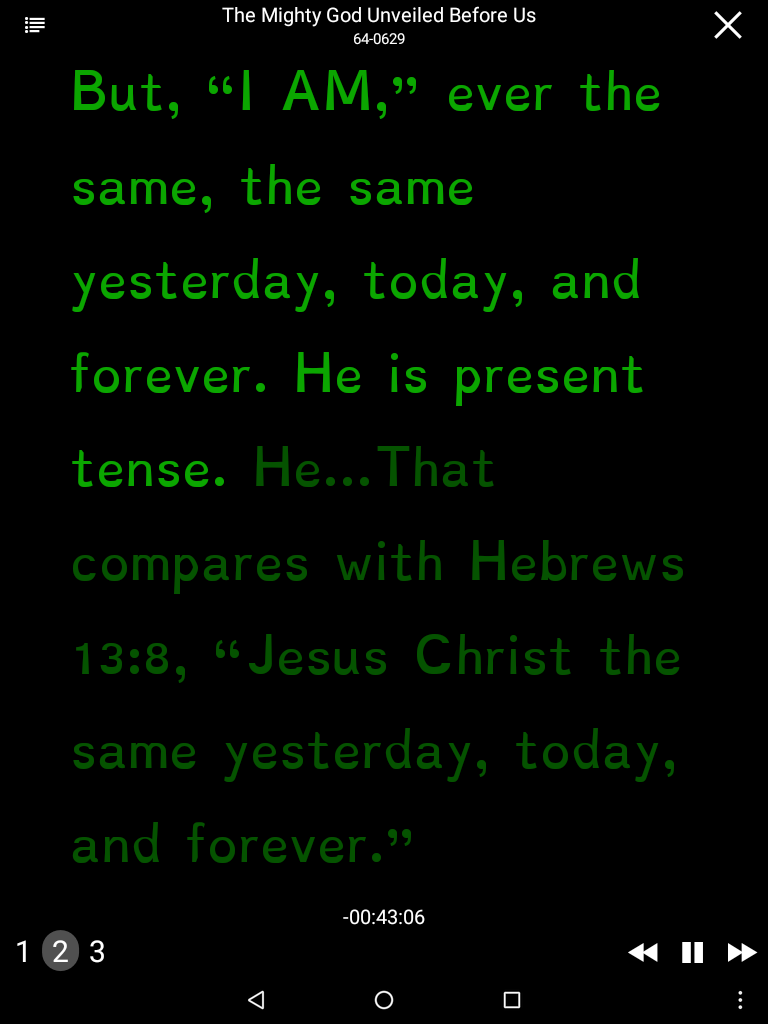
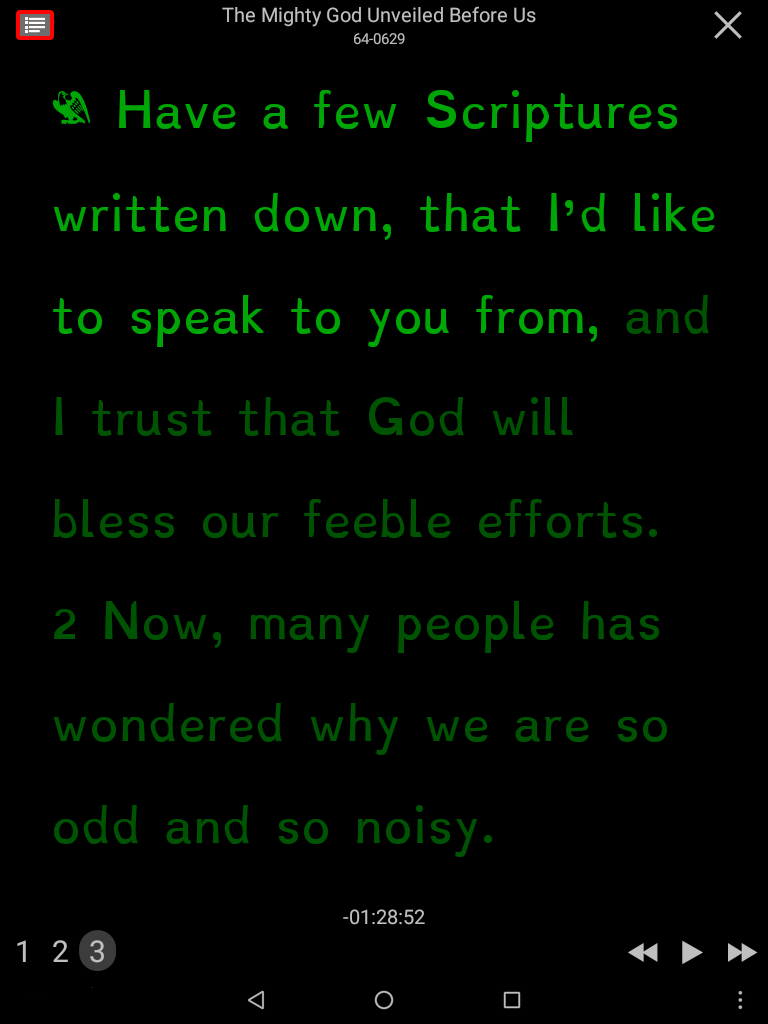
Subtitle Viewer Controls
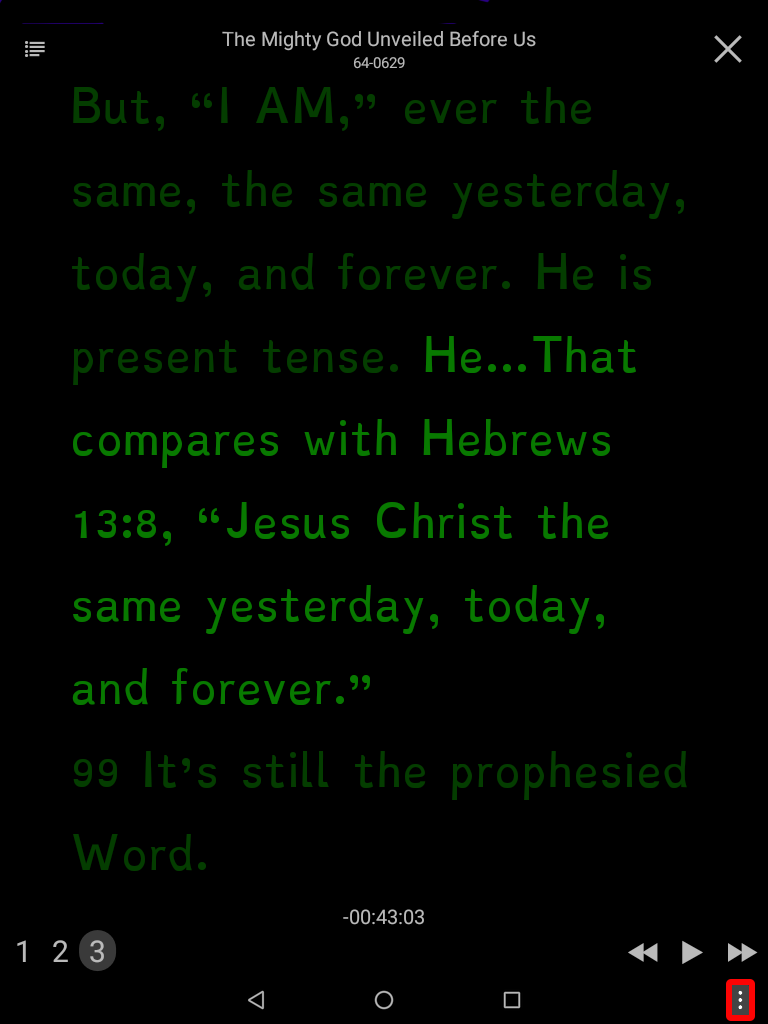
Tapping anywhere on the screen will show or hide the Subtitle player controls and menu options.

Number Of Segments
The bottom left buttons will select 1, 2 or 3 segments to be displayed. 1 displays the largest text.
Player Controls
The bottom right buttons will control the playing of the sermon.
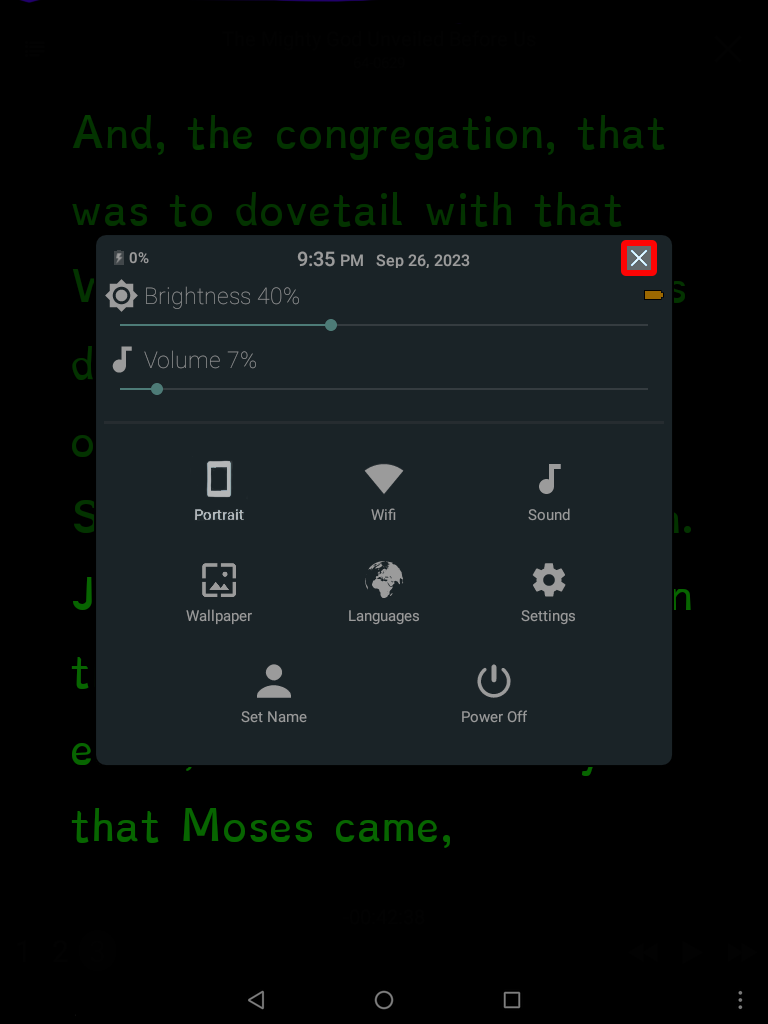
Touch the X to close Quick Settings.
Subtitle Menu
The top left button opens the Subtitle Menu.
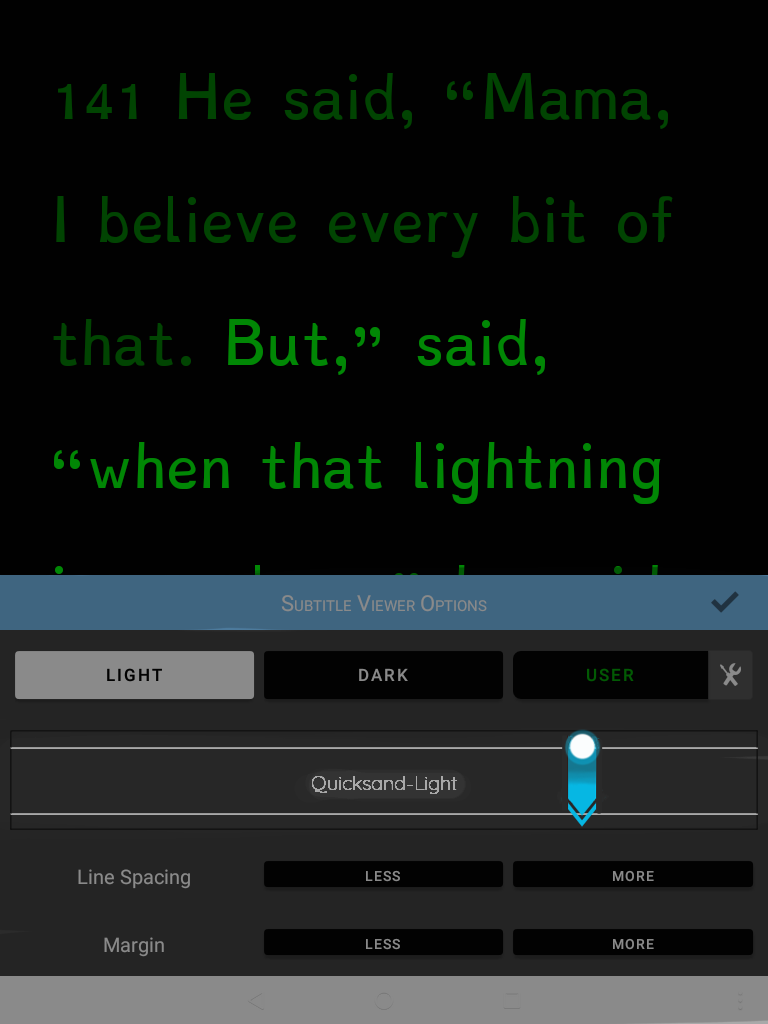
The Subtitle Menu allows you to change the Look and Feel of Subtitle separate from the normal settings of the Table. You will find Themes, Fonts, Line Spacing and Margins. (Font size is chosen automatically.)
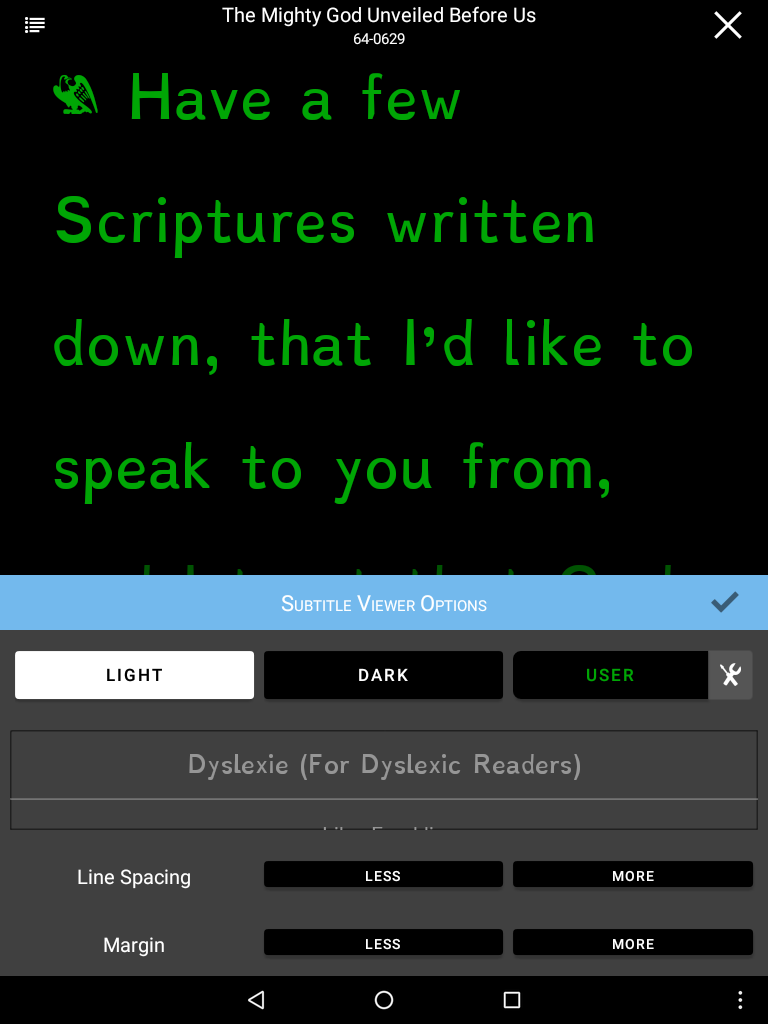
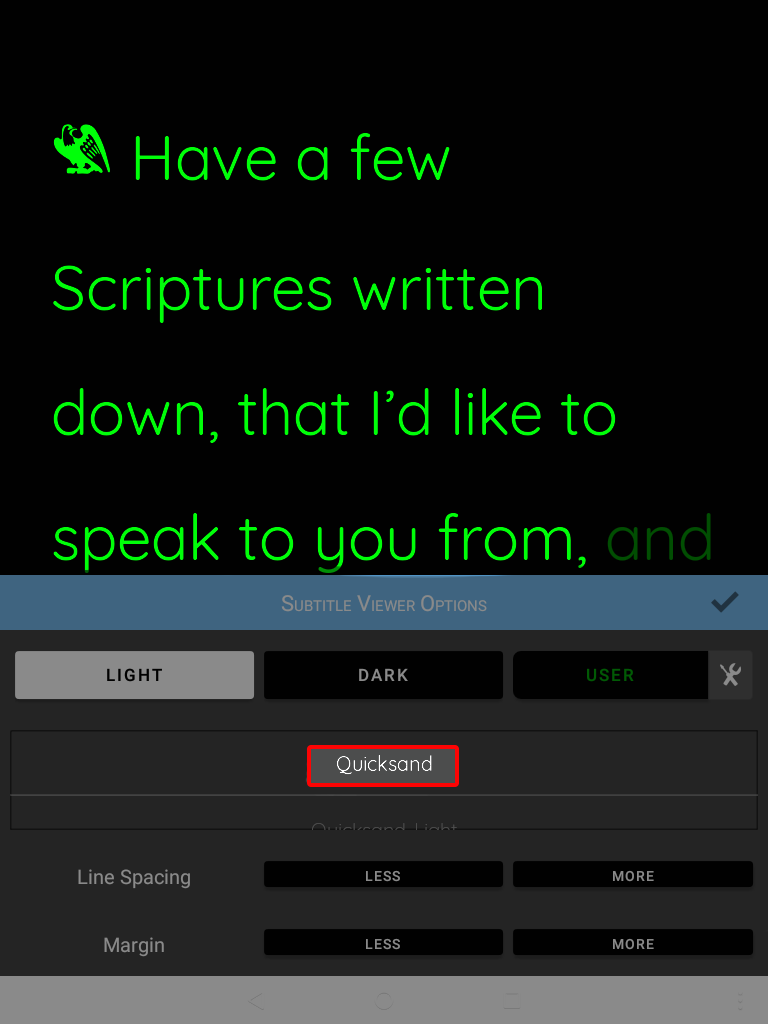
Fonts
For more fonts scroll down.
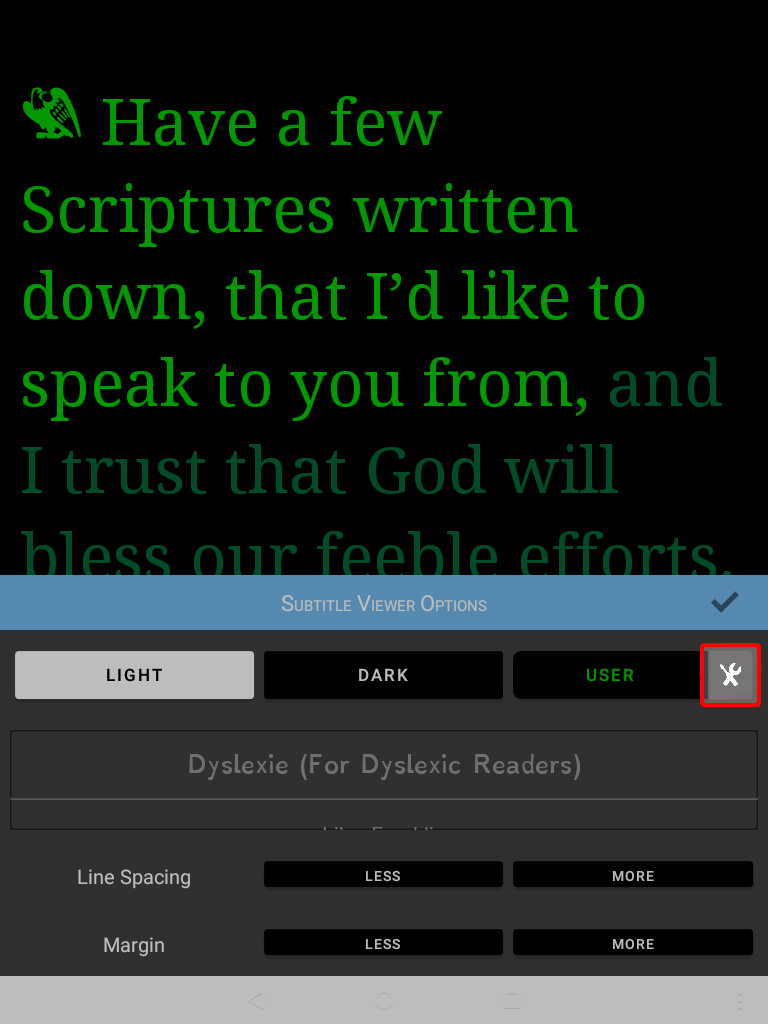
Themes
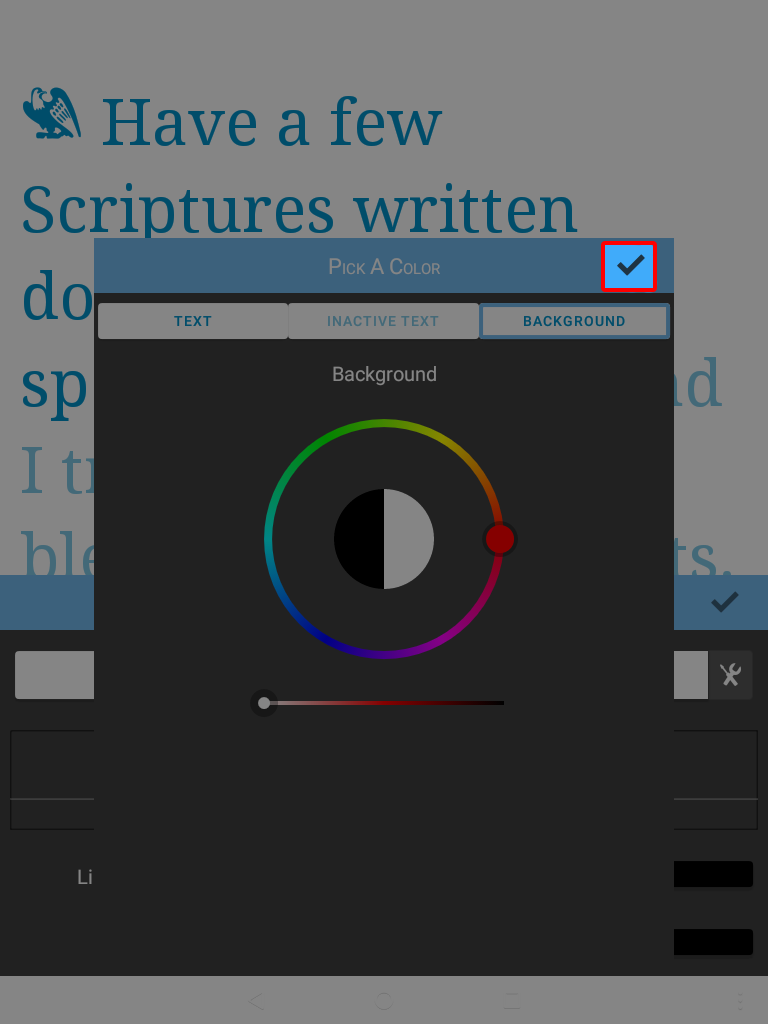
In addition to the preset Themes, touching the tool icon allows you full choice of text color and background color.
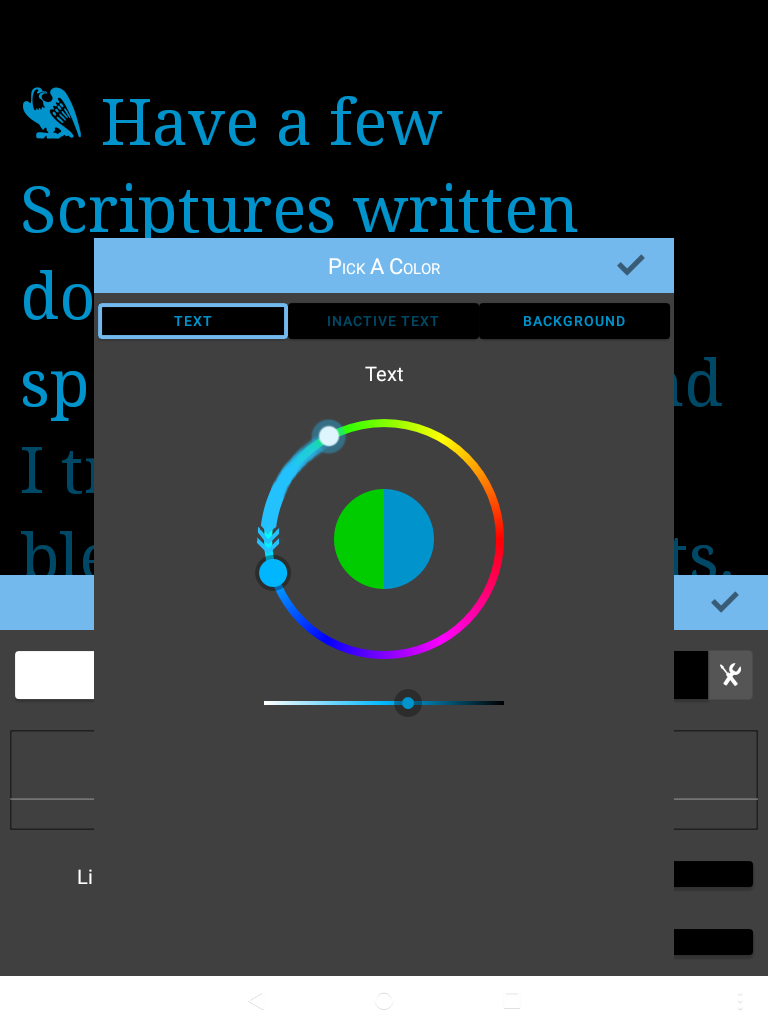
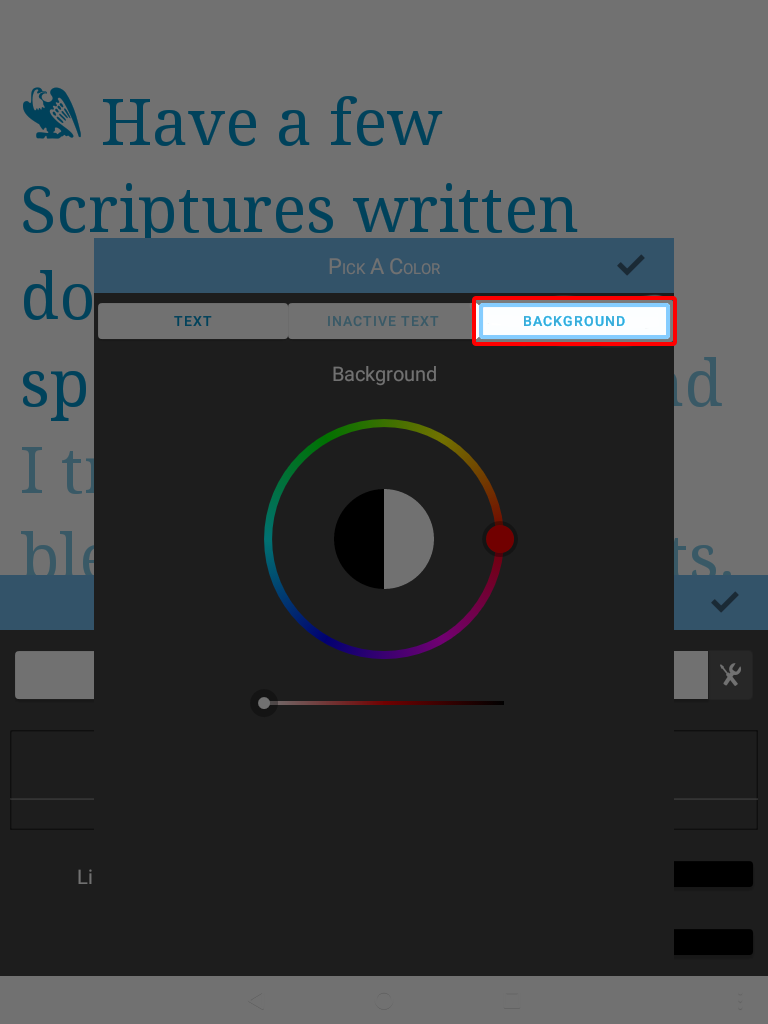
When finished make sure you touch the check mark to save your changes.
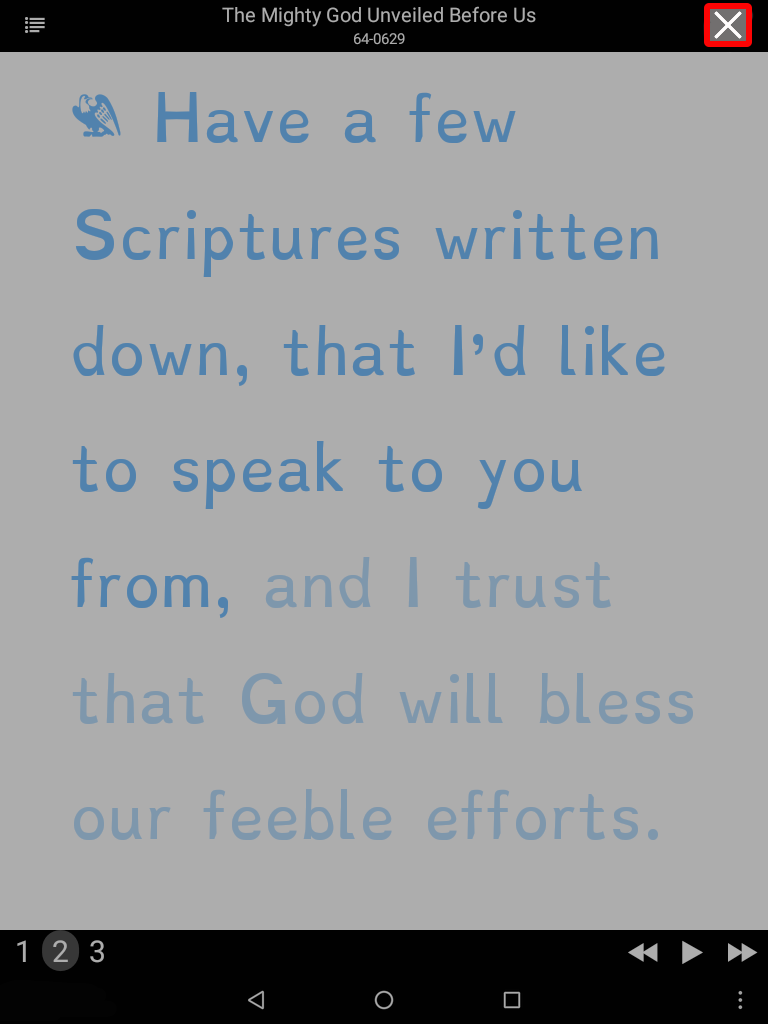
Close The Subtitle Viewer
The X in the top right will close the subtitle viewer and return you to the document view.

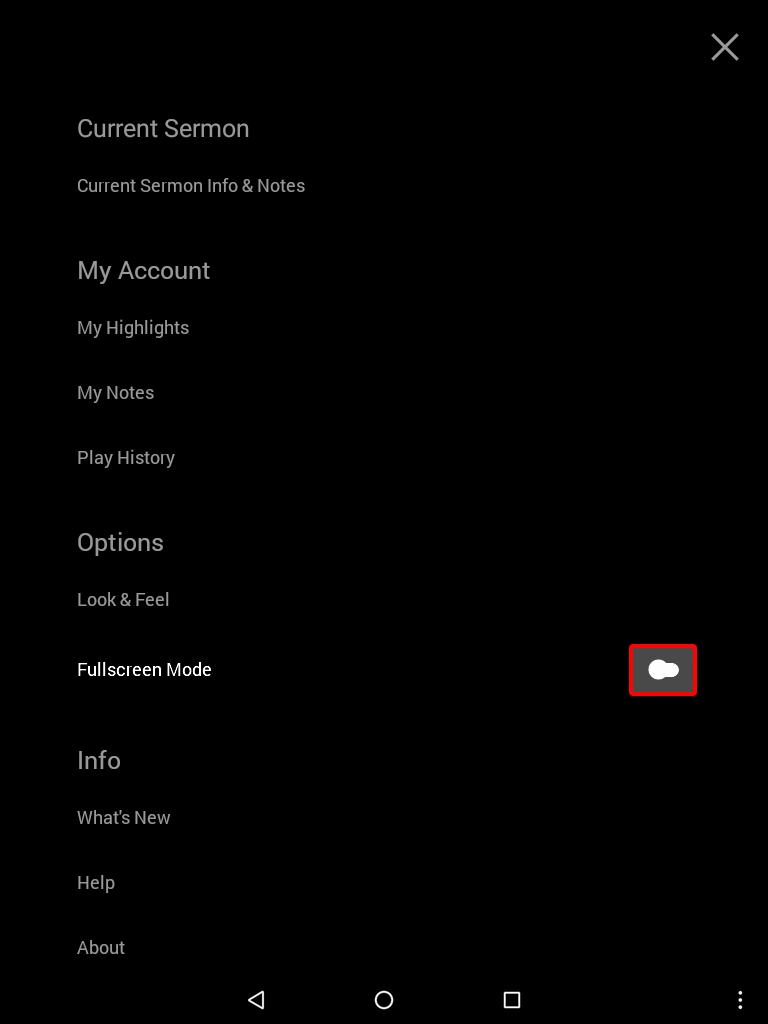
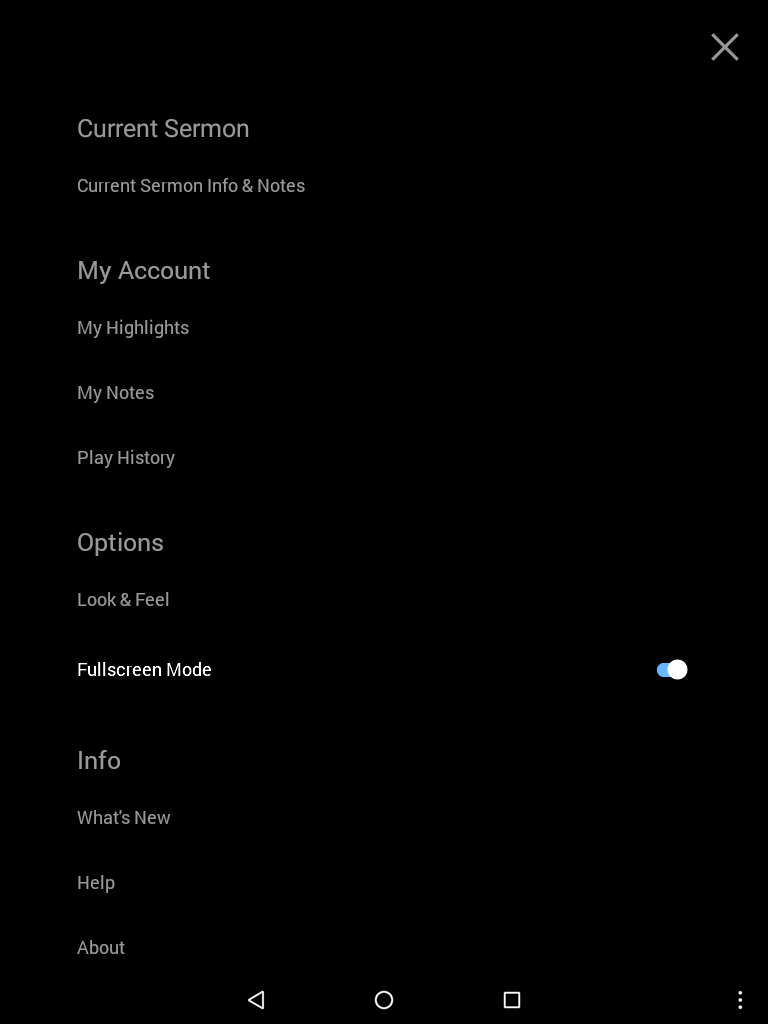
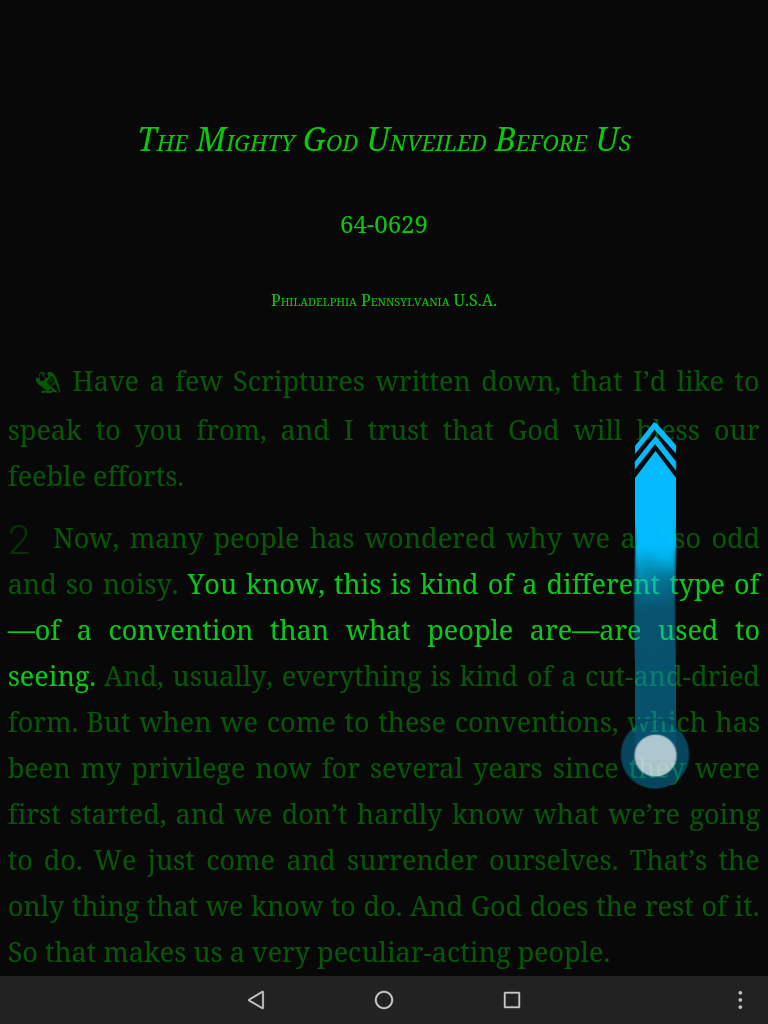
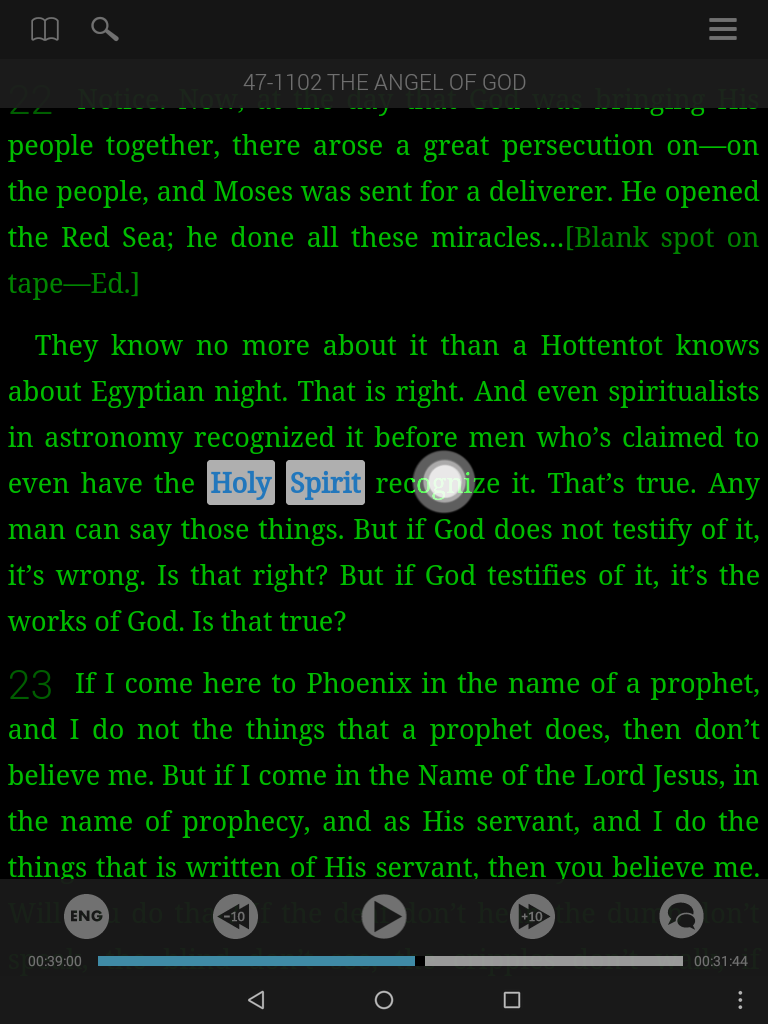
The Full Screen Mode feature allows the text to fill the screen, so you can read without the player and top bar being visible.
Activate Full Screen Mode:
- To activate full screen mode, go to the menu located in the top right corner of the screen.
- Set the full screen switch to on.
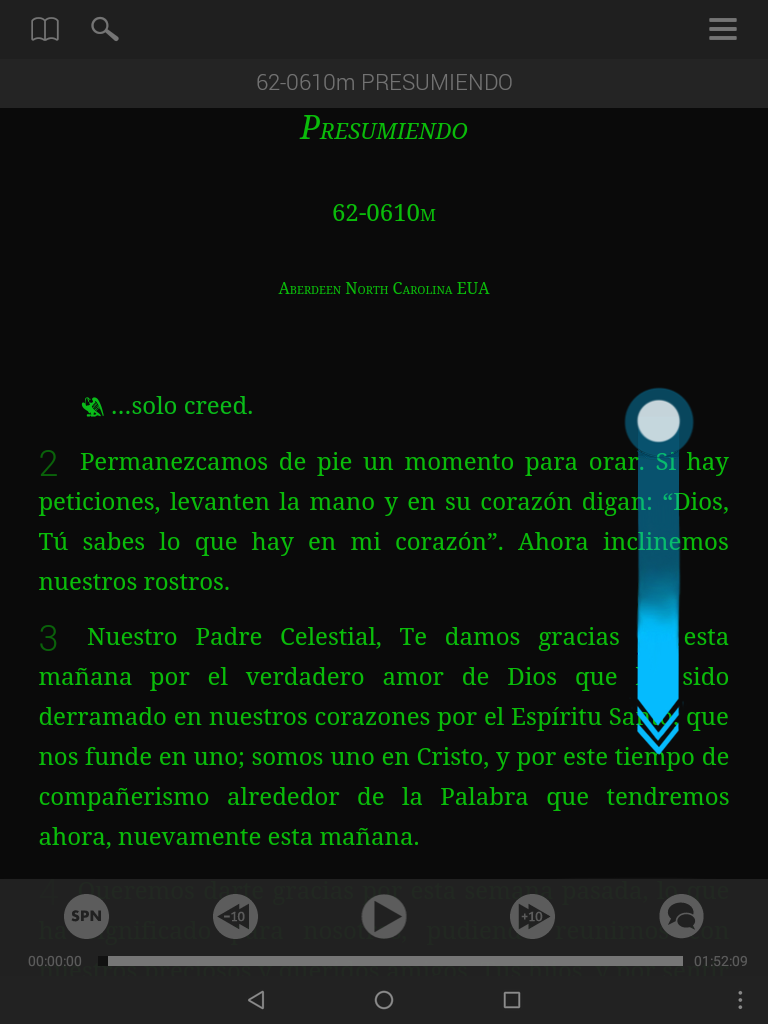
While in full screen mode, if you would like to bring up the player or the top bar, simply scroll rapidly upward.
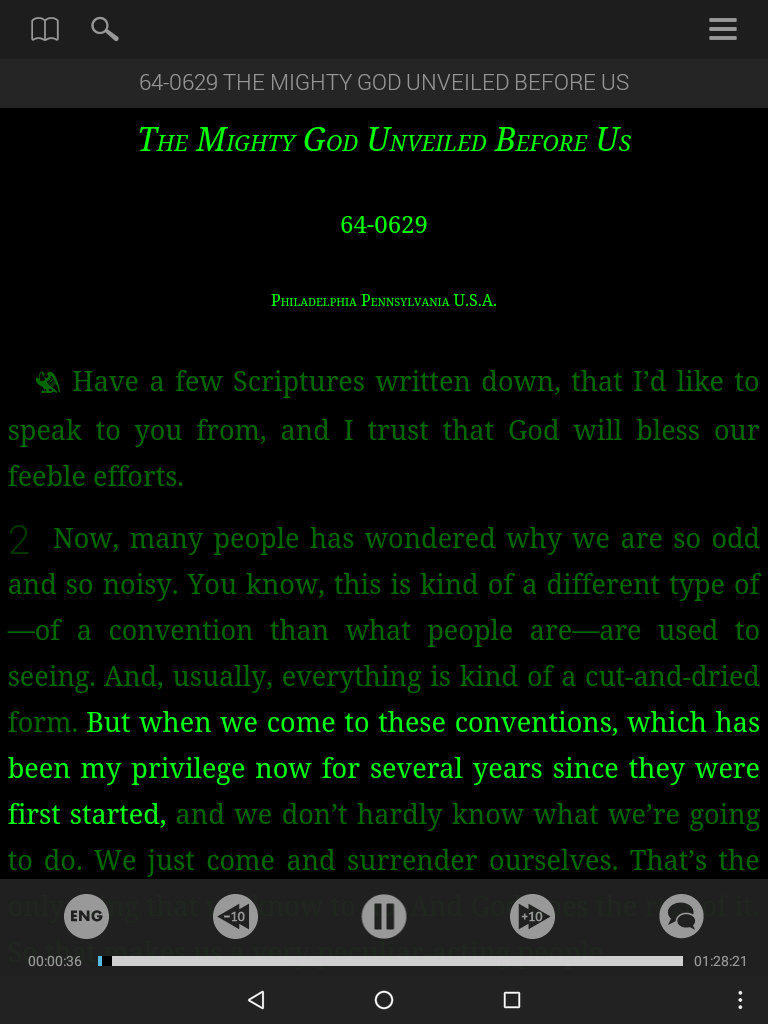

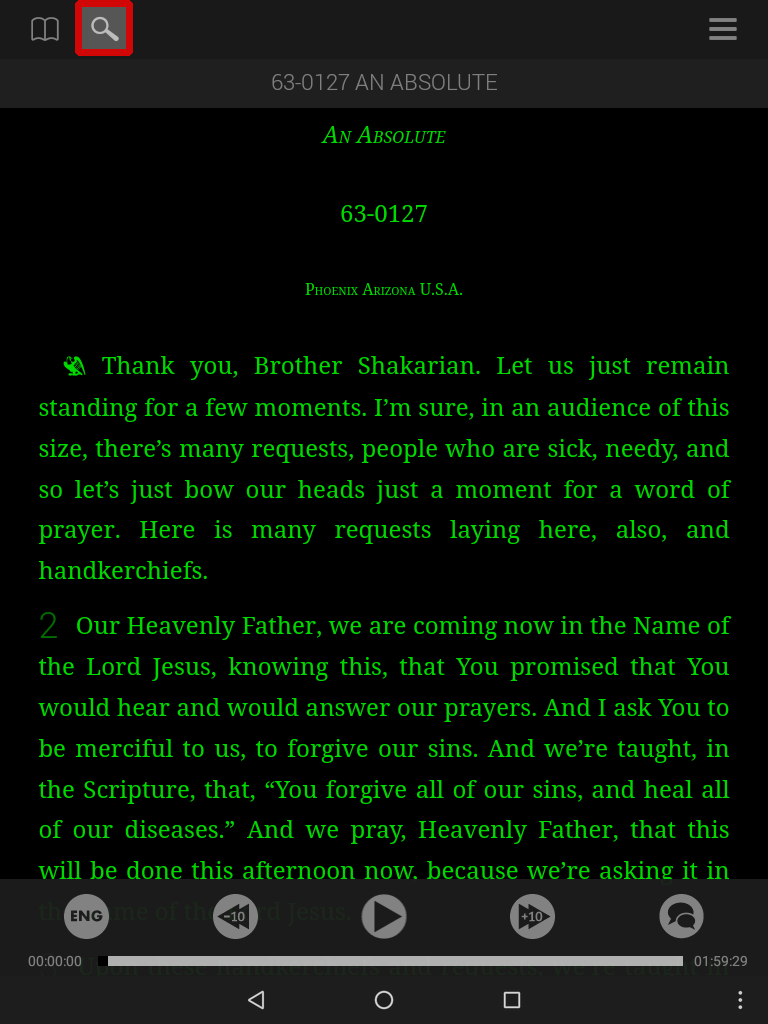
The Search button is located to the right of the Sermon Index button at the top of the screen.
Here you can locate a sermon or quote by searching all the words that Brother Branham spoke on Tape.
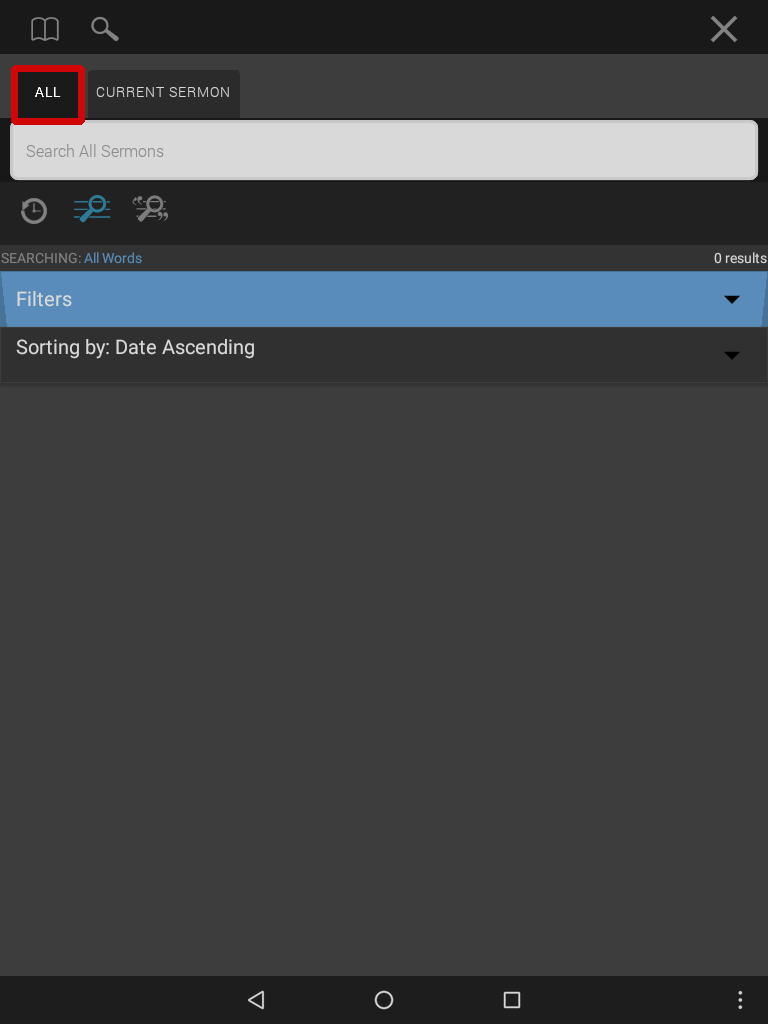
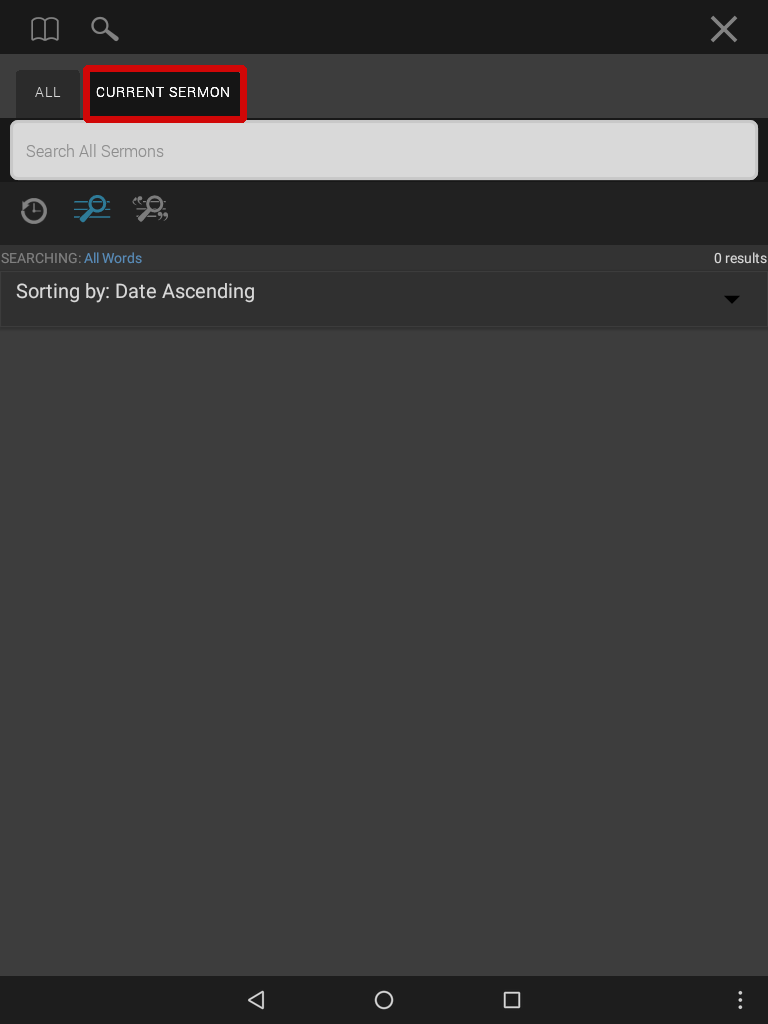
All and Current Sermon Tabs
There are two main tabs in the Search View.
The All tab allows you to search in all sermons while the Current Sermon tab allows you to search only within the sermon that is open.
Search Types
There are two basic types of searches: the all words search and the exact phrase search.
 All Words search
All Words searches for a collection of words within a quote. The words do not have to be found in the same order in the quote as they were entered into the search field or even be contained in the same phrase.
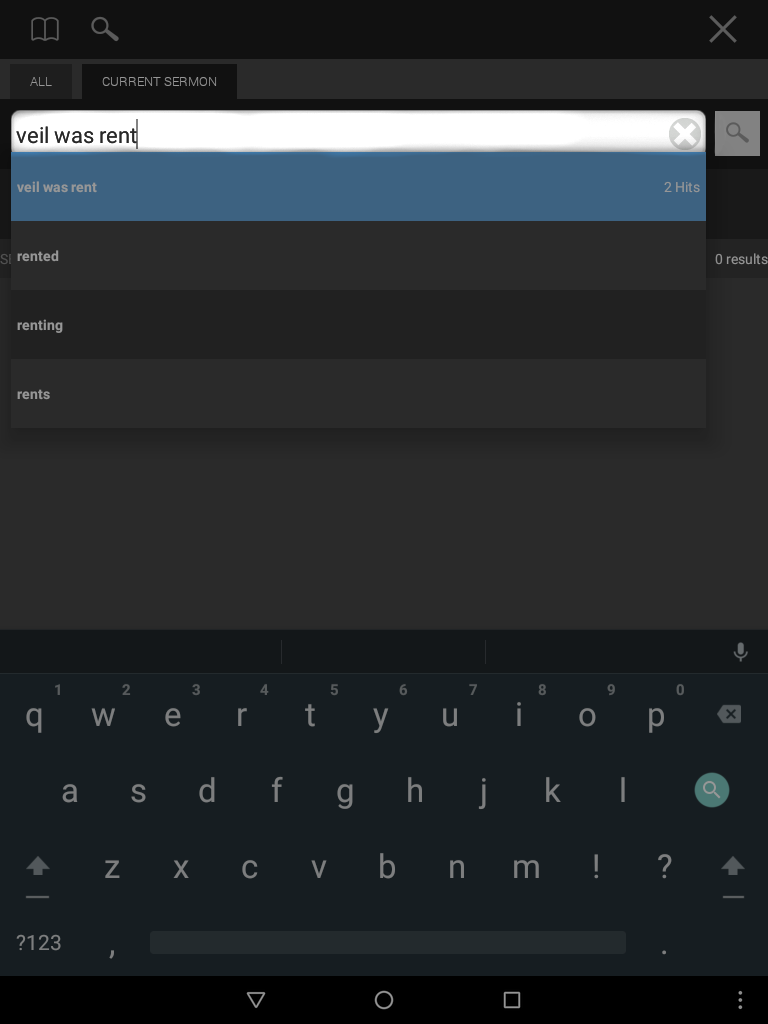
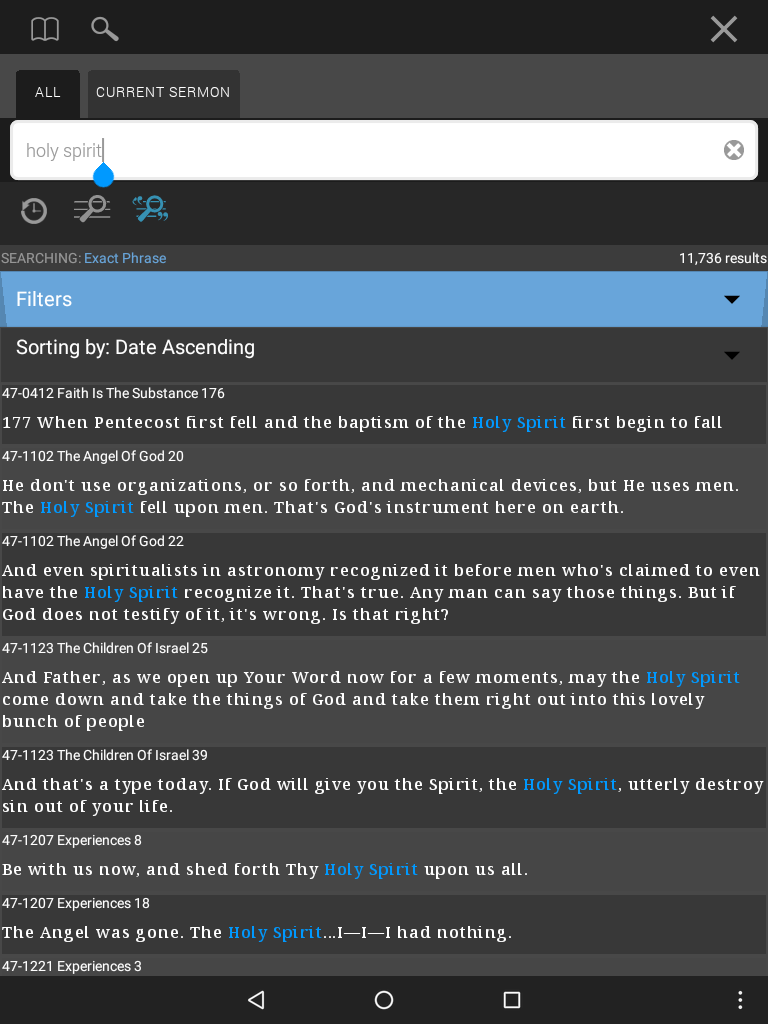
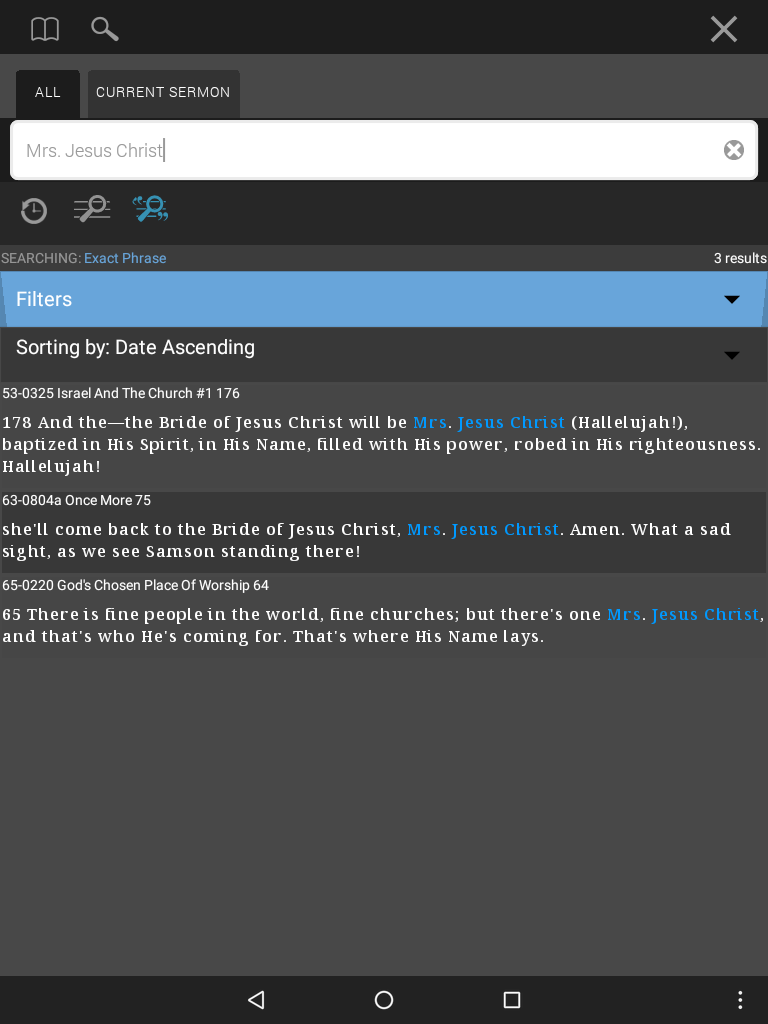
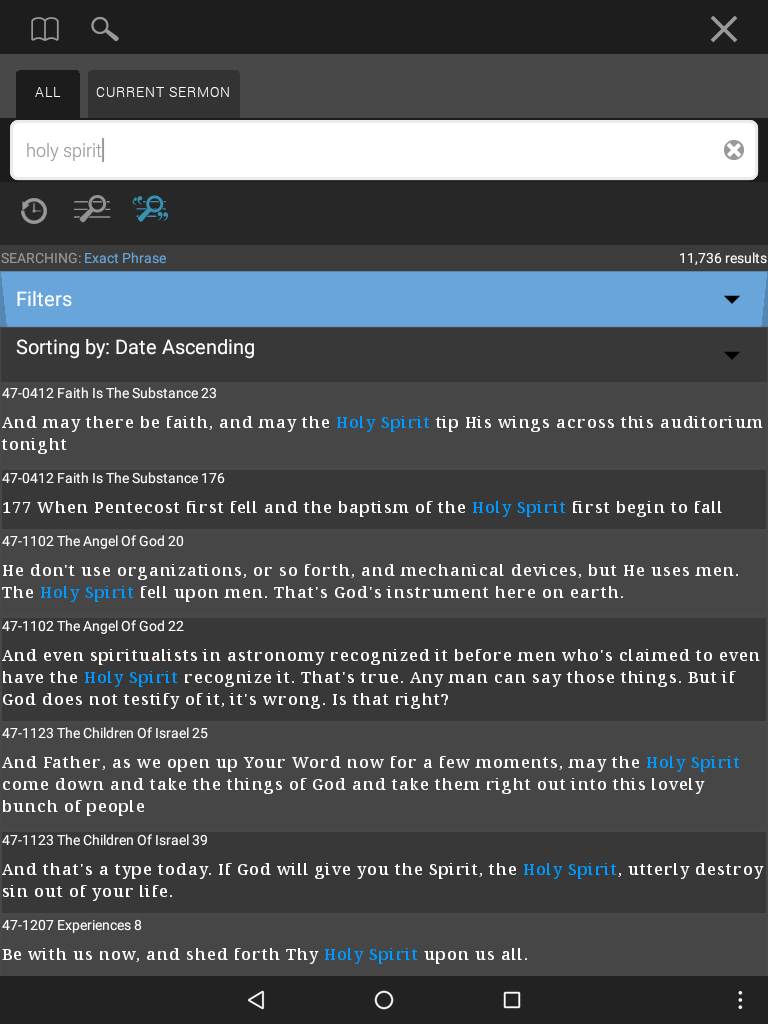
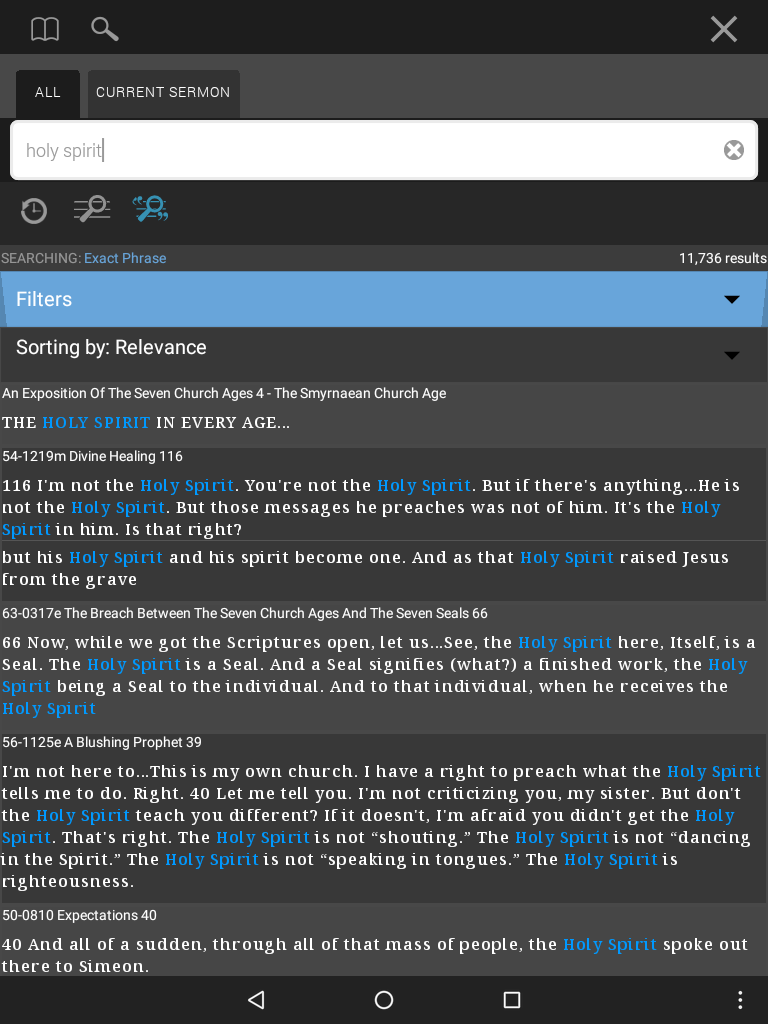
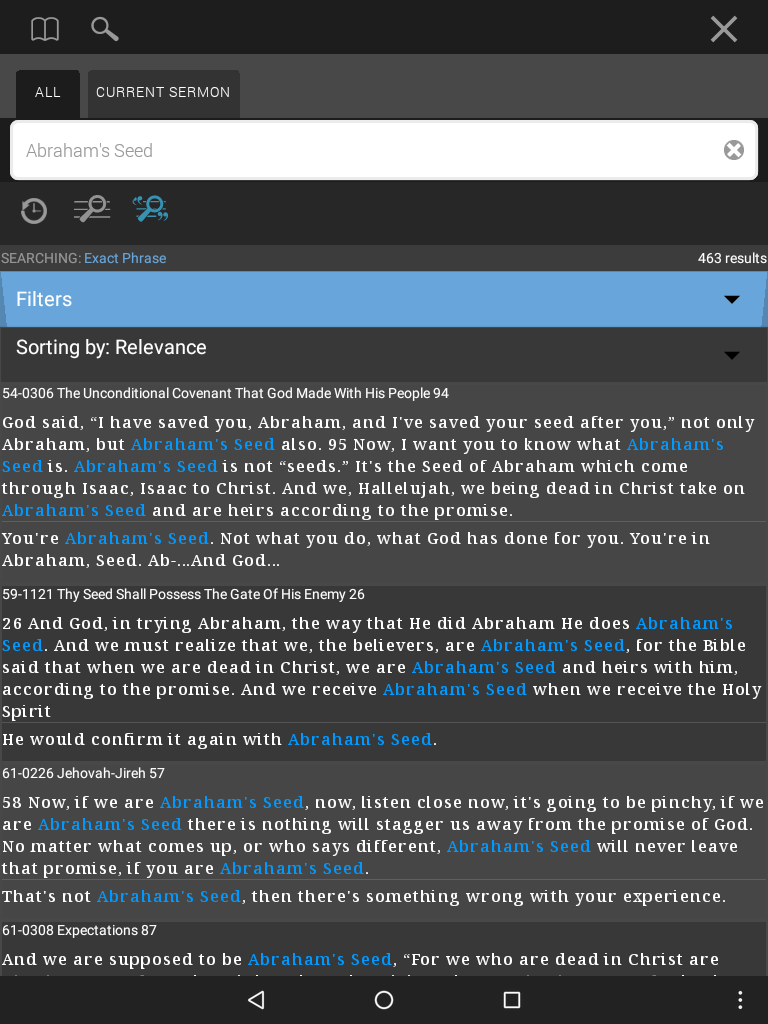
 Exact Phrase search
Exact Phrase searches for a specific sequence of words, finding the search terms exactly as they were entered into the dialog box.
To show the difference between the two:
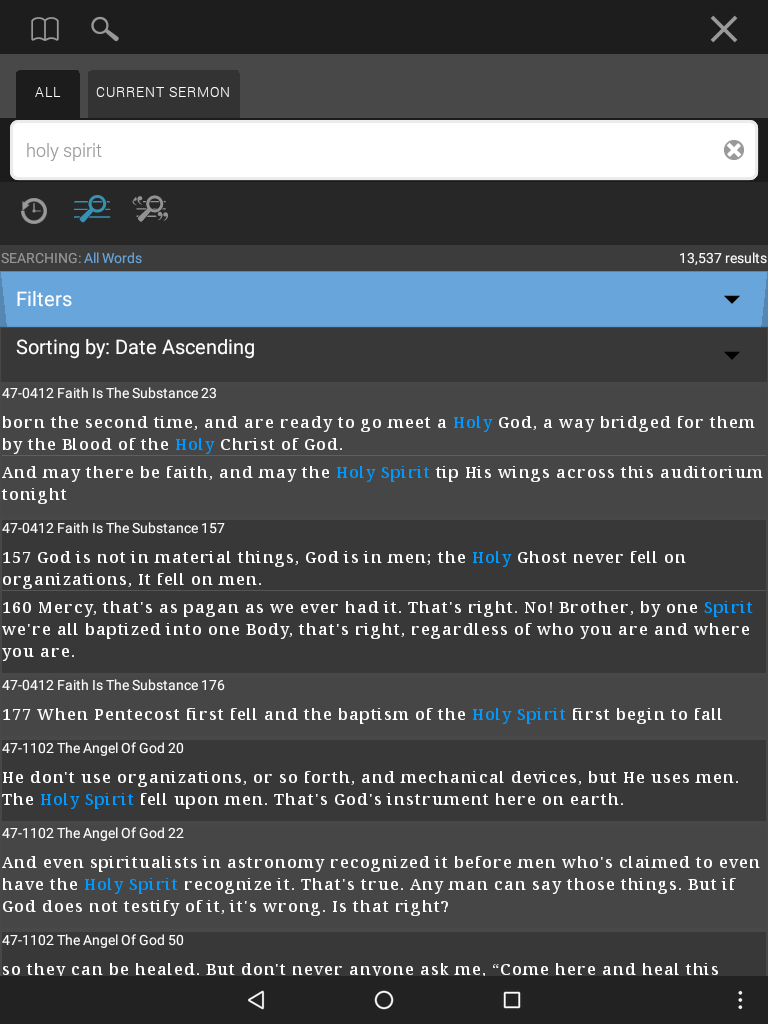
Typing the words "Holy Spirit" will find hits containing both the words spirit and holy, when used in the All Words option.
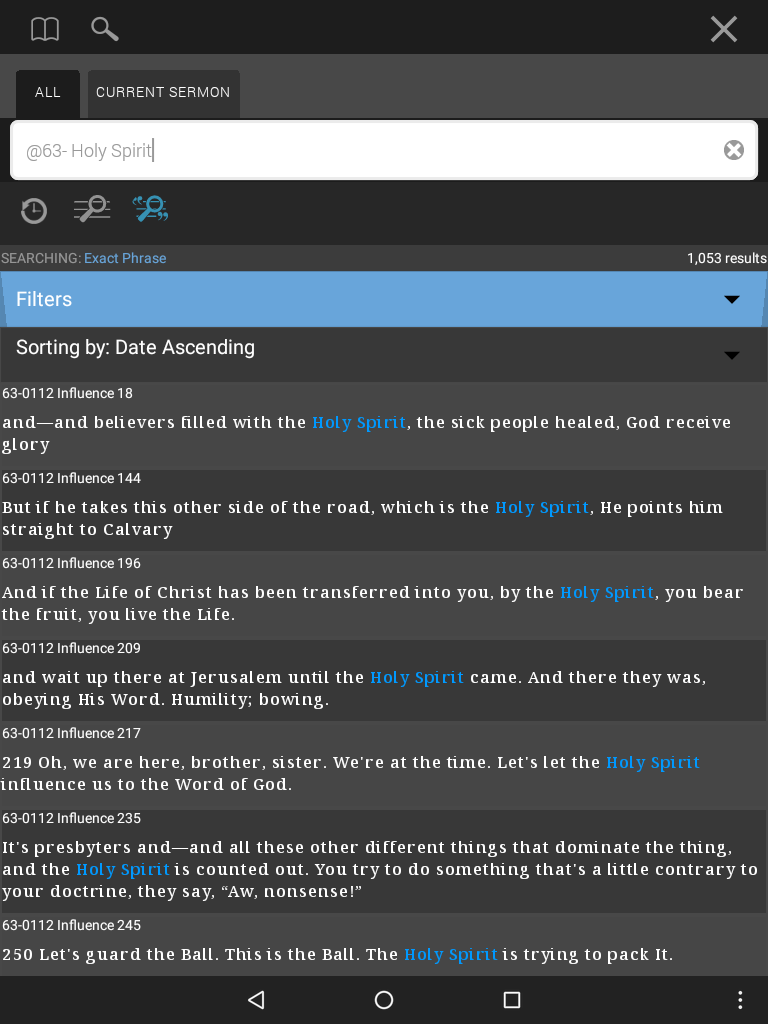
If you tap the exact phrase button, you will see only hits containing the exact phrase: Holy Spirit.

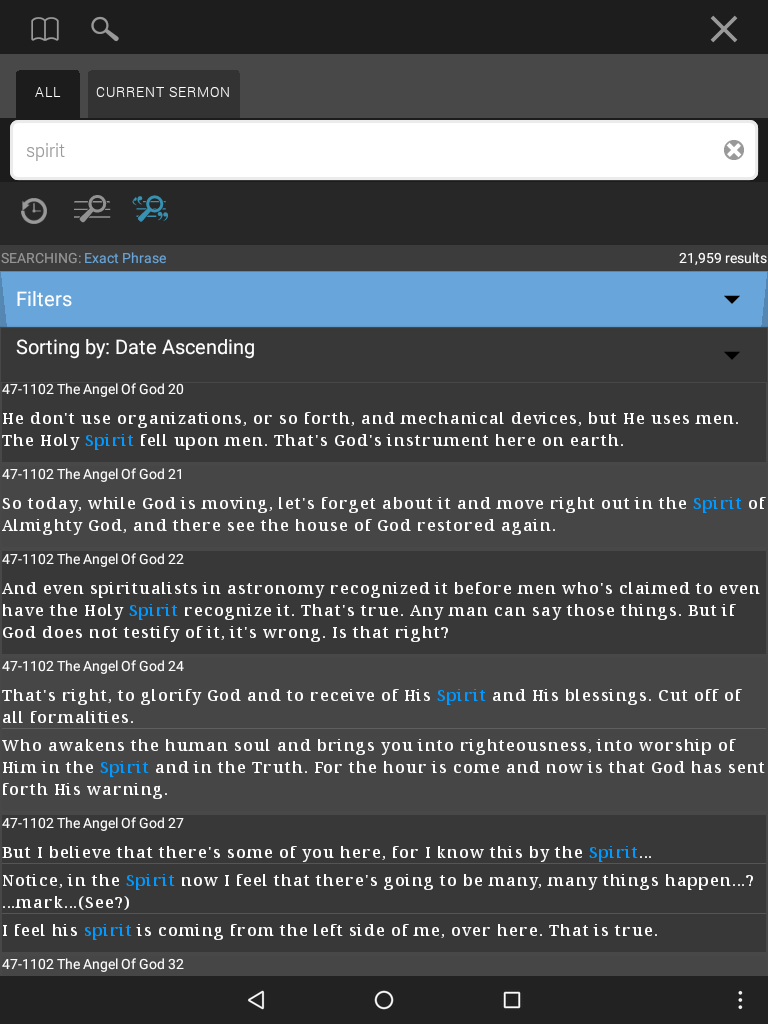
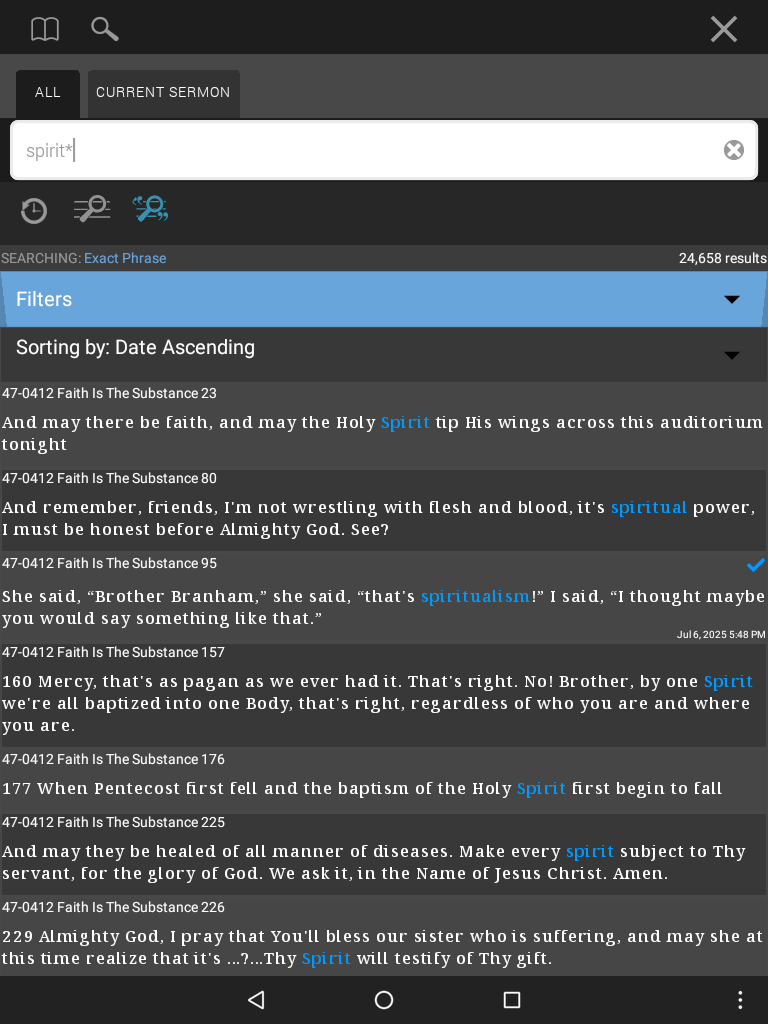
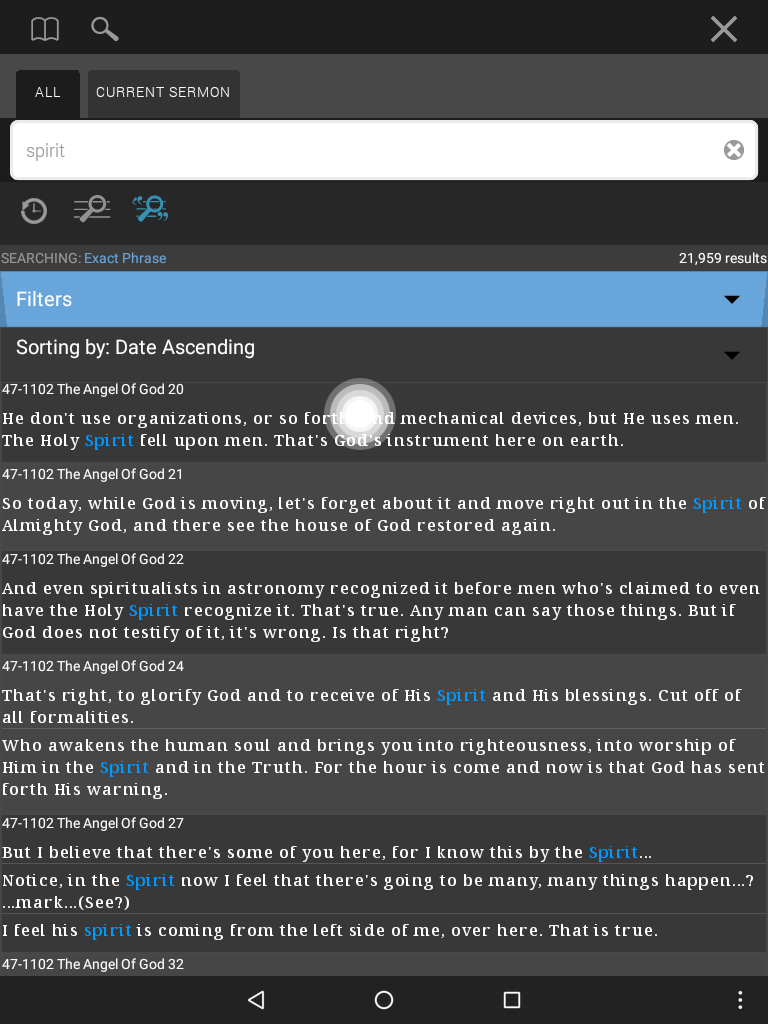
In the All tab, select the all words search and type in the word "spirit."
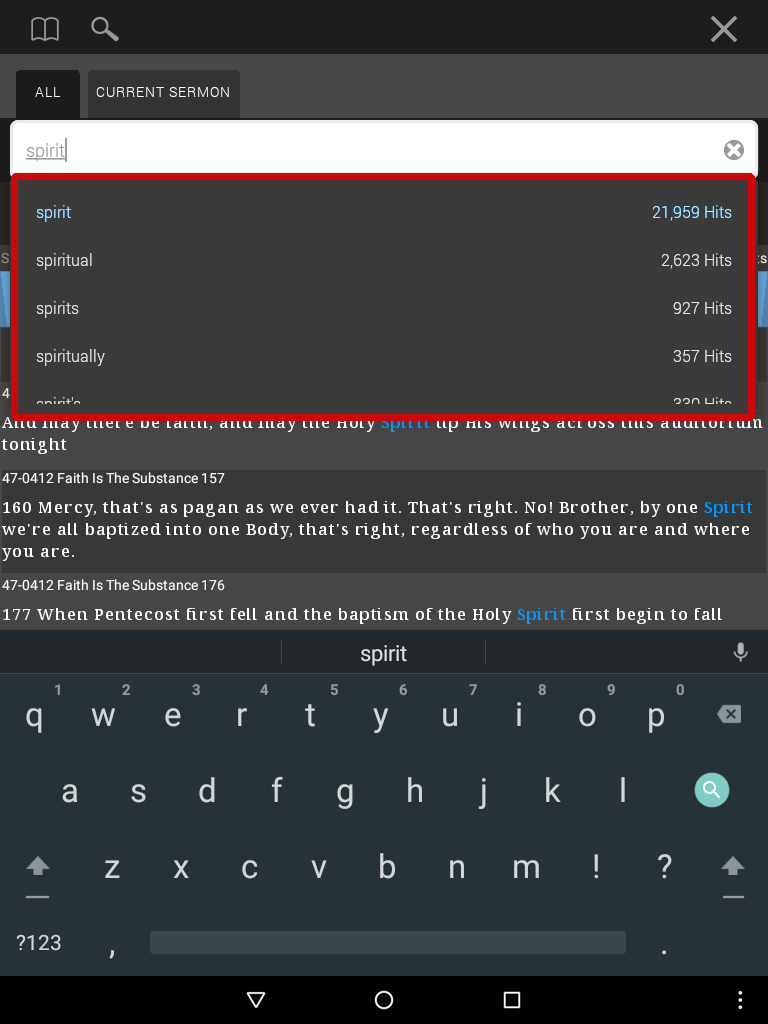
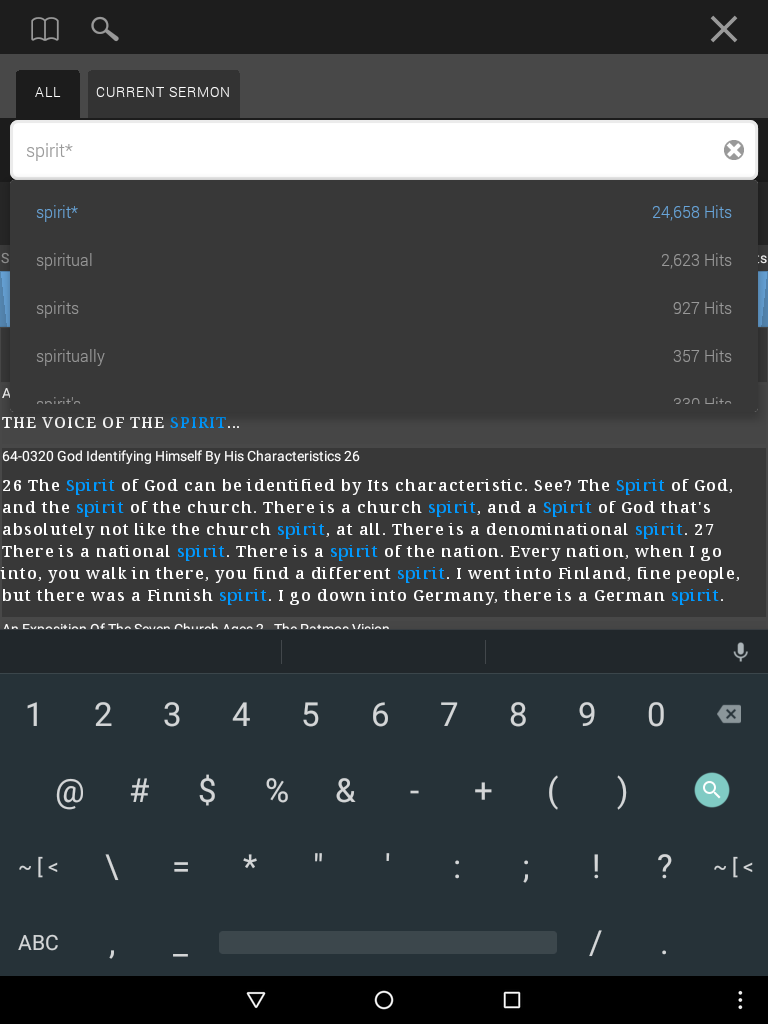
Notice the word prediction as you type. Each word includes the number of times the word is used. This helps you refine your search terms.
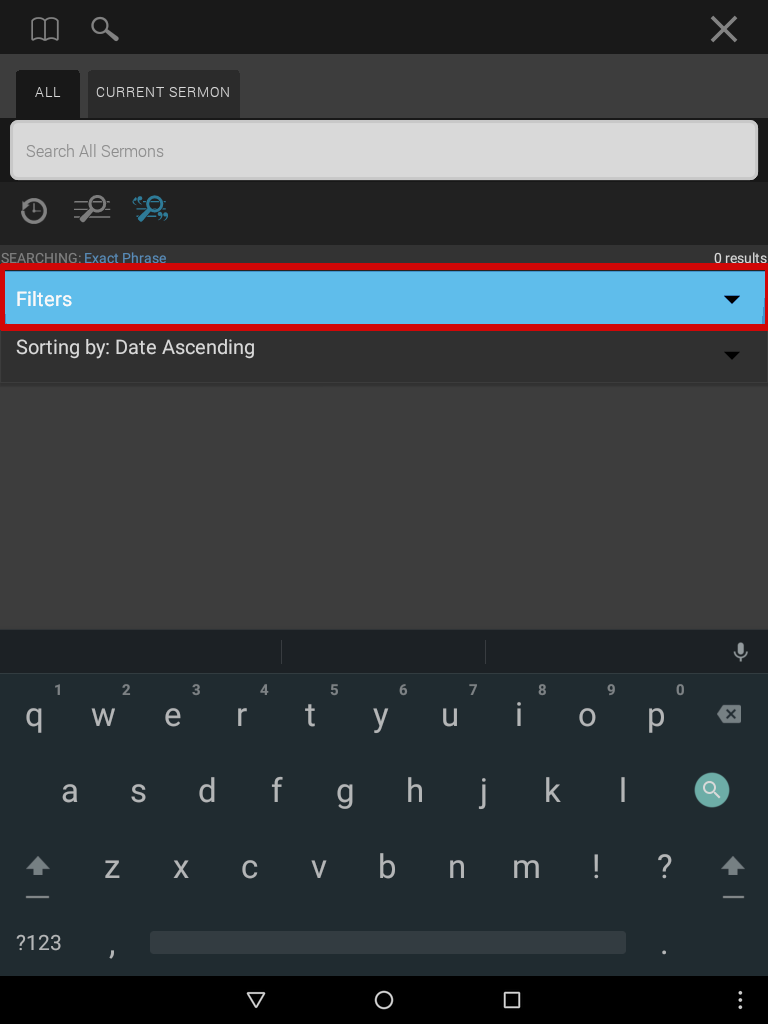
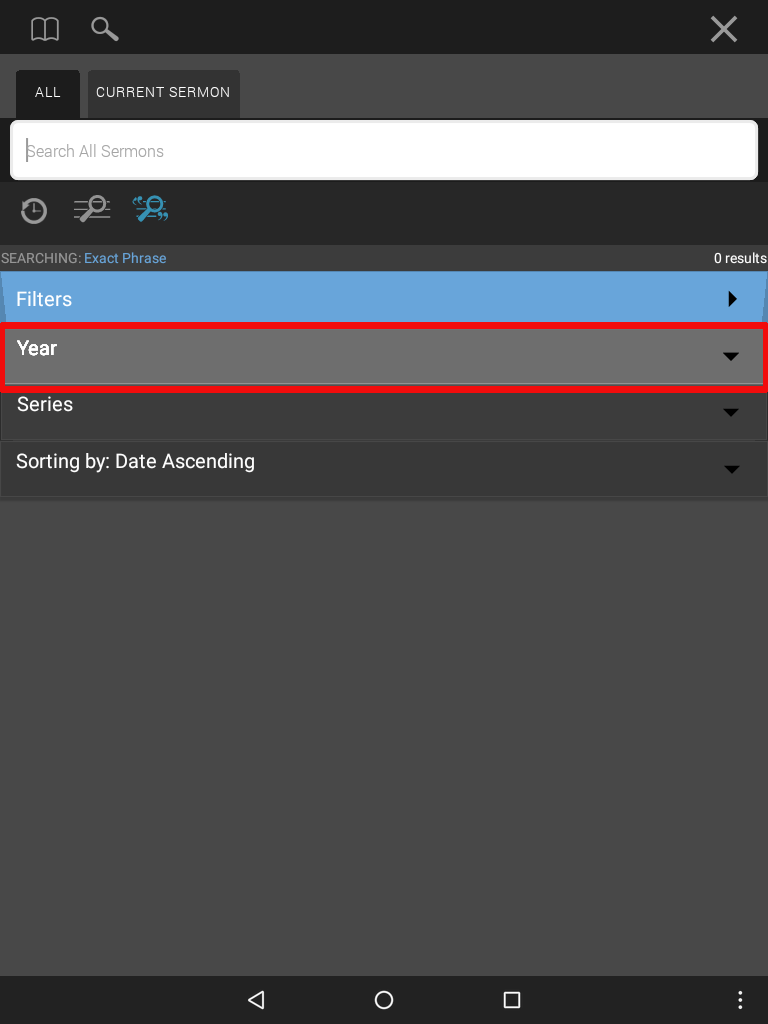
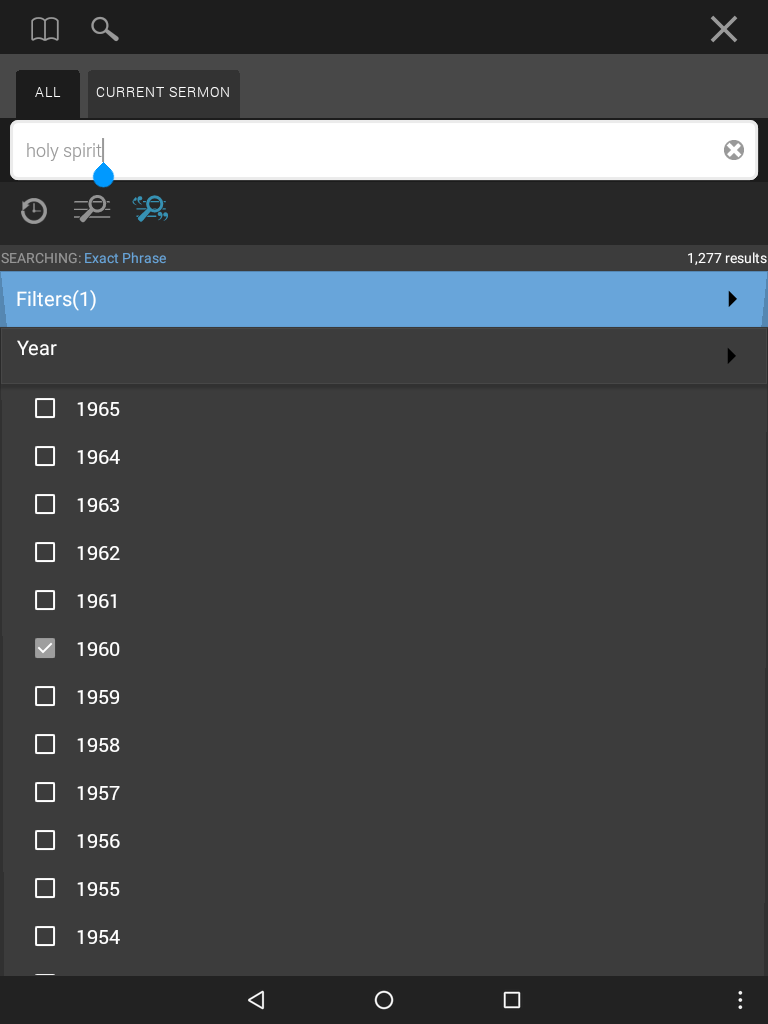
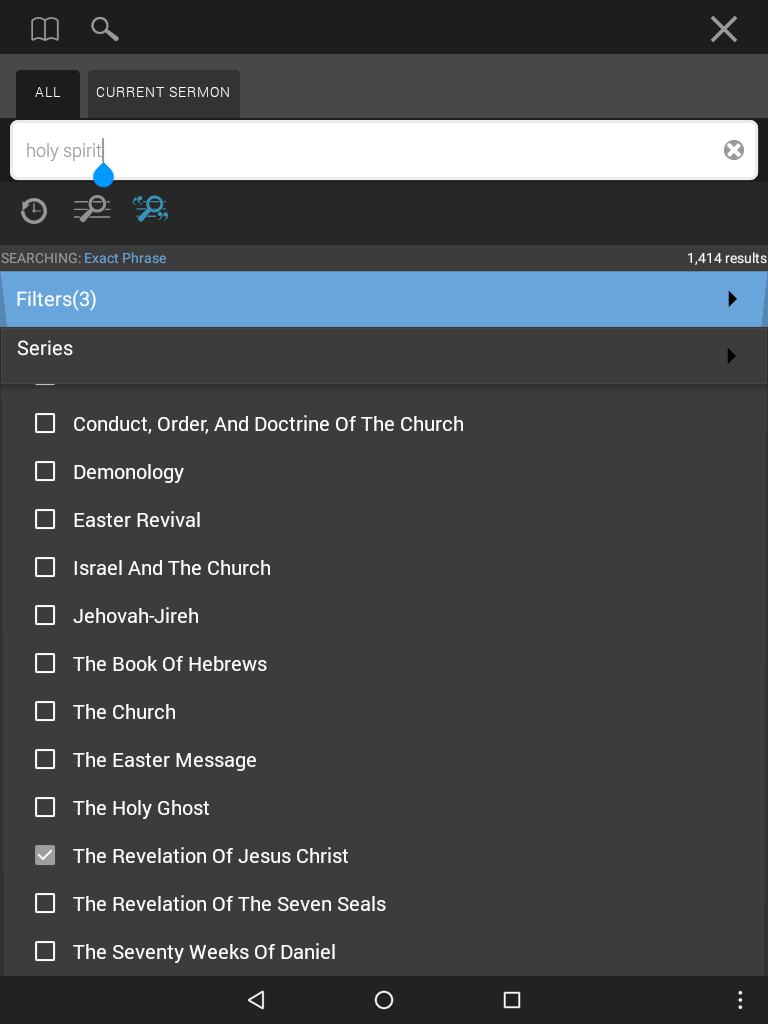
Search Filters
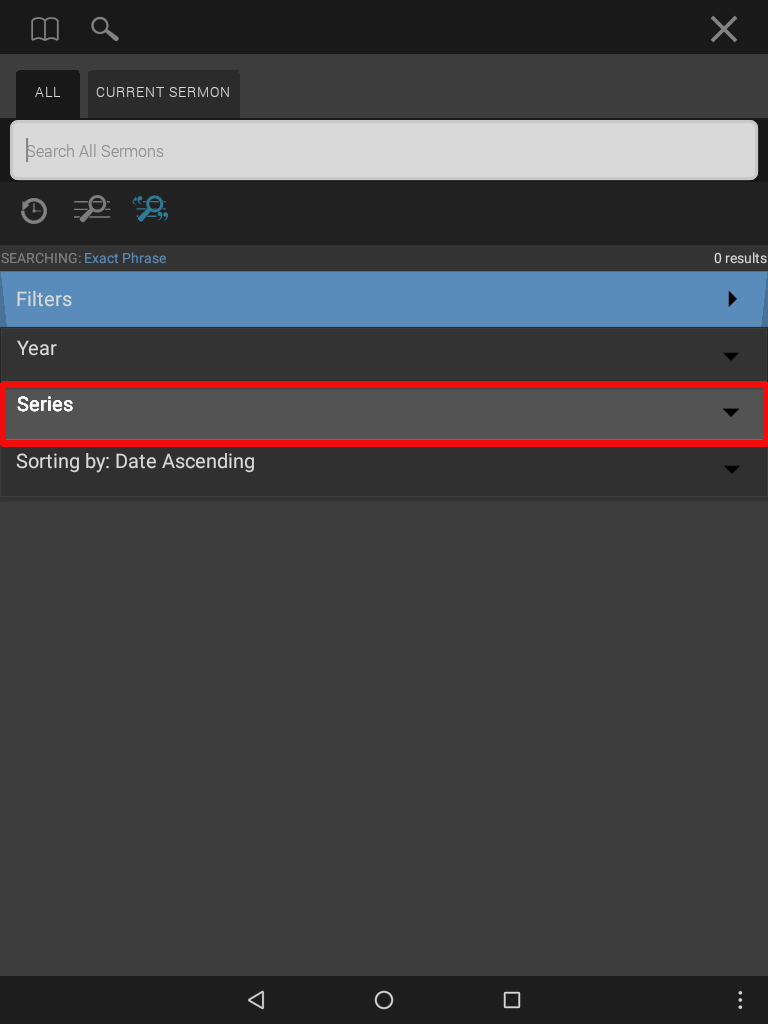
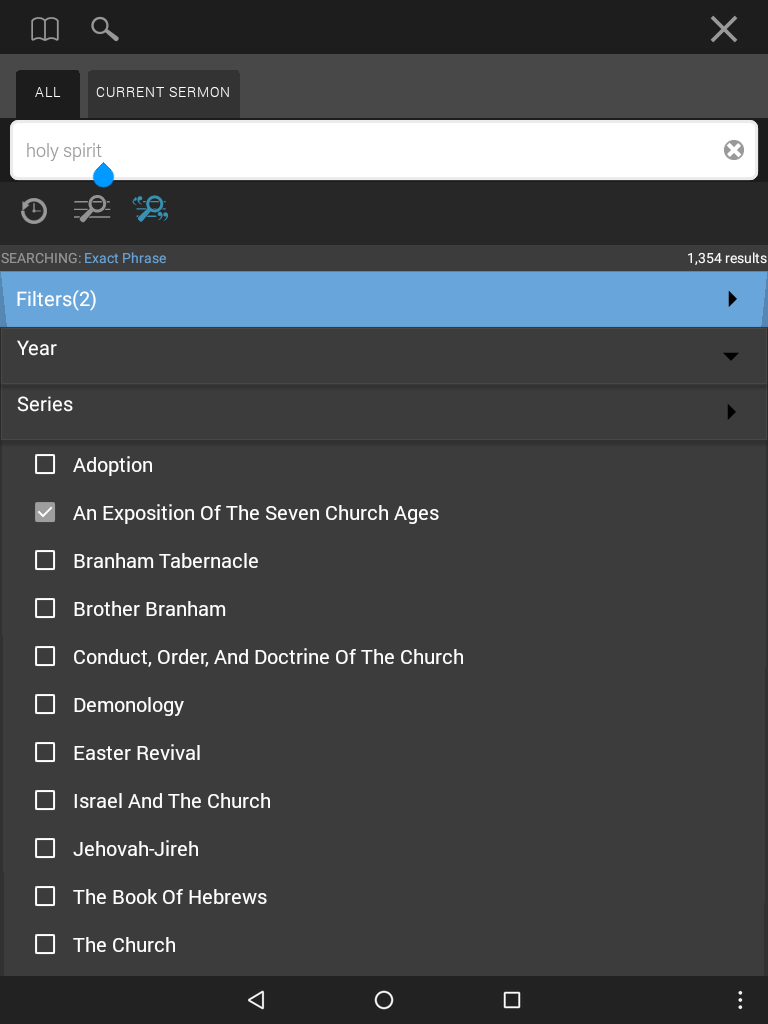
The Search Filters section allows the user to adjust their results to display results located in specific years or series.
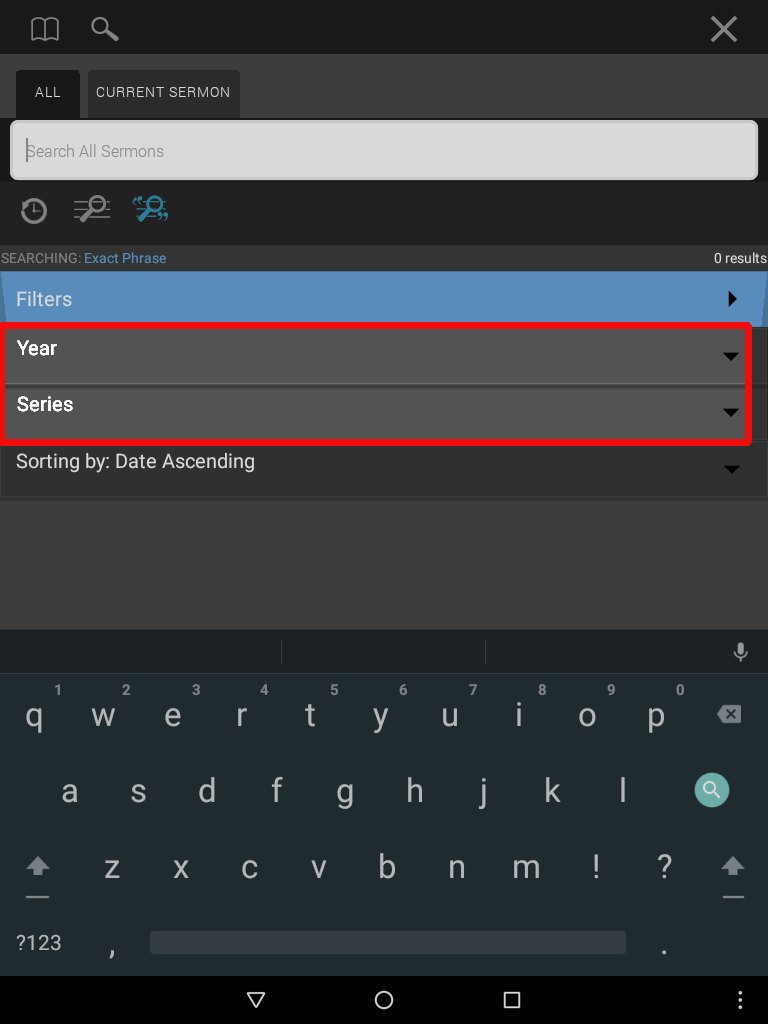
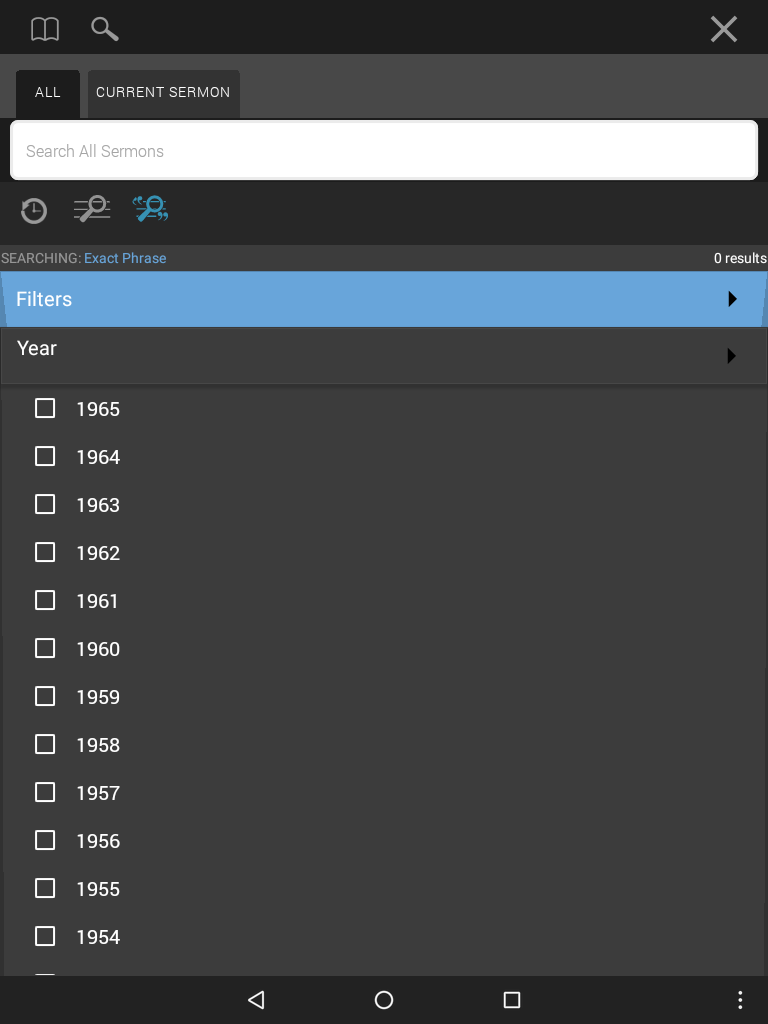
Year
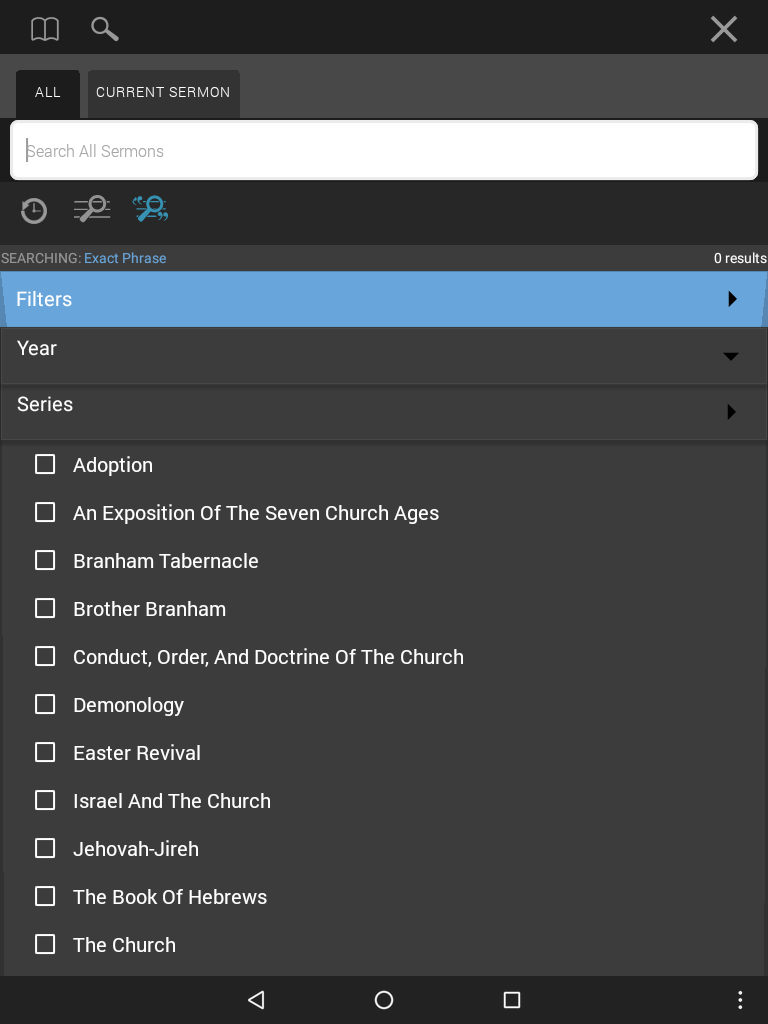
Series
Example 1
The exact phrase Holy Spirit is filtered to show results only in 1960, An Exposition of the Seven Church Ages, and The Revelation of Jesus Christ series.
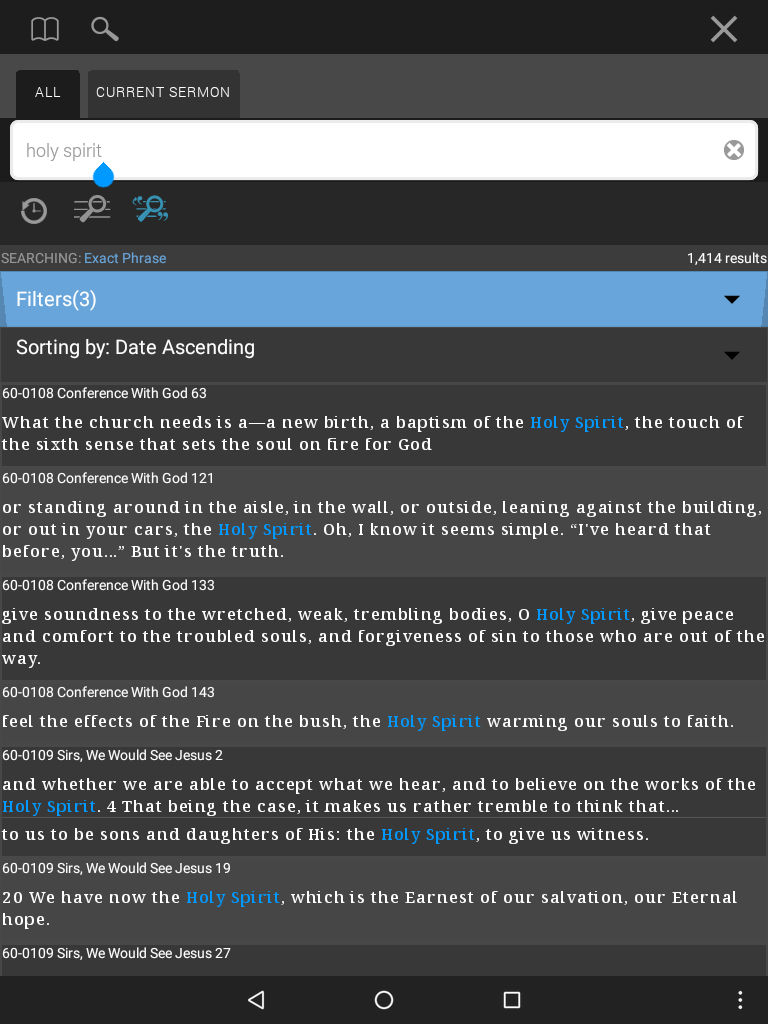
Notice how the search results number changes as each filter is selected.
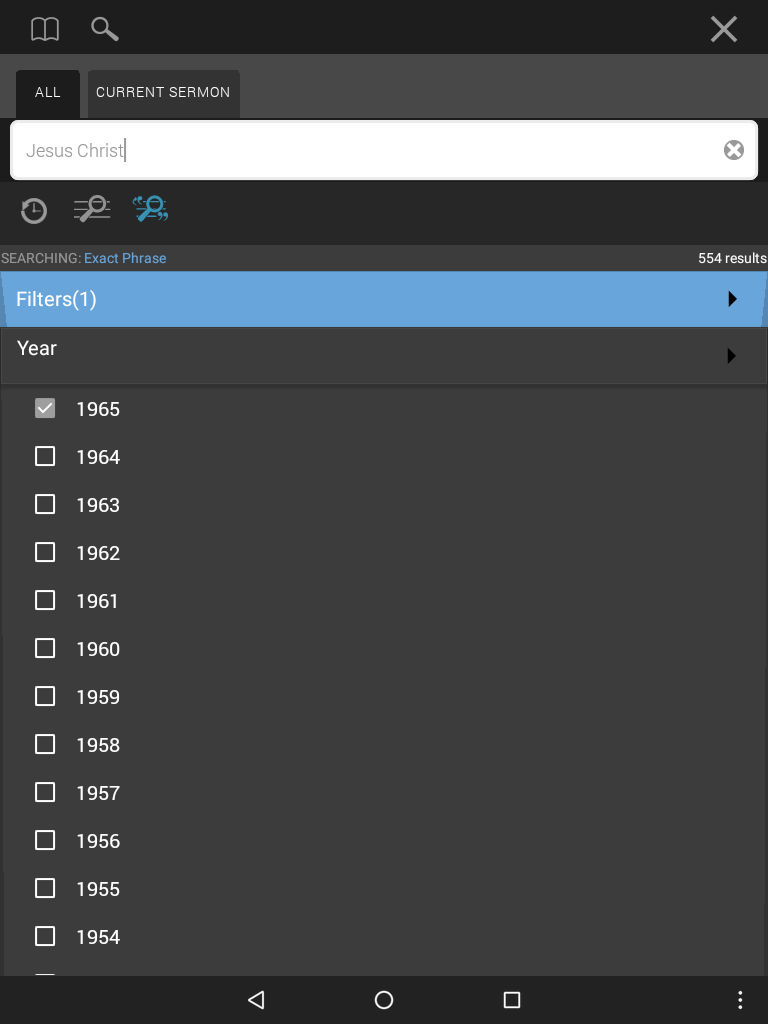
Example 2
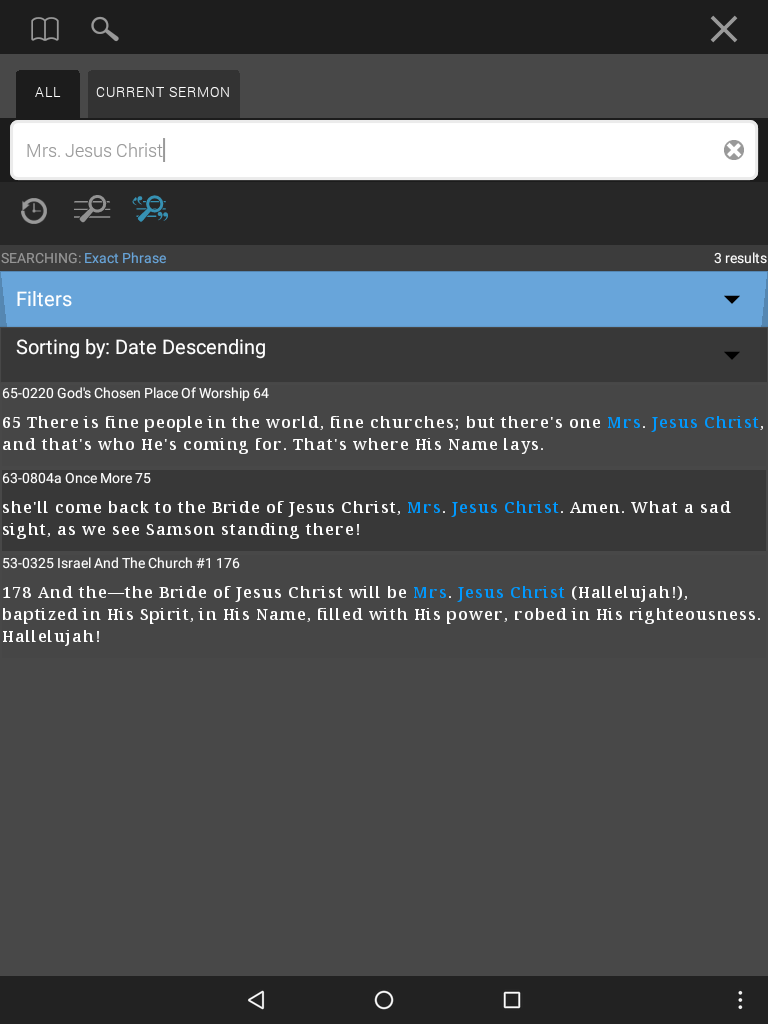
The exact phrase Jesus Christ is filtered to show search results in only 1965.
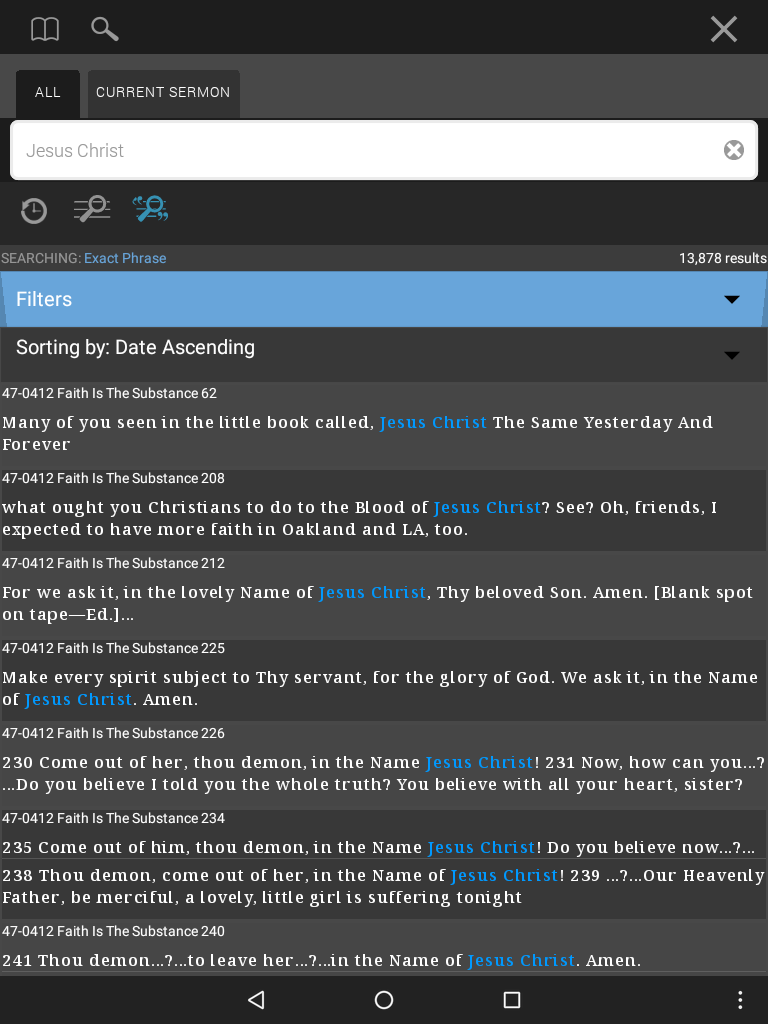
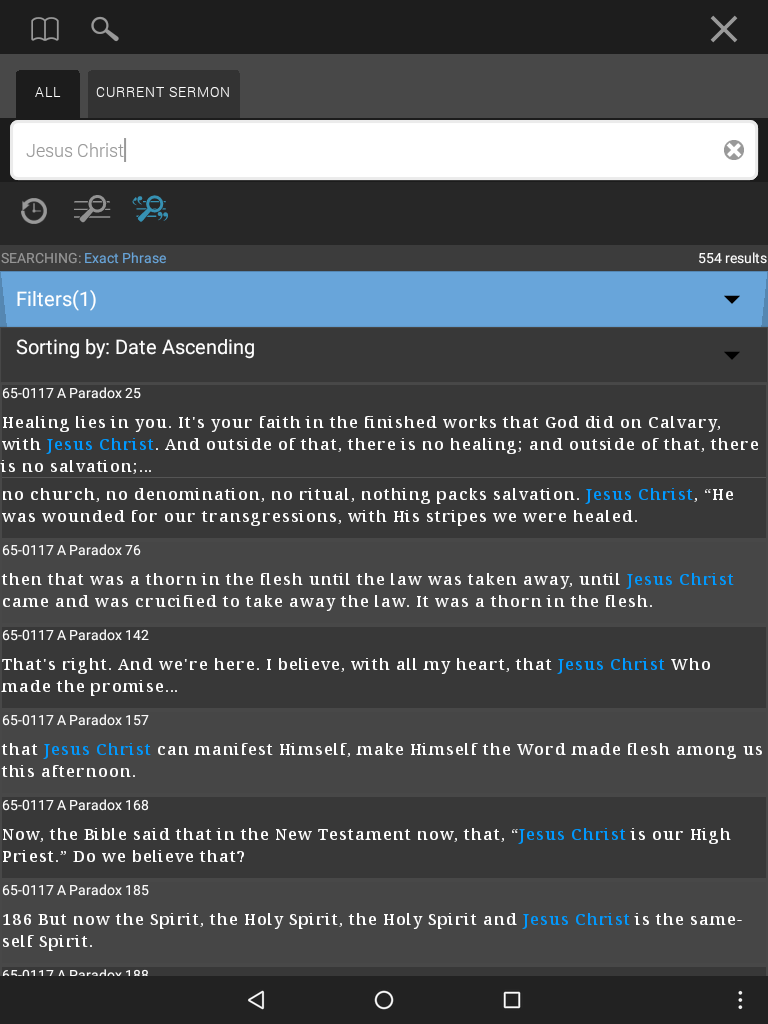
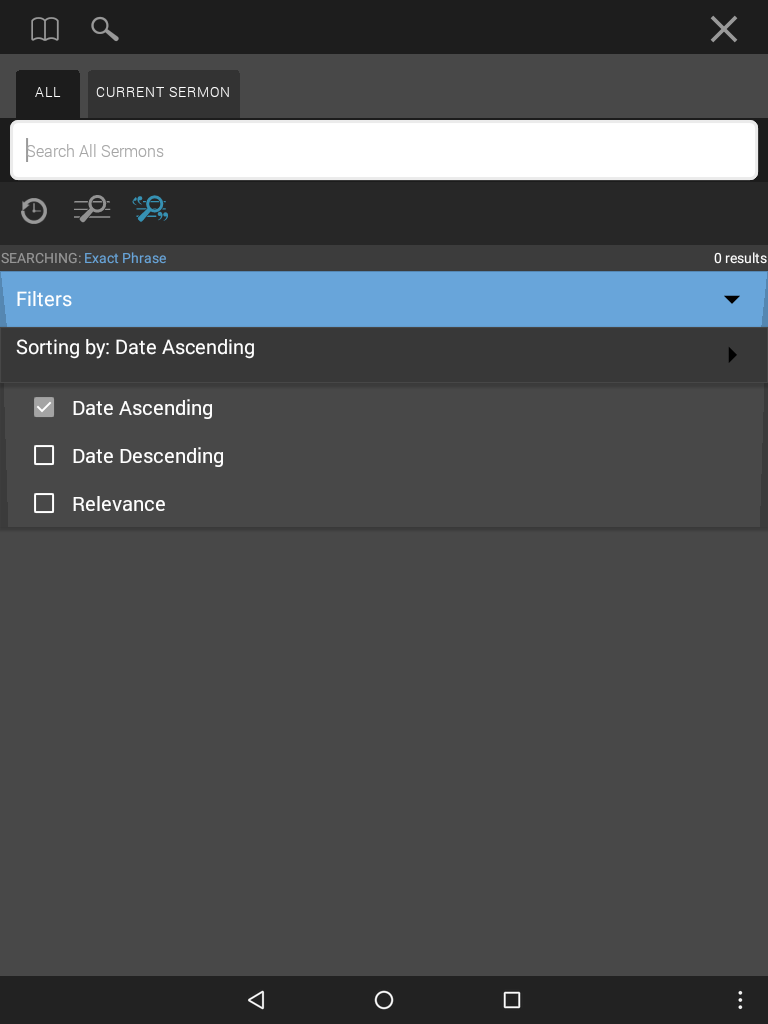
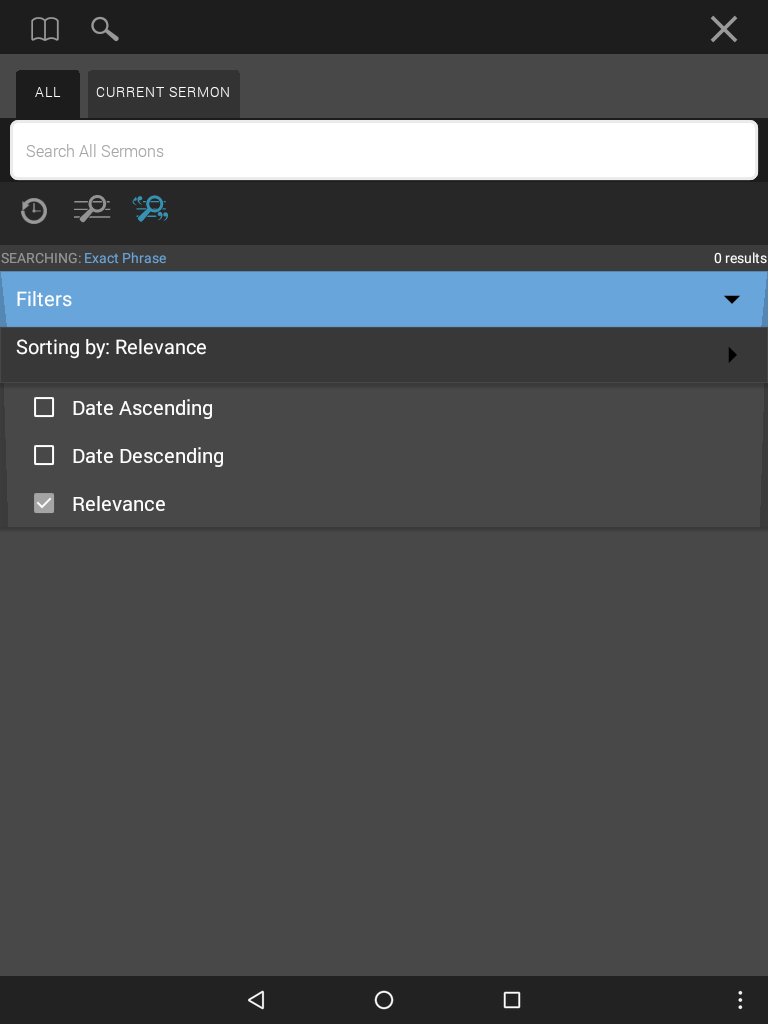
Sort By
The Sort By drop down menu allows the user to adjust the search result sort order to display results in ascending or descending orders, or based on relevance.
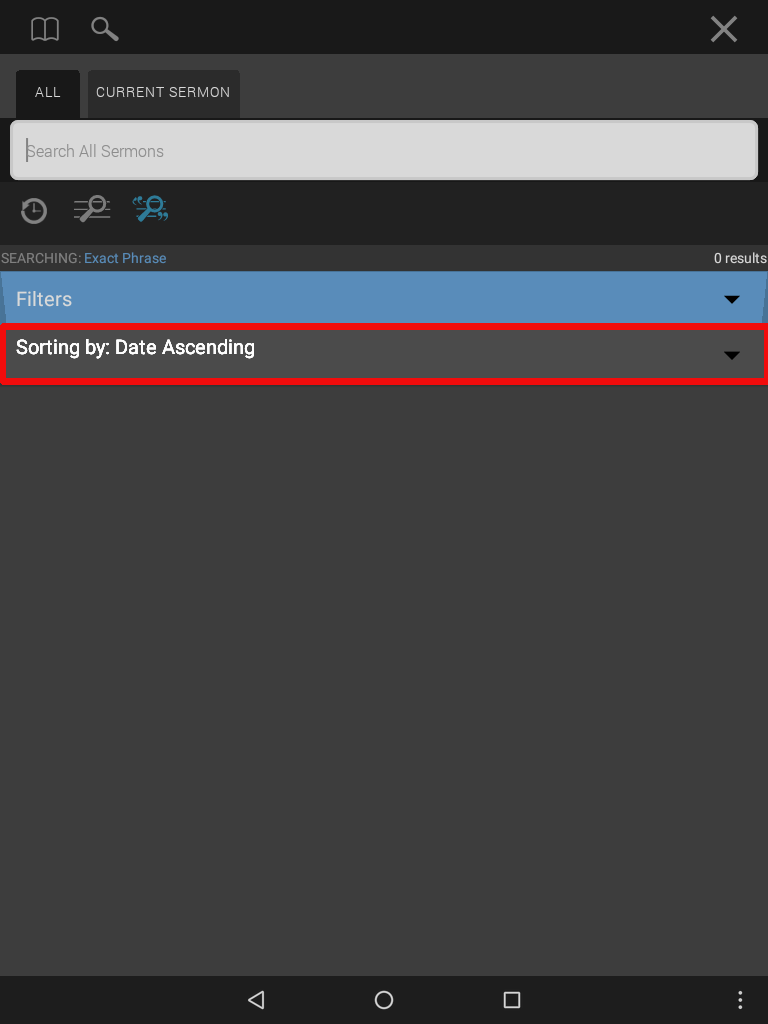
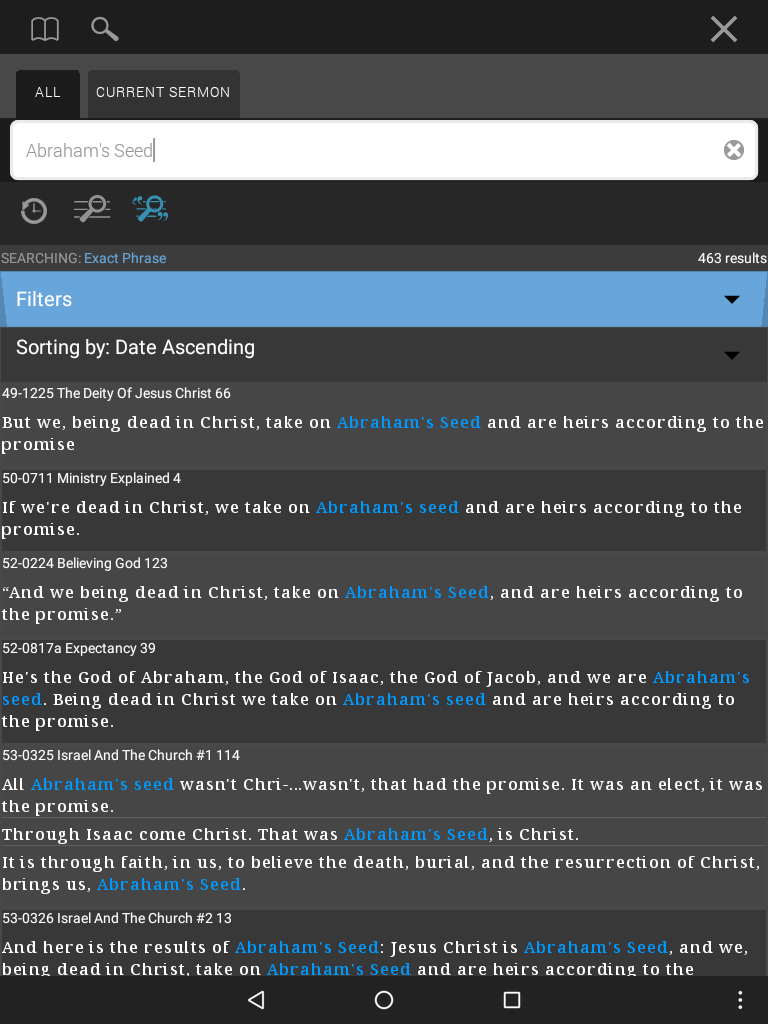
Ascending Order
When ascending order is selected, the search results will be listed from the earliest sermon date code to the latest sermon date code. If any results are found in An Exposition of the Seven Church Ages, those results will be listed last.
Examples
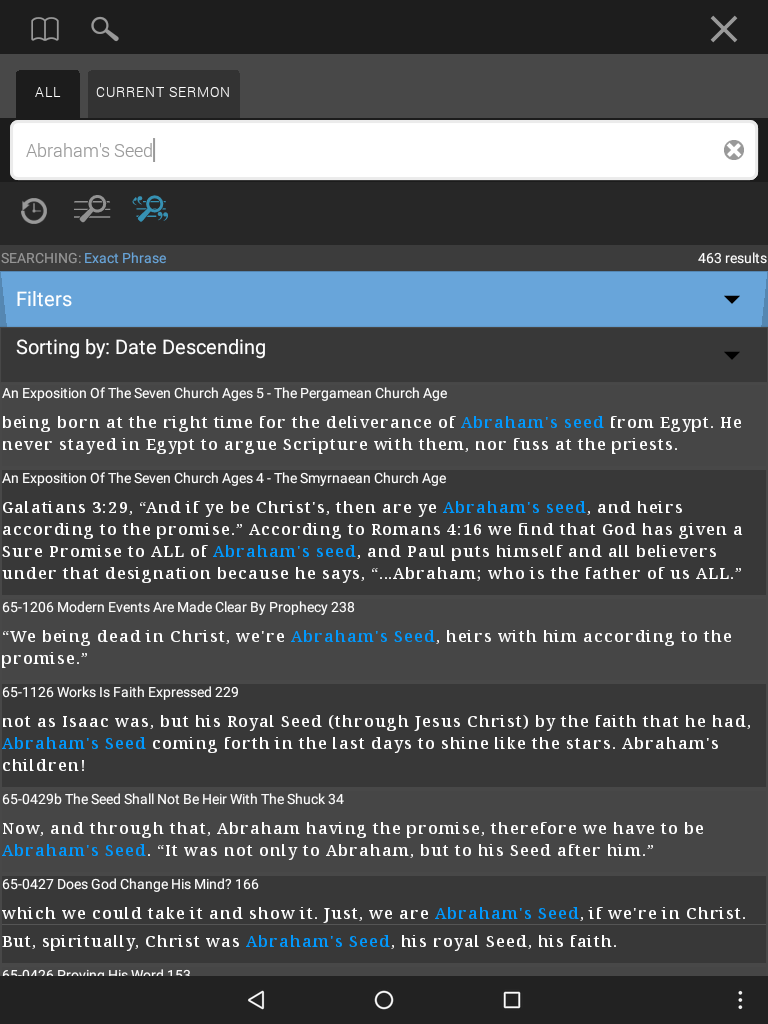
Descending Order
When descending order is selected, any results found in An Exposition Of The Seven Church Ages will be found at the top of the list, followed by 1965. The results with the earliest sermon date, will be listed last.

Examples

Relevance
When sorted by relevance, search results containing multiple search hits of the search terms the user has entered will be listed first.
Typically, the more search hits it contains, the higher up in the list the search result will be. However, there are a couple factors which may affect the relevance search including the length of the quote and where it is located in the text. Search results containing search results in a title or section header, which may be the case in An Exposition of the Seven Church Ages, will appear higher in the list.
Examples
If all the results have the same amount of hits or instances the search terms appear, the results will be sorted in ascending order.

Expand Or Limit Searches
Add an asterisk(*) at the end to expand the search.
Using this wildcard, it will find all words starting with spirit, such as spiritual or spiritualism.
Notice that the hit count increases.
There’s another special character in advanced search:
The @ sign allows you to limit the search to a date range, and restrict your hit count.
To search only the sermons preached in 1963, type: @63
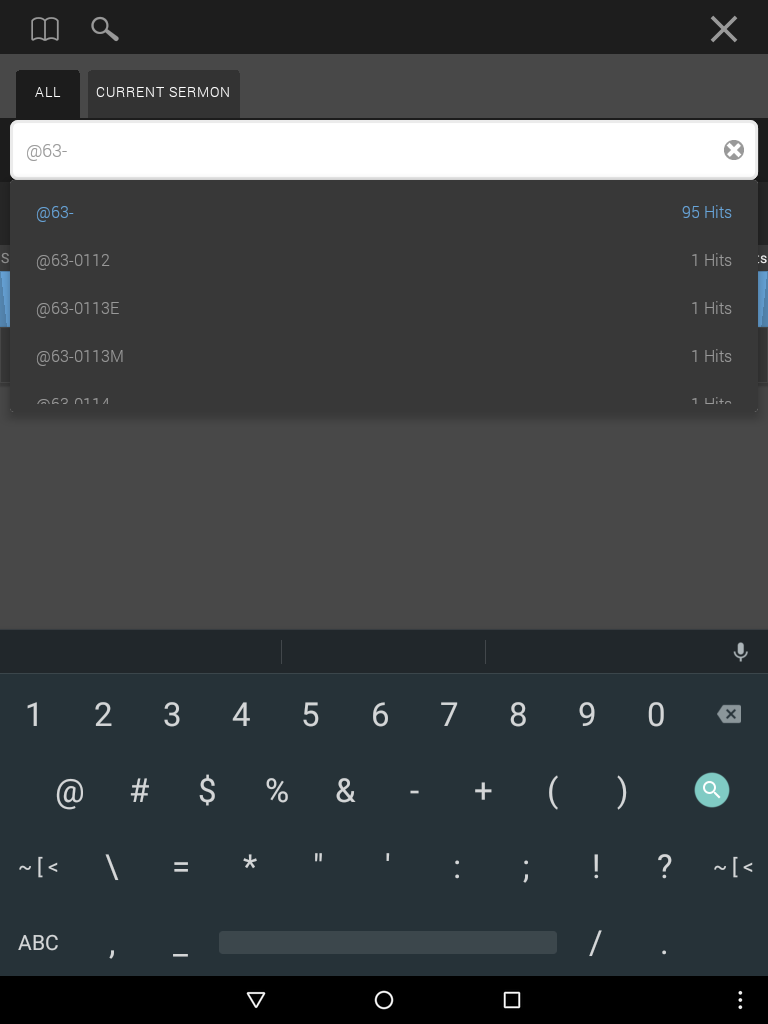
Example
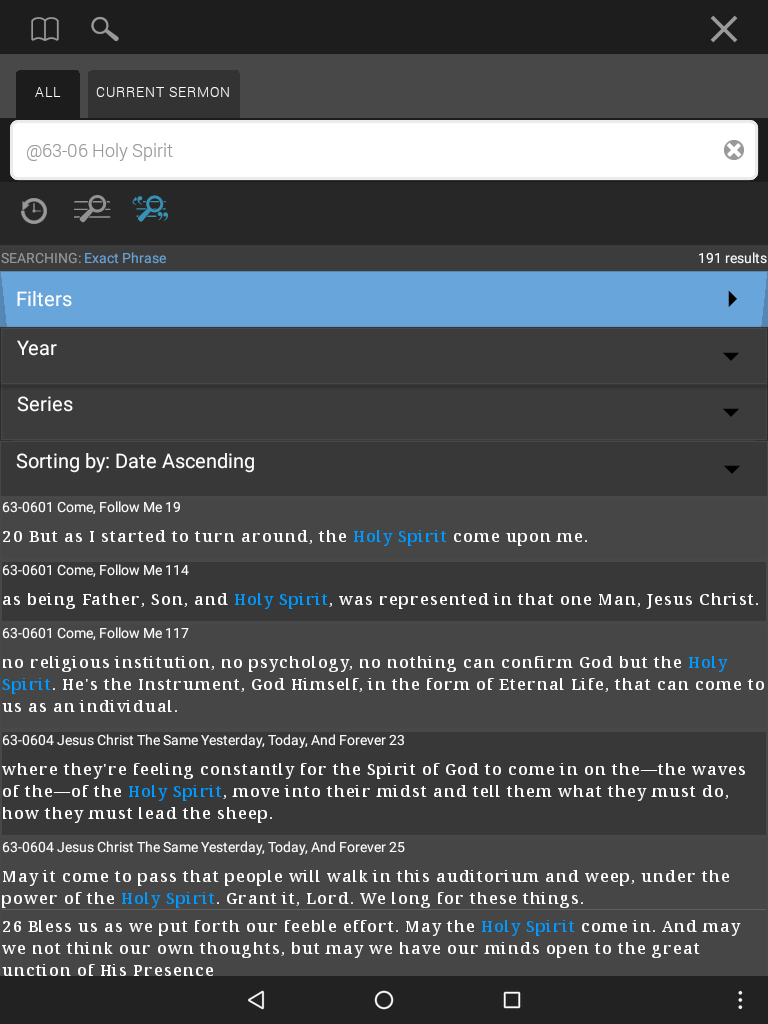
To search only the sermons preached in June 1963, type: @63-06
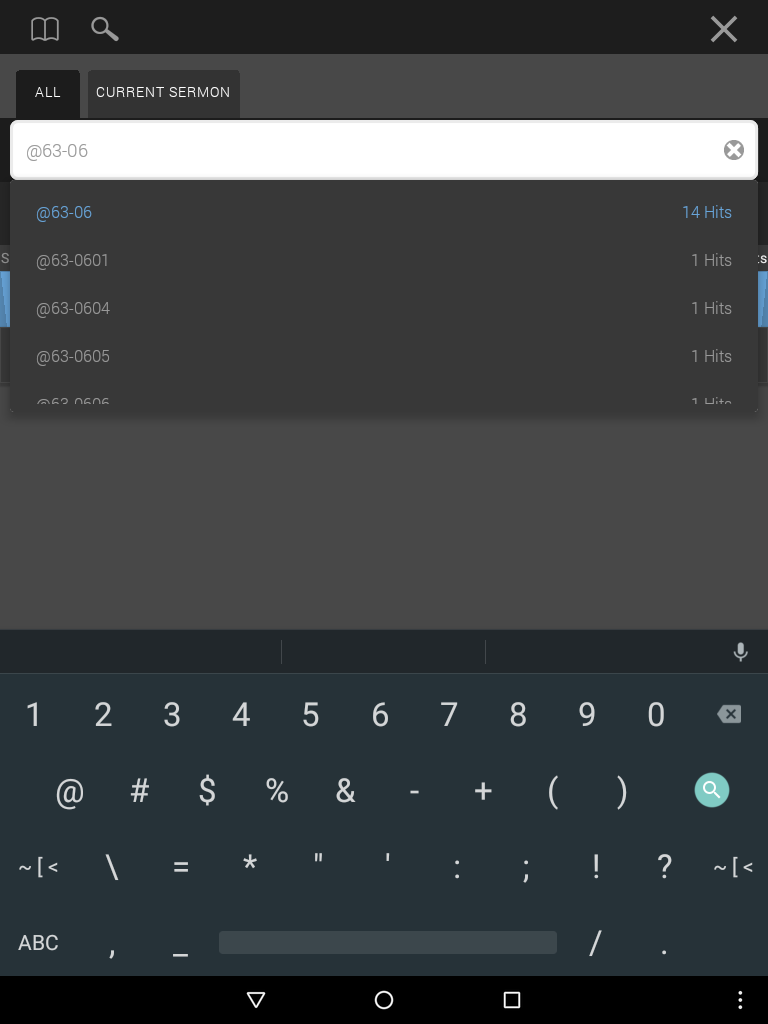
Example
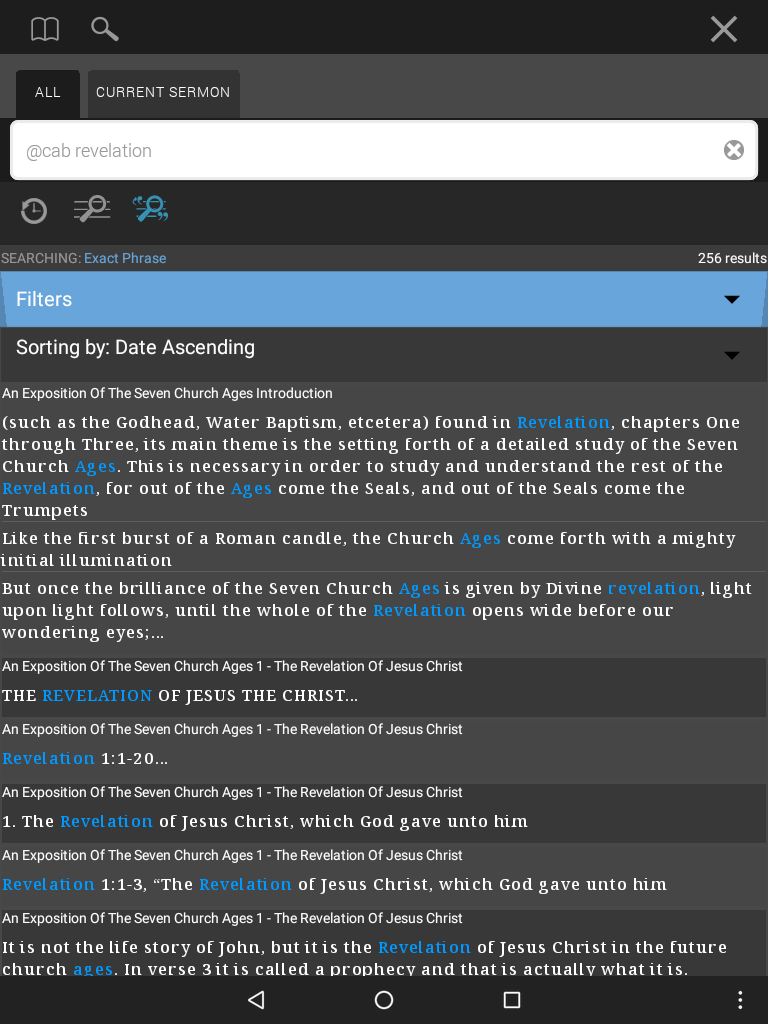
Note: Typing @cab in the search field will allow you to narrow your search results to only The Church Age Book.
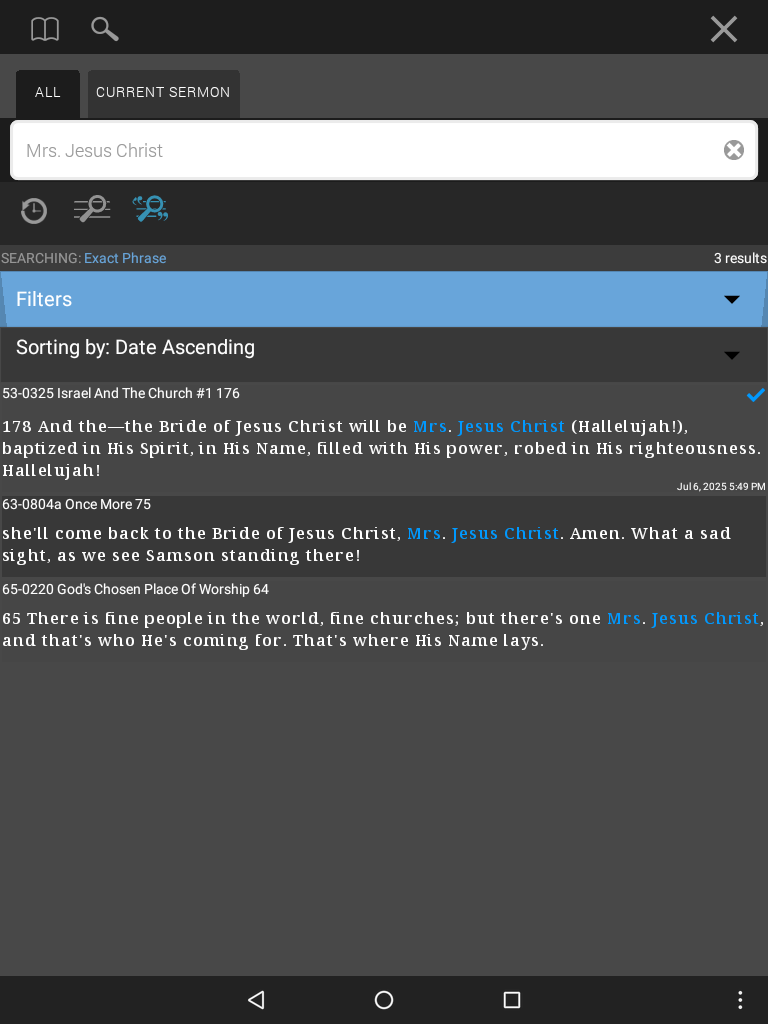
Load Search In Sermon Text
Once you’ve found a search result you like, simply tap on that quote, and the Table will load the sermon with the search terms you used highlighted in the text.
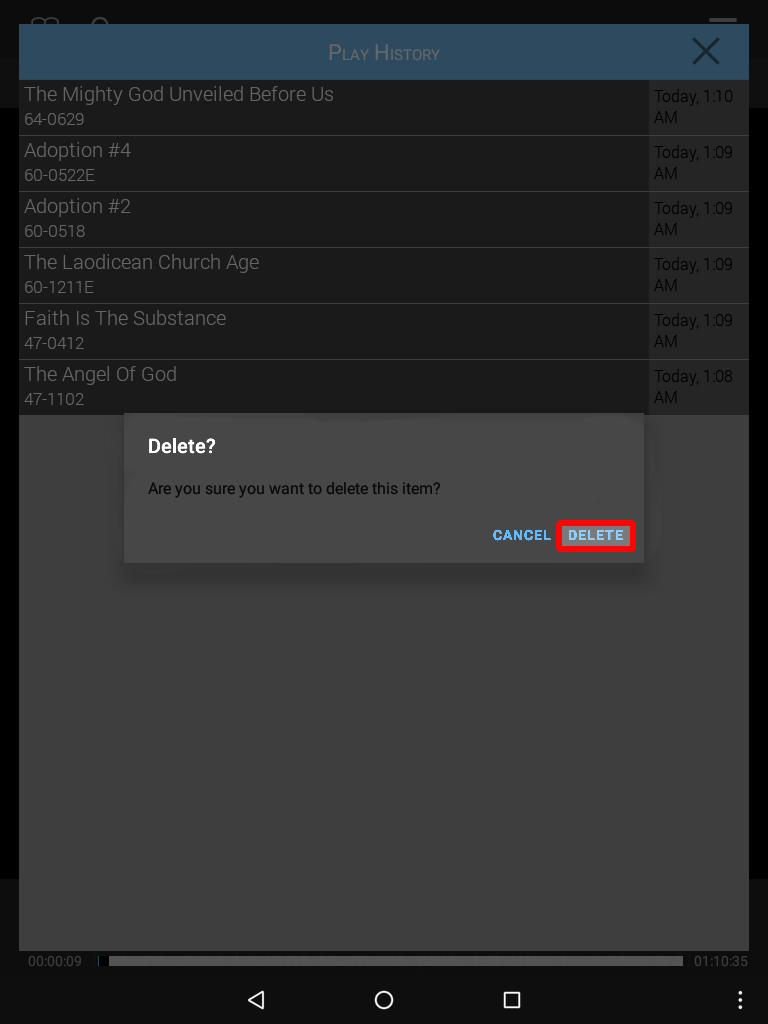
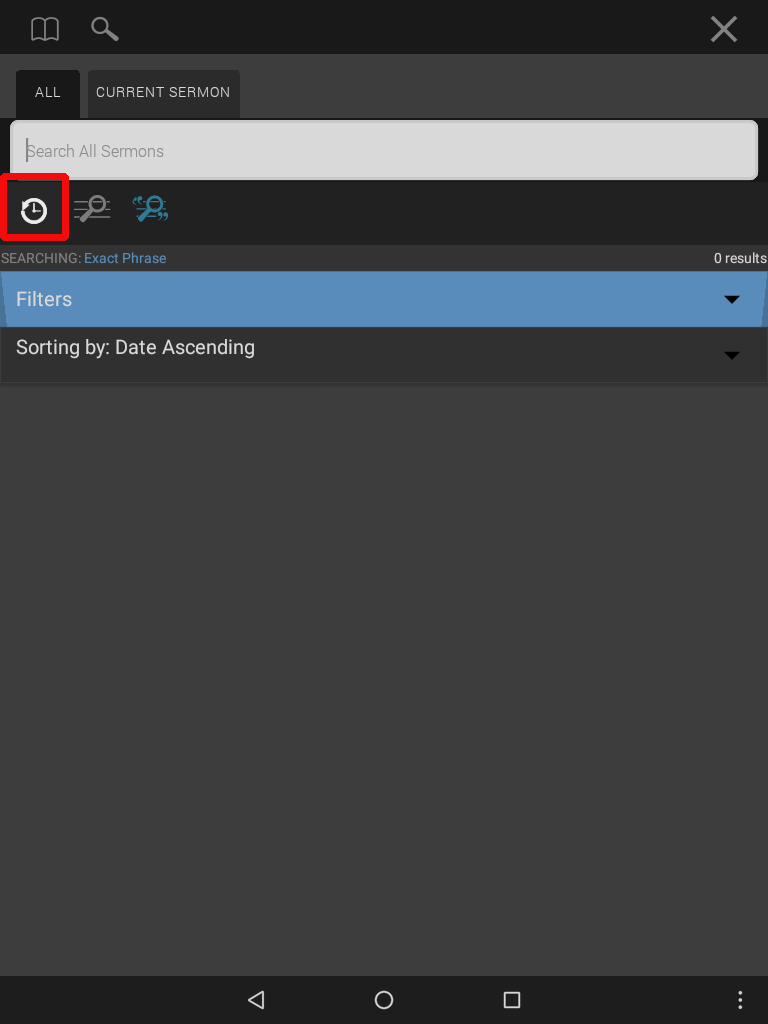
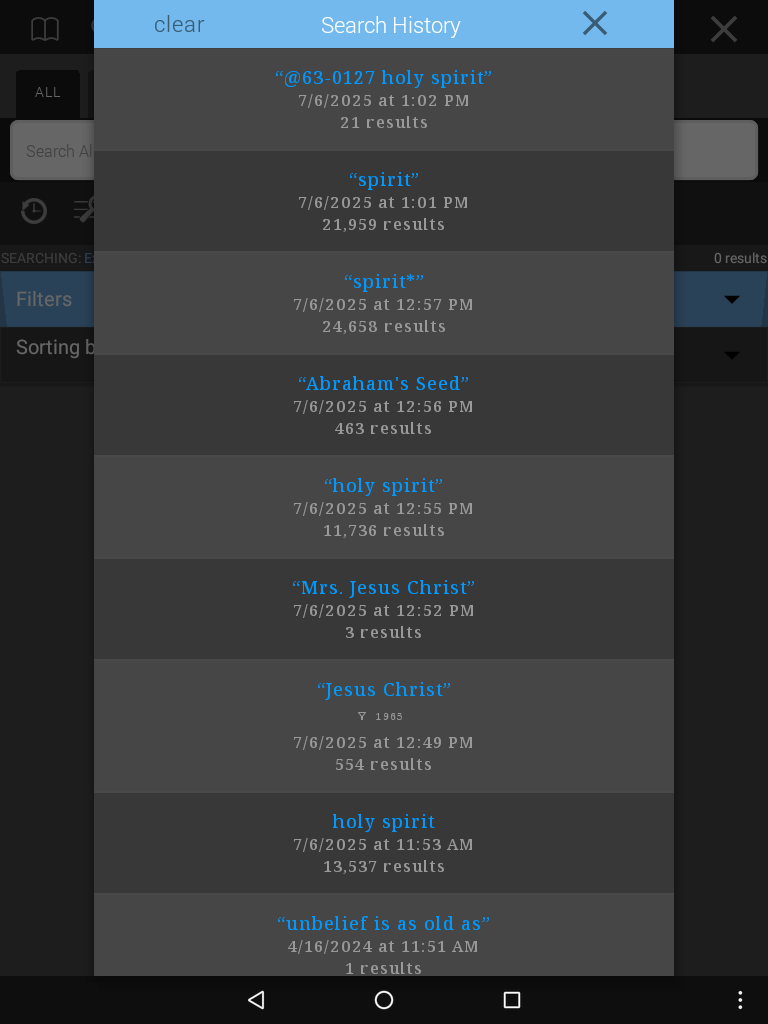
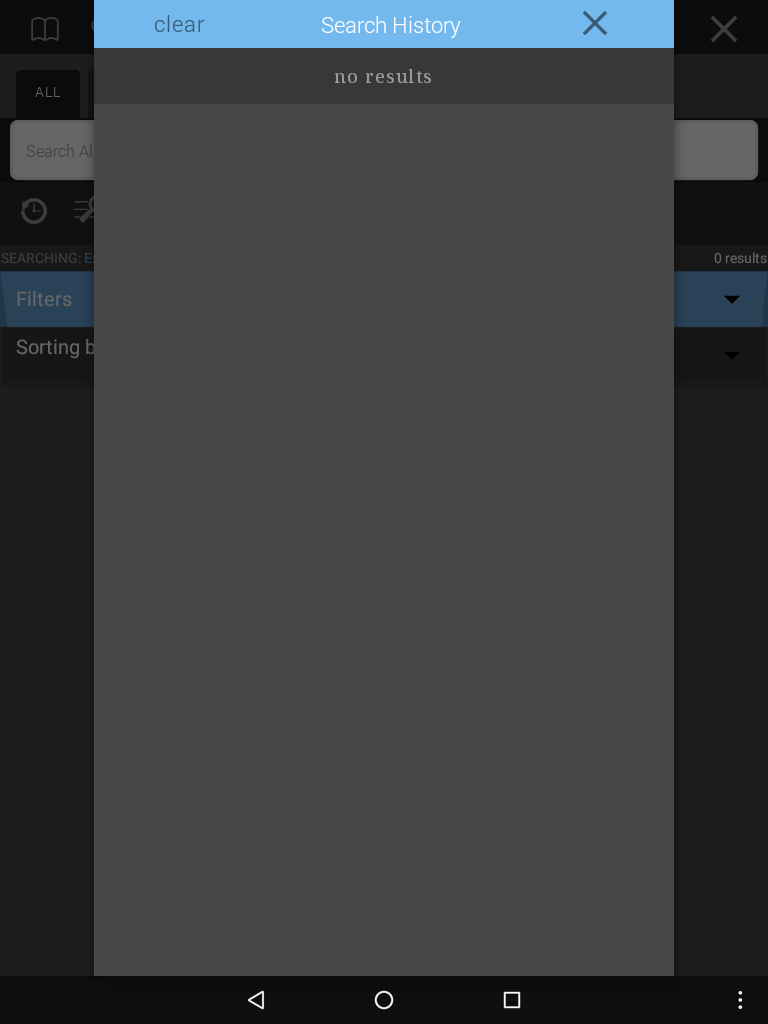
Search History
If you would like to load a past search, rather than typing it out again, select the search history button.
This will display a list of previous searches.
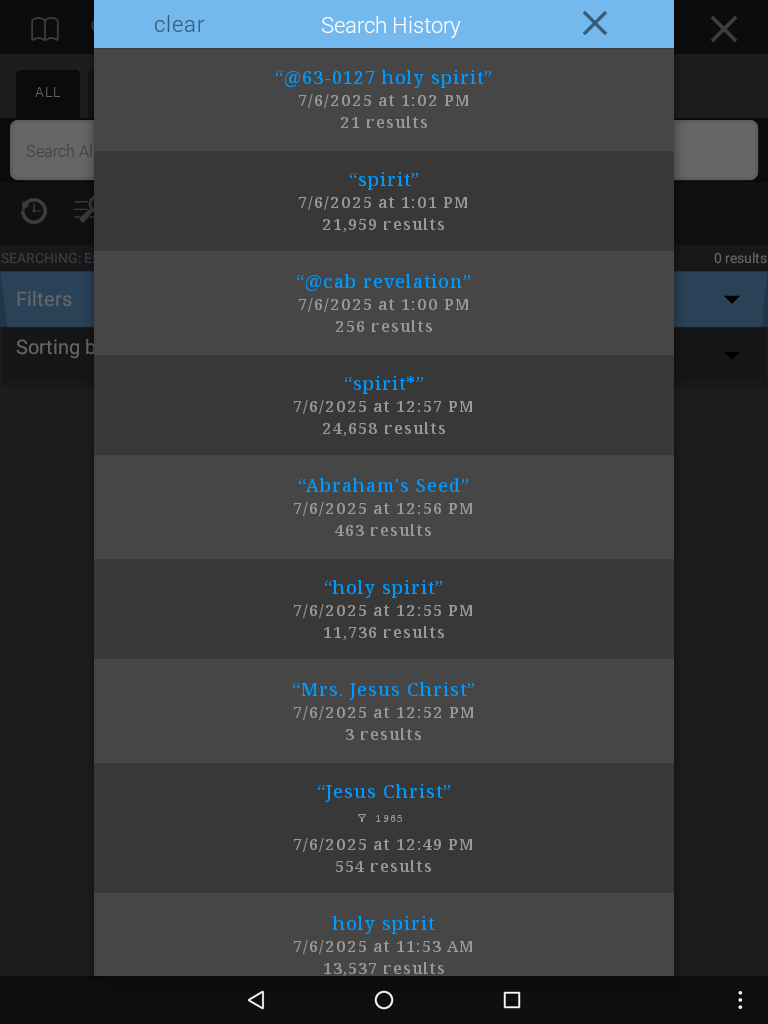
Tap on one to load the search.

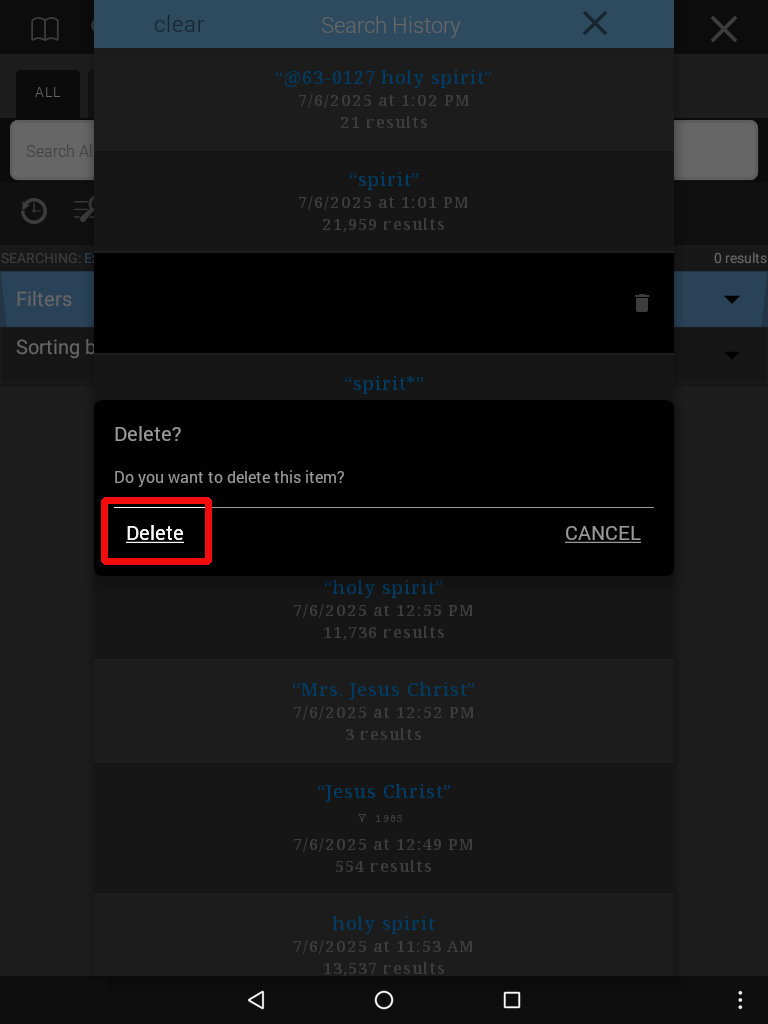
If you would like to delete any past searches, swipe left. An option to delete will appear.
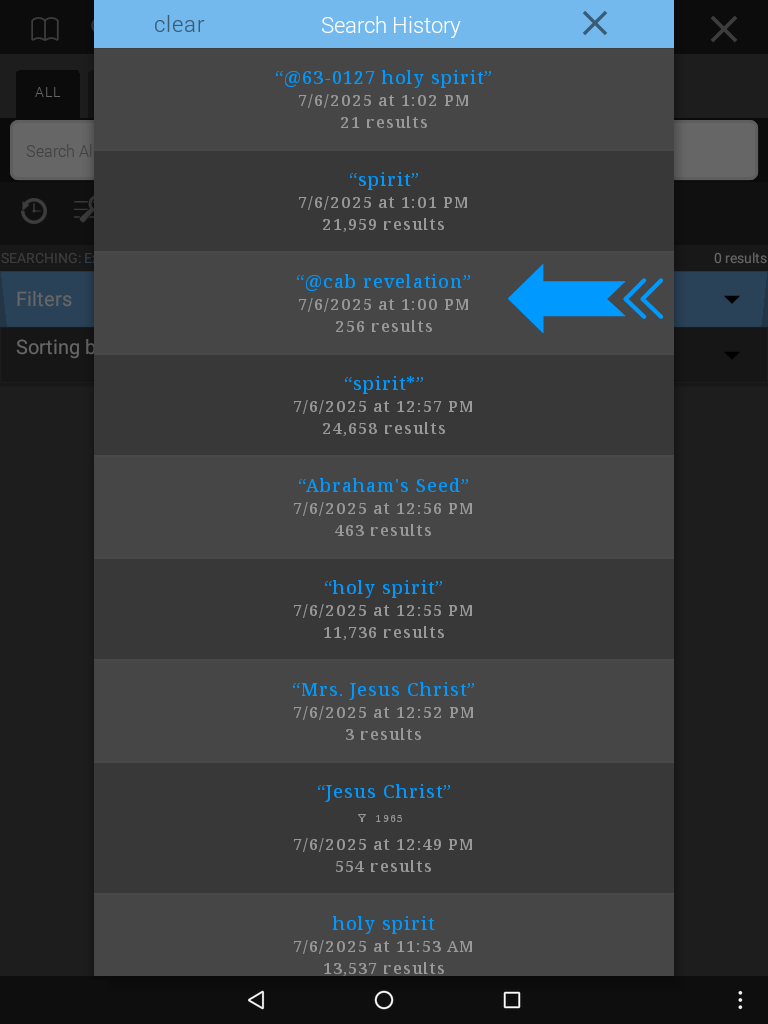
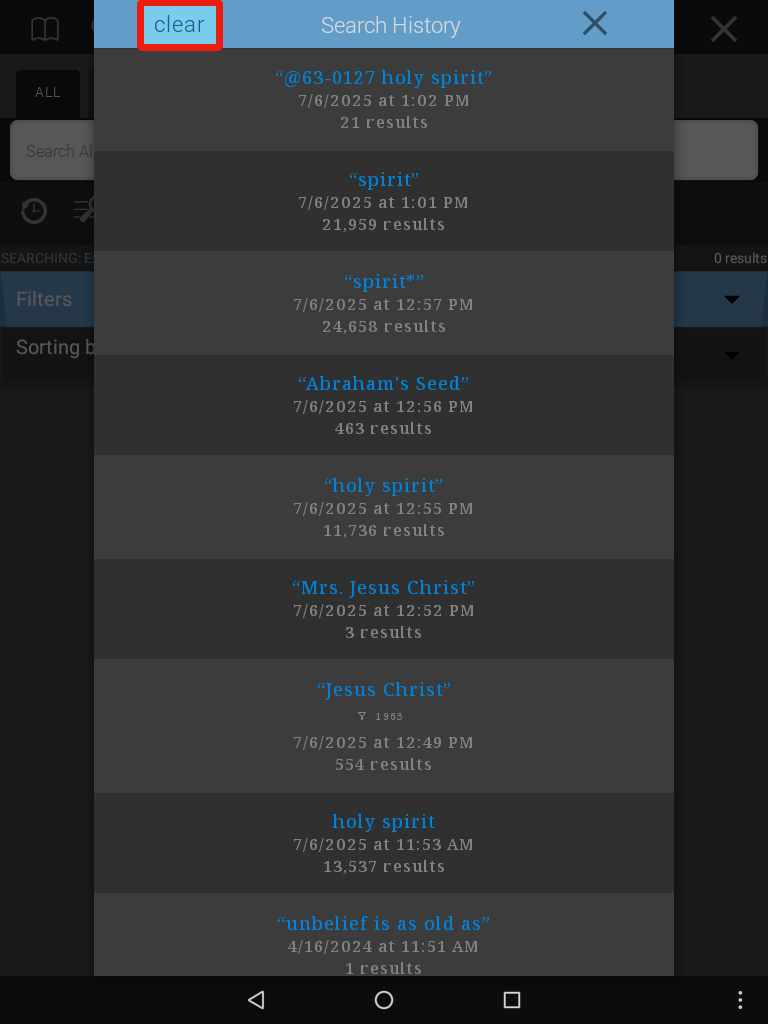
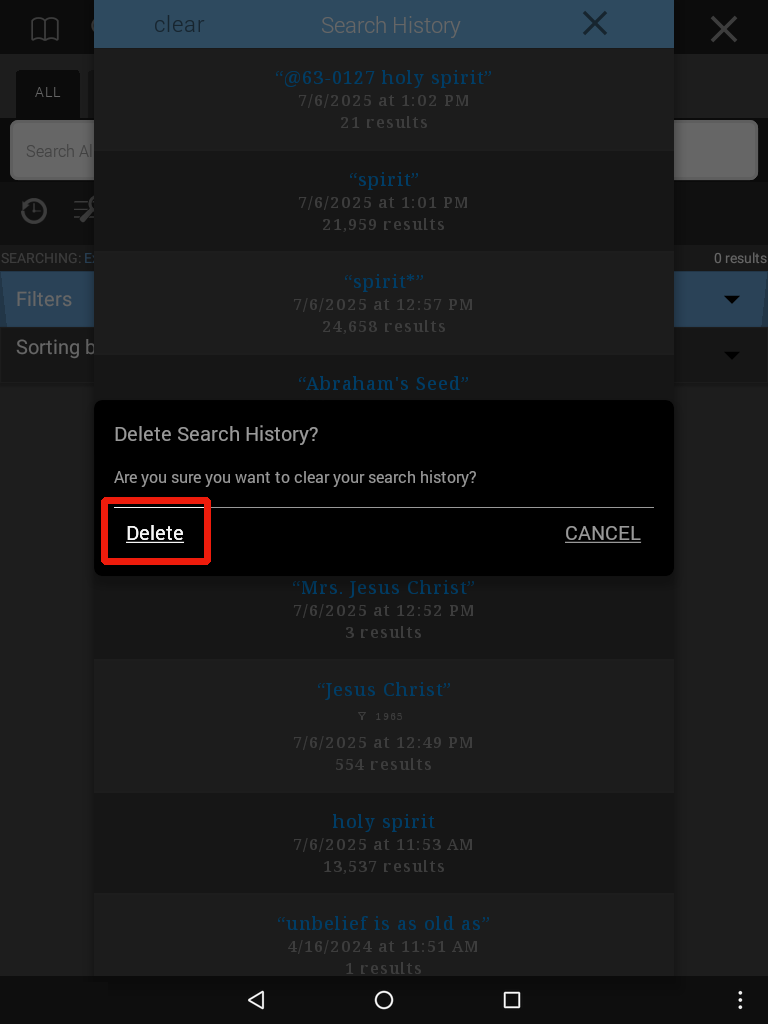
The clear button allows you to delete the entire list of past searches.
The Highlighter allows for fast highlighting.
Simply:
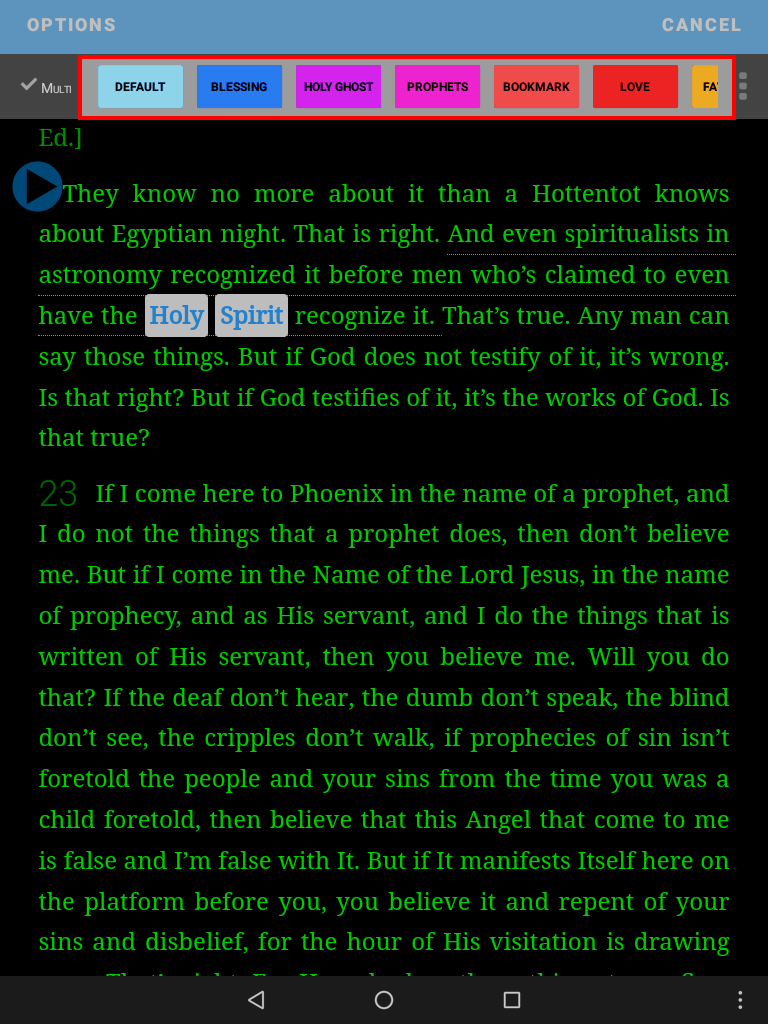
- Tap the segment you wish to highlight.
- At the top of the screen, you will see a list of highlighters which scrolls left to right.
- Select a highlighter to apply it to the text.
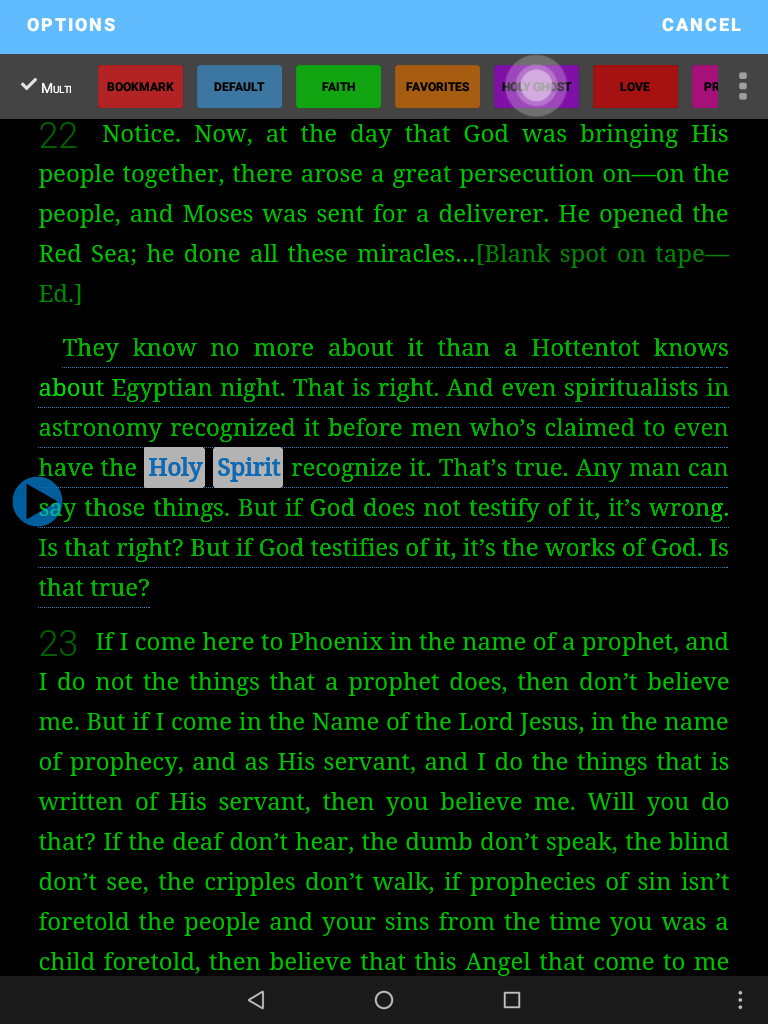
With this method you can highlight a phrase with two touches or many phrases with only 3 touches. For more than one phrase, touch the start phrase, then the last phrase, then the highlighter.
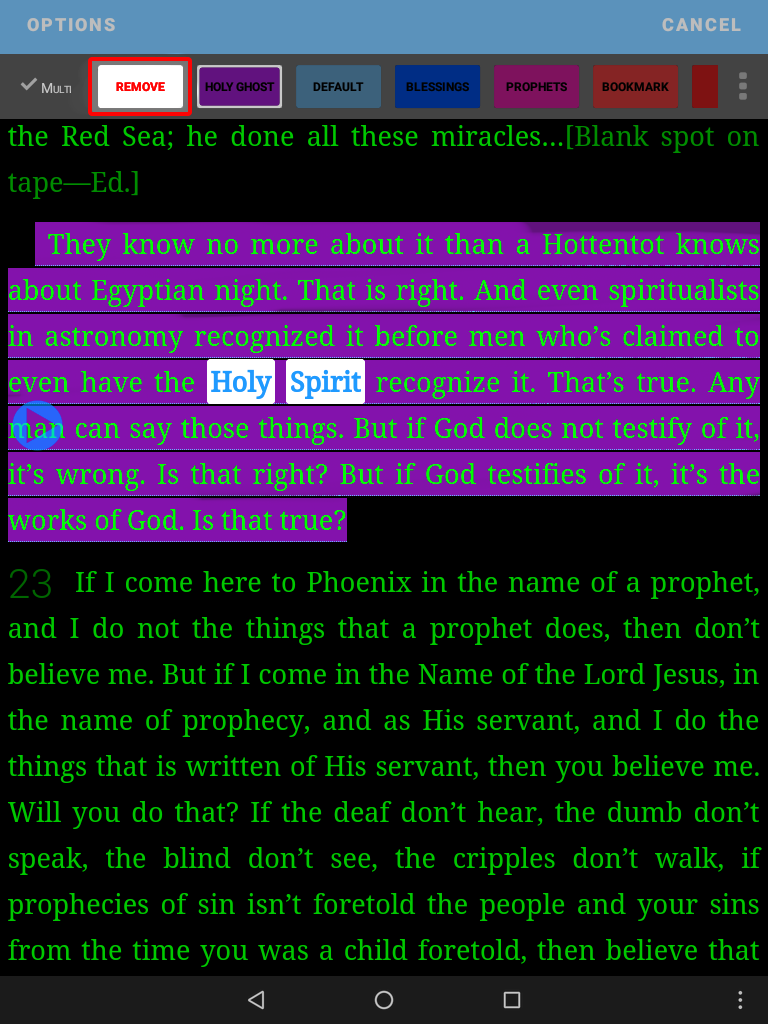
If you do not wish to keep the highlight: simply tap the highlighted text to enable a “remove” button in your list of highlighters.
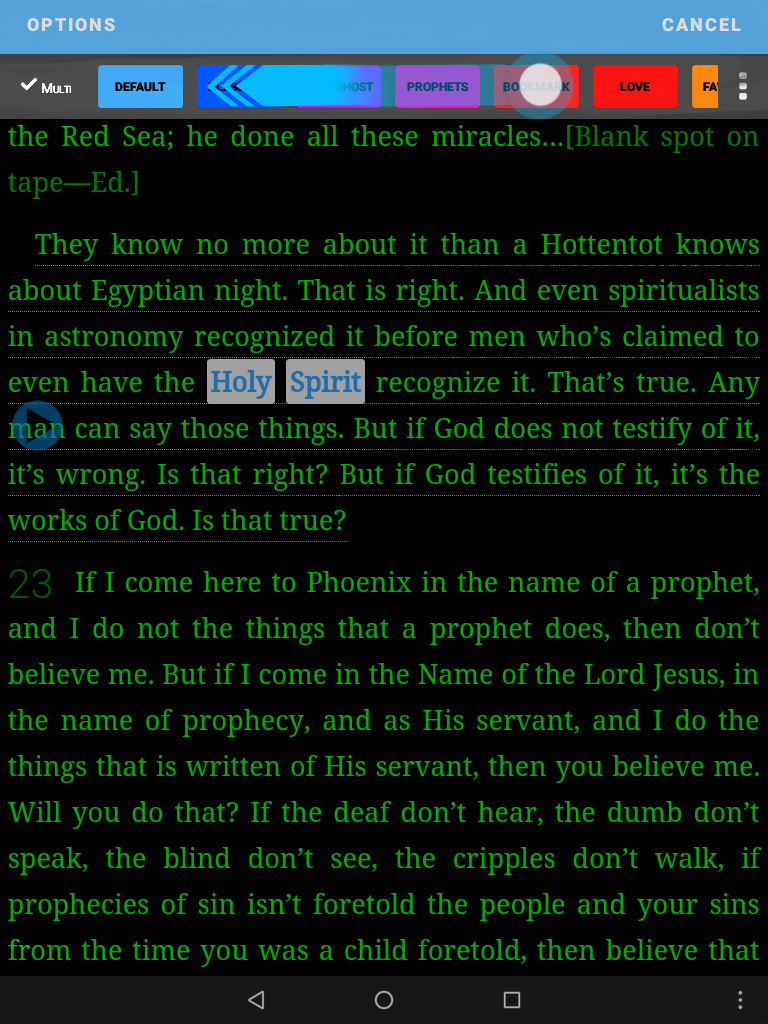
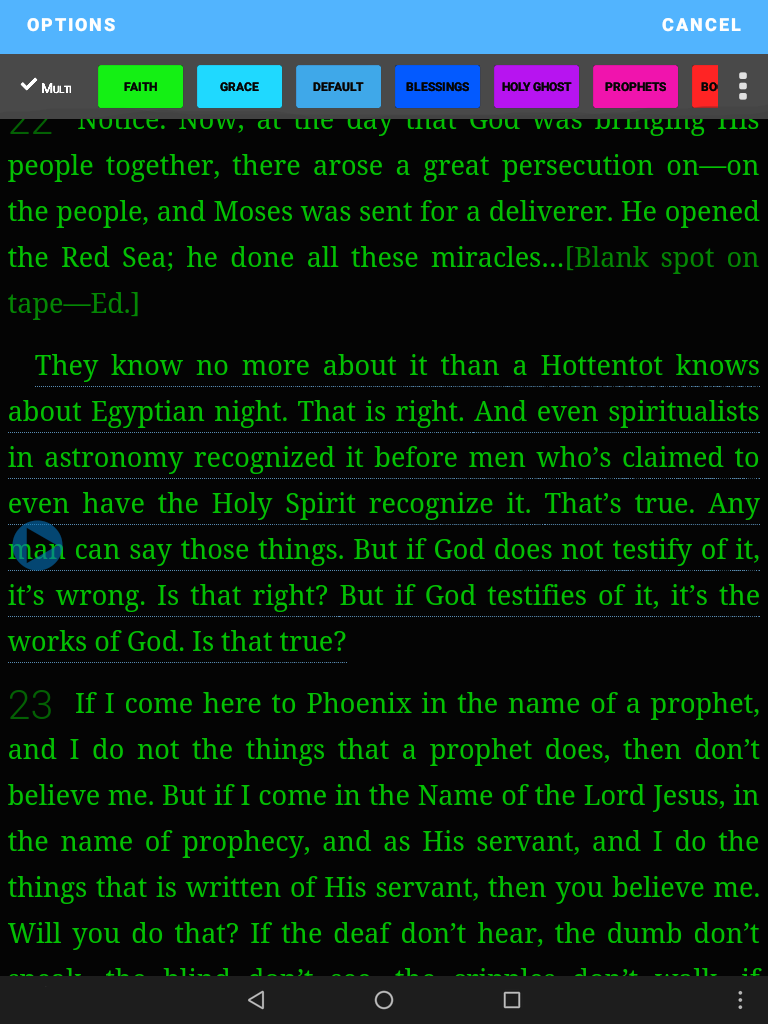
The Multi-highlight feature enables you to apply multiple categories to the same quote. When combined with the capability to create your own categories, Multi-highlight greatly enhances your ability to organize and research the Message.
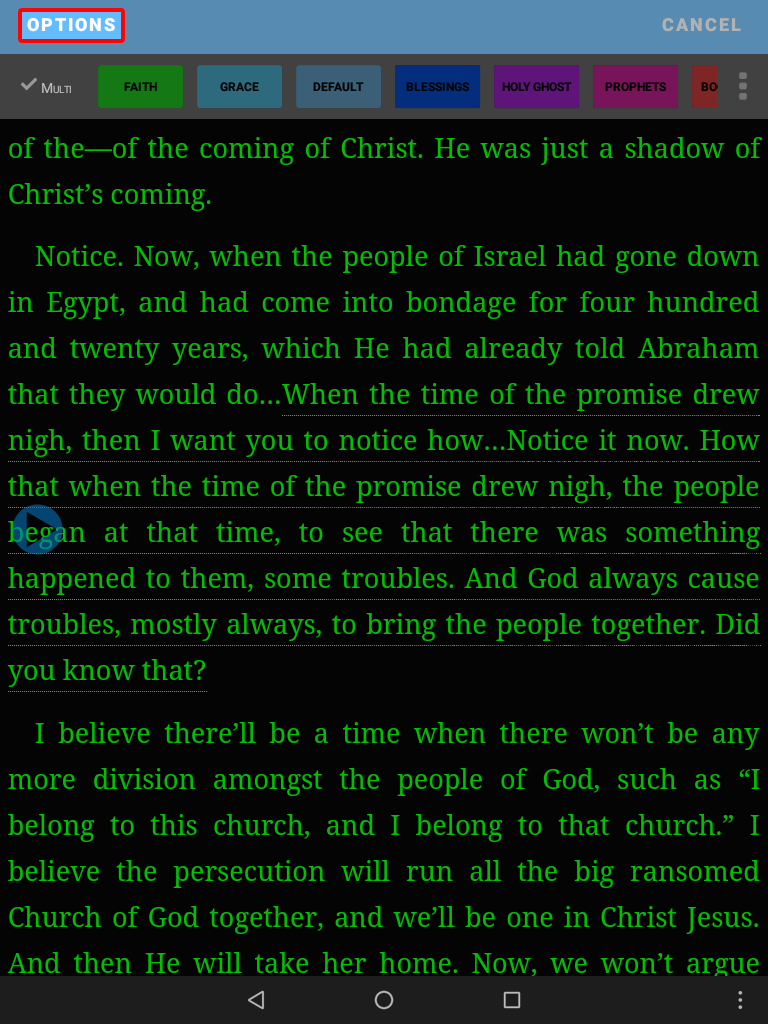
How to use Multi-Highlight:
- Tap the segment you wish to highlight.
- Tap the Multi button in the Highlighter menu.
- Tap the Highlighters you wish to use.
- Tap Apply.
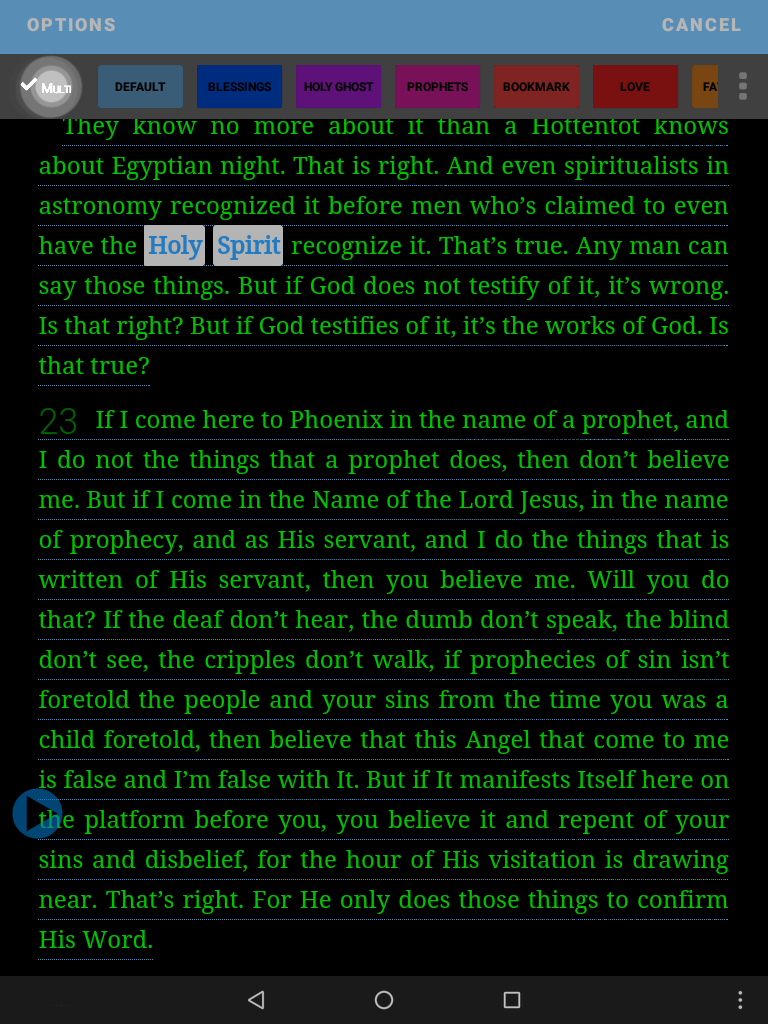
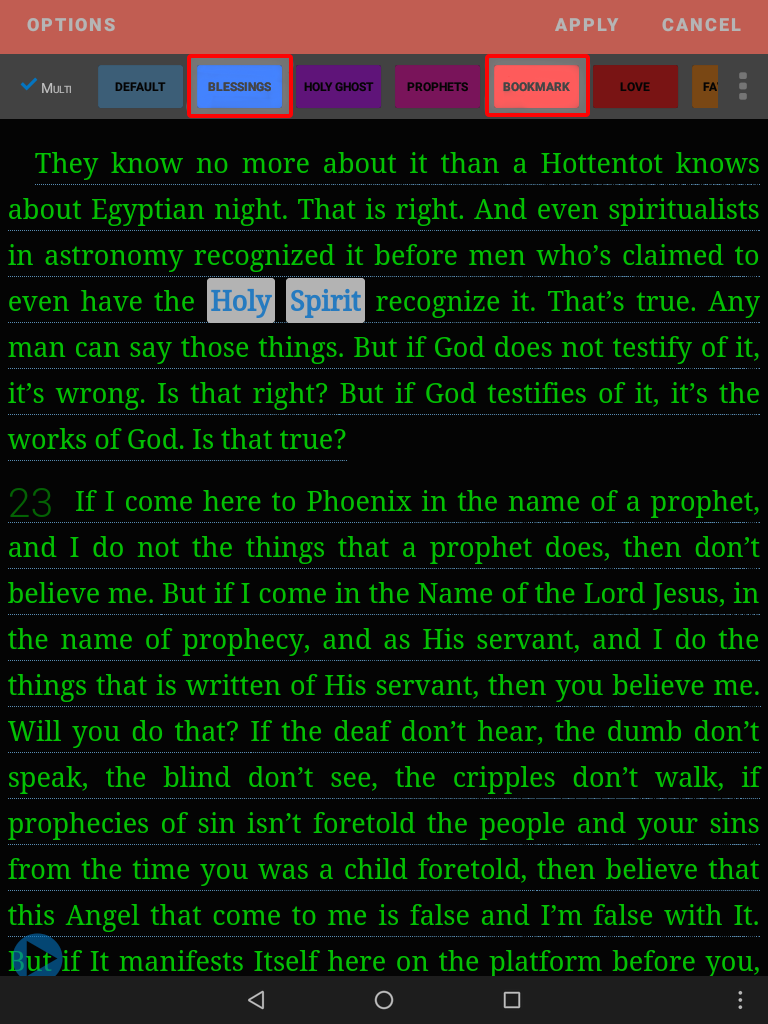
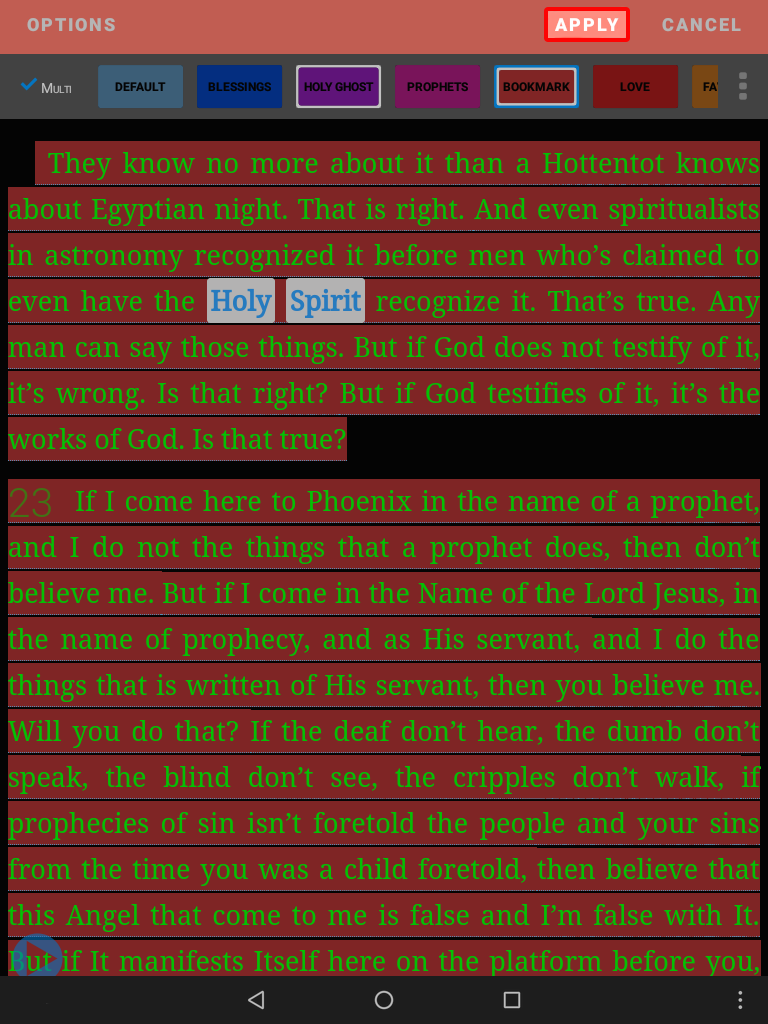
The quote is filed under the different categories you choose.
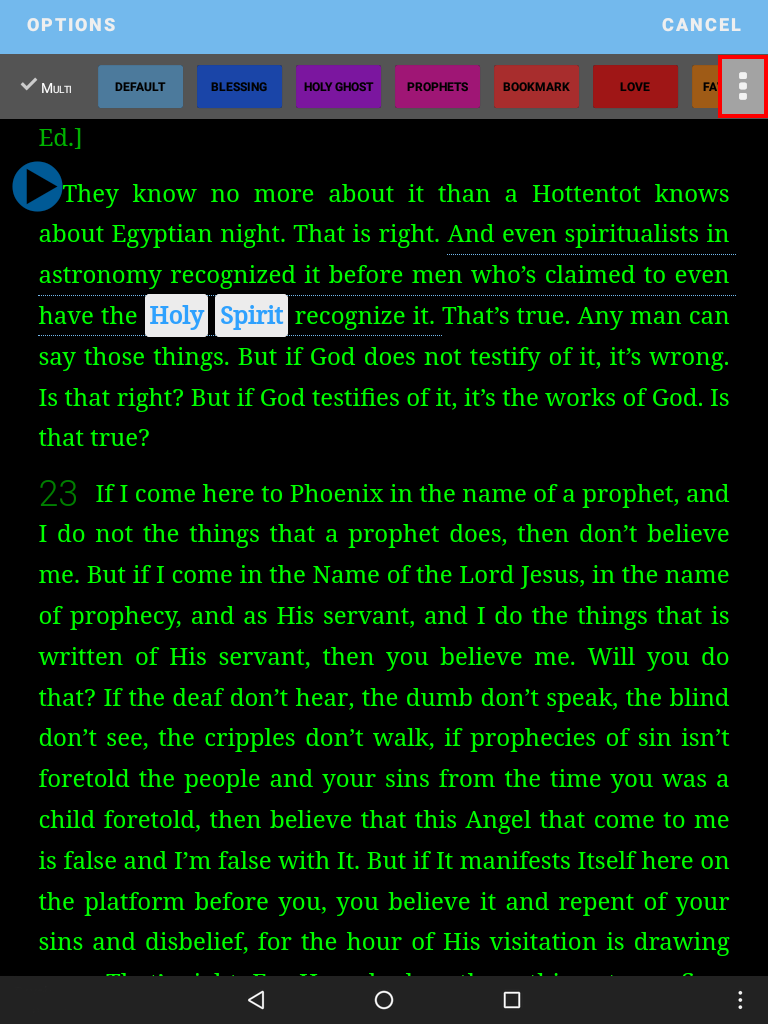
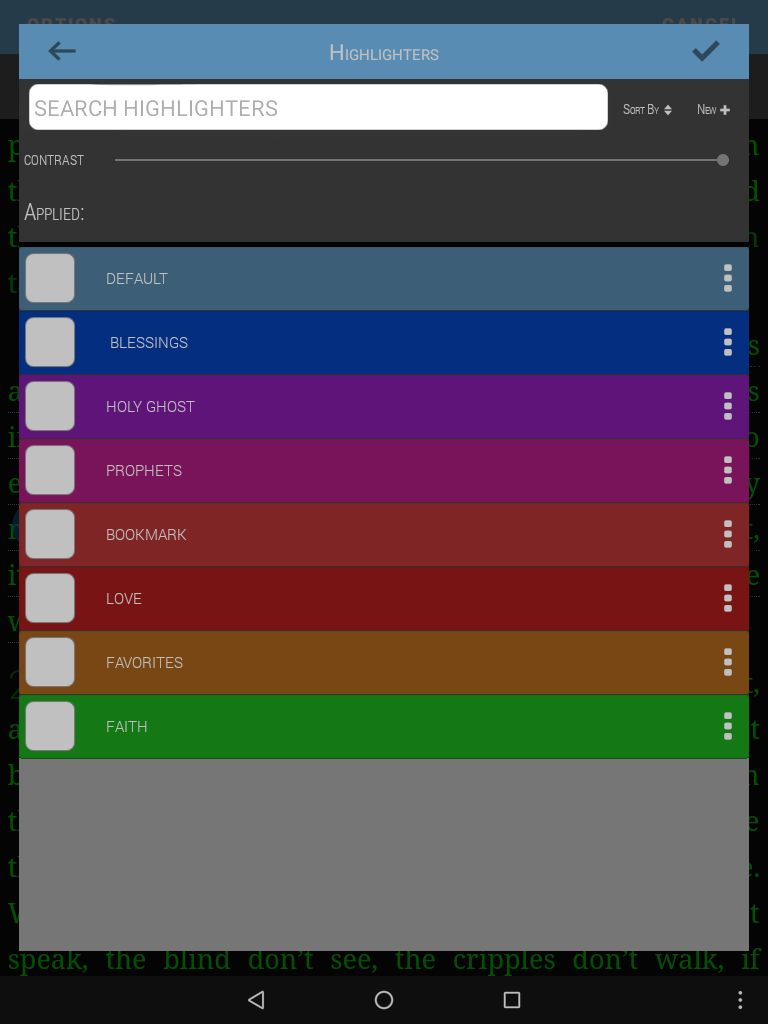
The Advanced Highlight features allow you to search for a highlighter name, change your highlight sort order and create or edit new highlights.
- To access the Advanced Highlight features, tap in the text you wish to highlight.
- Next to the list of highlighters you will see an options button (three dots). Select it to view the advanced highlight features.
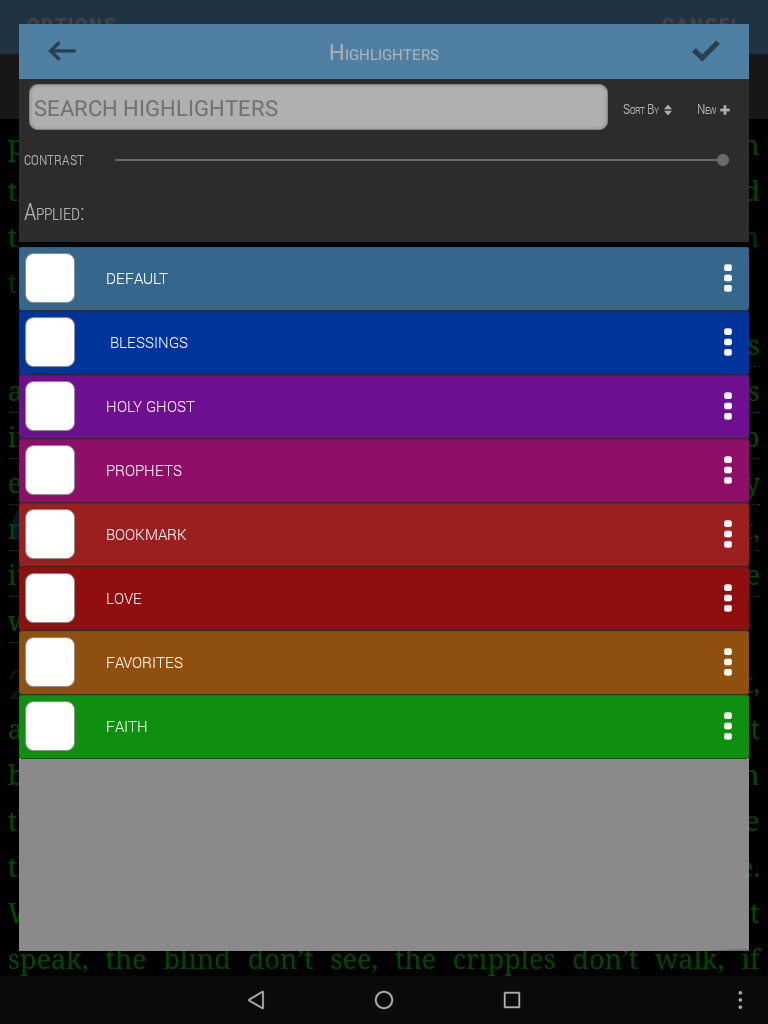
- Here you will see a list of all your highlighters.
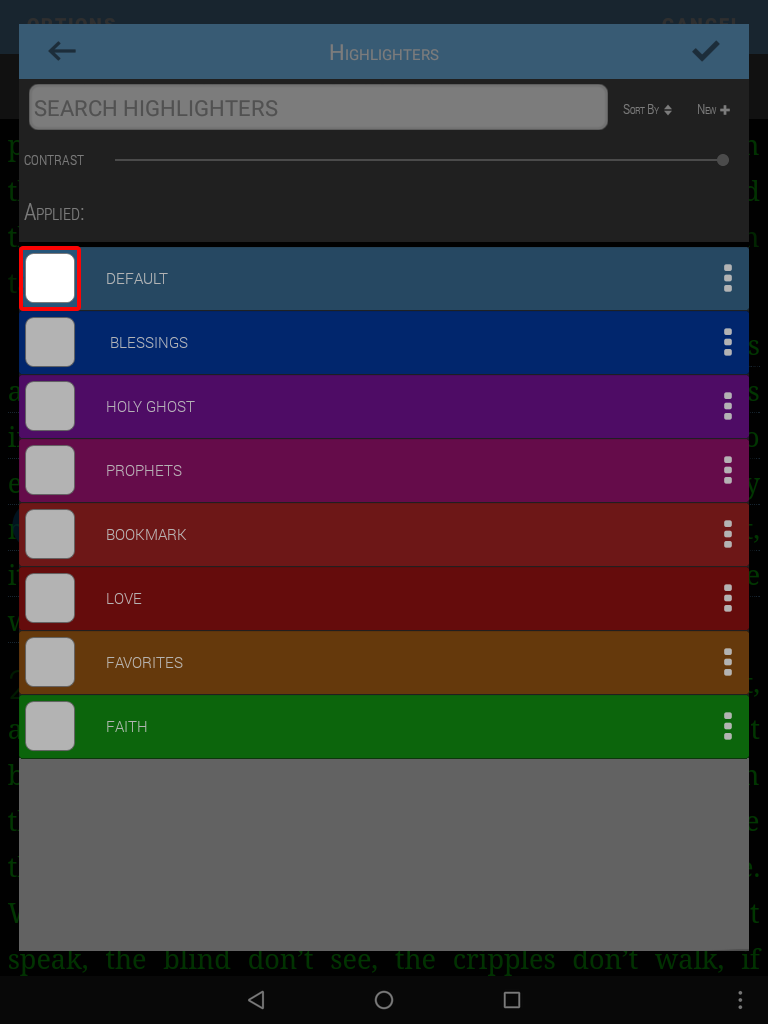
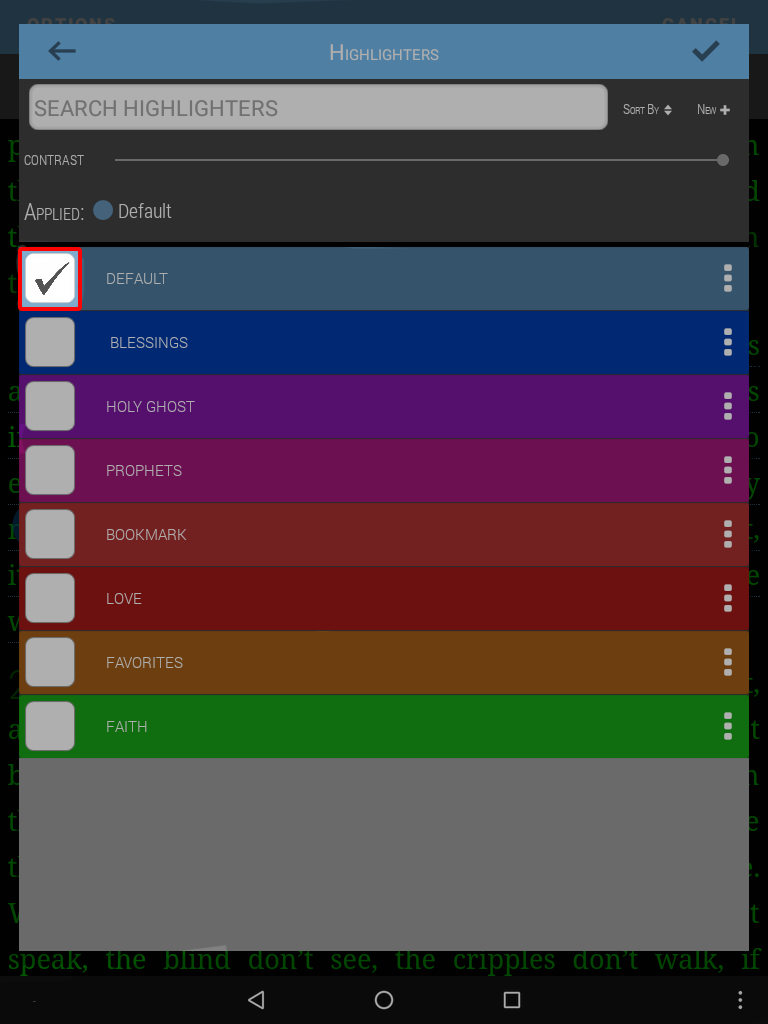
- Next to all the highlight names, you will see a checkbox. Any checkmarks mean that highlighter is applied to the text. Tap the checkbox to apply or remove.
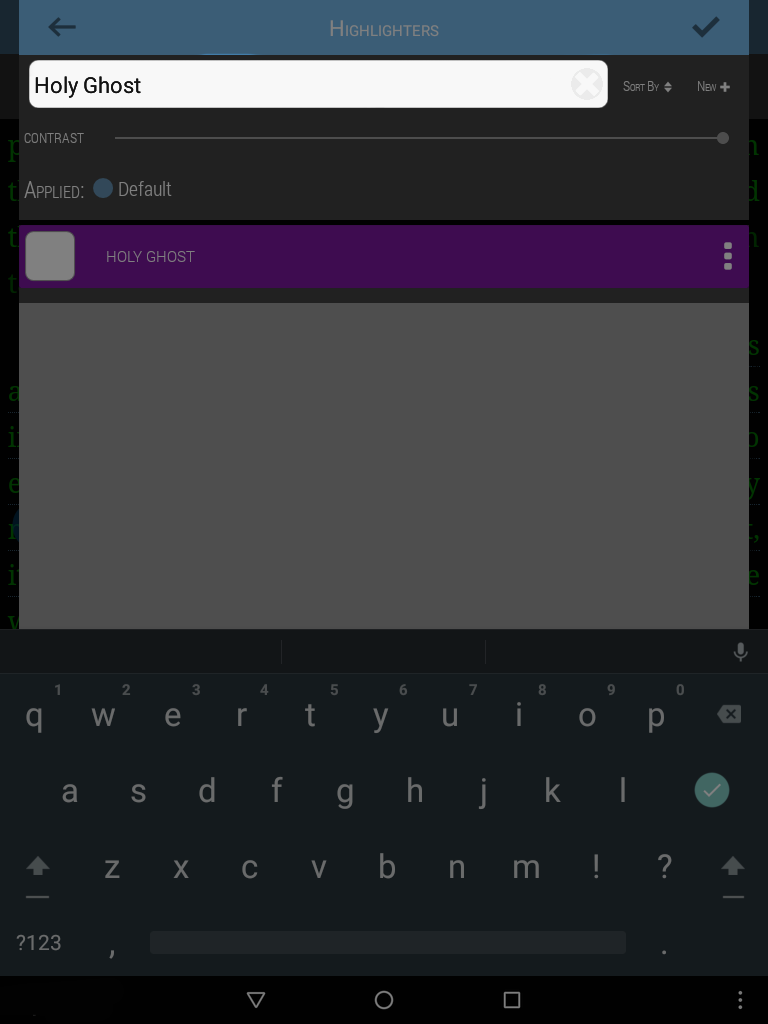
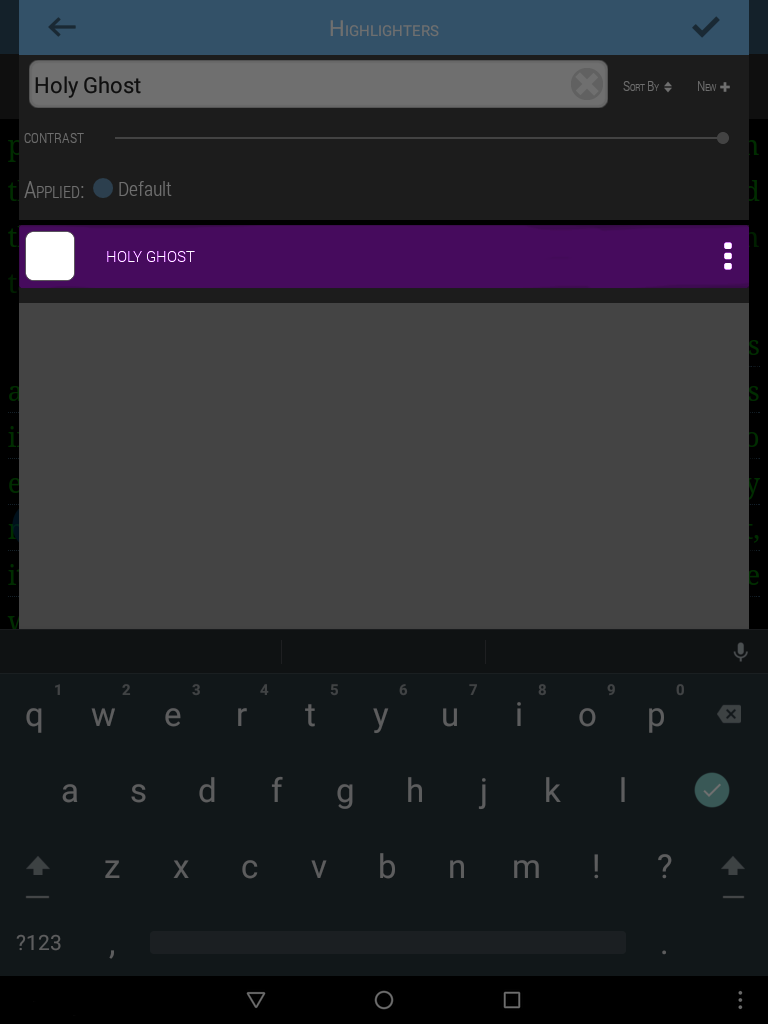
If you have many different highlighters, the “search for highlighters” feature may be useful to you. This allows you to search and quickly access highlighter names.
Example: Searching for “Holy Ghost” will bring up the “Holy Ghost” highlighter.
Next to the search field are the highlight sorting options.
These allow you to view your highlights alphabetically, by the date created, or the order you last used them in, so the most used highlighters appear first.
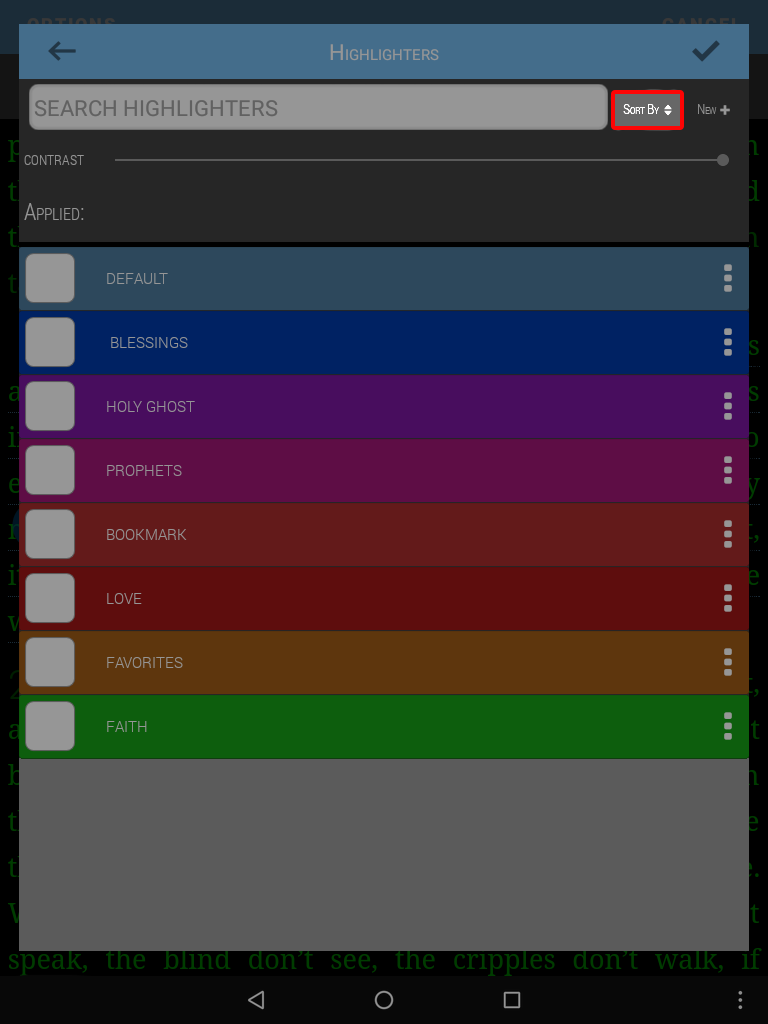
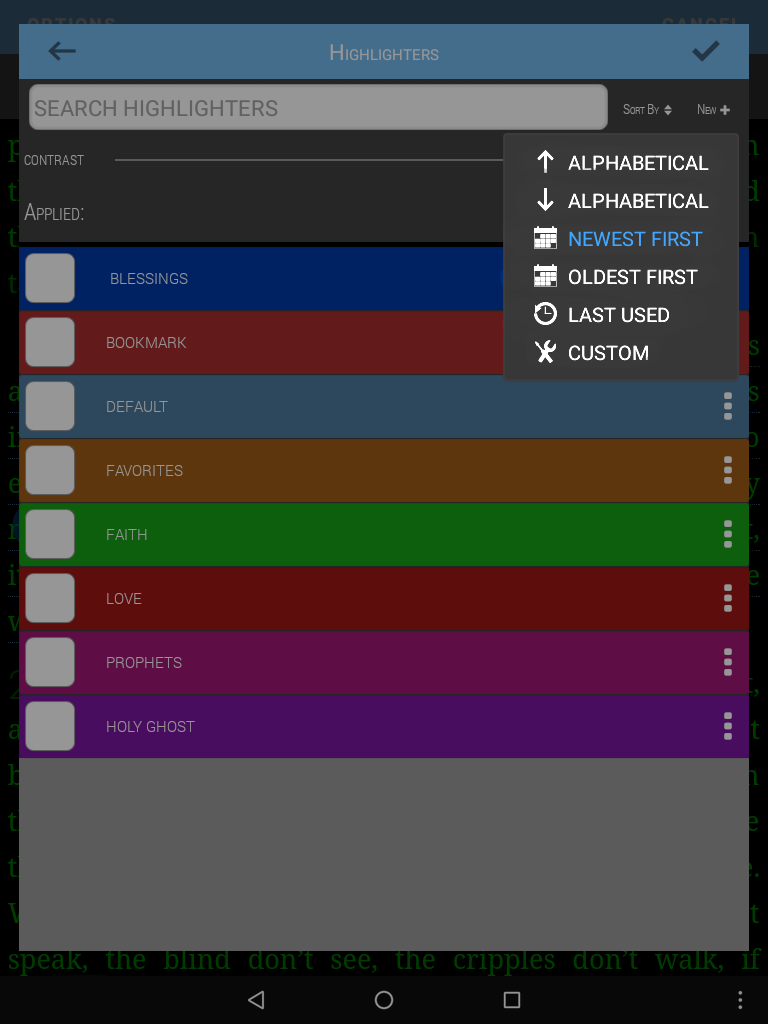
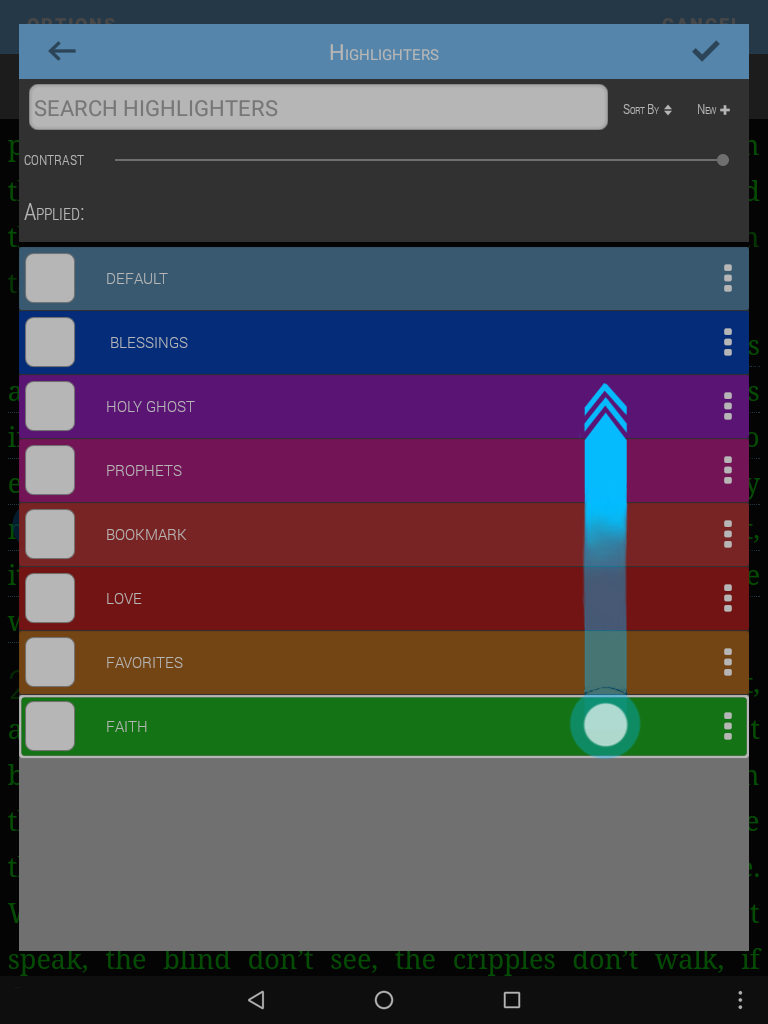
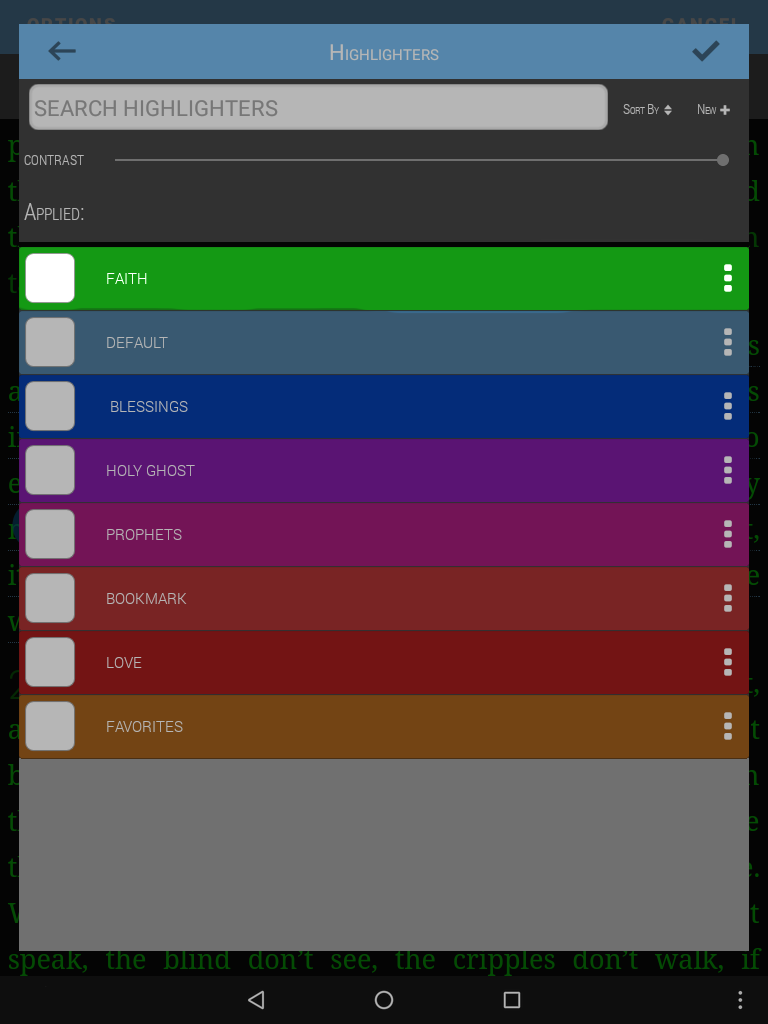
Choosing custom will allow you to place the highlighters in any order you wish, by touching a highlighter in the list and dragging it to the correct location.
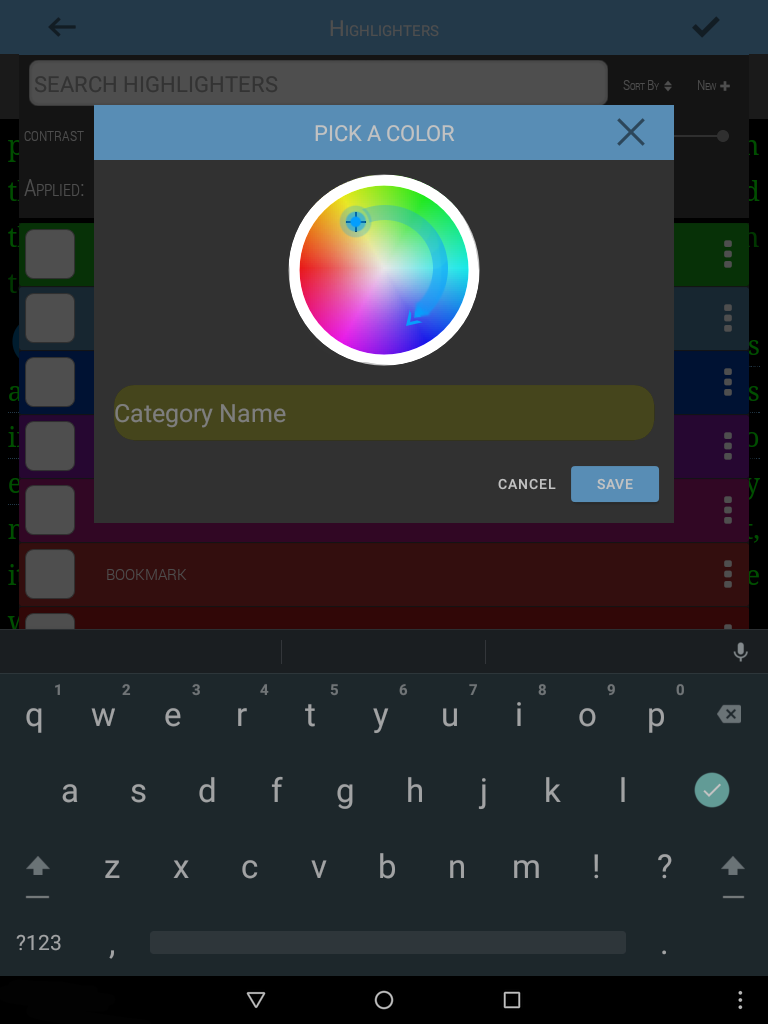
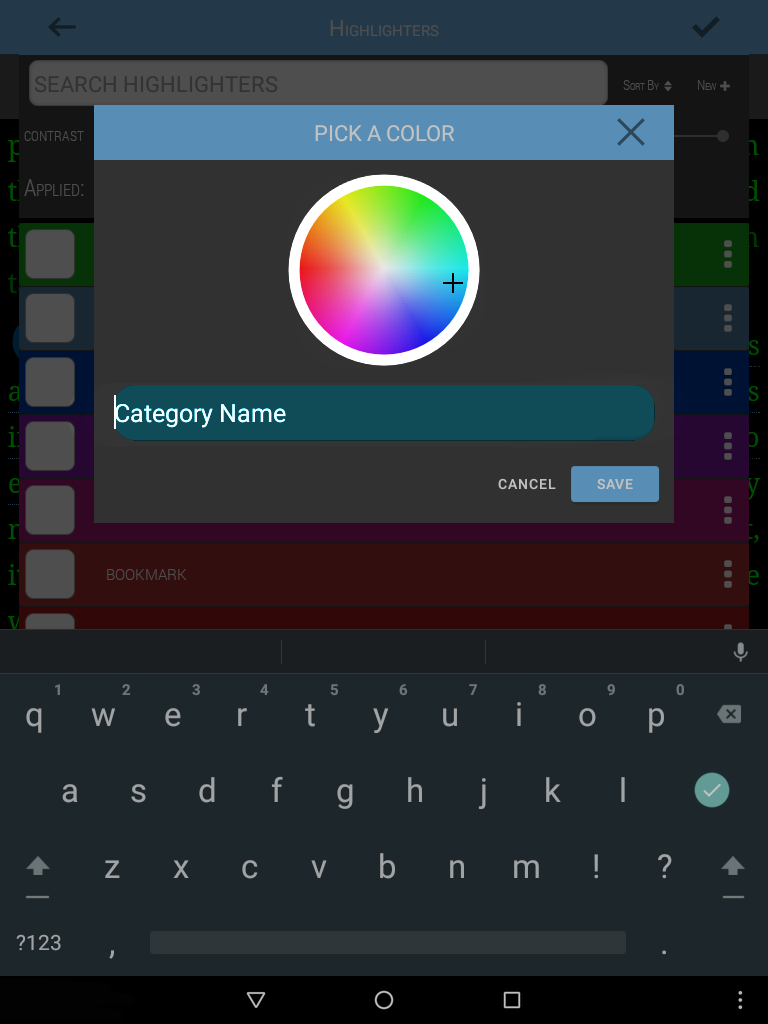
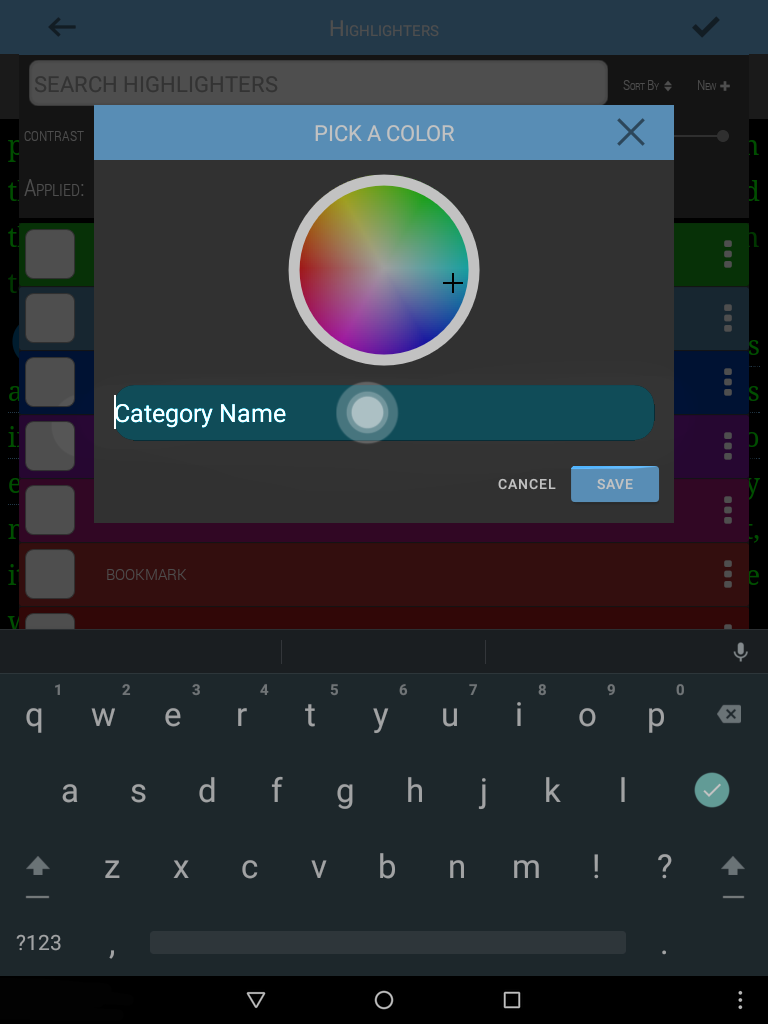
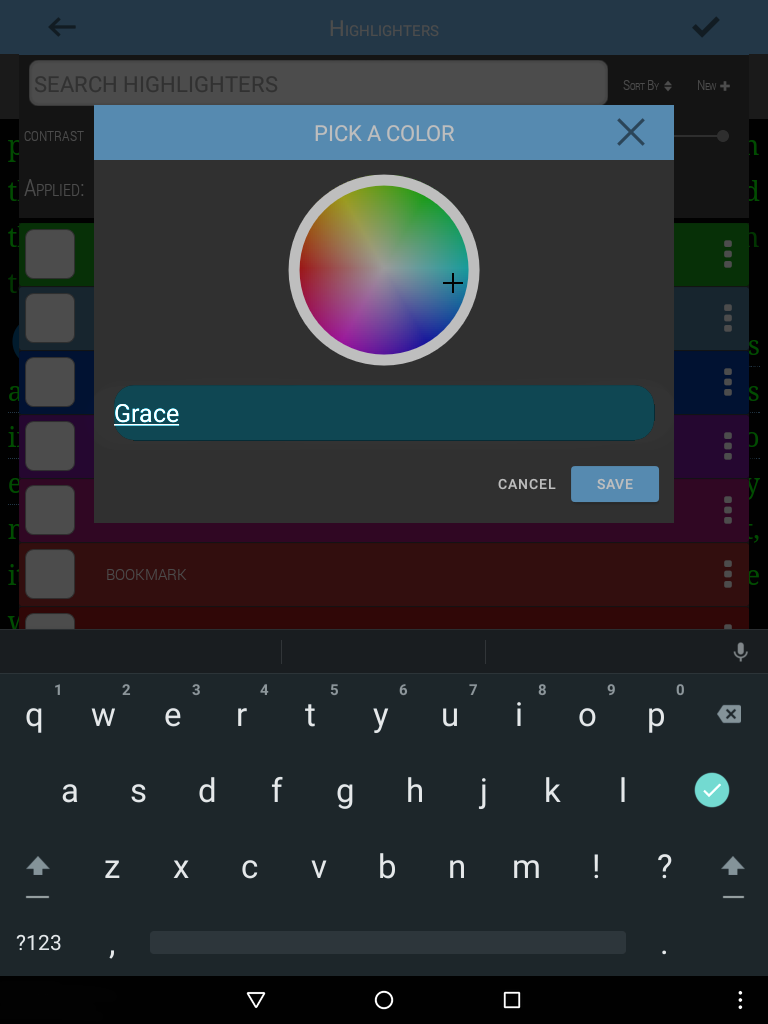
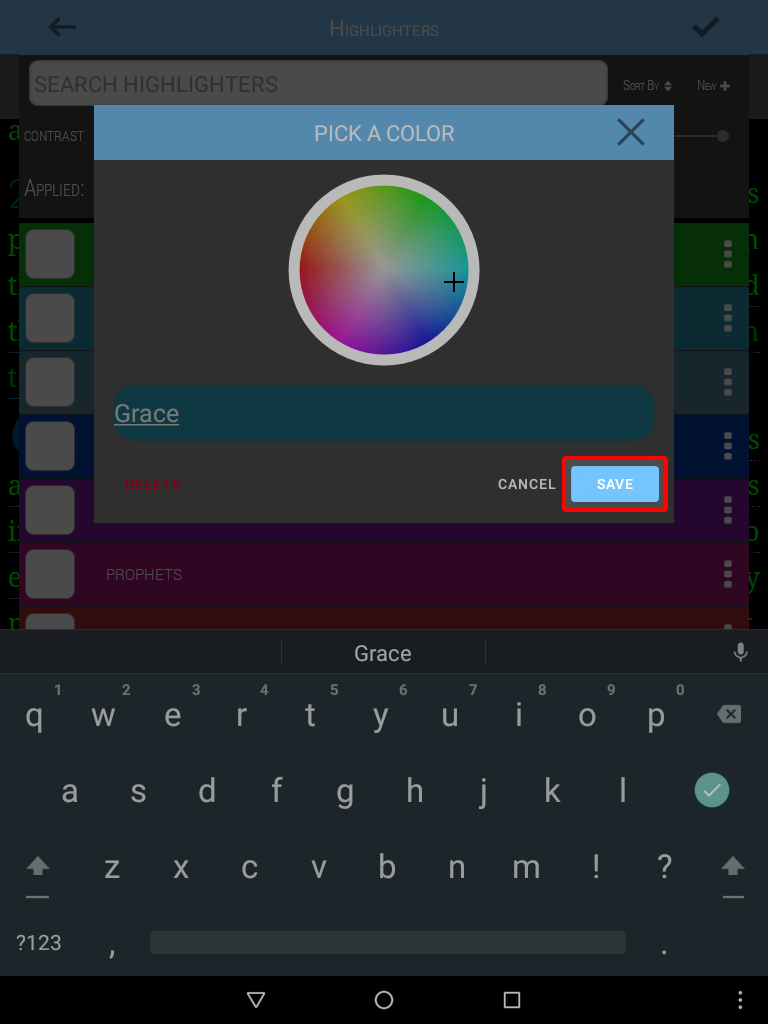
- To create a new highlighter, hit the New+ button.
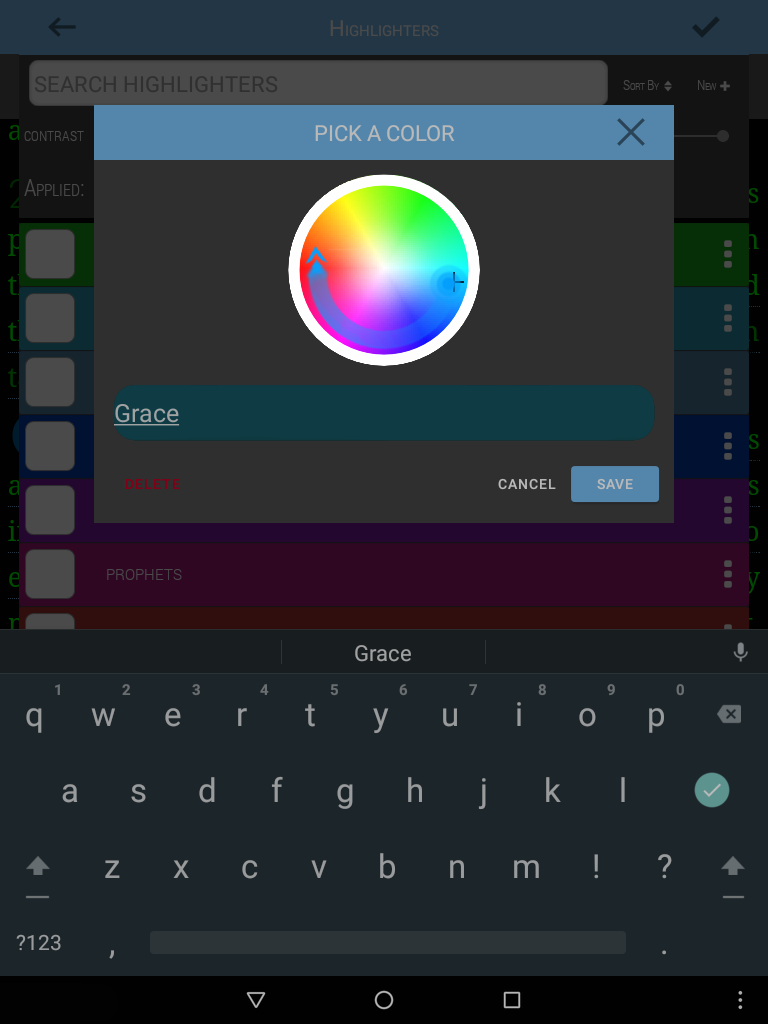
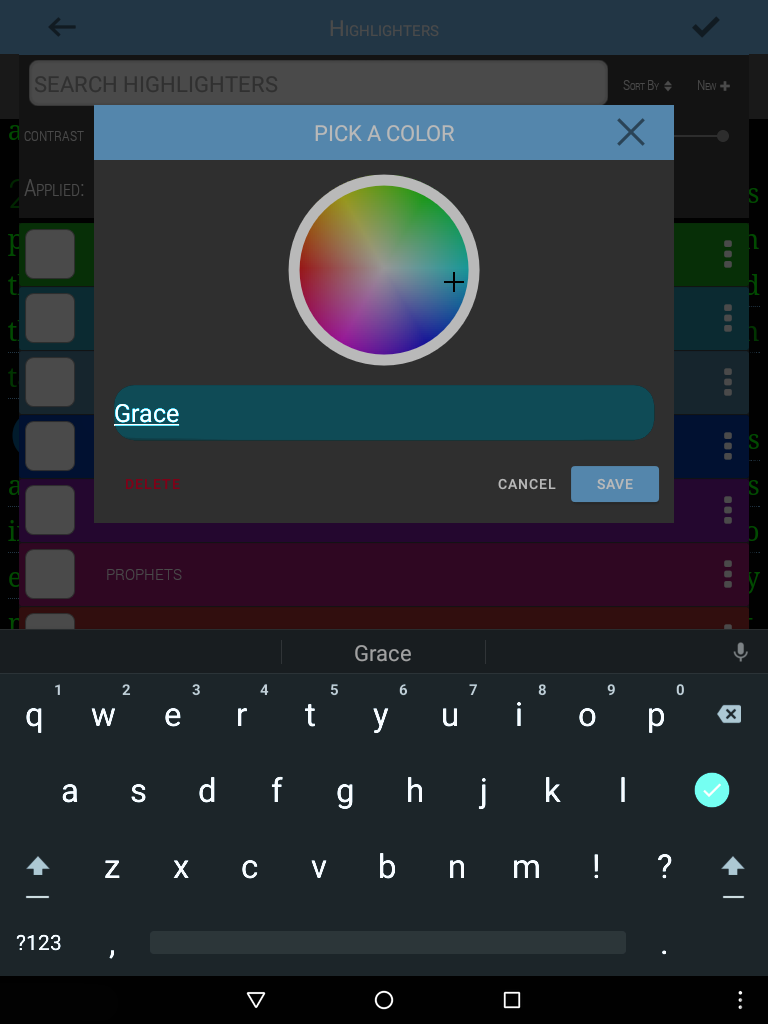
- Swipe in the color wheel to choose your color.
- Type the name in the “category name.”
- Select SAVE.

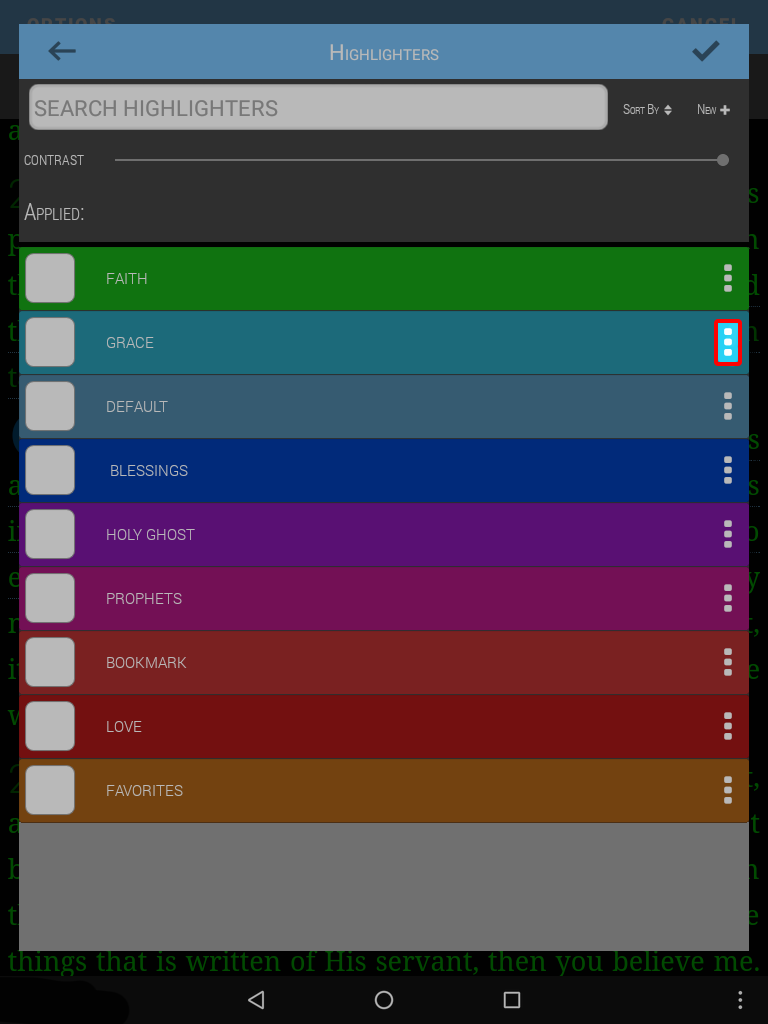
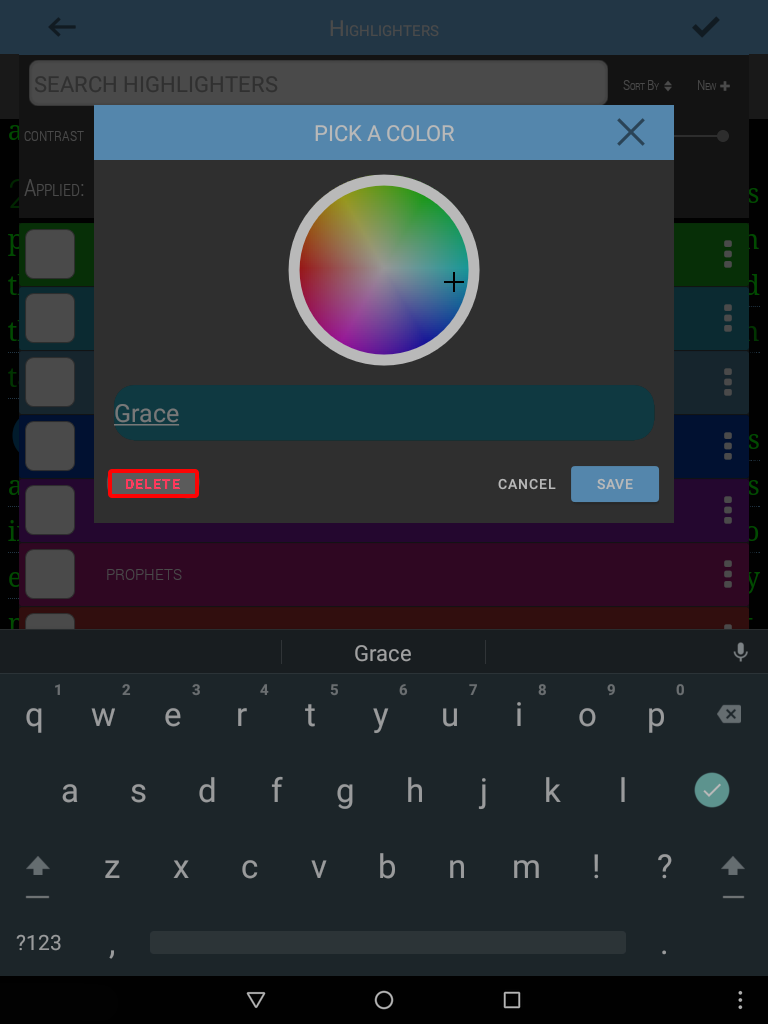
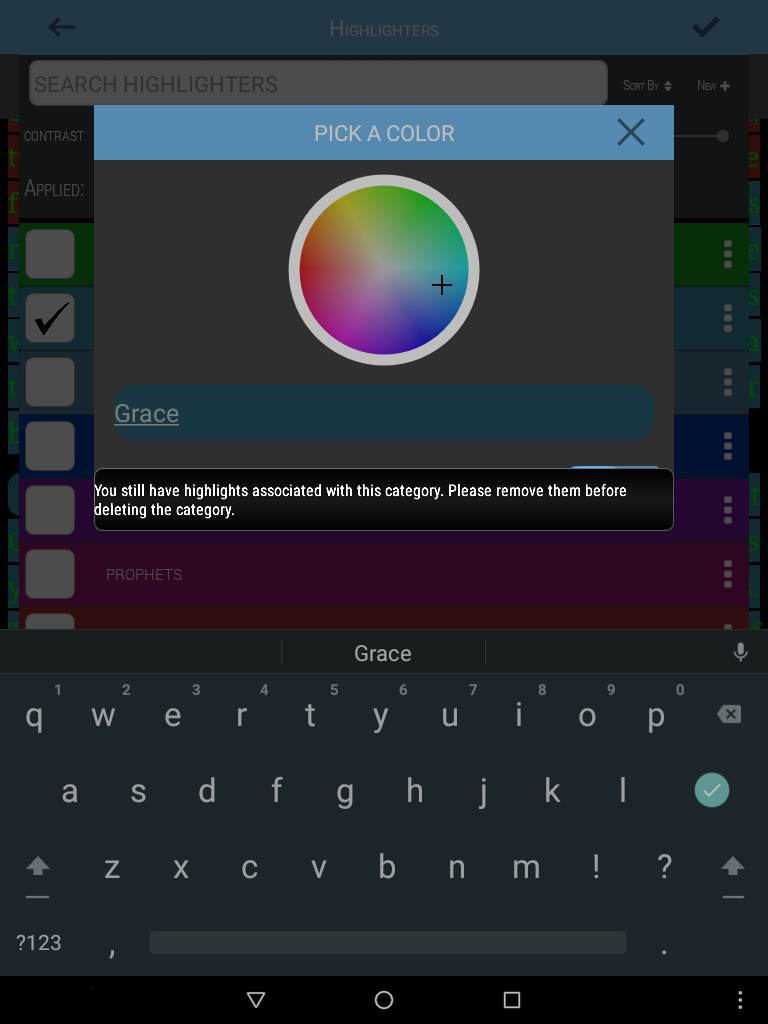
- At the right side of every highlighter, there is an options button.
- Choose the options button to edit the highlighter color, name or to delete it.
- Press SAVE to keep your changes.

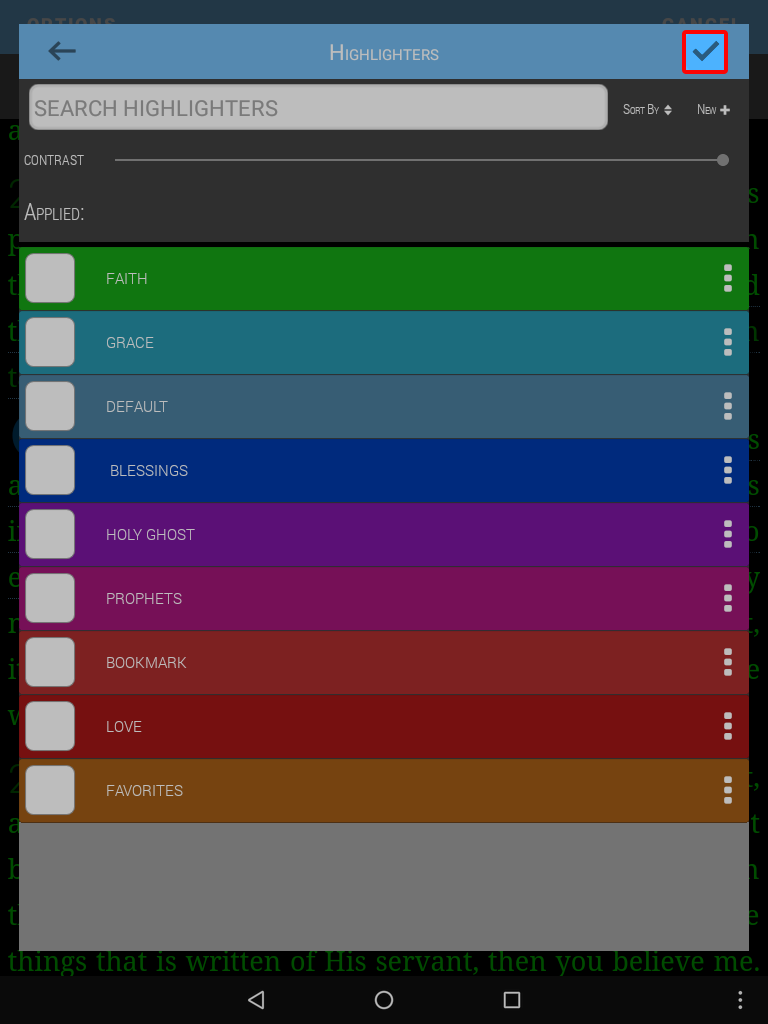
Once you are finished making any changes in the Advanced Highlight menu, select the checkmark in the top right corner to save and apply them.
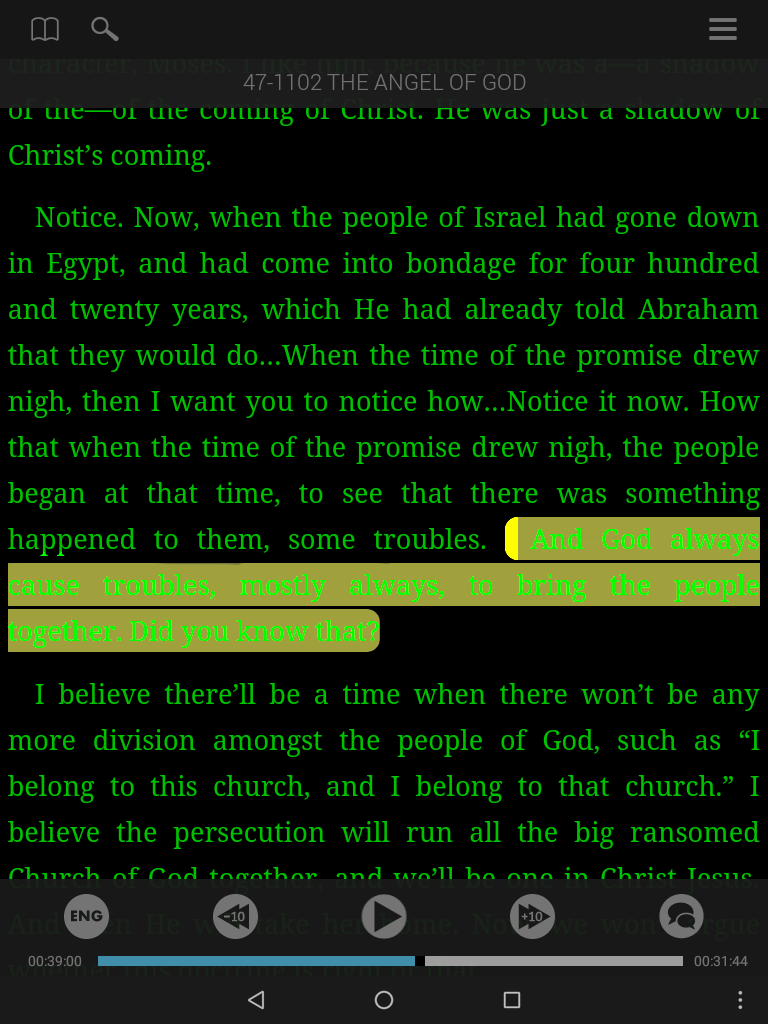
The Notes feature allows you to attach a note to a specific text segment or make a general note on an entire sermon.
Both Notes features are located in your options menu along with the copy feature.
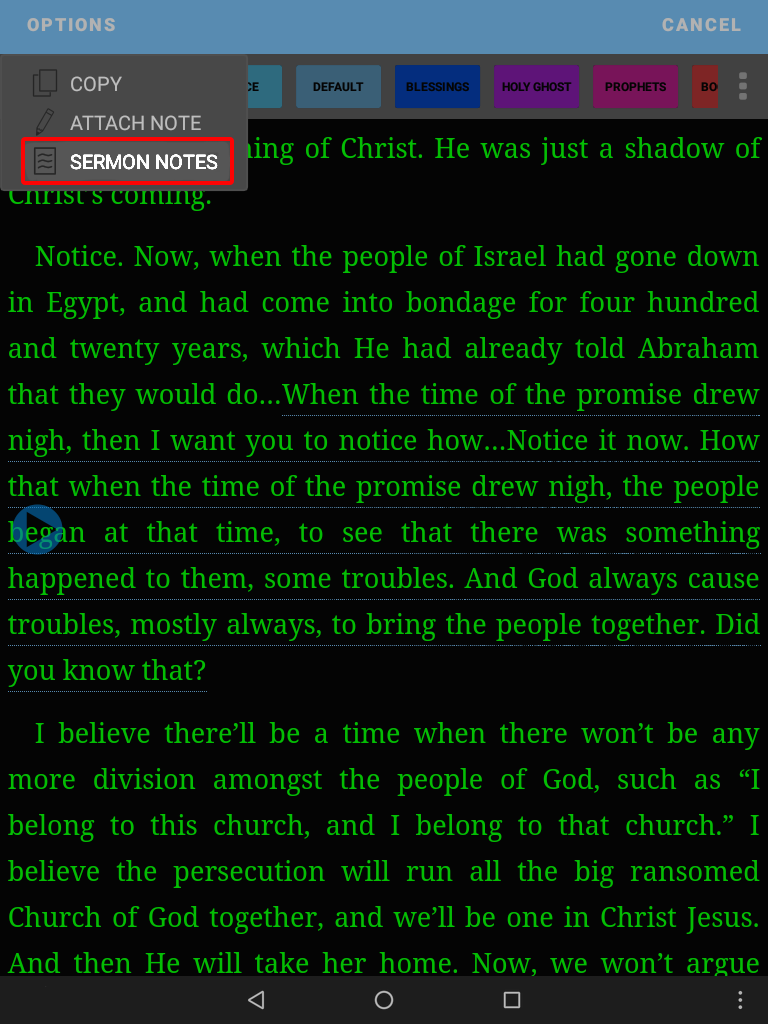
Sermon Notes
To create or edit a Sermon Note:
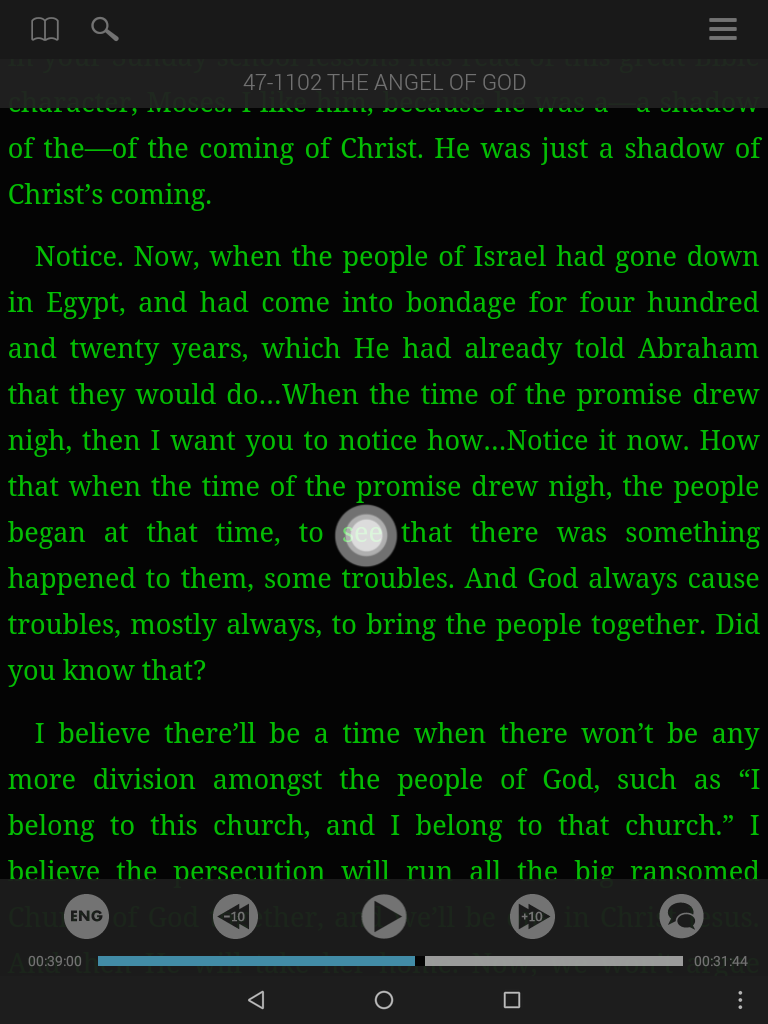
- Tap any text segment.
- Select the options button.
- Select Sermon Notes.
- Type the content of your note.
- Select the checkmark to save.

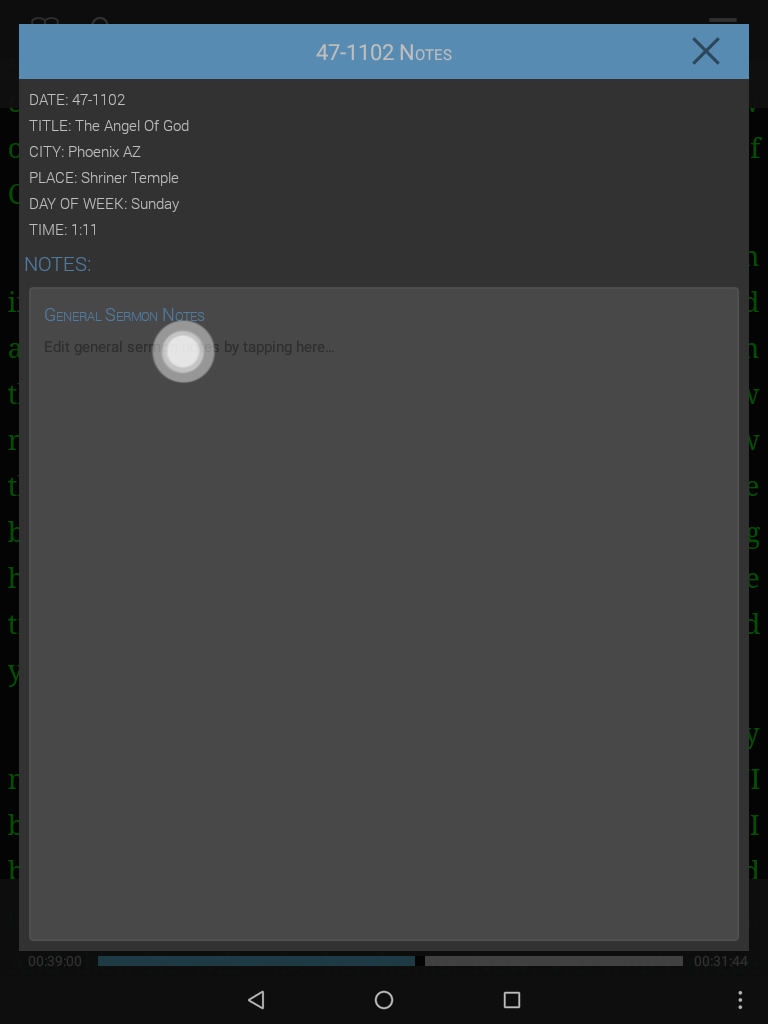
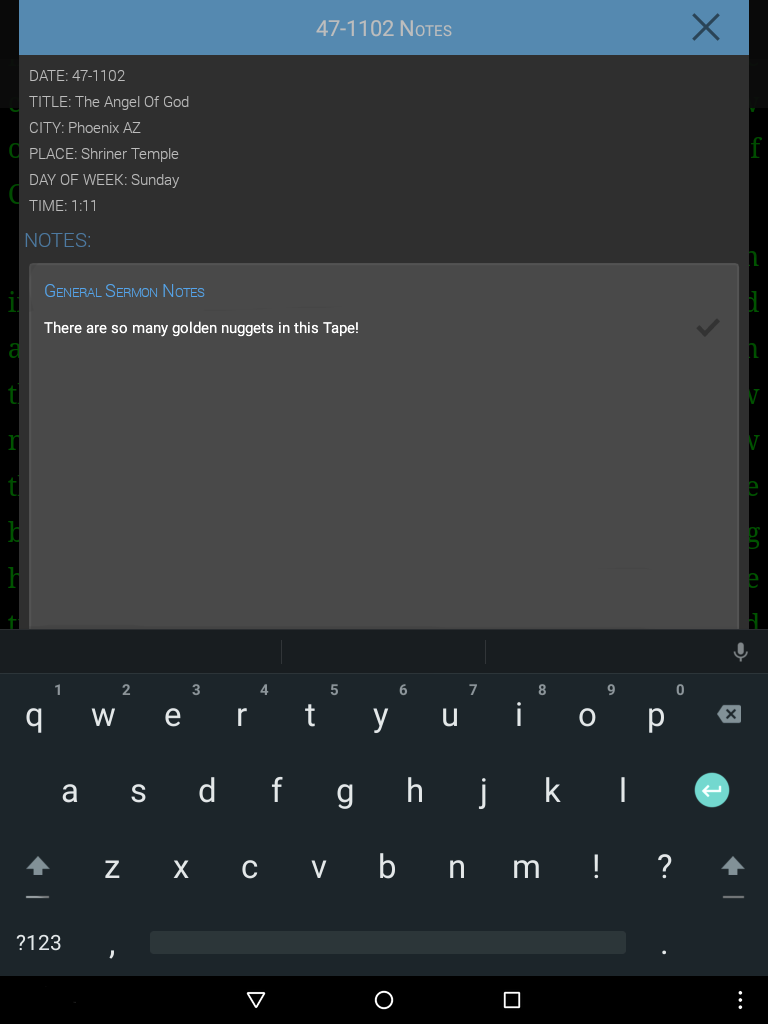
This Note applies to the whole sermon
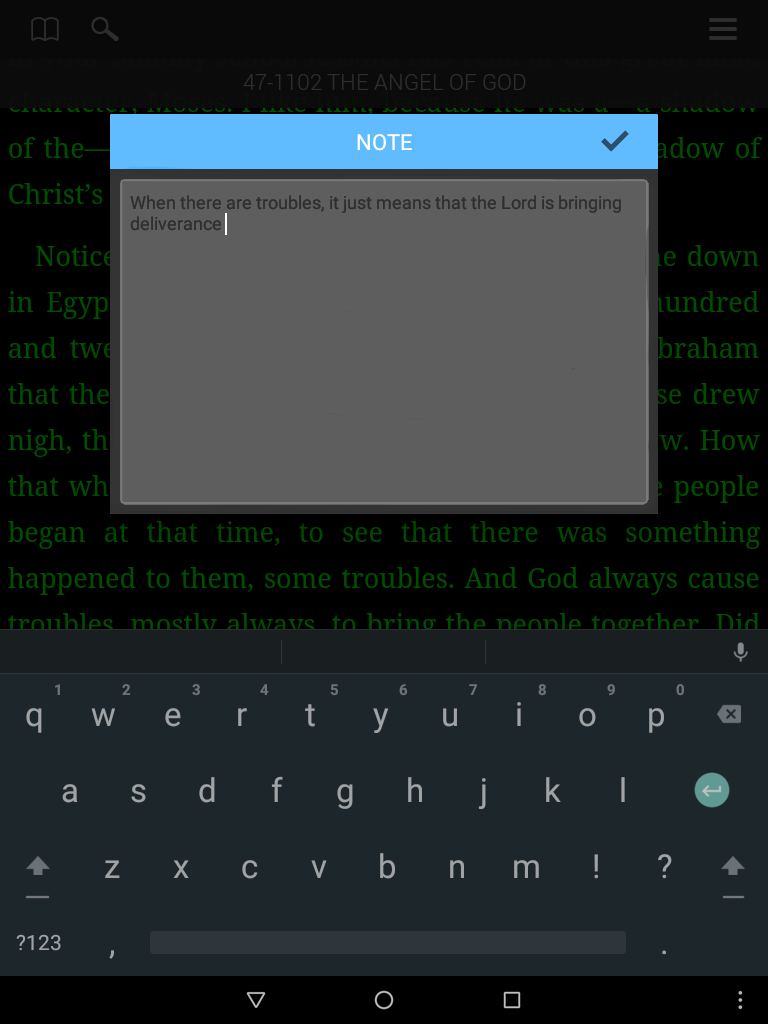
Attached Notes
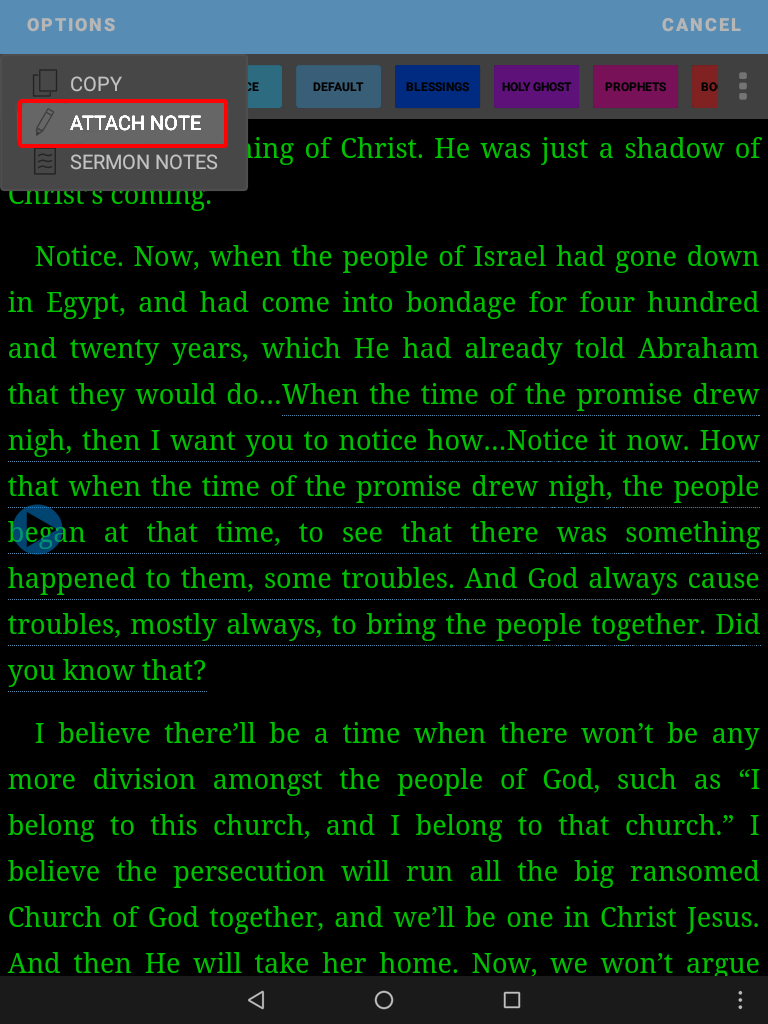
Attach a note to a text segment:
- Tap the text segment where you wish to attach the note.
- Select the options button.
- Select attach note.
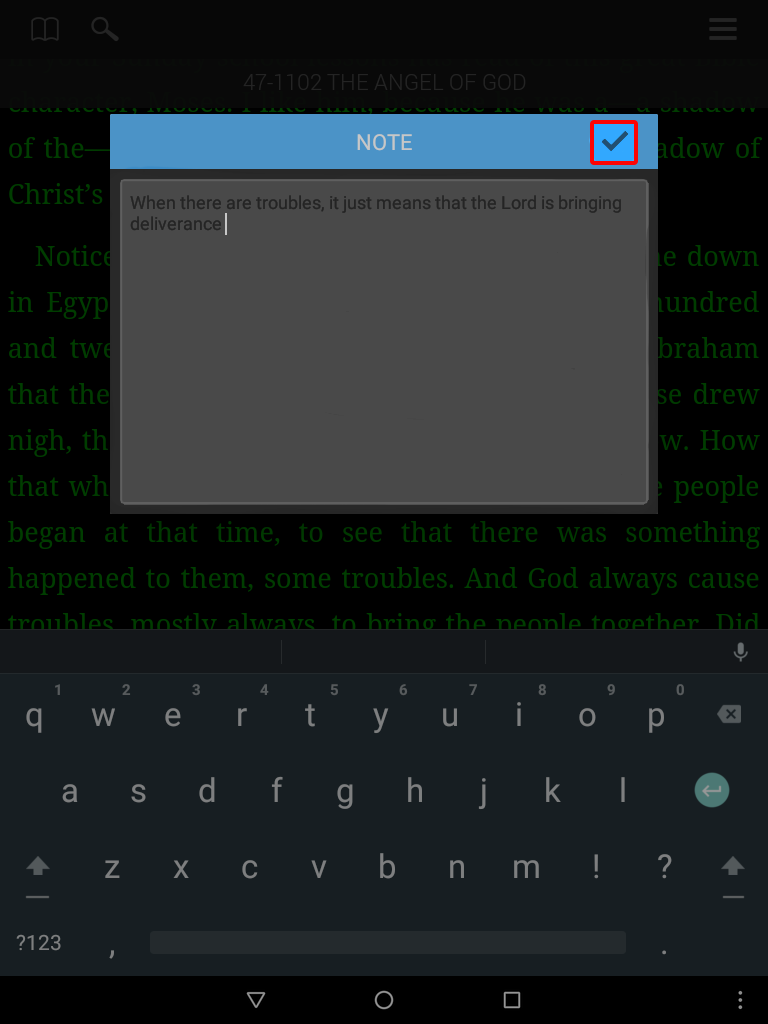
- Type the content of your note.
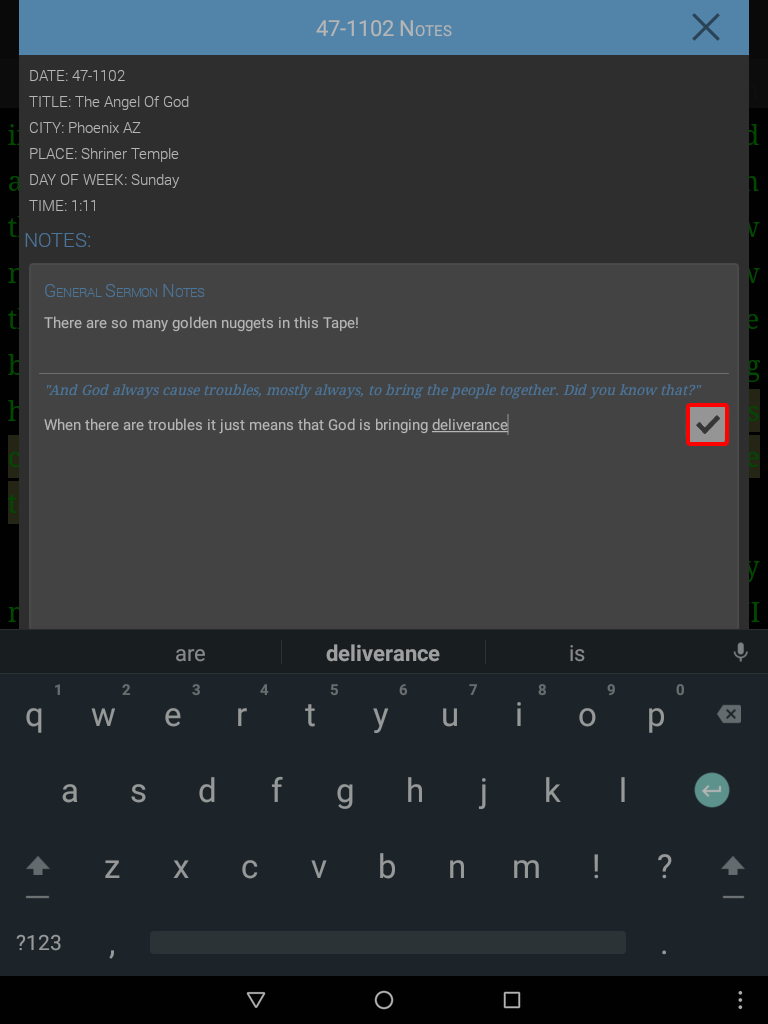
- Select the checkmark to save.

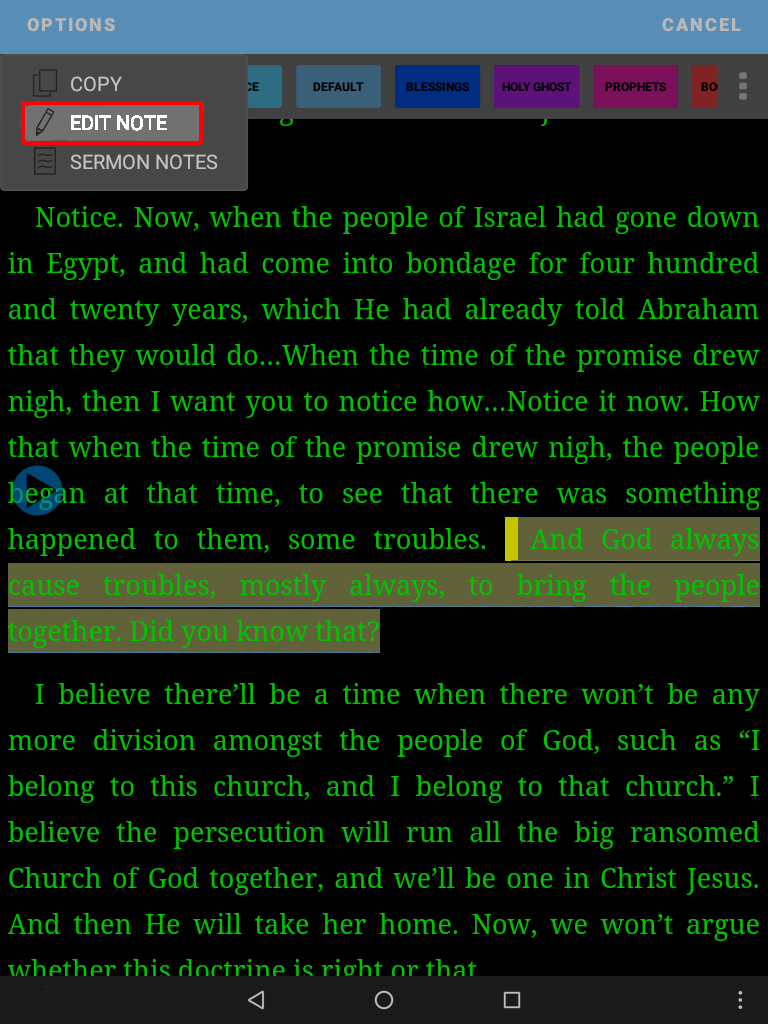
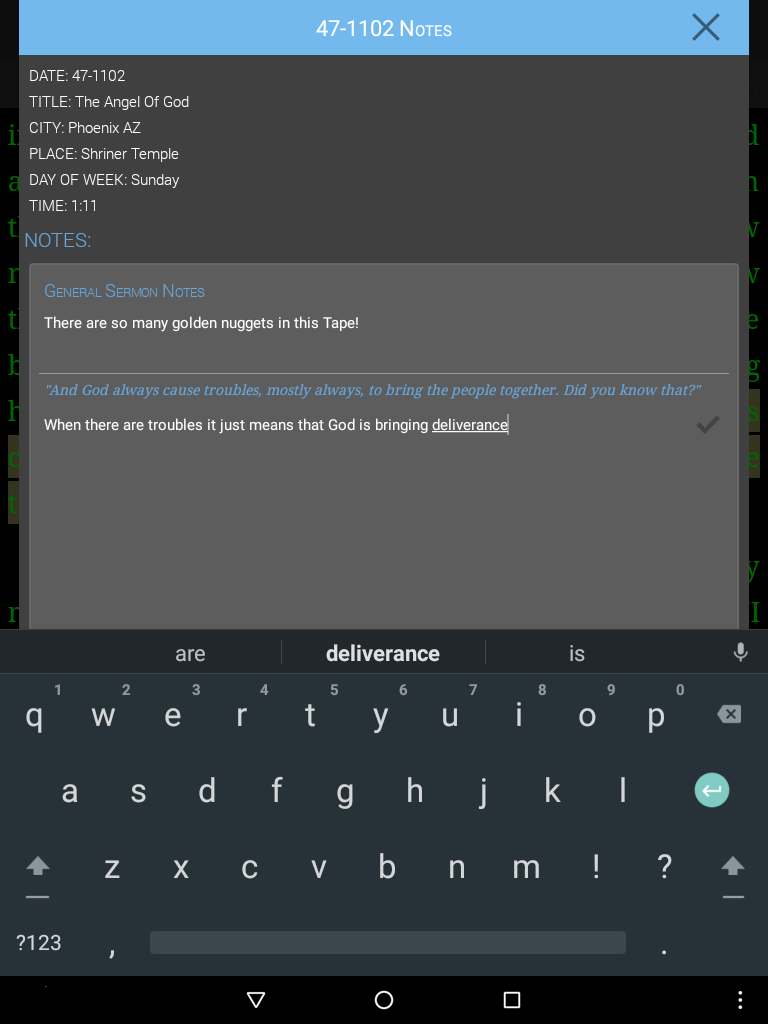
Edits to attached notes can easily be made. Select the text your note is attached to, and follow the previous steps choosing edit note instead of attach note.
To Edit A Note:
- Tap in the document text to reveal the menu.
- Select options.
- Select Edit Note to open the note.
- Tap in the sermon notes field to edit your note.
- Select the checkmark to save.
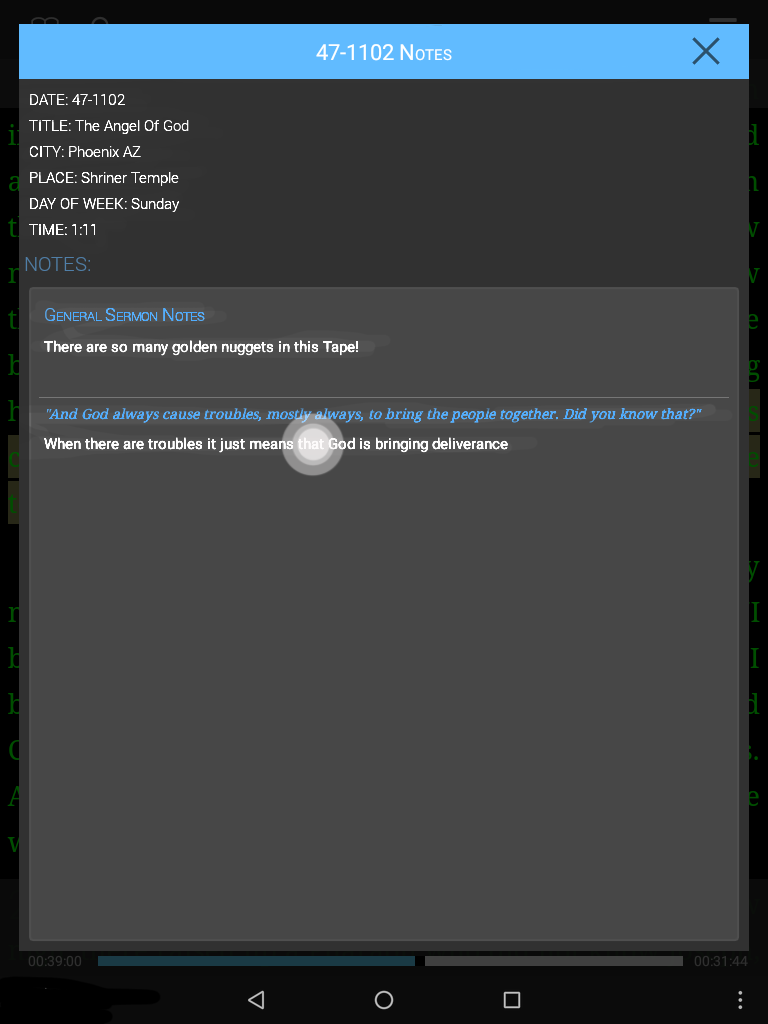
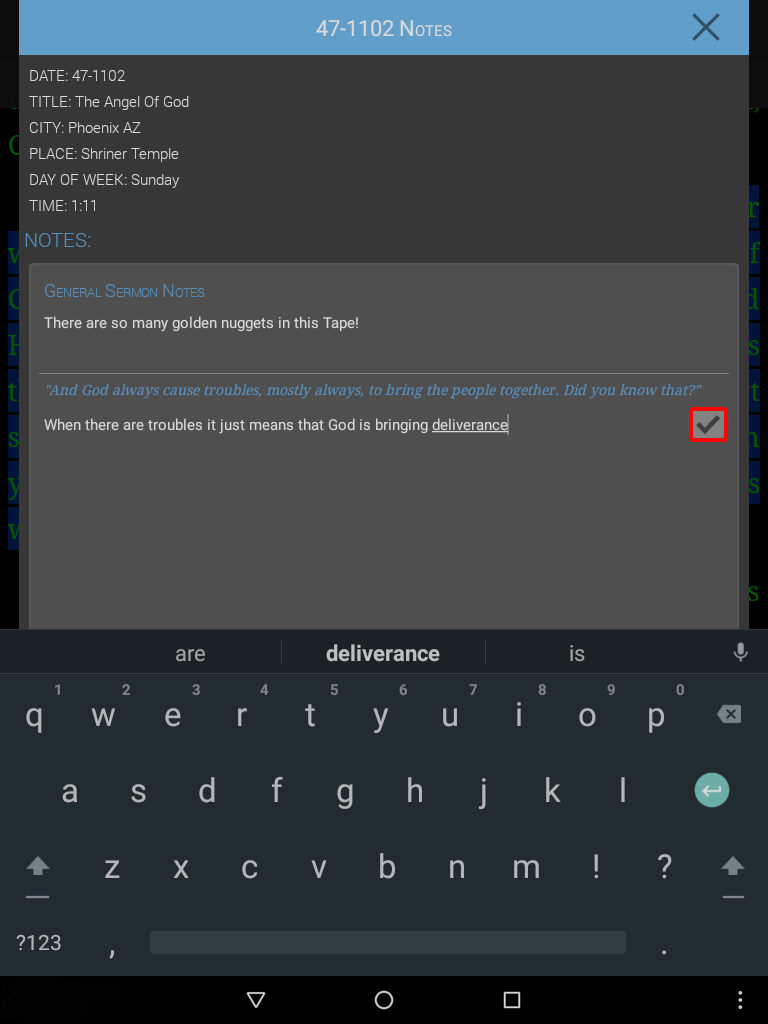
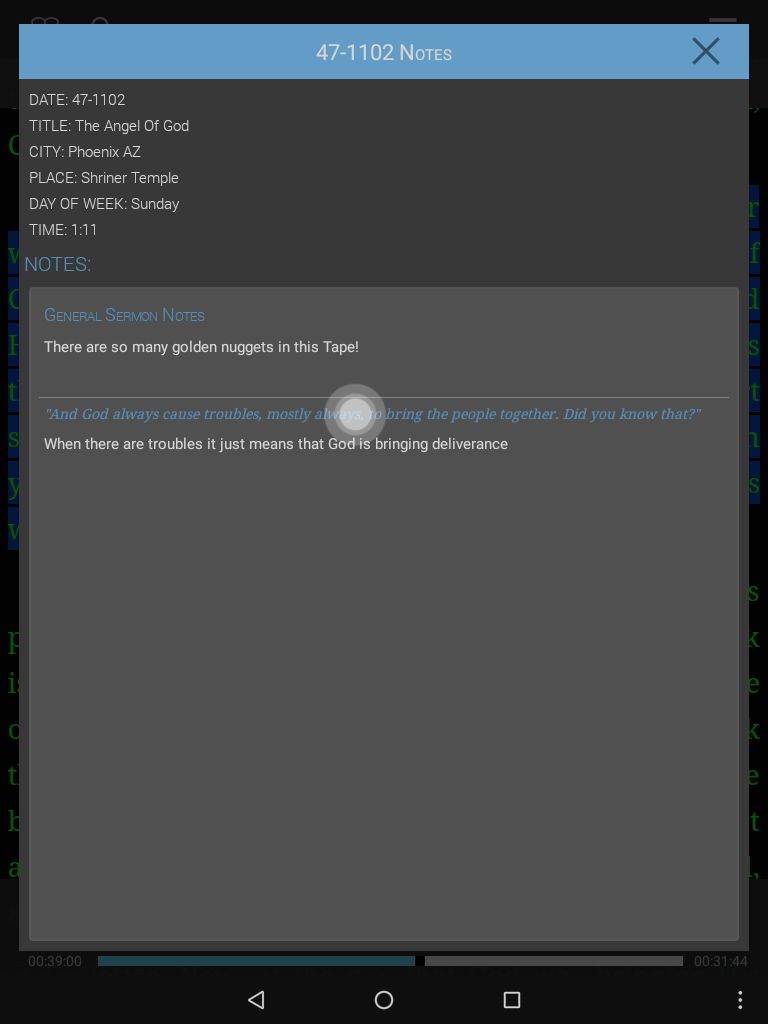
Edit Notes From Current Sermon Info & Notes
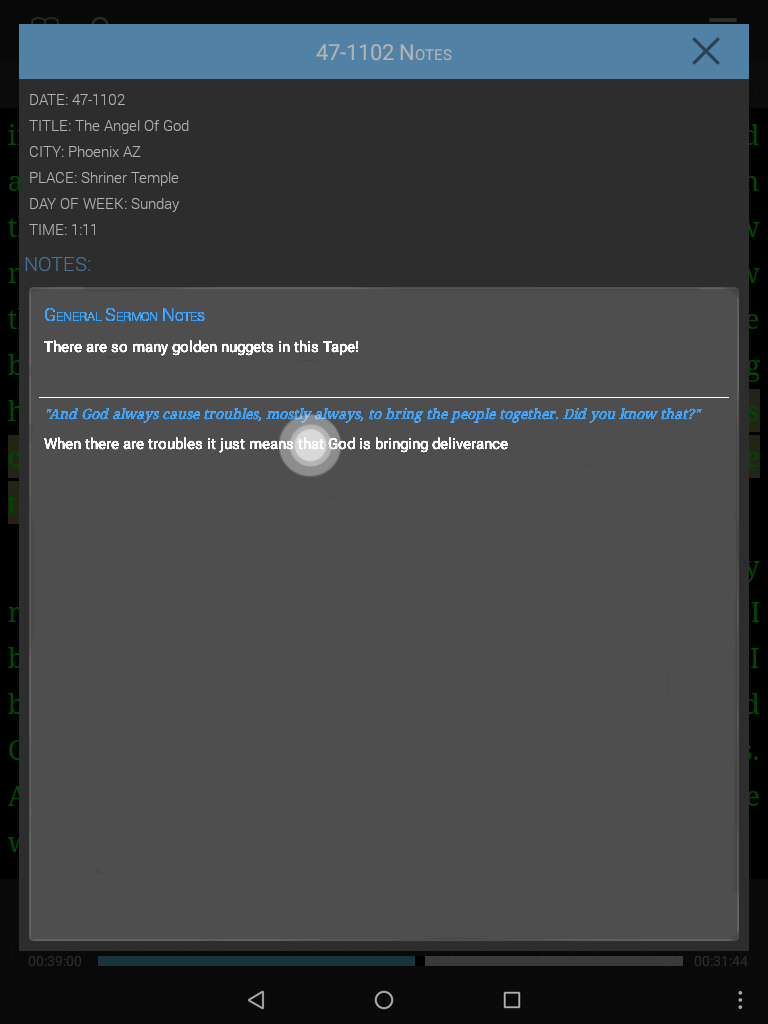
Current Sermon Info & Notes displays both your general sermon notes and any notes you have attached to the text in that sermon. It also displays general information about the sermon.
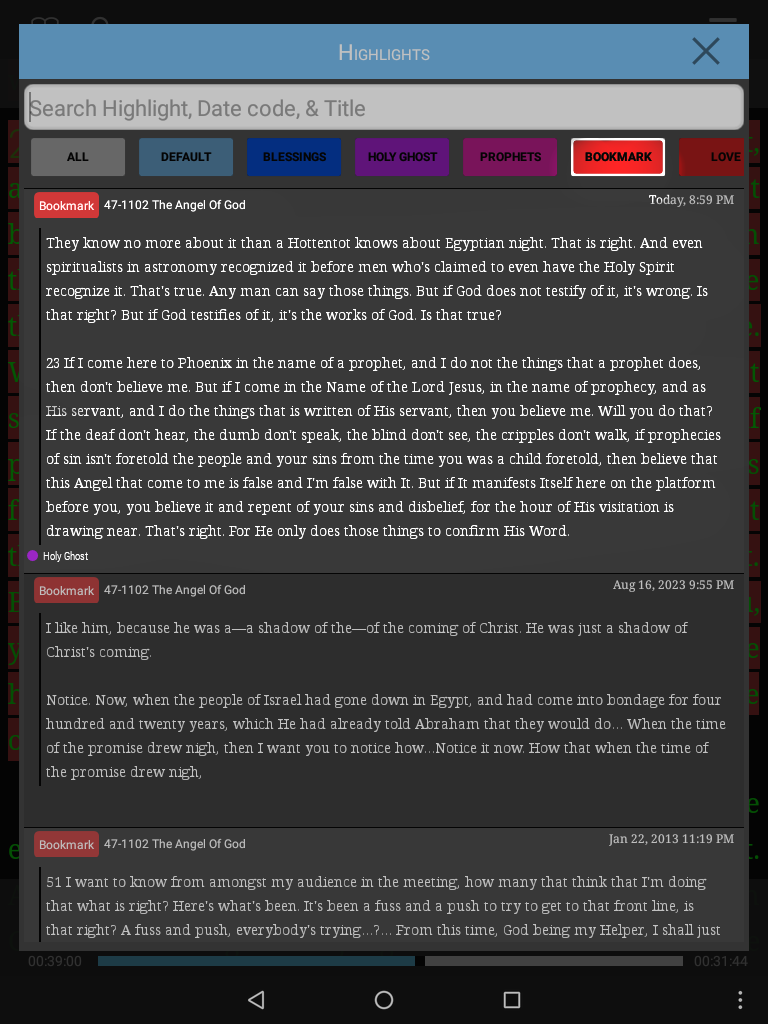
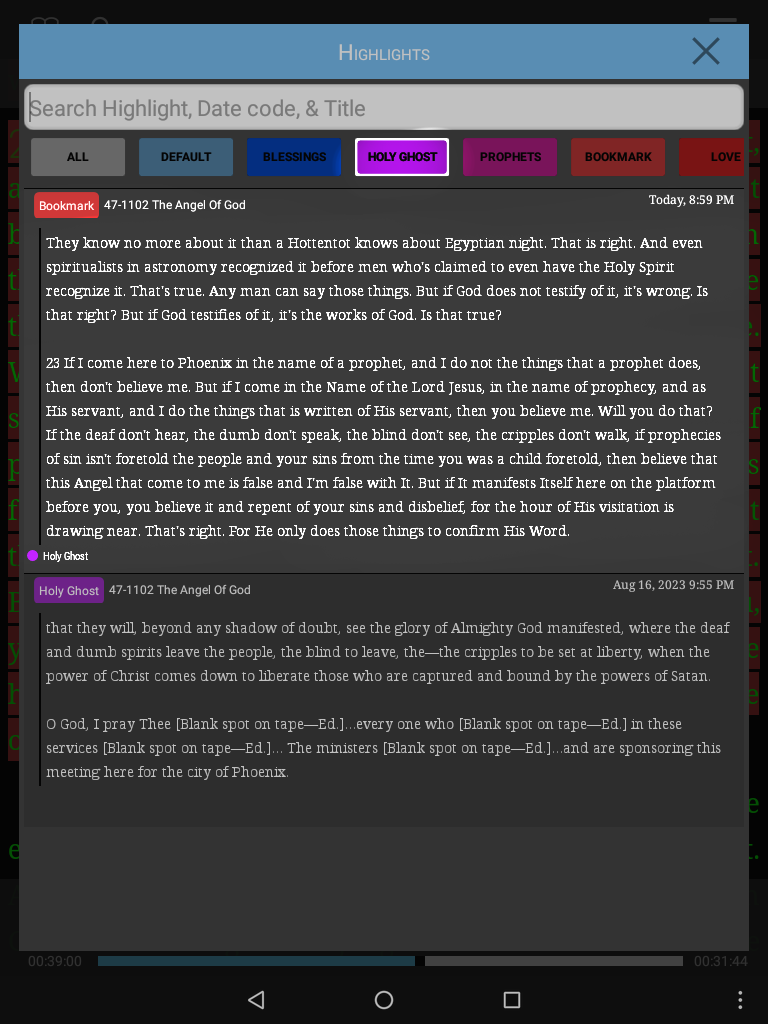
My Highlights allows you to view and search all your highlights.
You will see a list of your highlight categories at the top of the screen under the search bar.
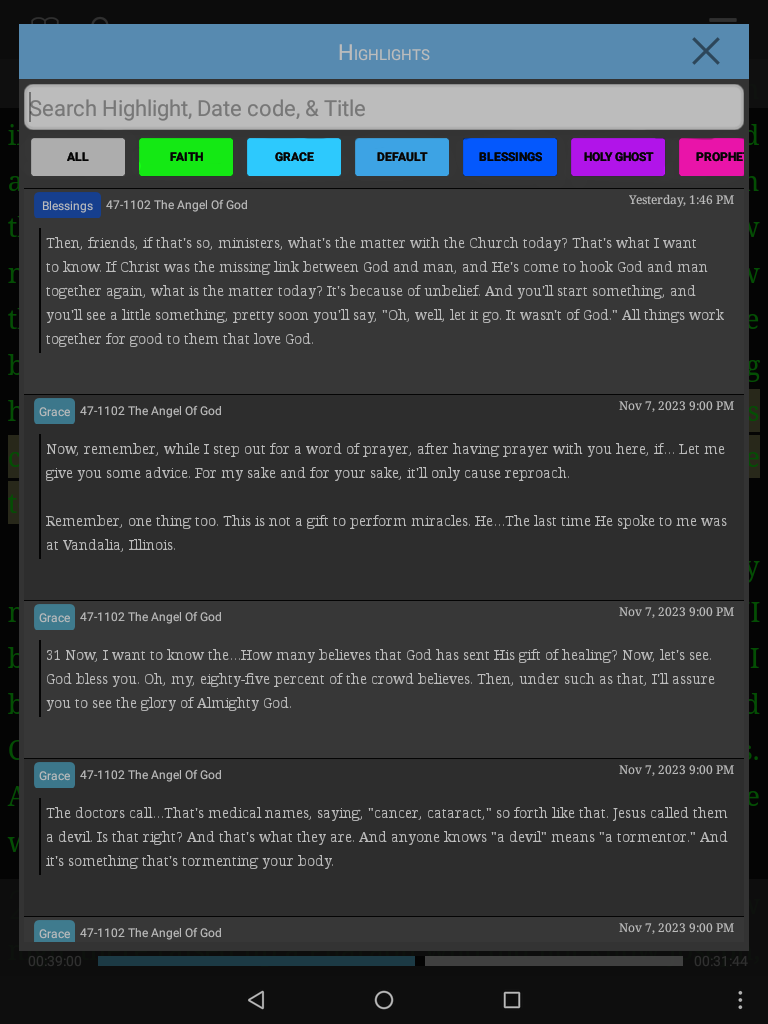
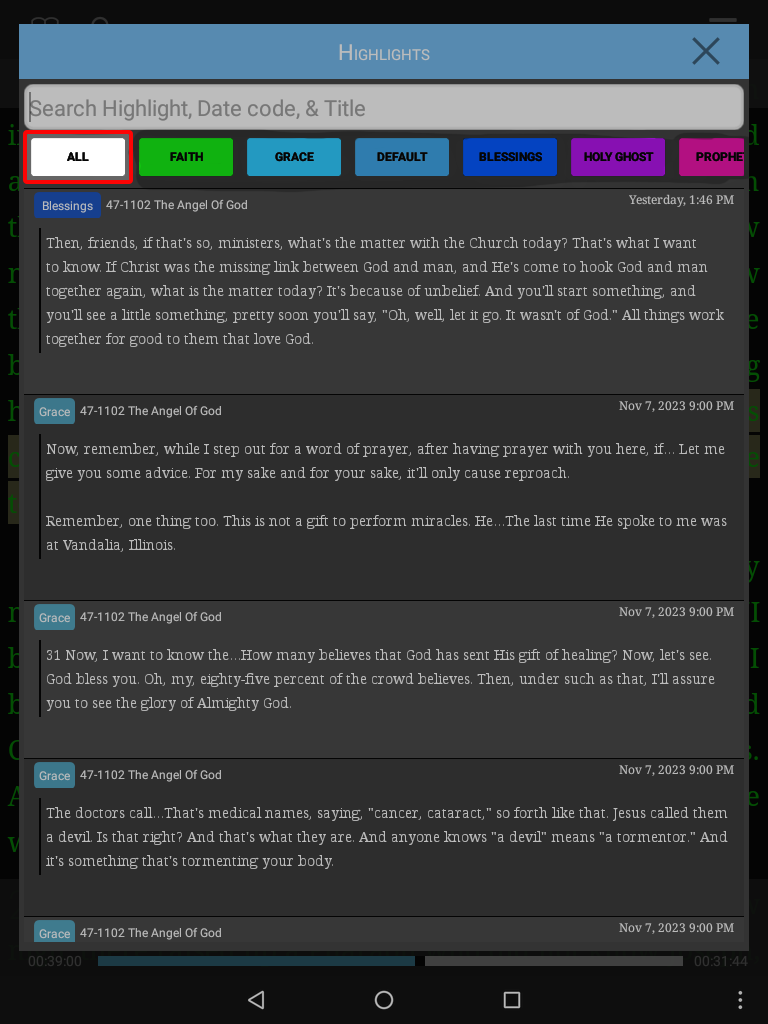
The all tab allows you to view all of your highlights from every category in a single list.
Selecting a different highlight category will allow you to view only that category.
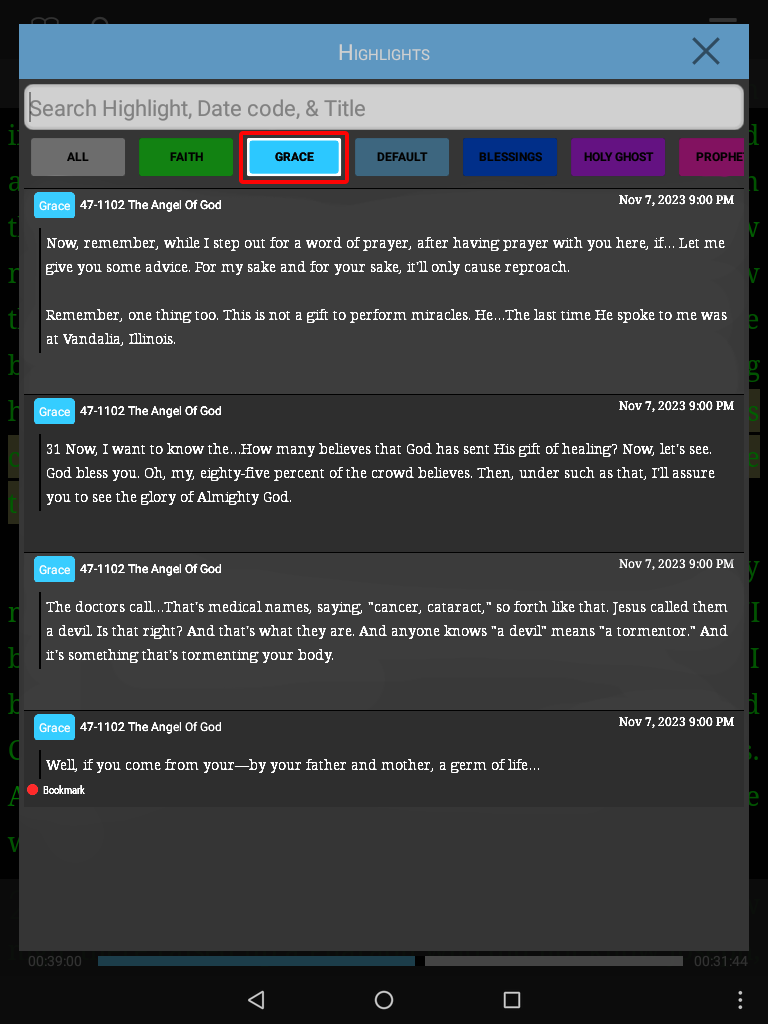
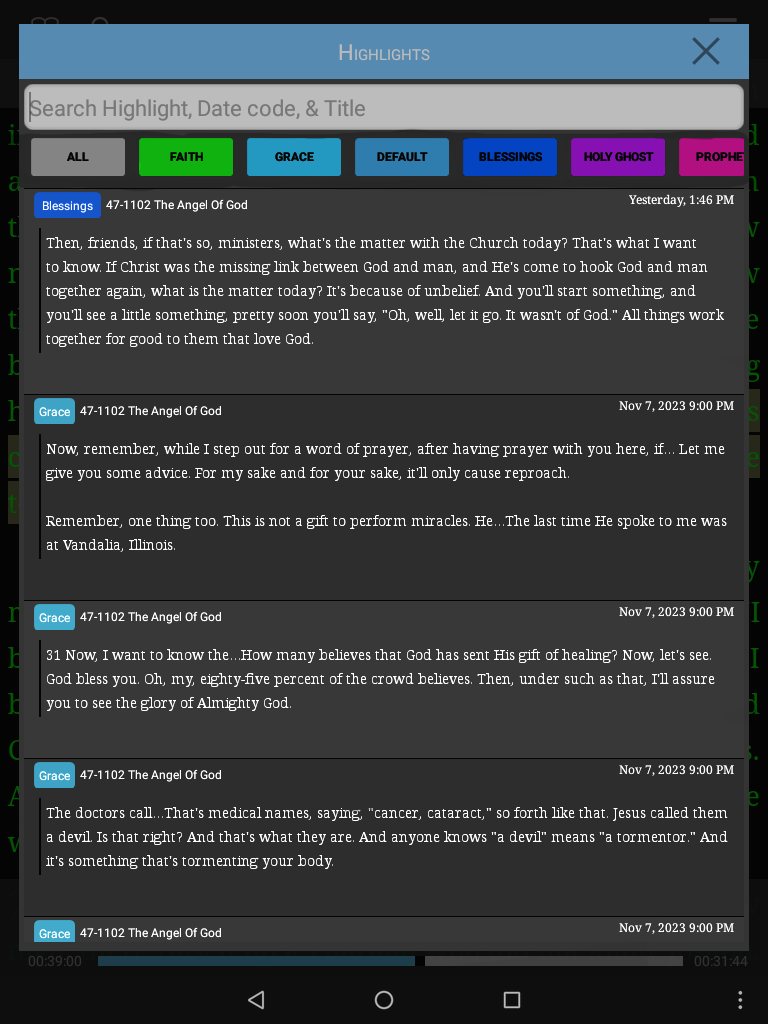
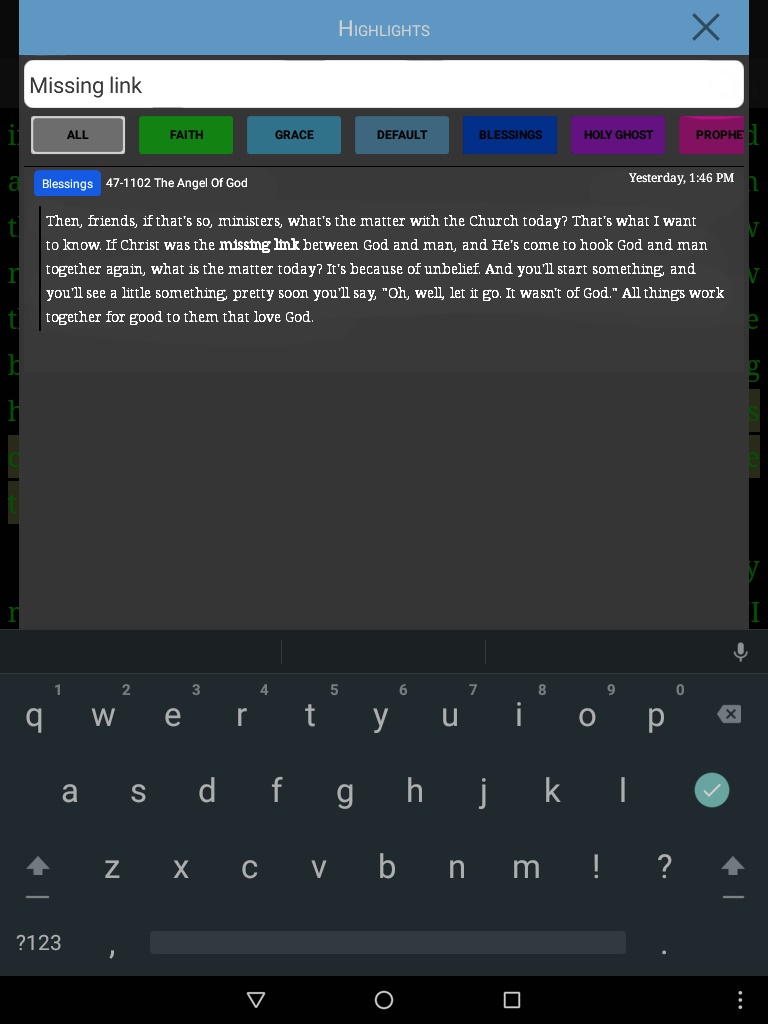
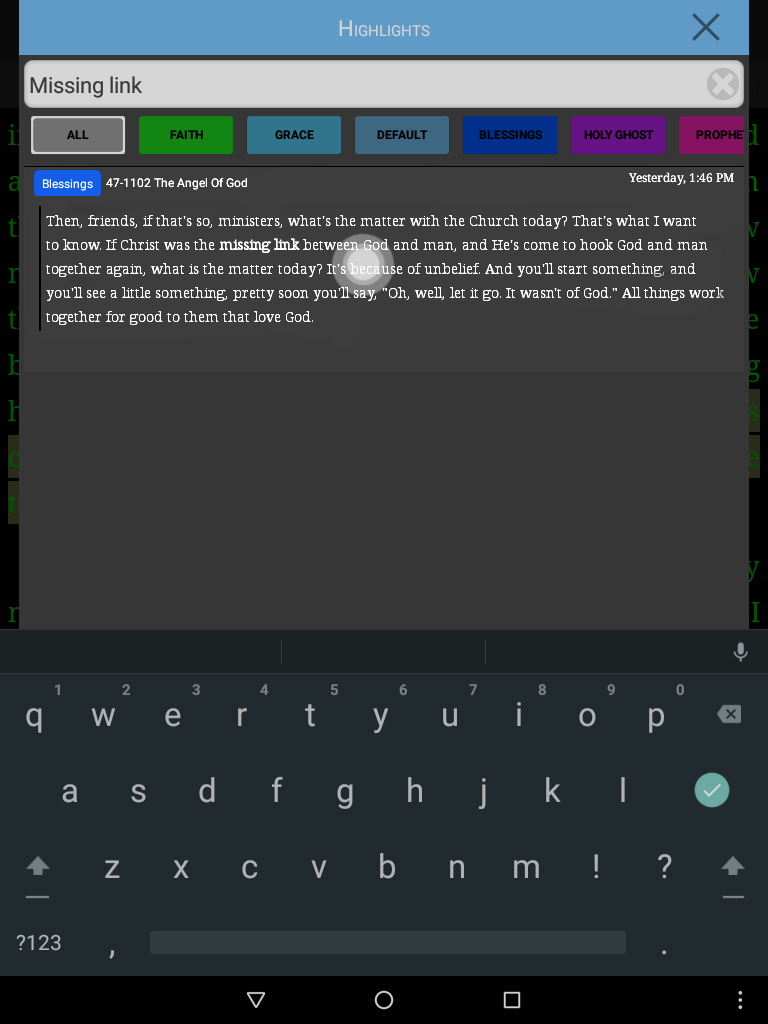
The search field allows you to search for a highlight based on the text.
Simply type a word or phrase.
It will find search results in whichever highlight categories are selected
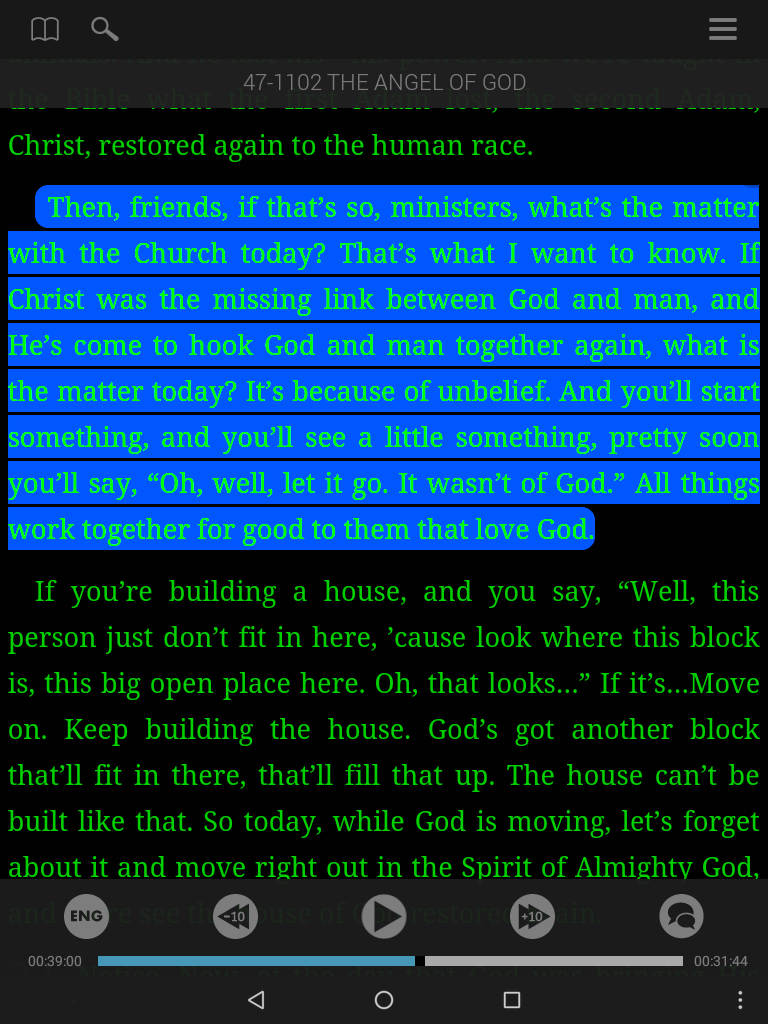
Tap any highlight to open in document text.
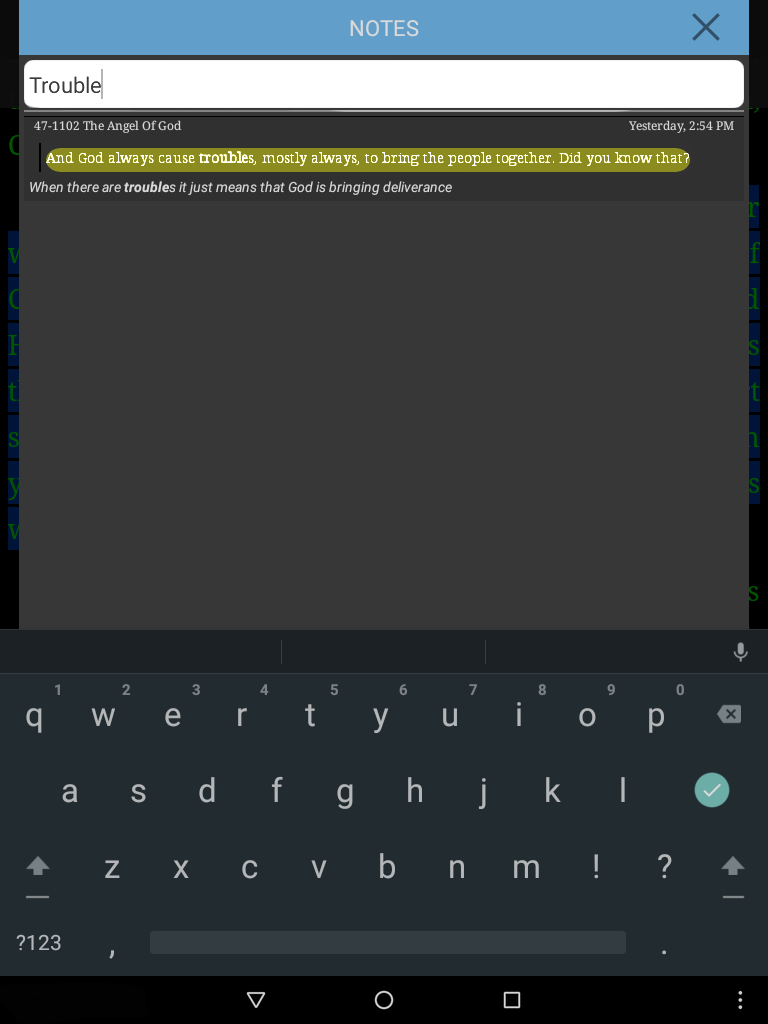
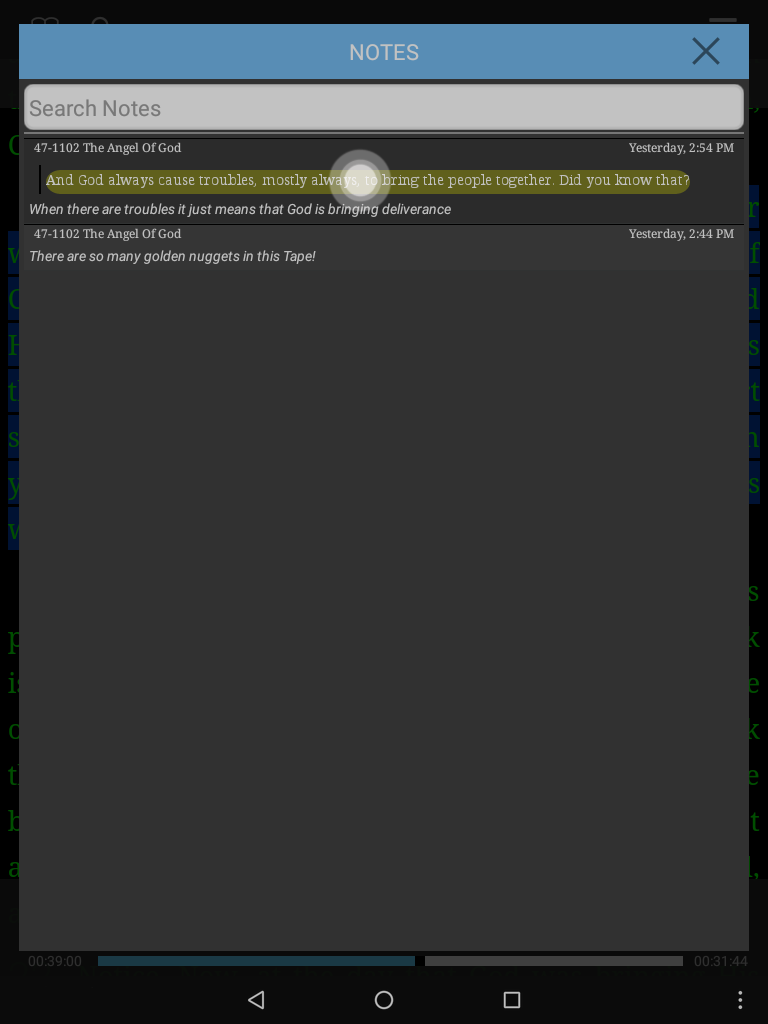
My Notes contains a collection of both your attached notes and general sermon notes.
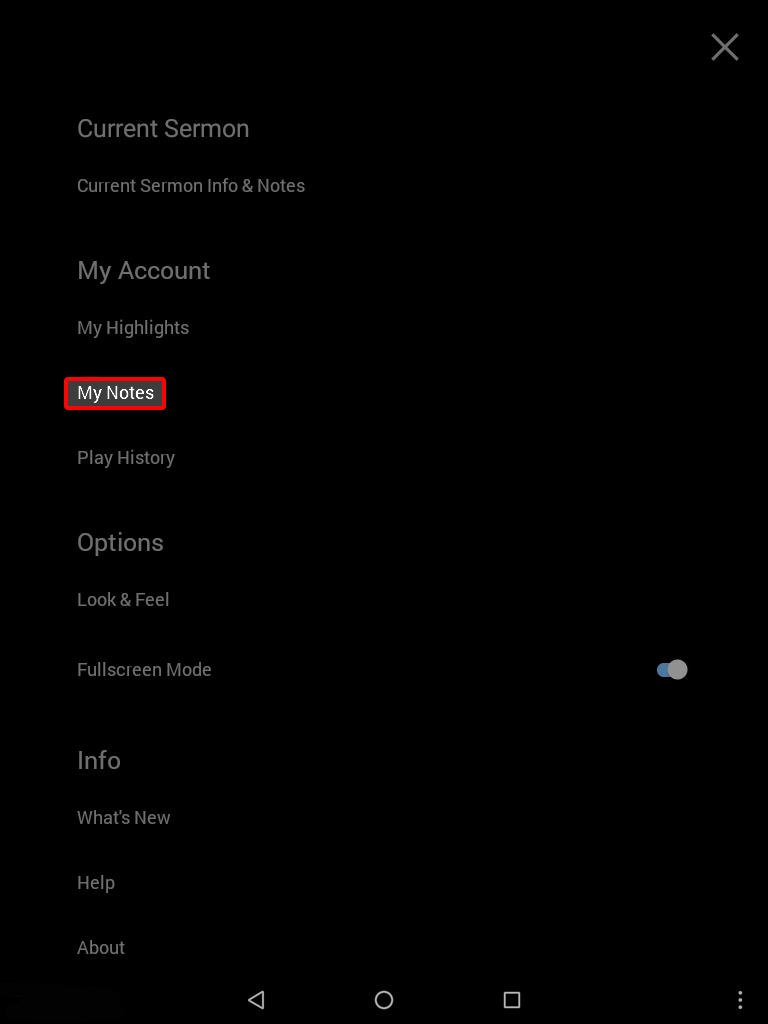

Type a word or phrase from either the attached or general sermon notes to easily access it.
- Tap a note from the list.
- This will take you to the Current Sermon Info & Notes where you can view and edit the note.
- Touch the note text to edit. When finished, touch the check mark to save your edits.
- Touch the sermon text the note is attached to. This will open to the sermon text.
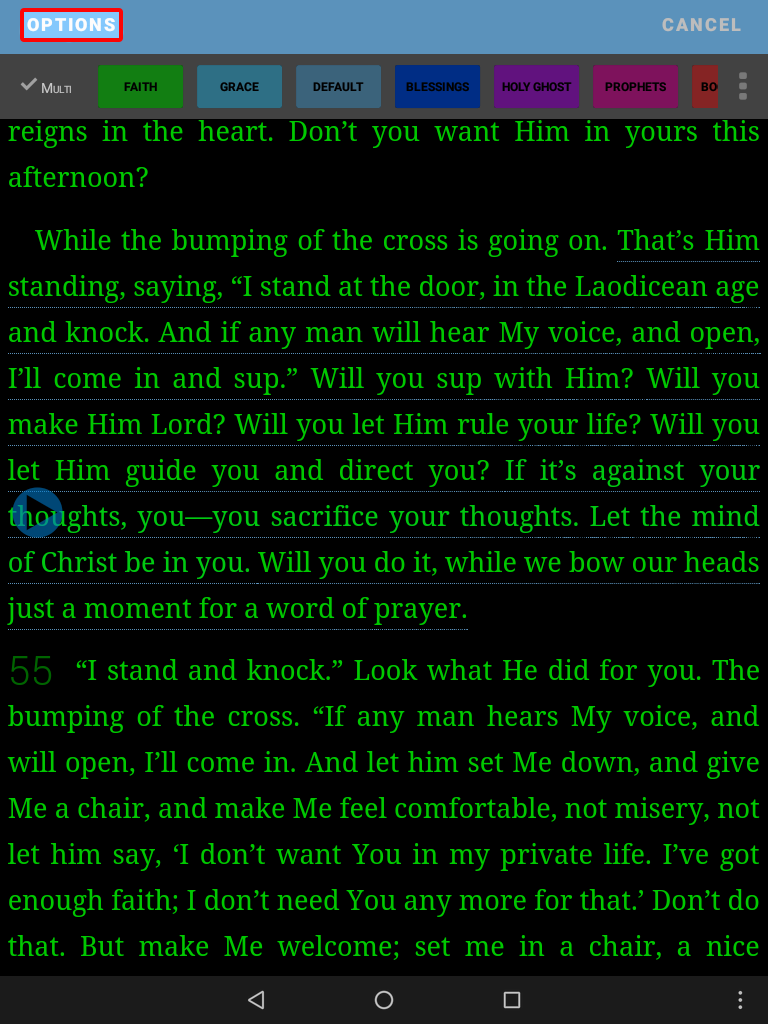
Copy Quote
- Tap in the text to select the text you would like to copy.
-
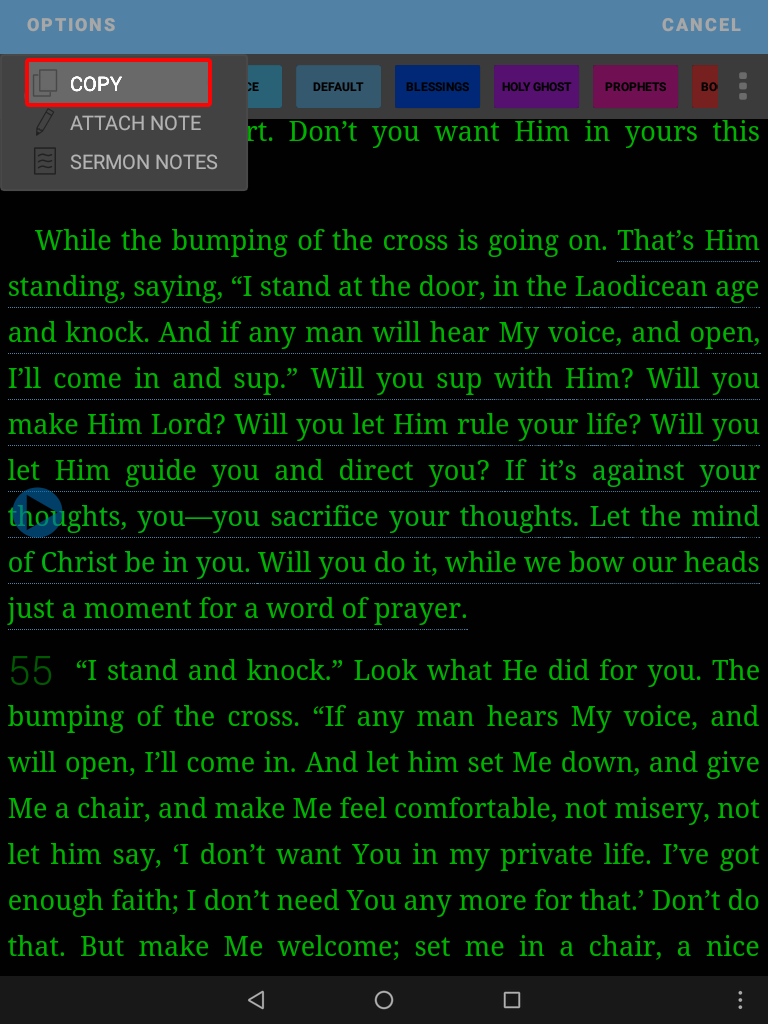
An options button should appear in the top left corner of the app. Select it.
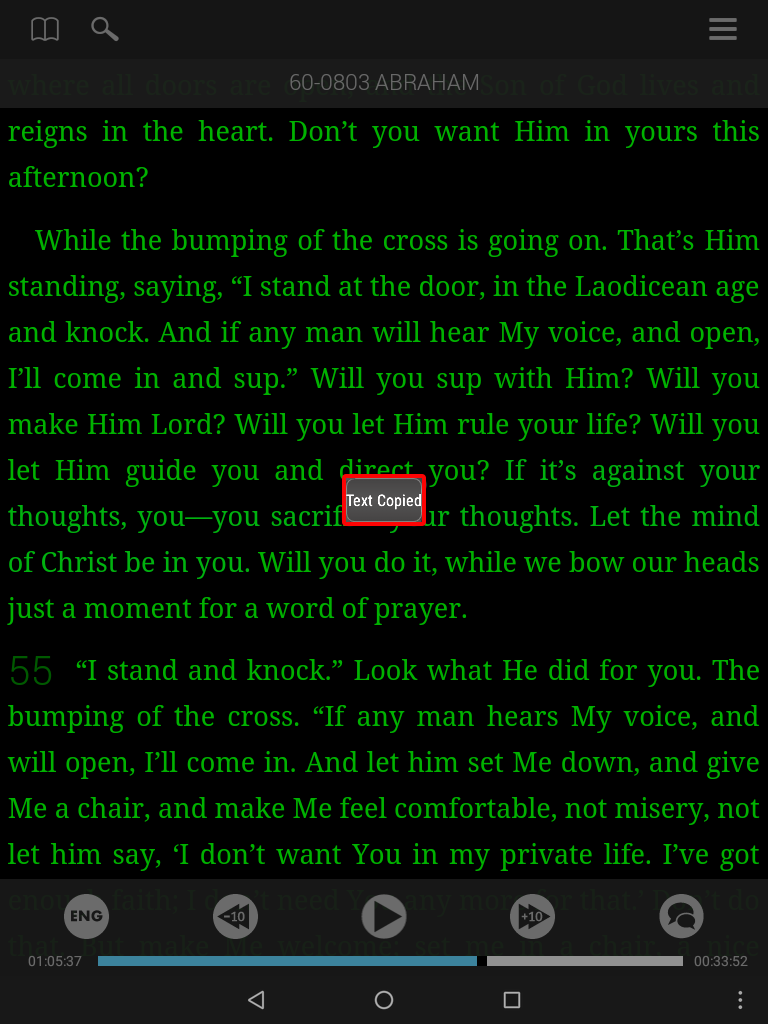
- Select copy. This will save the quote to your clipboard.
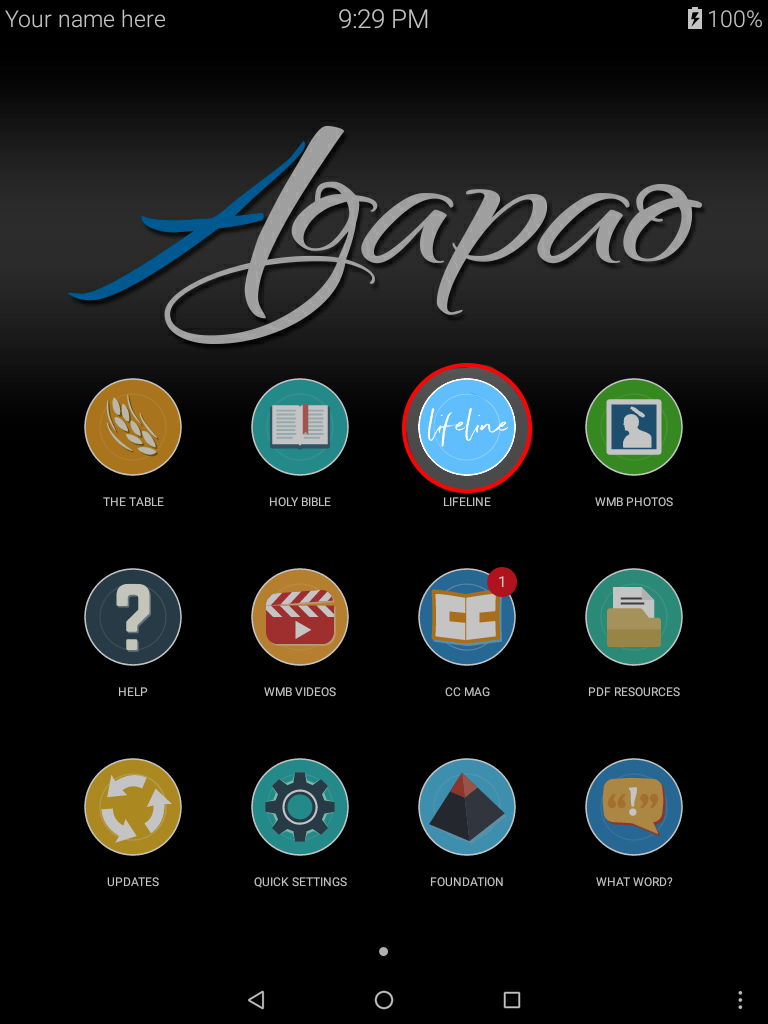
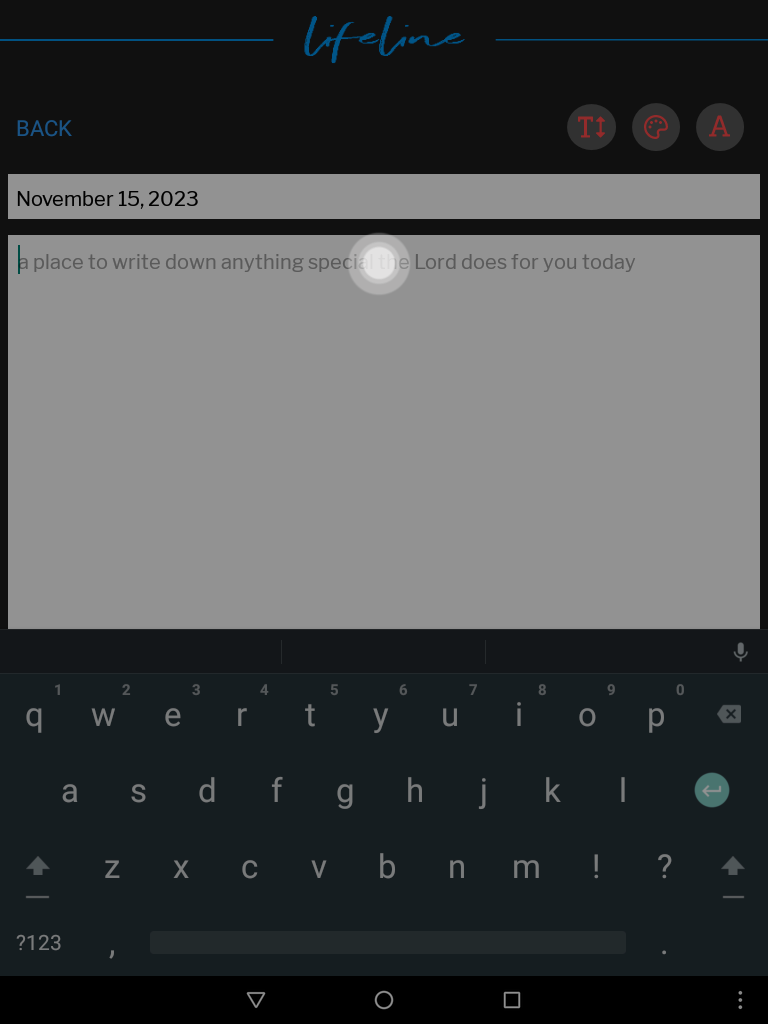
- Open up Lifeline, scroll down to Red Letter Journal and select it.

Paste Quote
- Press and hold in the text field to bring up the paste option.
- Select paste.

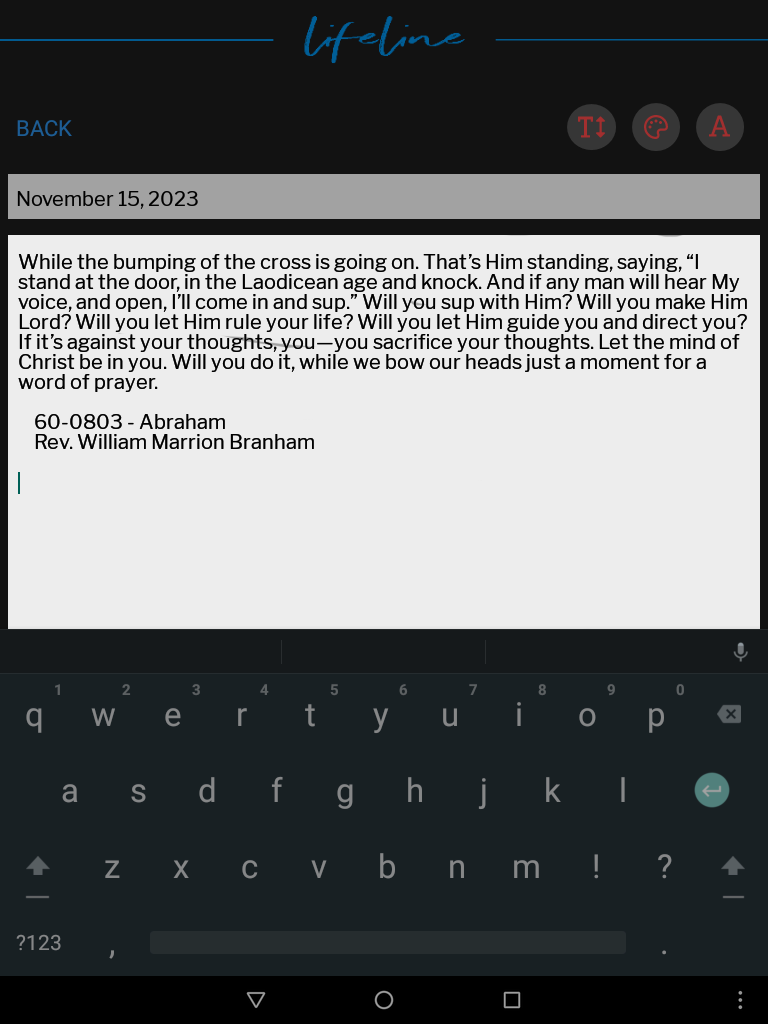
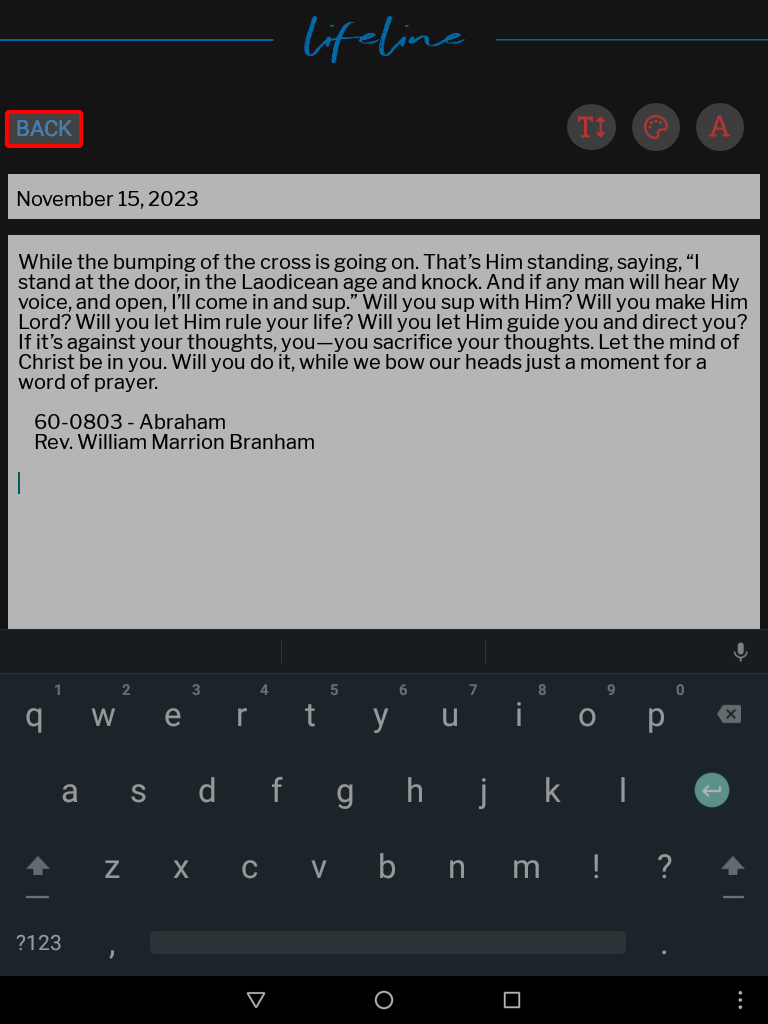
Save Quote
- Save by touching back.
- You will see the quote listed in your journal entries.
If you are having trouble with the Table, and it is not responding correctly, then please see Advanced Table Help