The Table Cloud Backups
The Table Cloud Backups feature allows you to backup your notes and highlights to the VGR Cloud, so they are never lost. This means if you get a new phone, you will still have access to access to any notes and highlights you previously made.
The Table Cloud Backup feature is a system that has several parts:
- The app on your phone or tablet
- Your account at branham.org
- The actual storage of your backups on the VGR servers.
These three components work together to store and retrieve your files. The Table app must be linked to your VGR account, which then securely links The Table app to your own backups.
To use this feature, you must first make sure you have the latest Table app update installed. Once you have the latest Table app, you will then log in to your branham.org account through The Table app. This will allow you access to The Table Cloud Backup features: Backup and Restore From Backup.
The backup feature saves a copy of your notes and highlights to the VGR server. (You can choose to either backup automatically in the background, or manually select a button to create a backup.)
The restore from backup feature allows you to pull backups down from the server and load them in The Table app.
Here are a few instructions on using The Table Cloud Backups Feature.
Please be sure you have the latest Table application update from the App Store or Google Play Store. If your application is not up to date, the Cloud Backup option may not be available to you.


I Already Have a Branaham.org Account
If you already have a branham.org account, please follow the steps below. (This will be the account which is used to place online orders or to sign in to The Red Letter Journal from the Lifeline application.)
If you don't already have a branham.org account, please see How To Create a Branham.org Account.
-
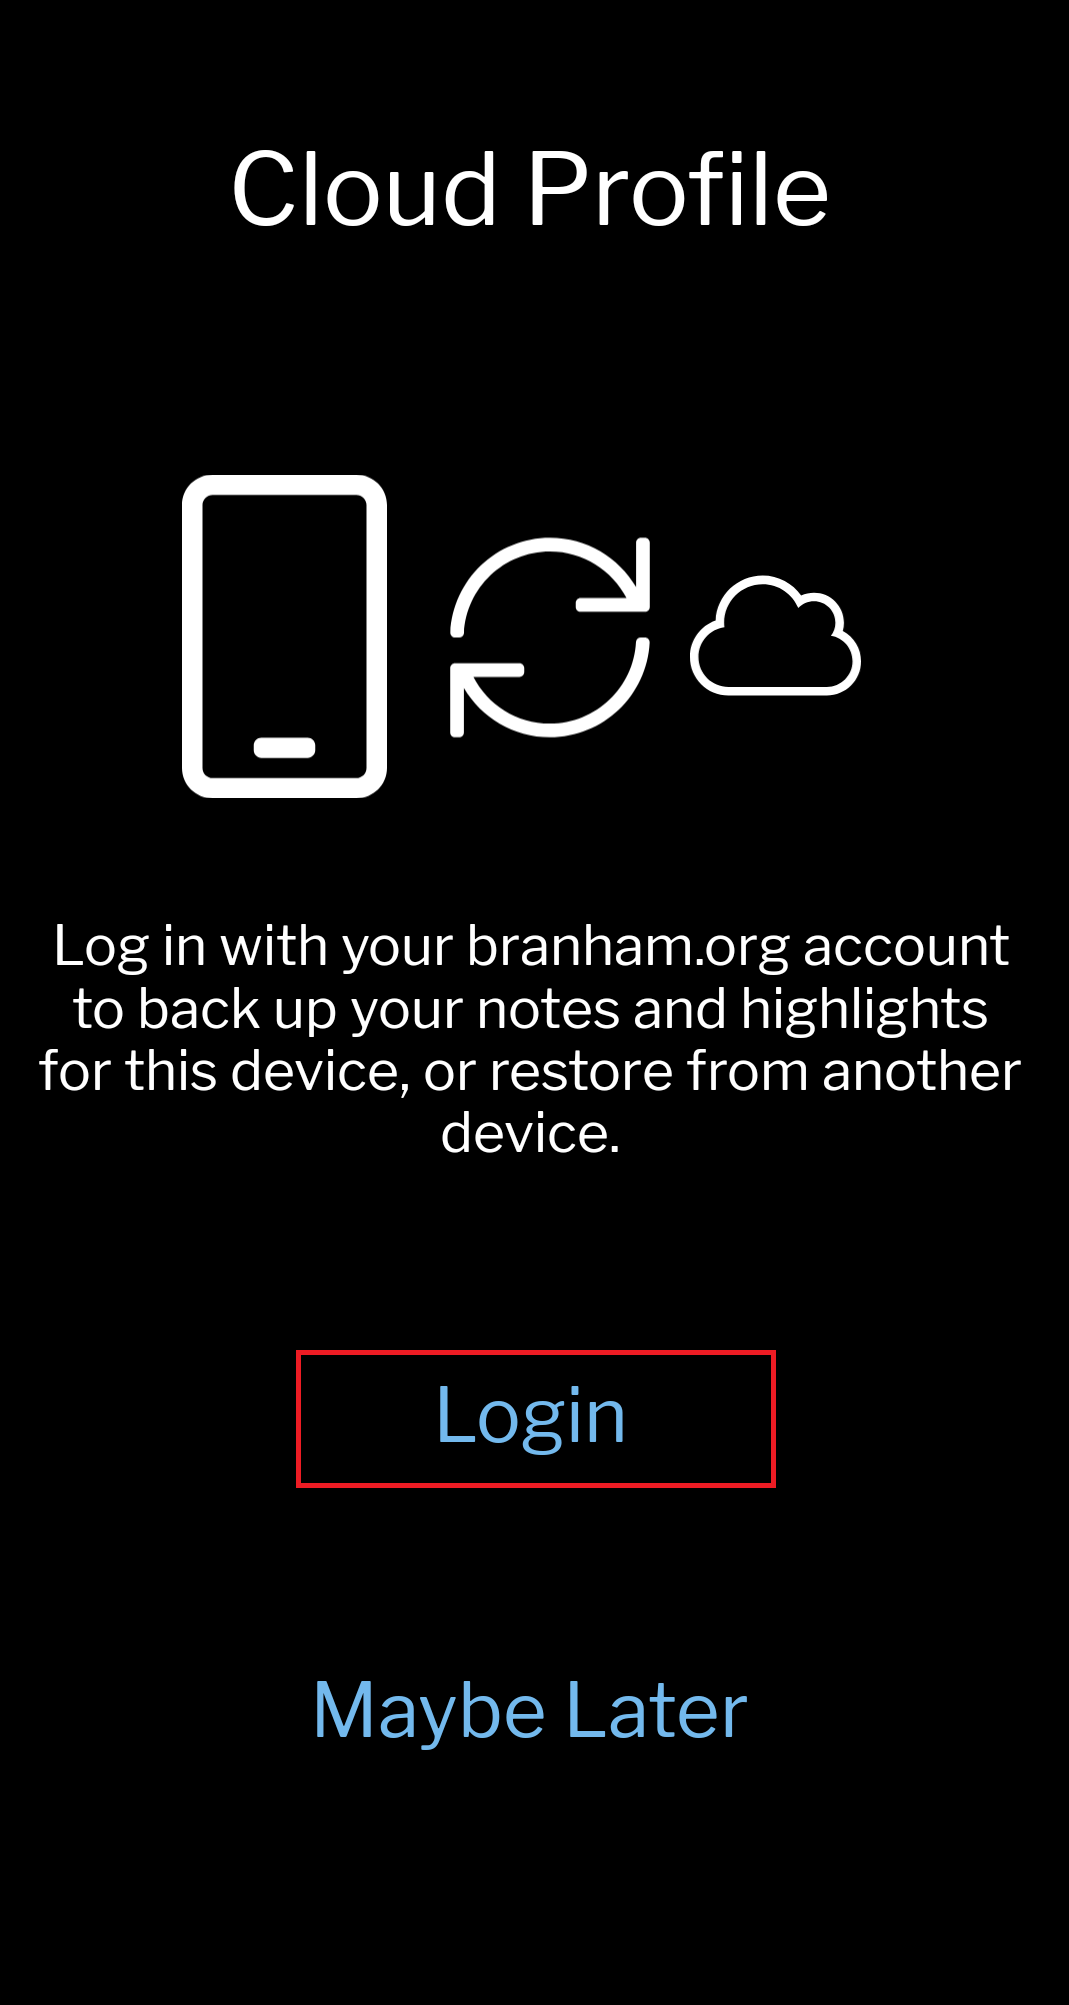
After your app has been updated, you will see a screen with the options login and maybe later the first time it is opened. Select login to login to your branham.org account.
- If you did not login from the screen in step 1, select the menu button in the top right corner of the screen. Then select the login button.


- Enter your branham.org username and password, then select login.
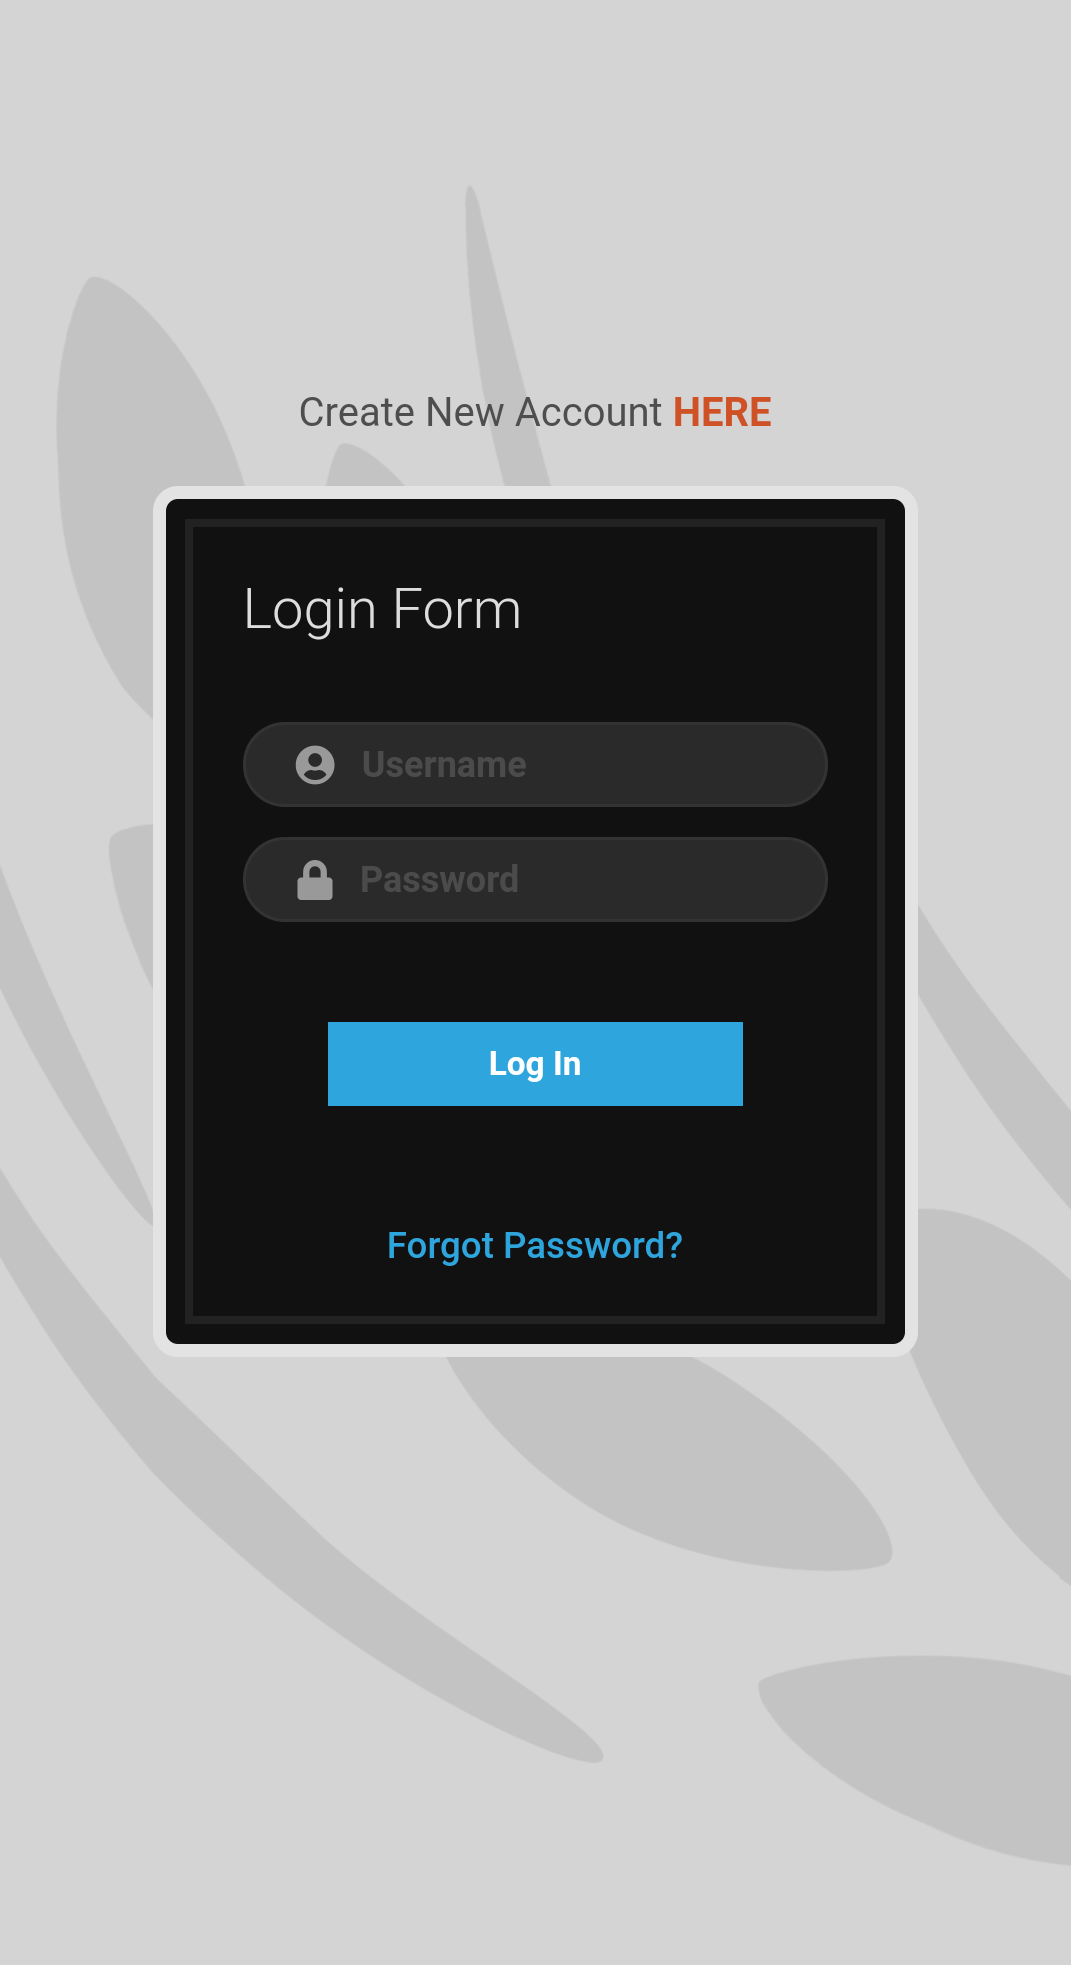 Note: If you don't remember your password, select the forgot password option and enter your email address to recover your account. You will receive an email containing a link to reset your password. Please read the password requirements to create a new password and login.)
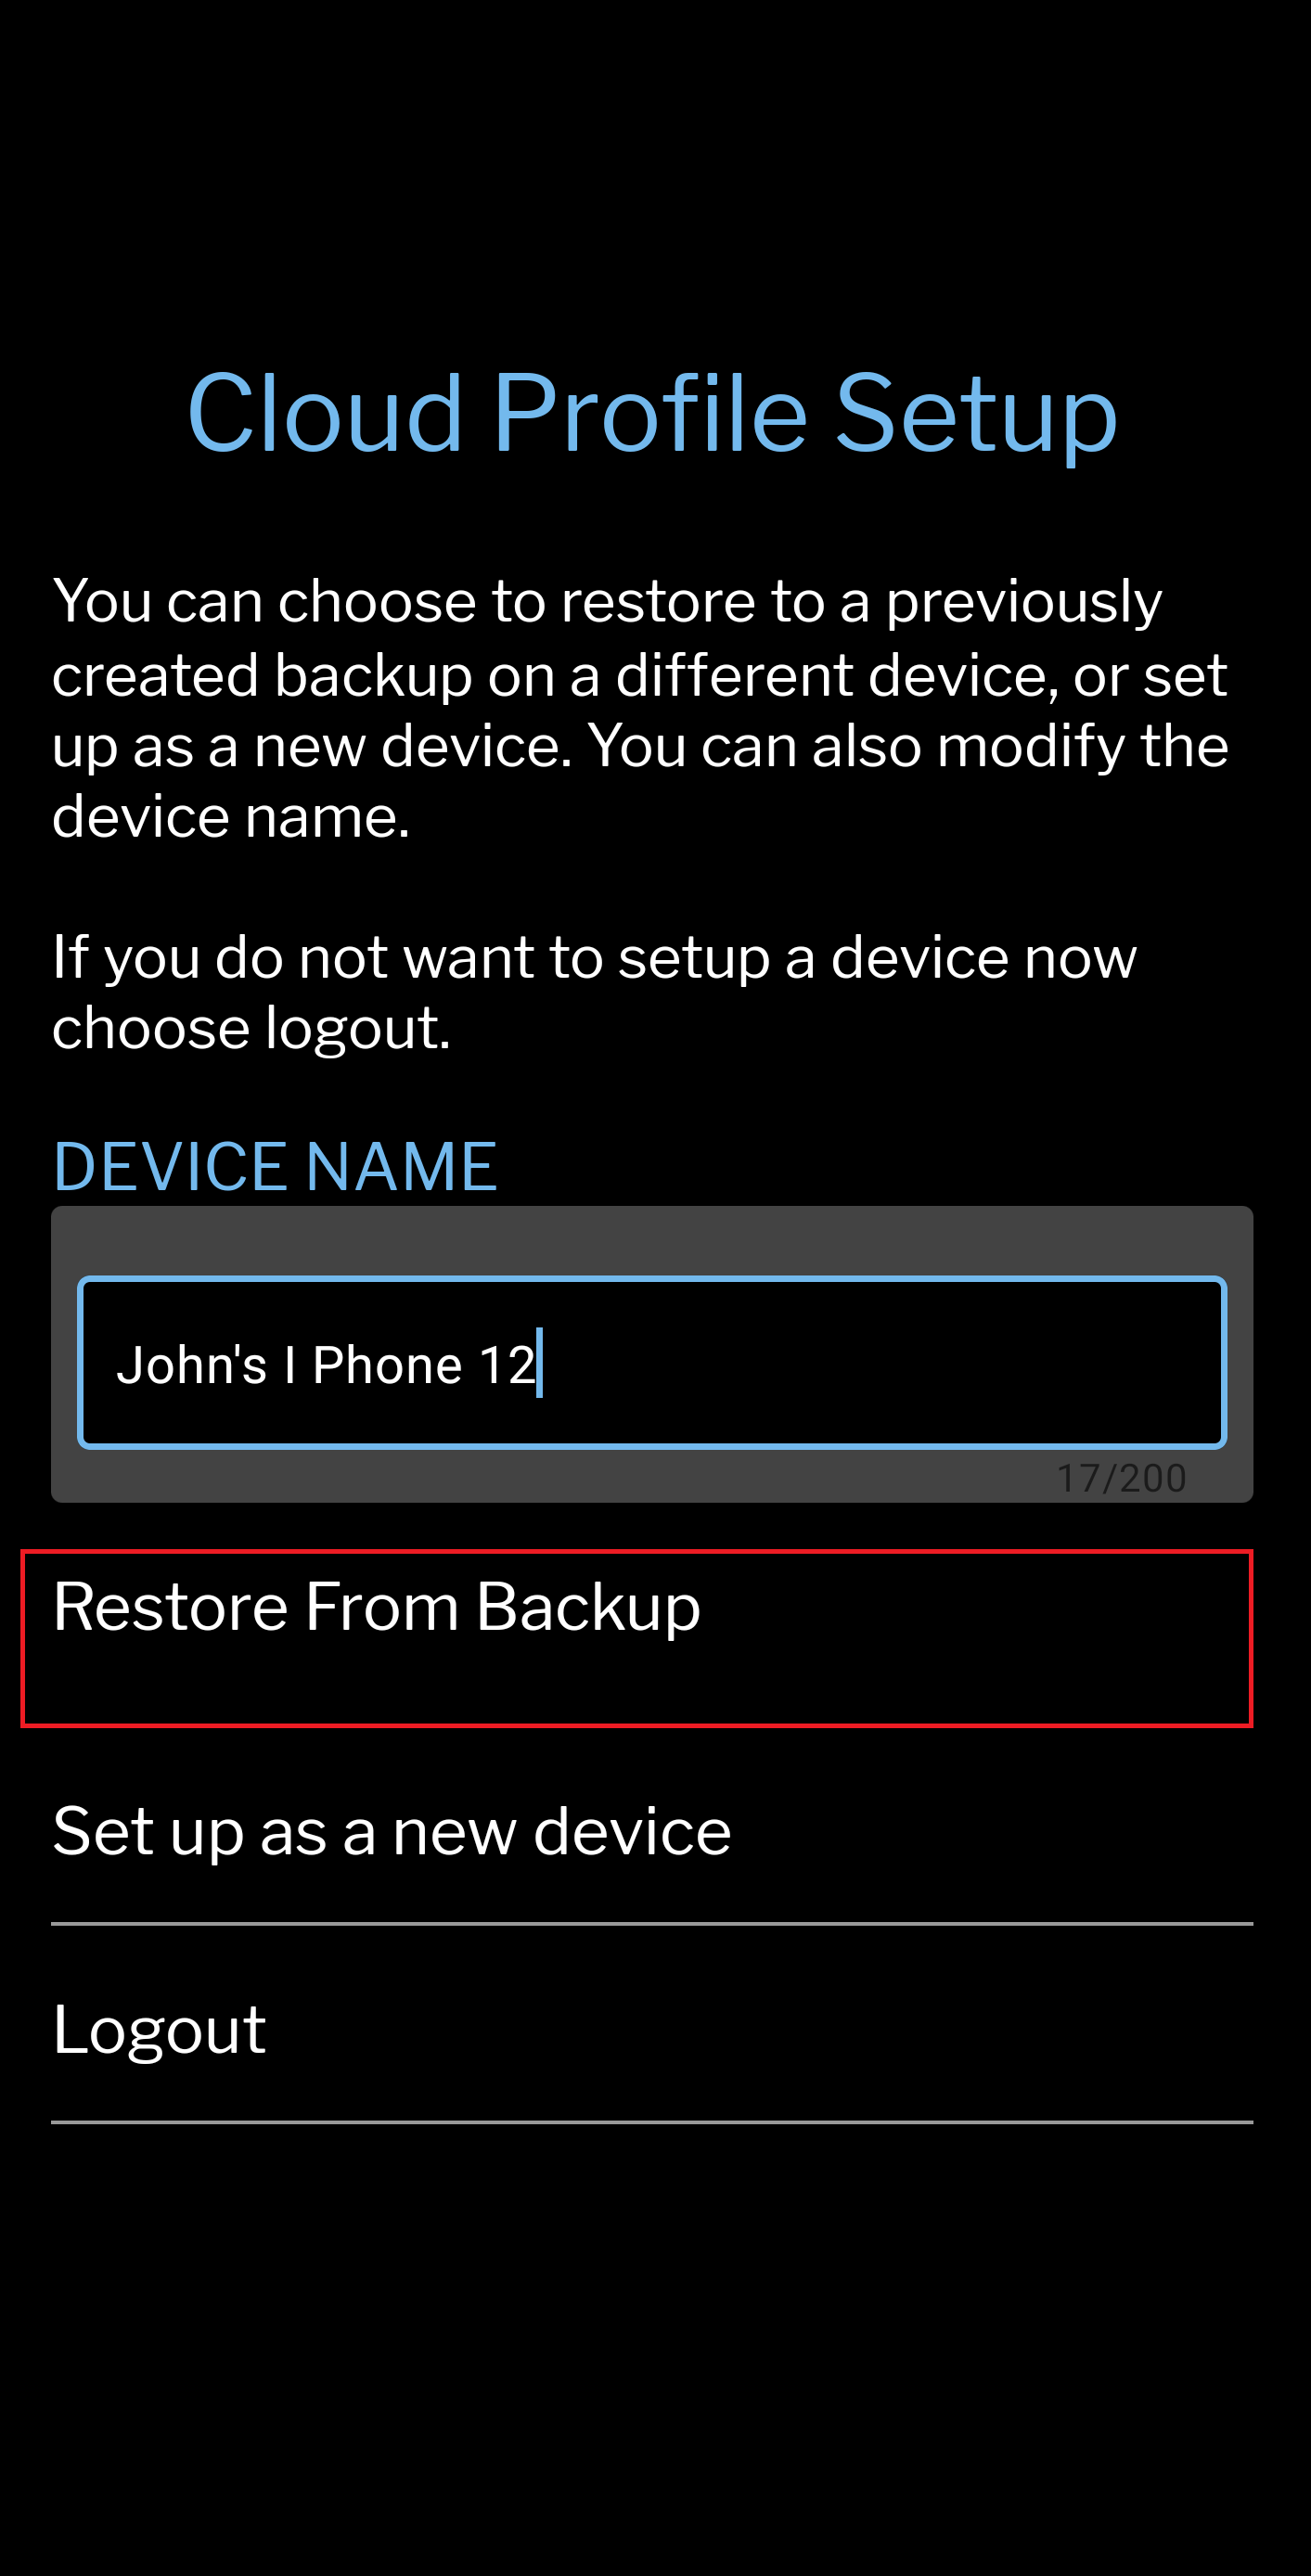
 - Once you are logged in, the Cloud Profile Setup screen will load.
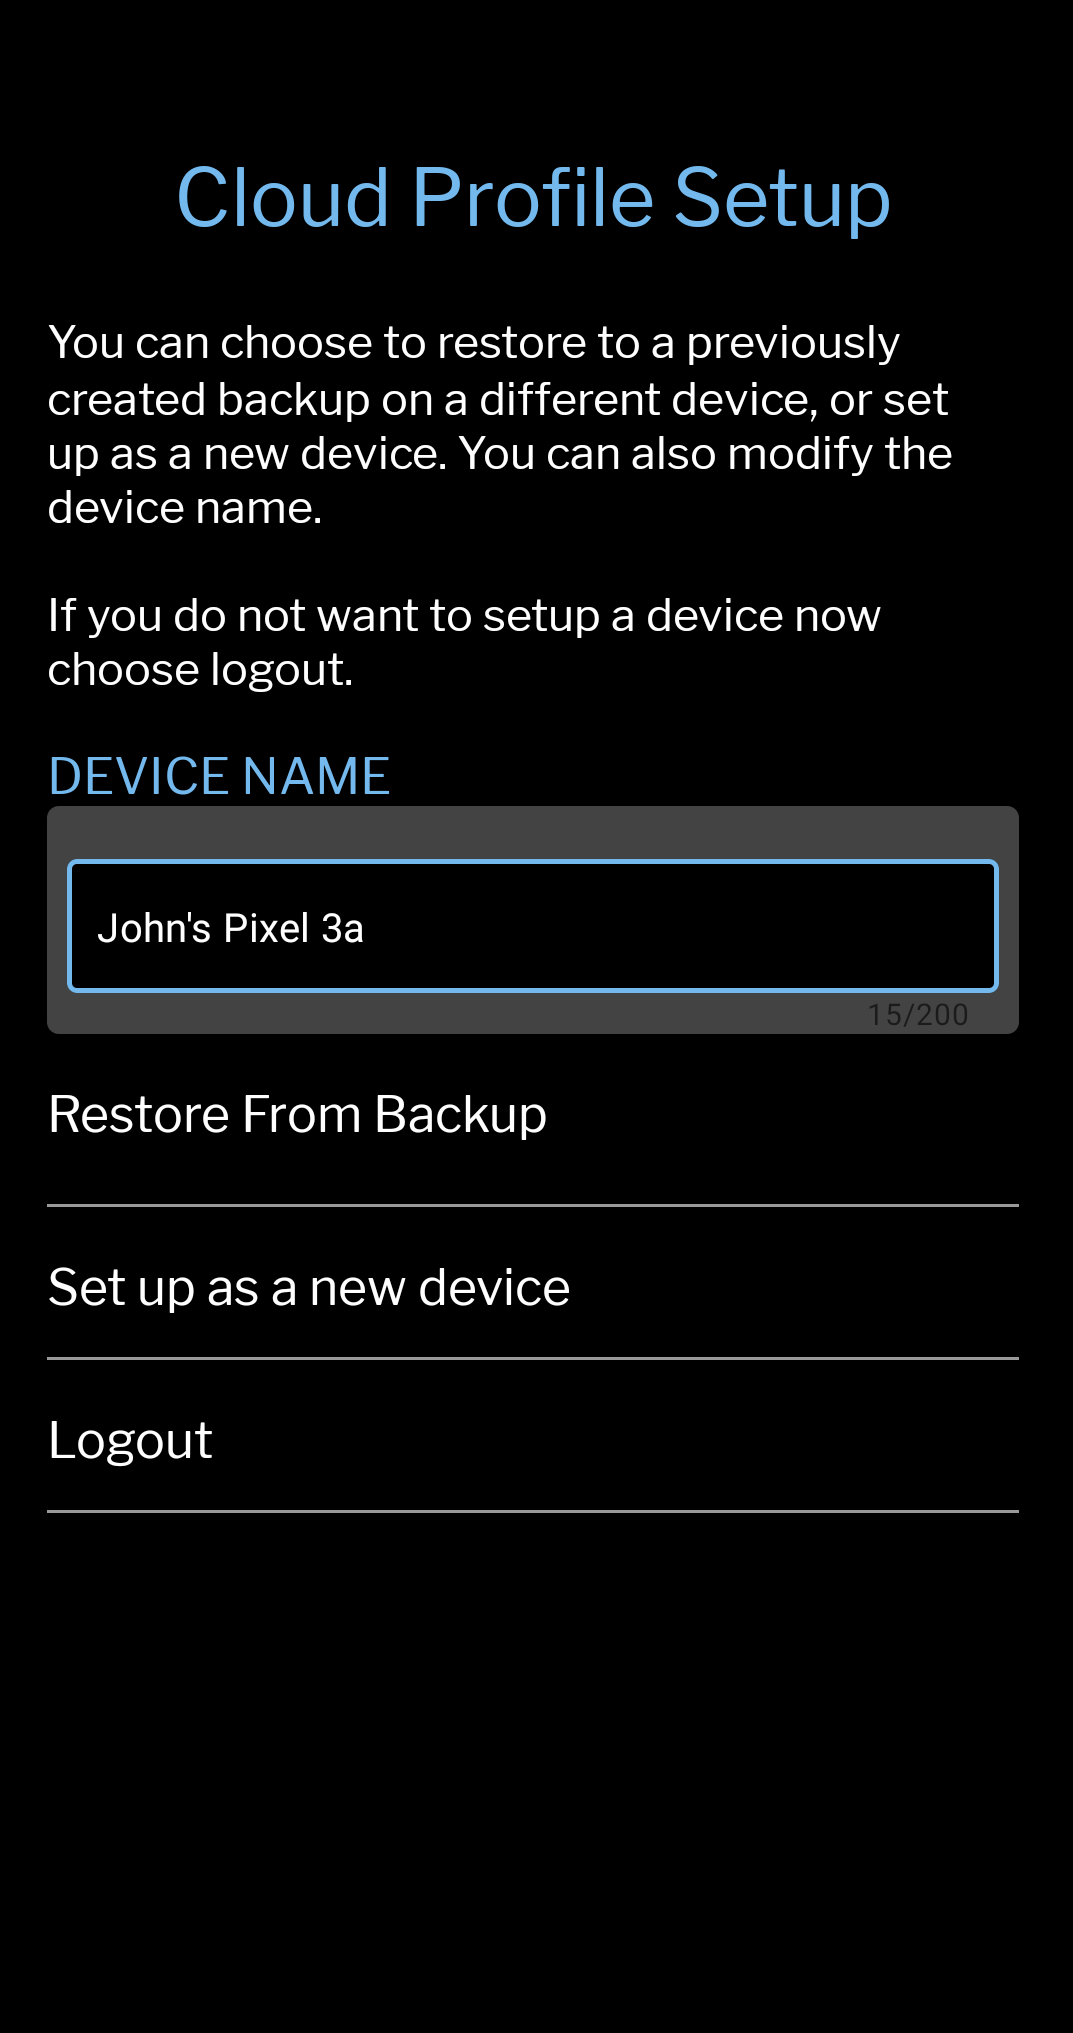
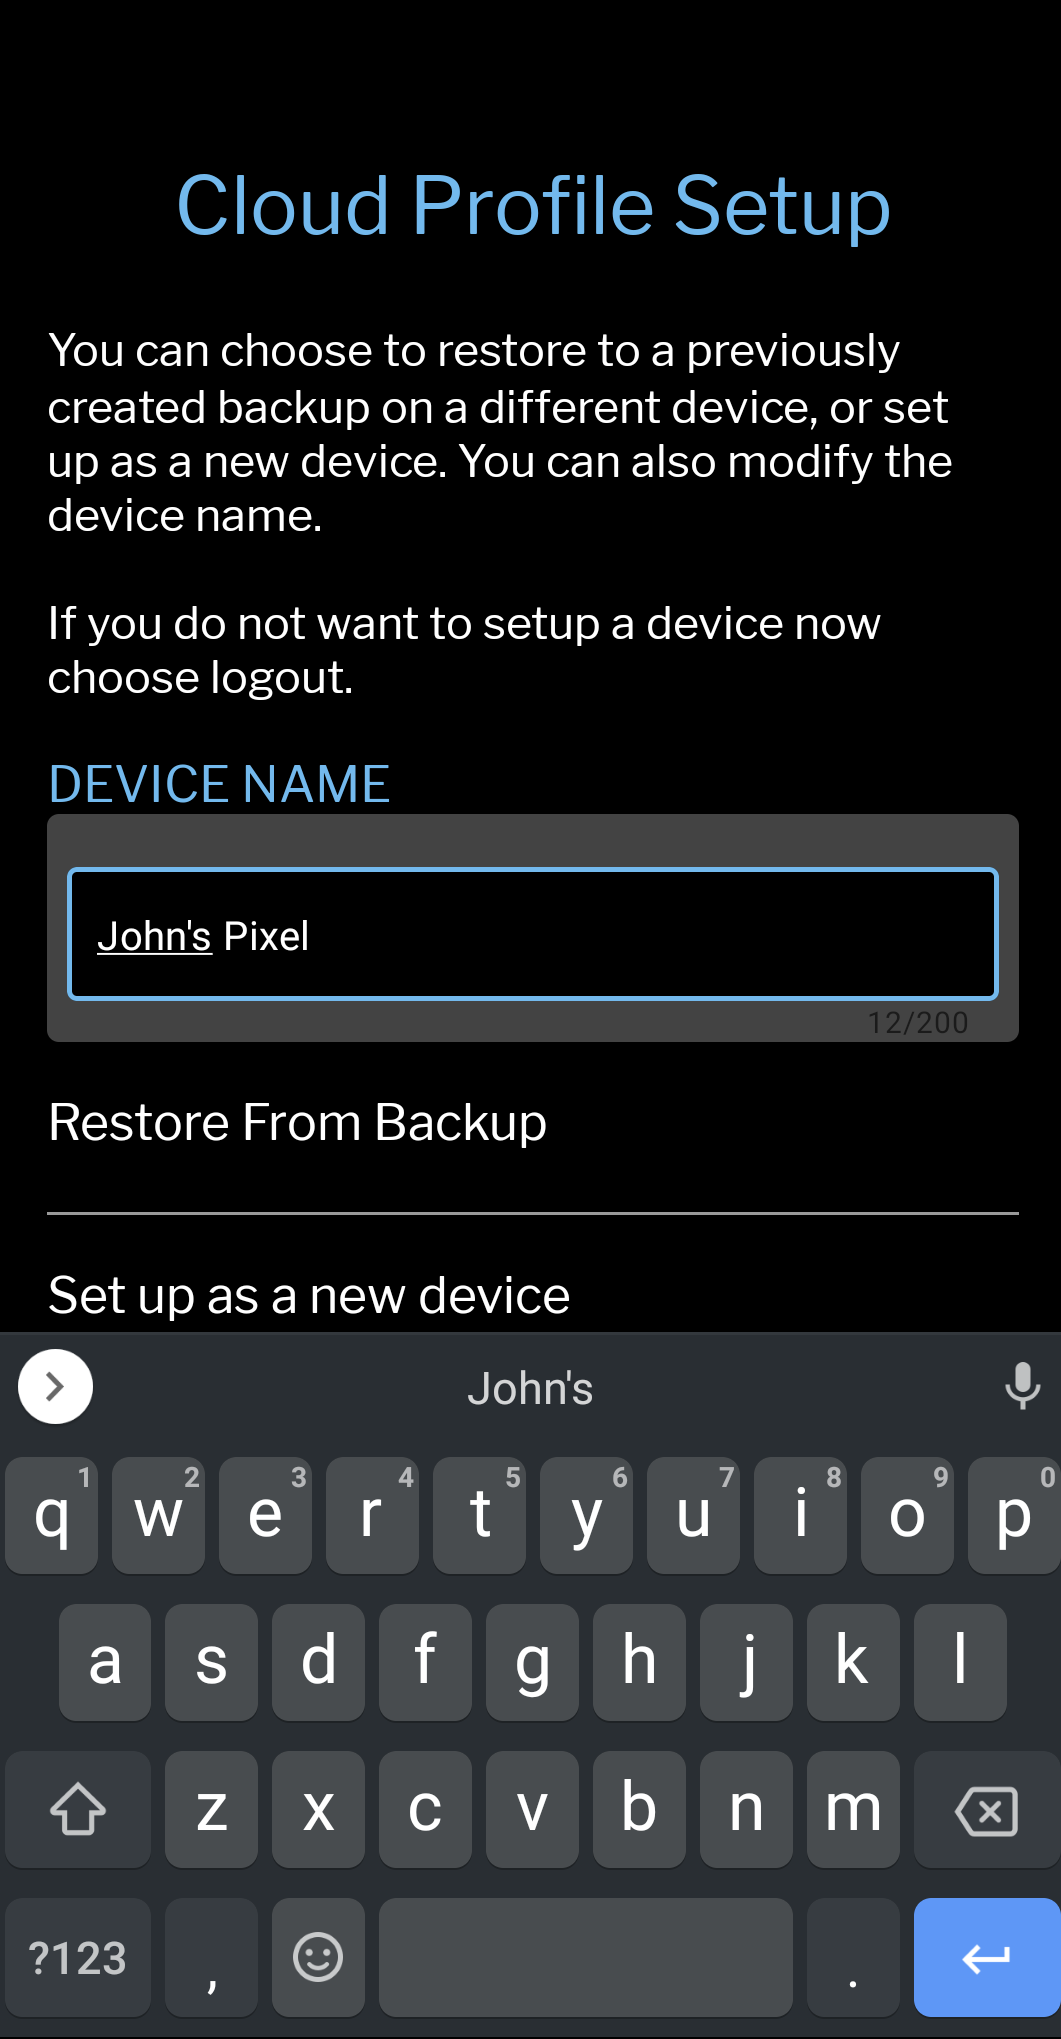
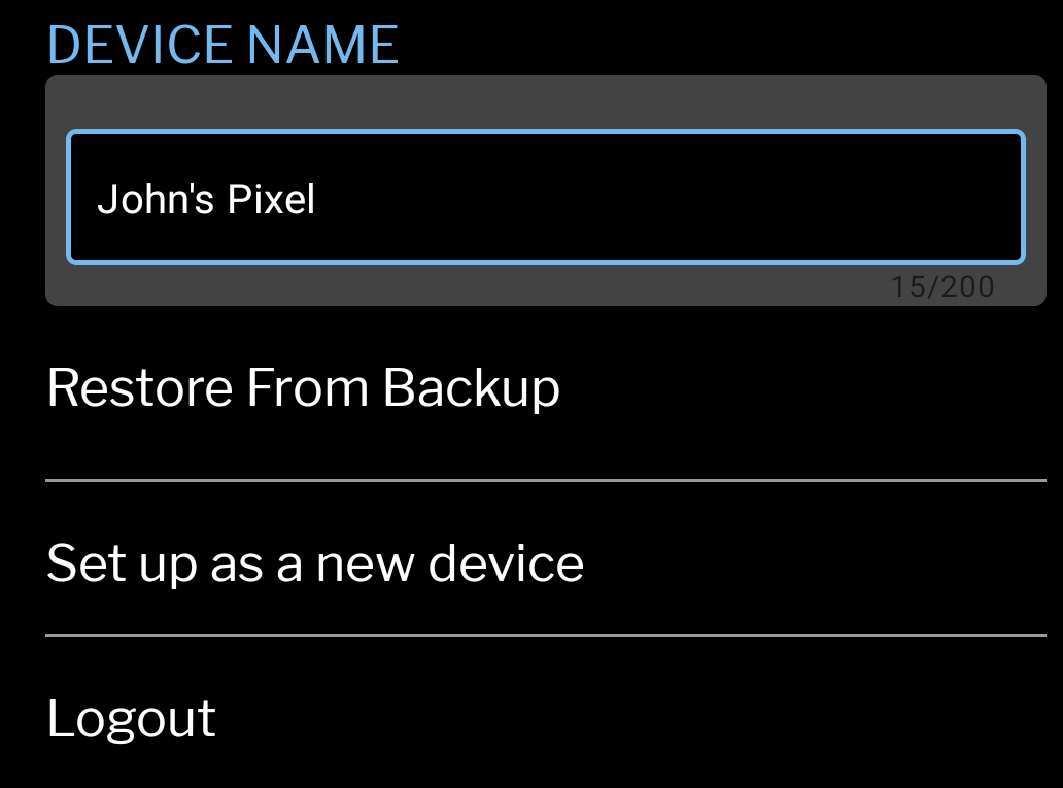
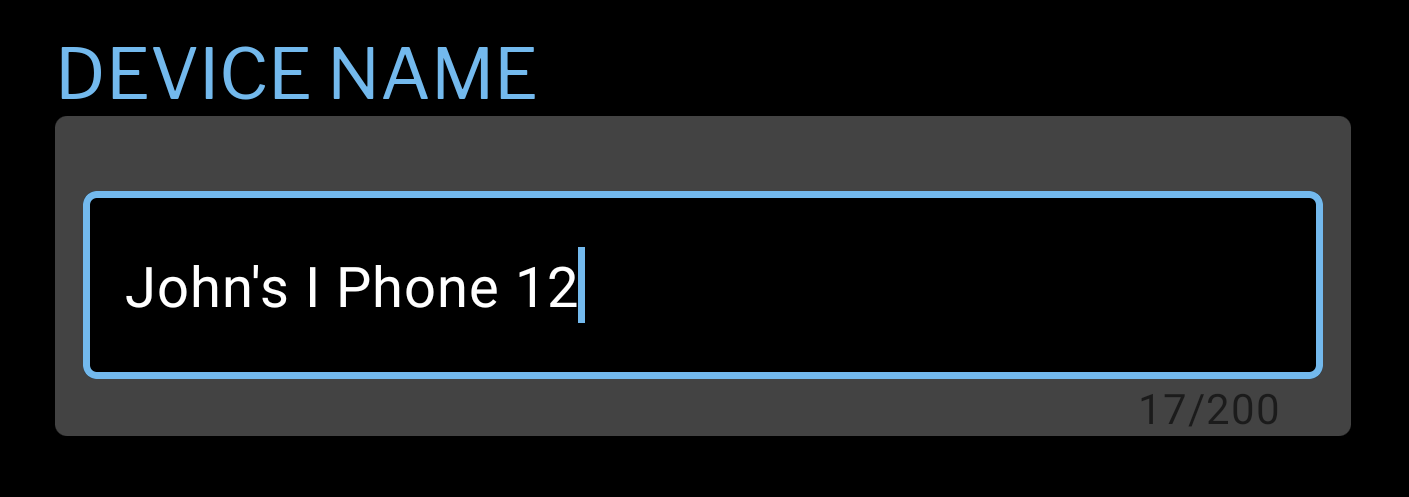
- You will be asked to choose a device name. The app will automatically load a suggested device name which you may choose to keep, or you may tap the device name to modify it.
- After your device name has been entered, select set up as new device to backup notes and highlights which are currently on that device, or select restore from backup if you have other devices saved to your branham.org account and would like to restore a backup created on one them. You may also choose logout to logout of your account.
-
If setup as new device has been chosen, the Cloud Profile Menu will load.
If restore from backup was chosen, the Restore From Backup list will load.
How To Create A Branham.org Account
-
Select the login button from the Cloud Profile screen which appears the first time the app is updated with the Cloud Profile feature.
-
You may also select the login button located under the Menu in the top right corner of the screen.
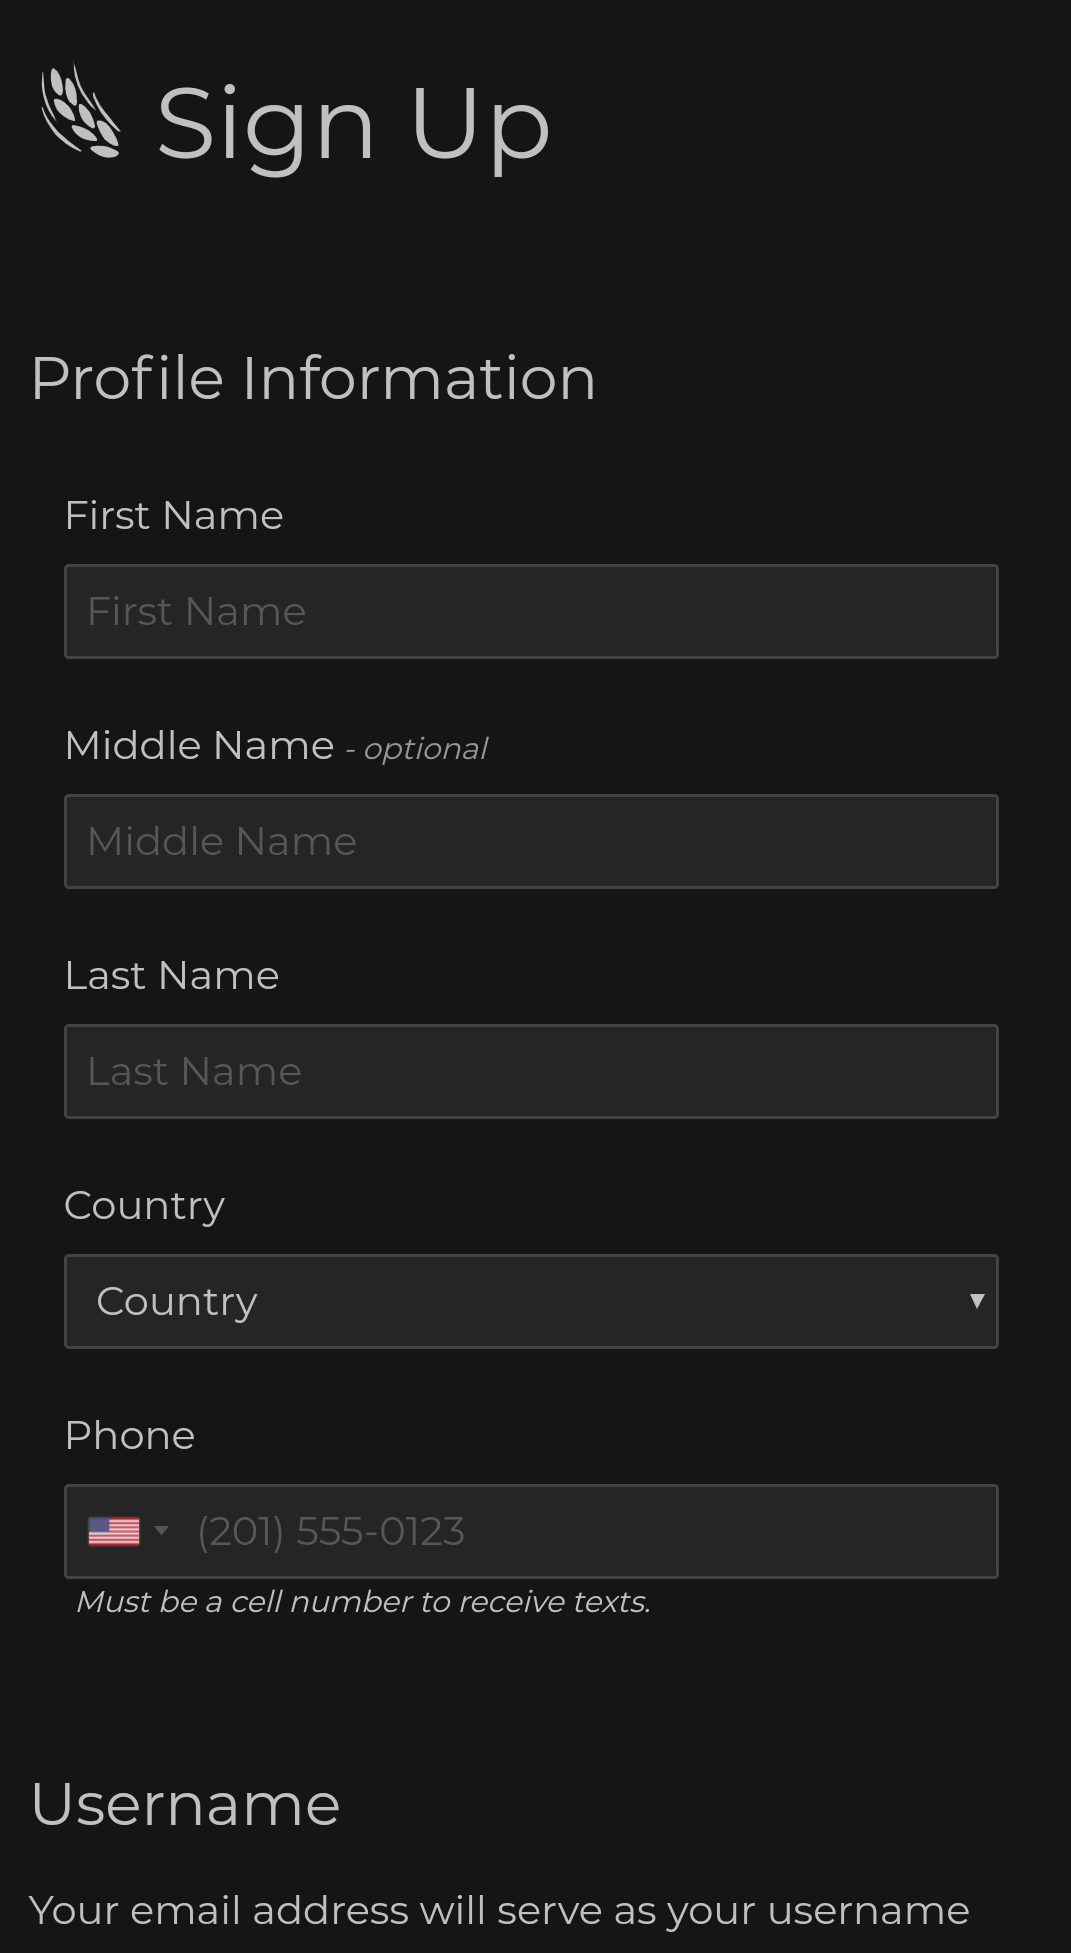
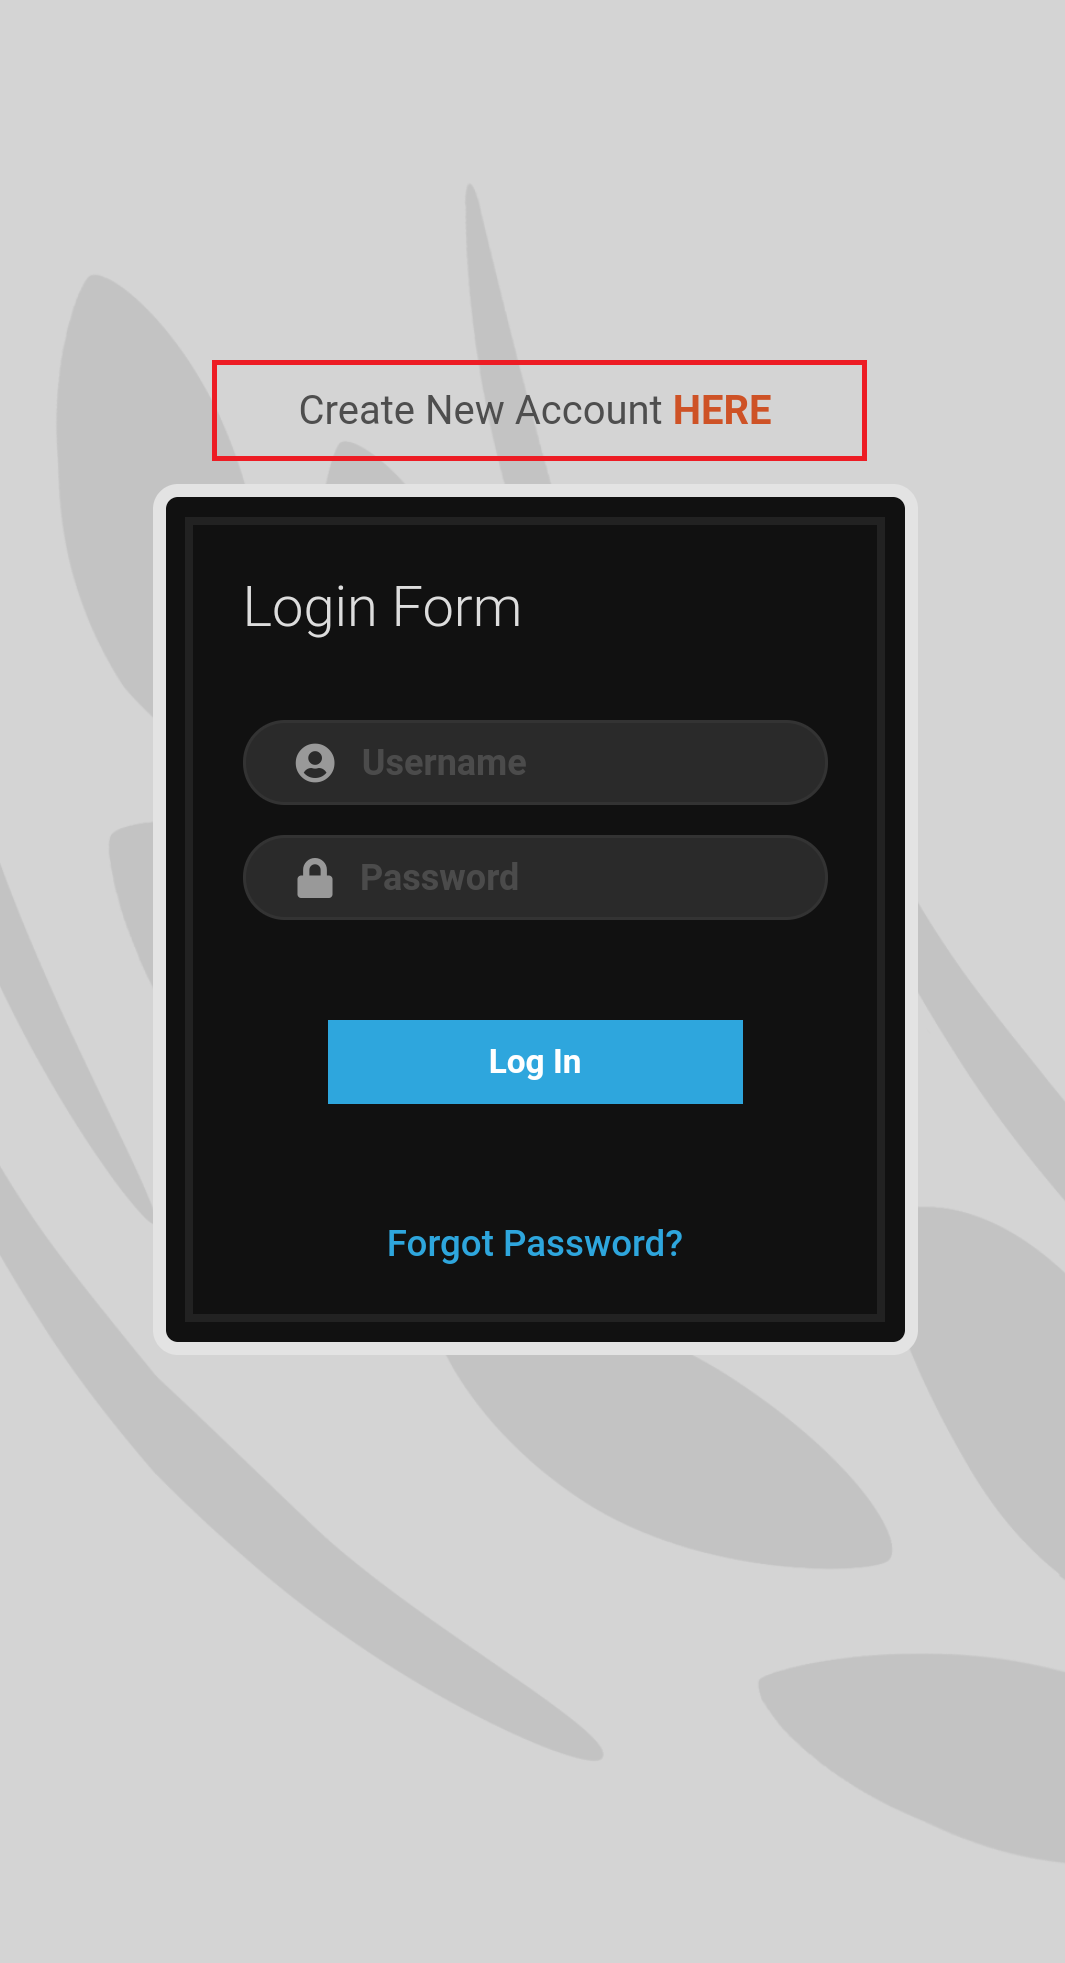
- You will see an option to Create New Account Here. Select Here to go to the signup page.
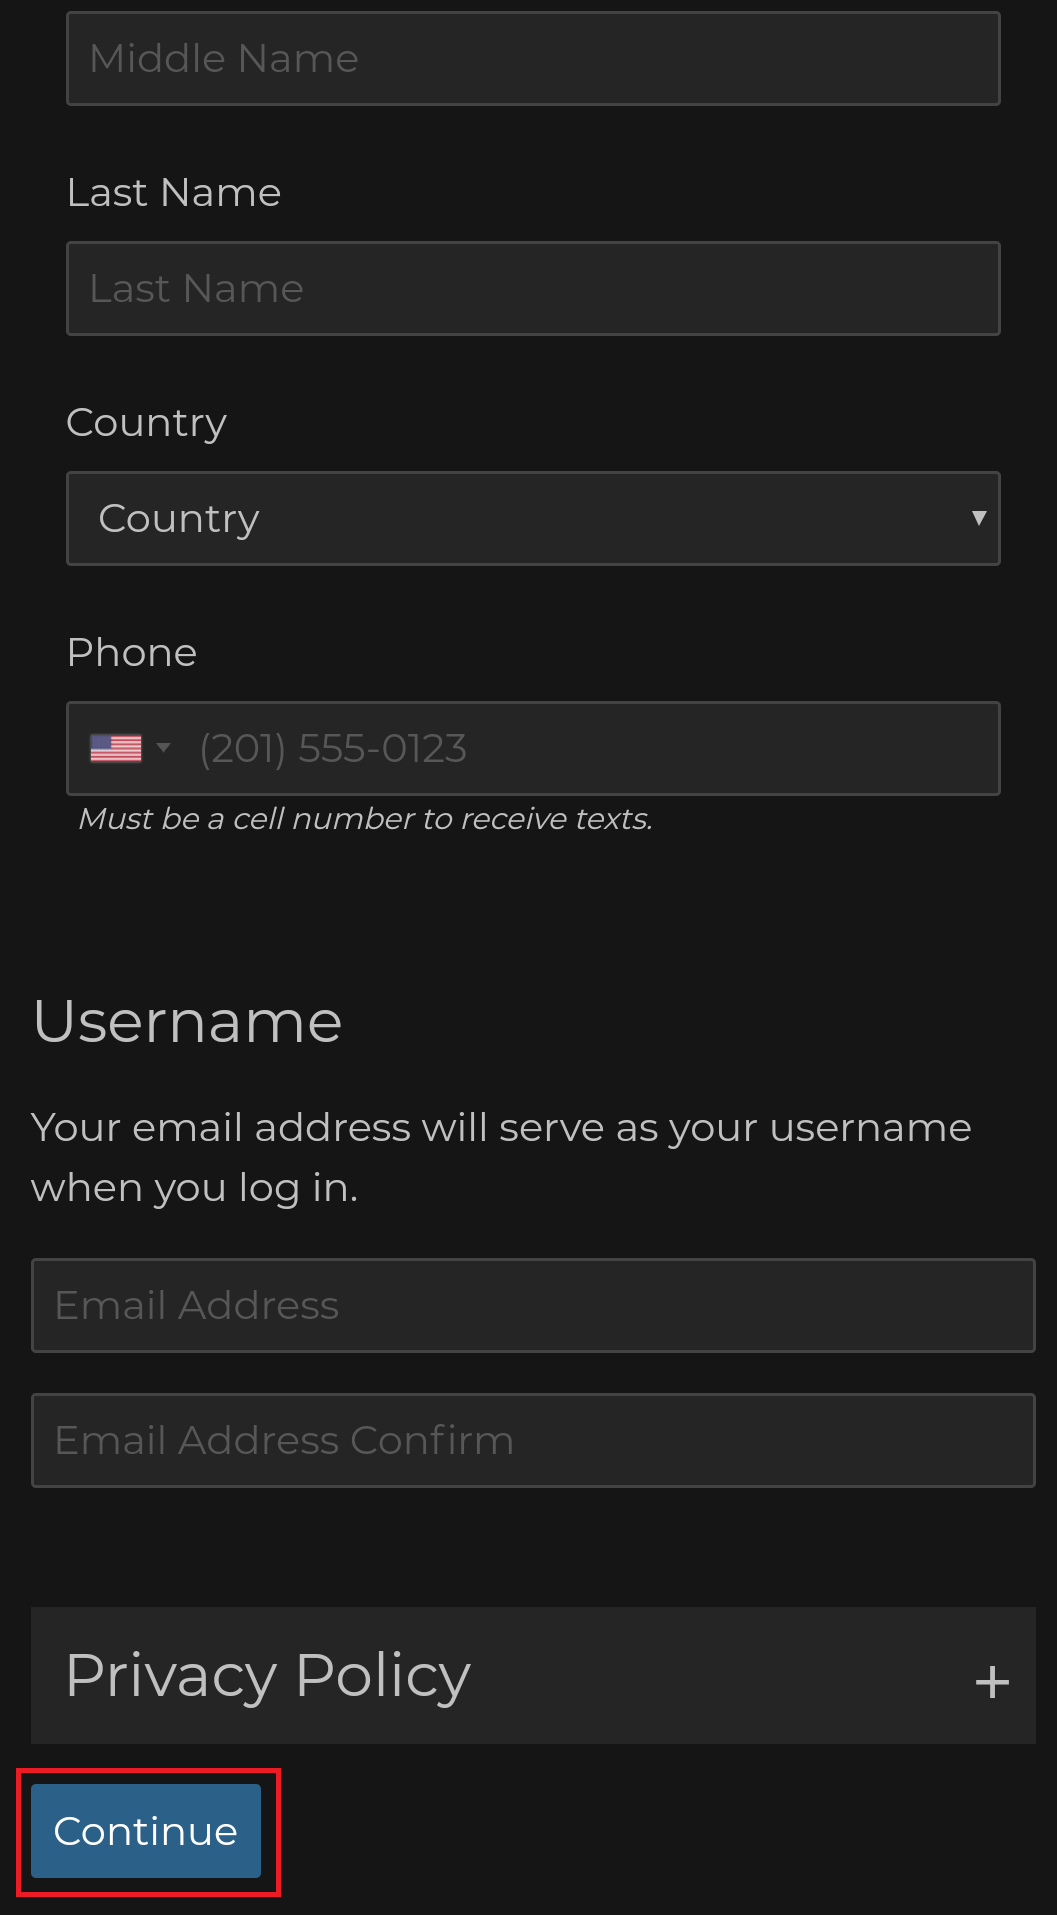
- Please fill out the necessary profile information, then continue to create a username.
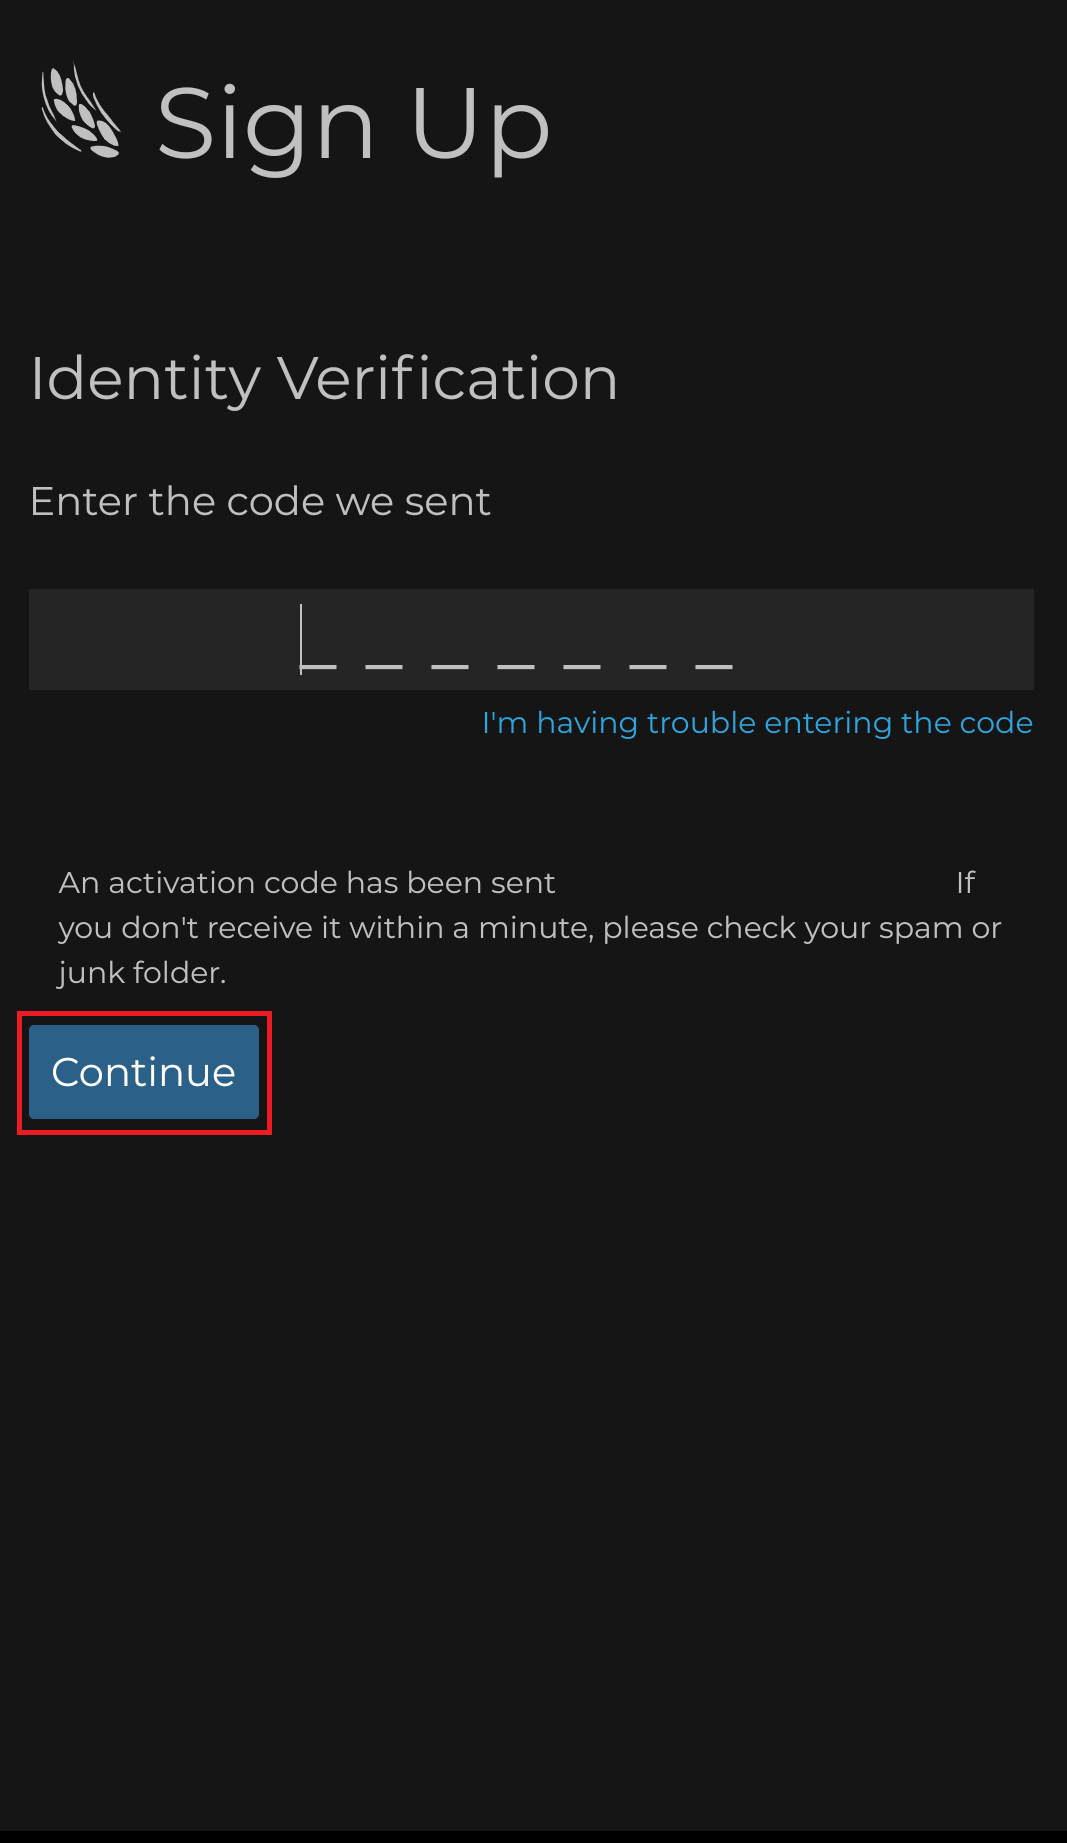
- After you are finished filling out the profile information, a verification code will be sent to your email address.
- Enter the verification code to verify your email address, then select continue.
-
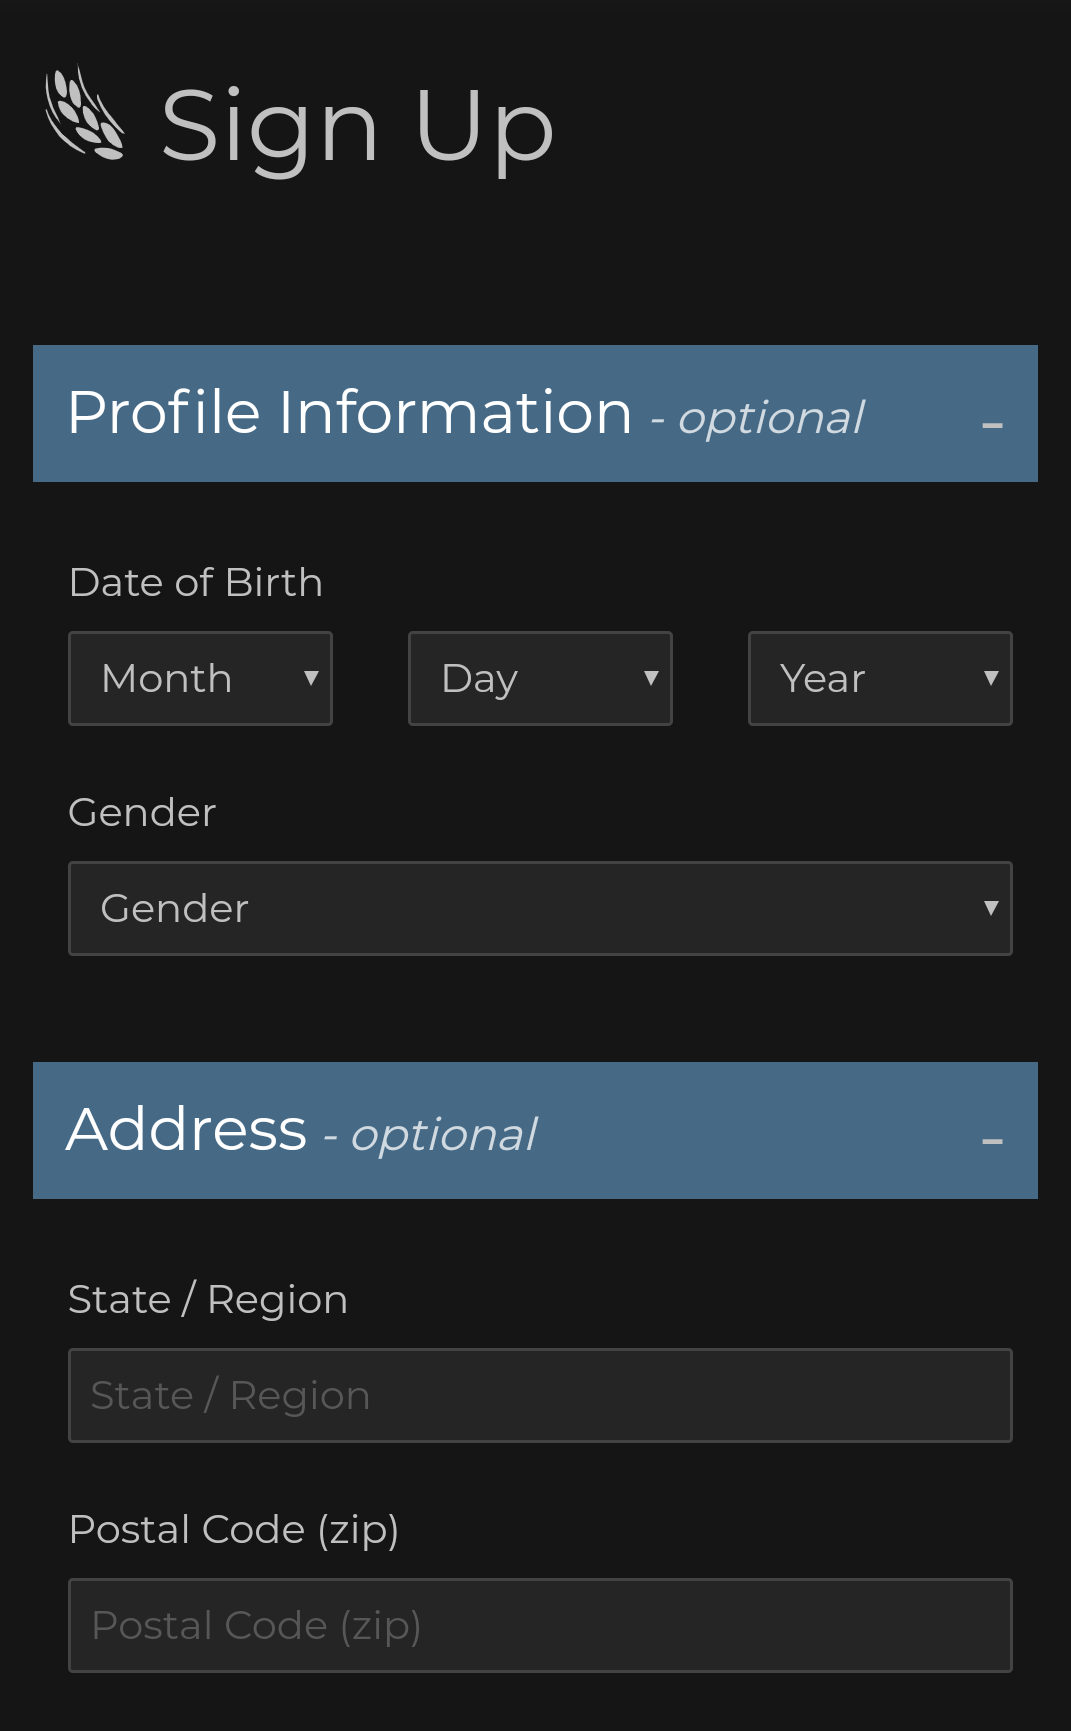
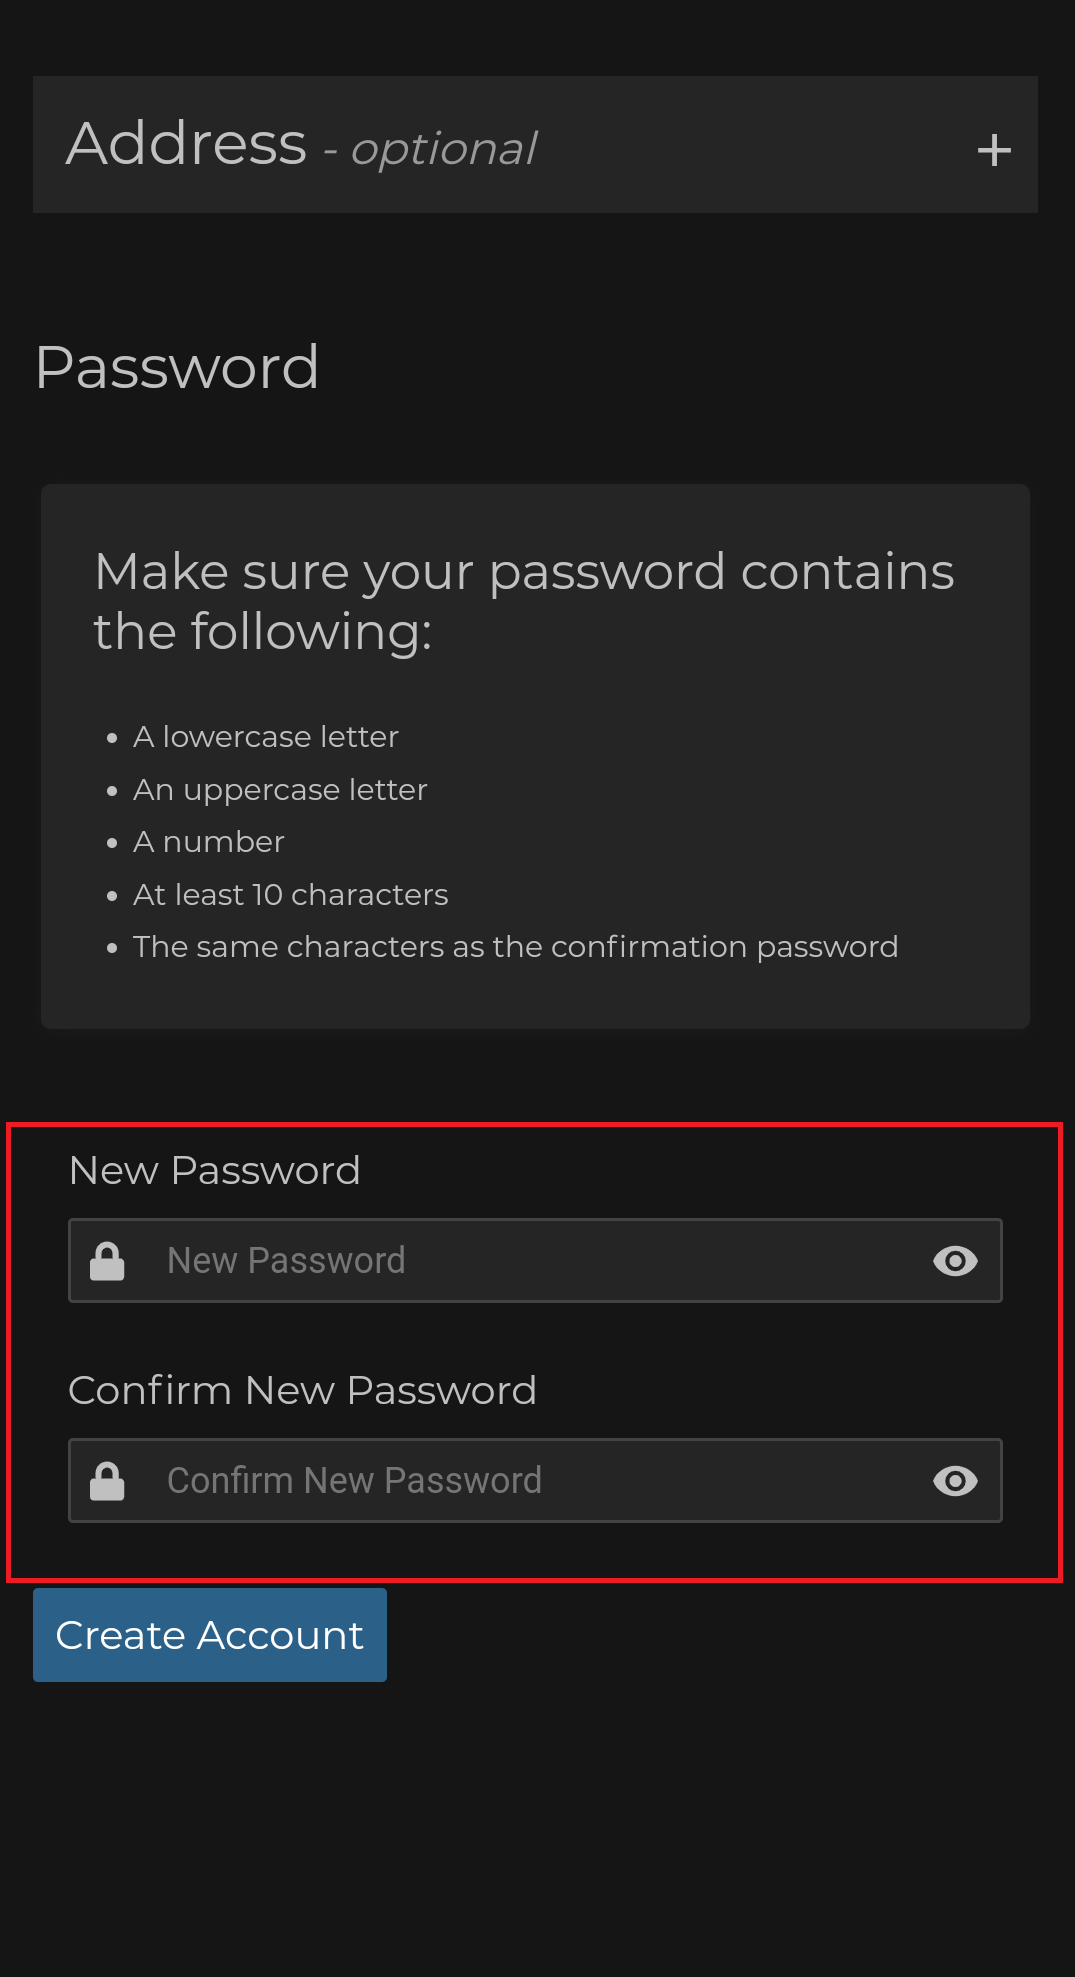
You will then see optional Profile Information and Address fields which you may choose to fill out or leave blank.
Please read the password requirements regarding upper and lowercase letters, numbers, symbols, etc.
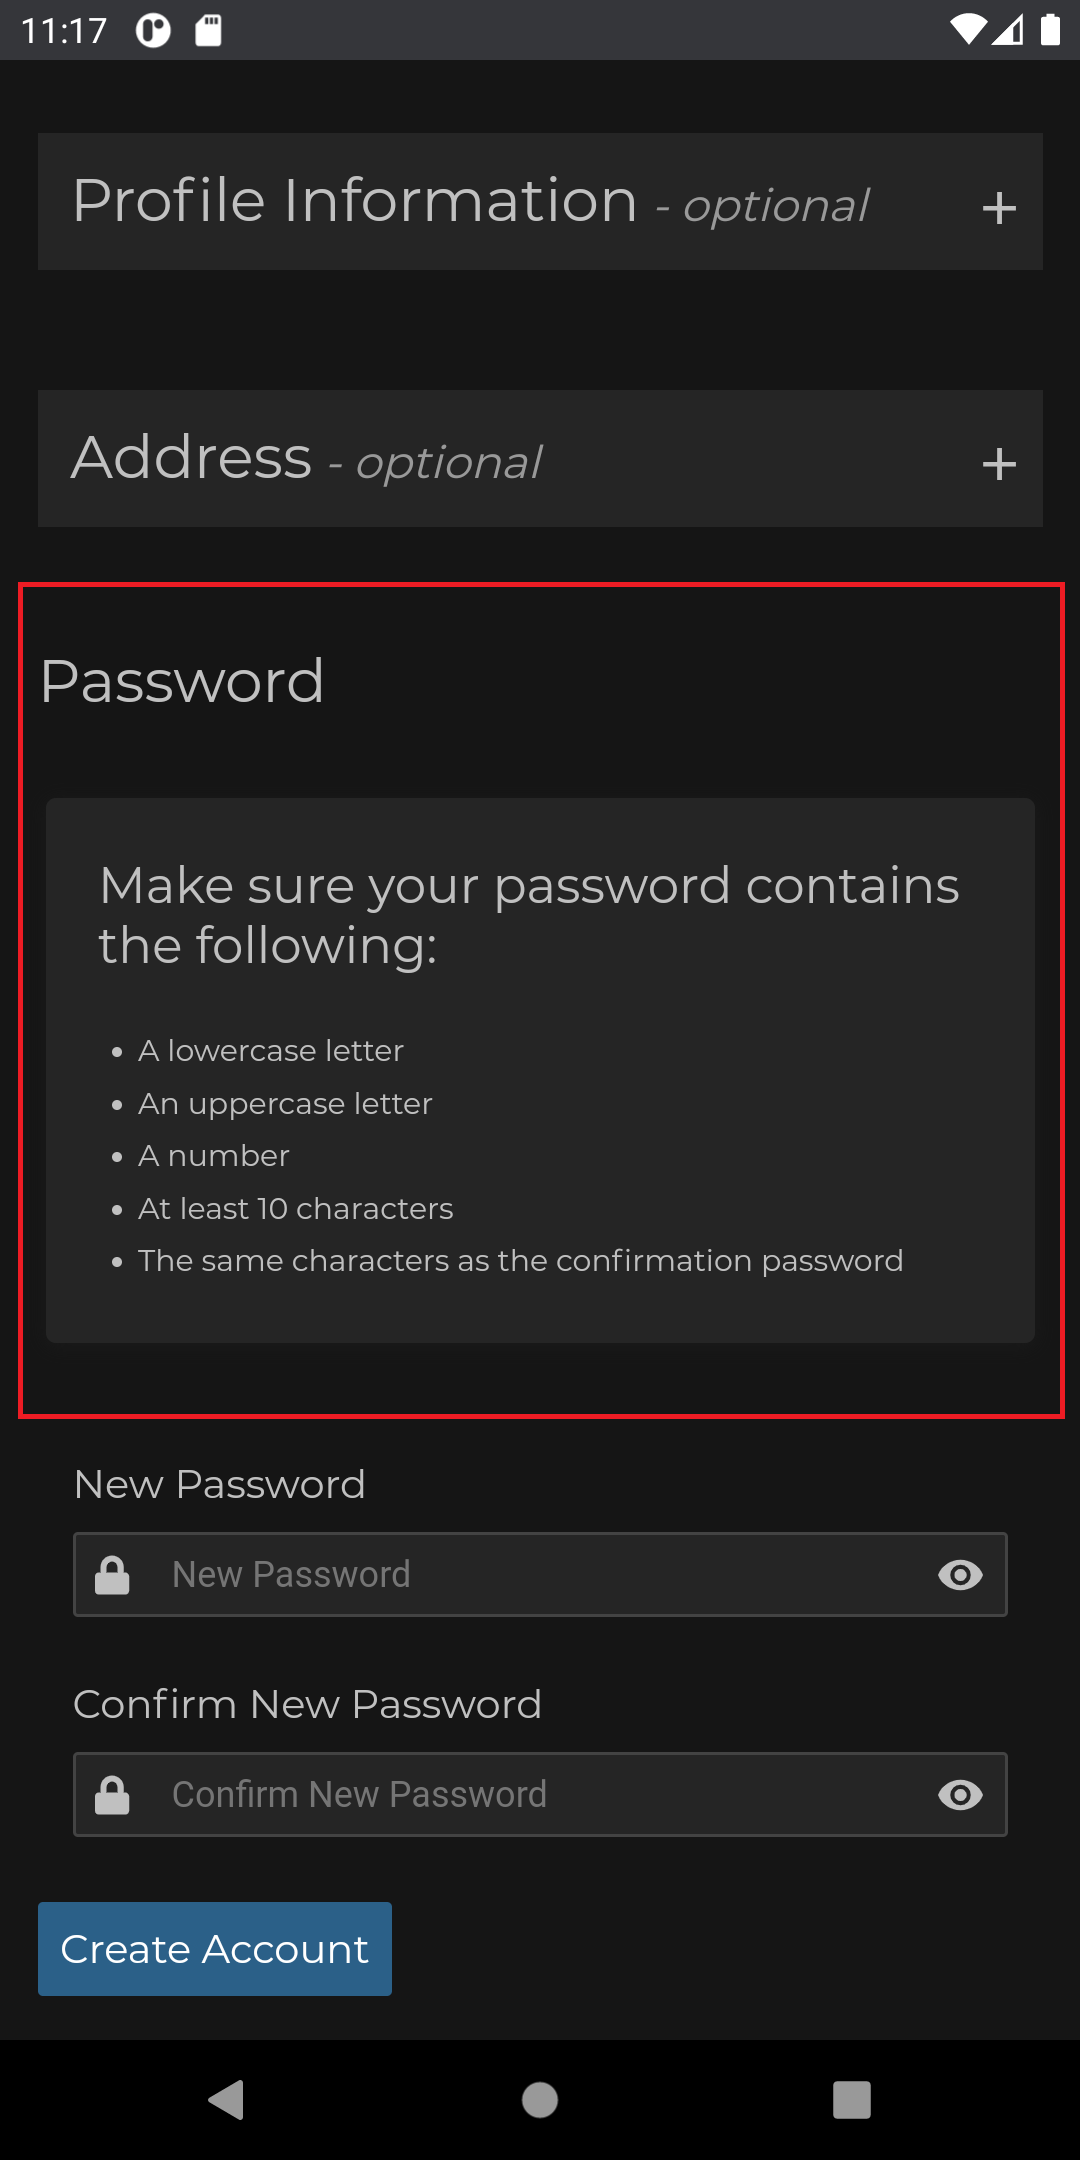
- Enter and confirm your password.
- When you are finished, please select create account.
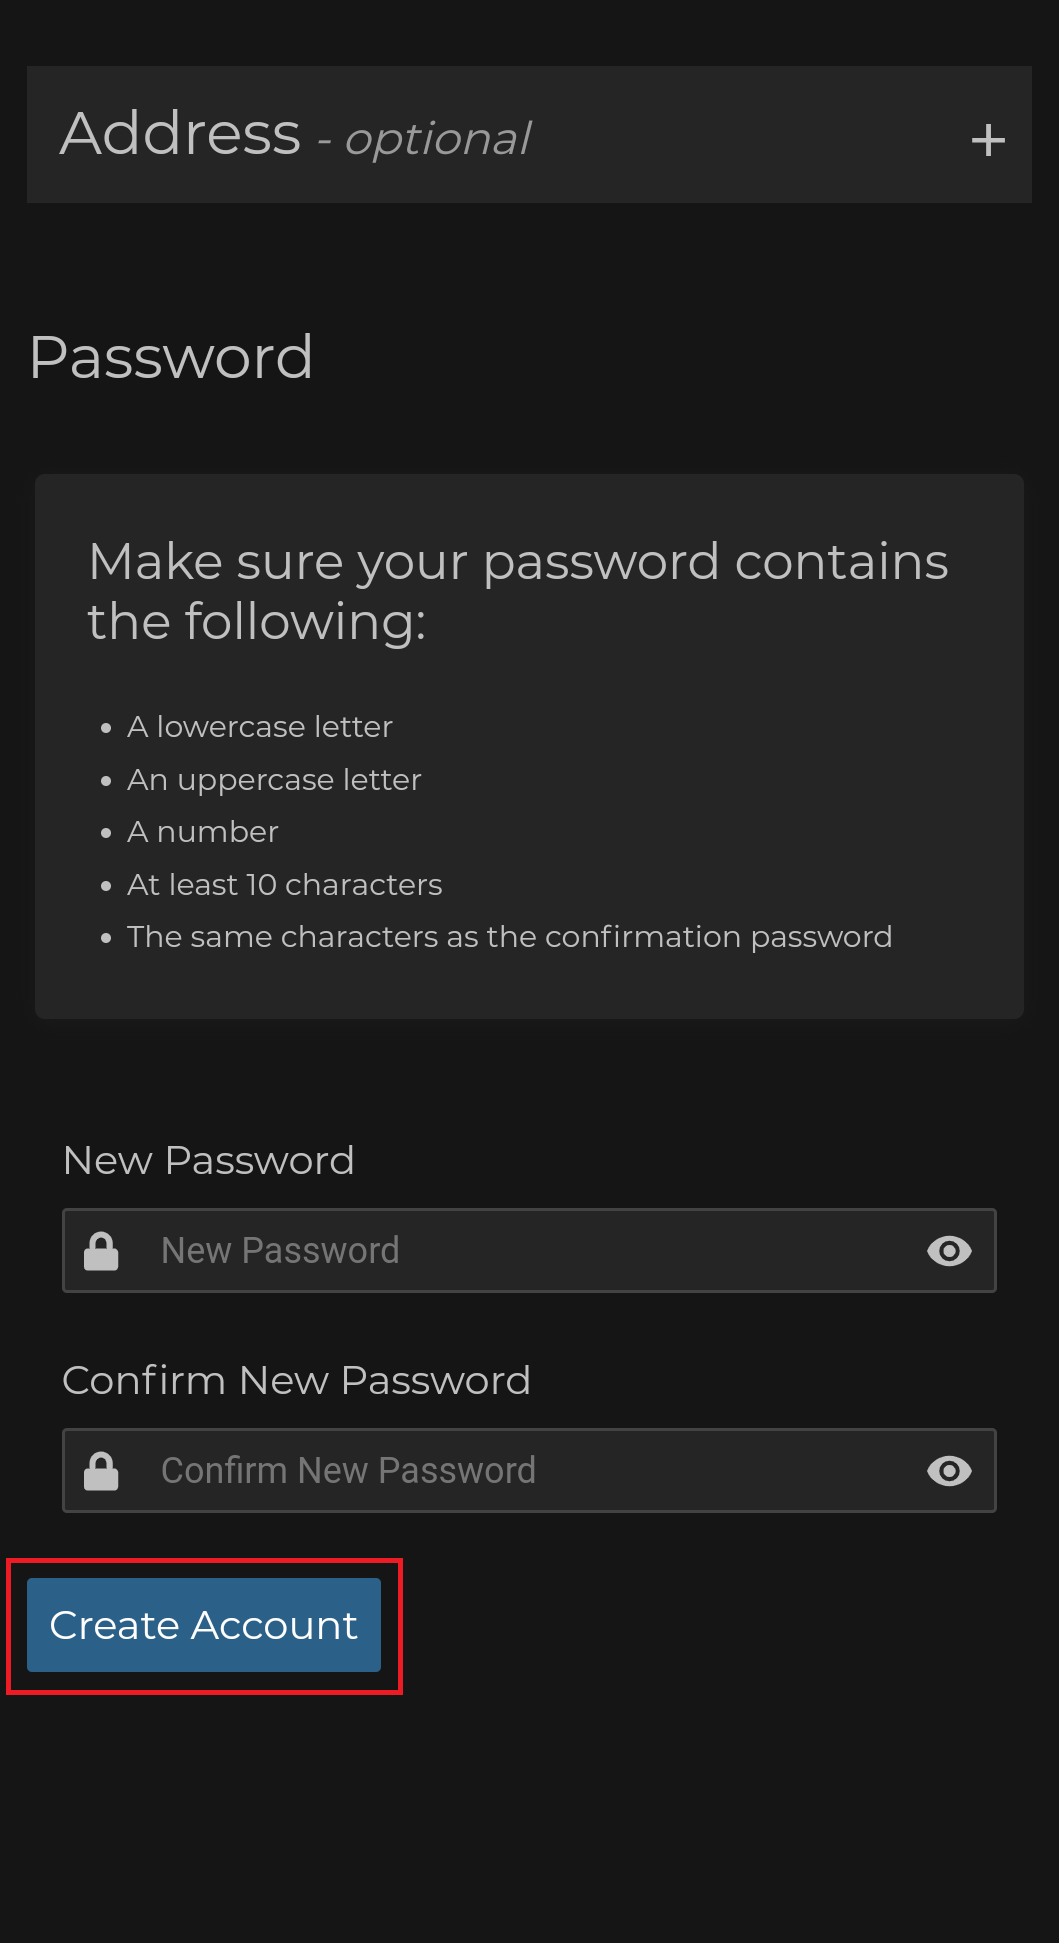
- Once the password has successfully been created, the Cloud Profile Setup screen will load.
- You will be asked to choose a device name. The app will automatically load a suggested device name which you may choose to keep, or you may tap the device name to modify it.
- After your device name has been entered, select set up as new device to backup notes and highlights which are currently on that device, or select restore from backup if you have another device saved to your branham.org account which you would like to restore a backup from. You may also choose logout to logout of your account.
-
If setup as new device has been chosen, the Cloud Profile Menu will load.
If restore from backup was chosen, the Restore From Backup list will load.
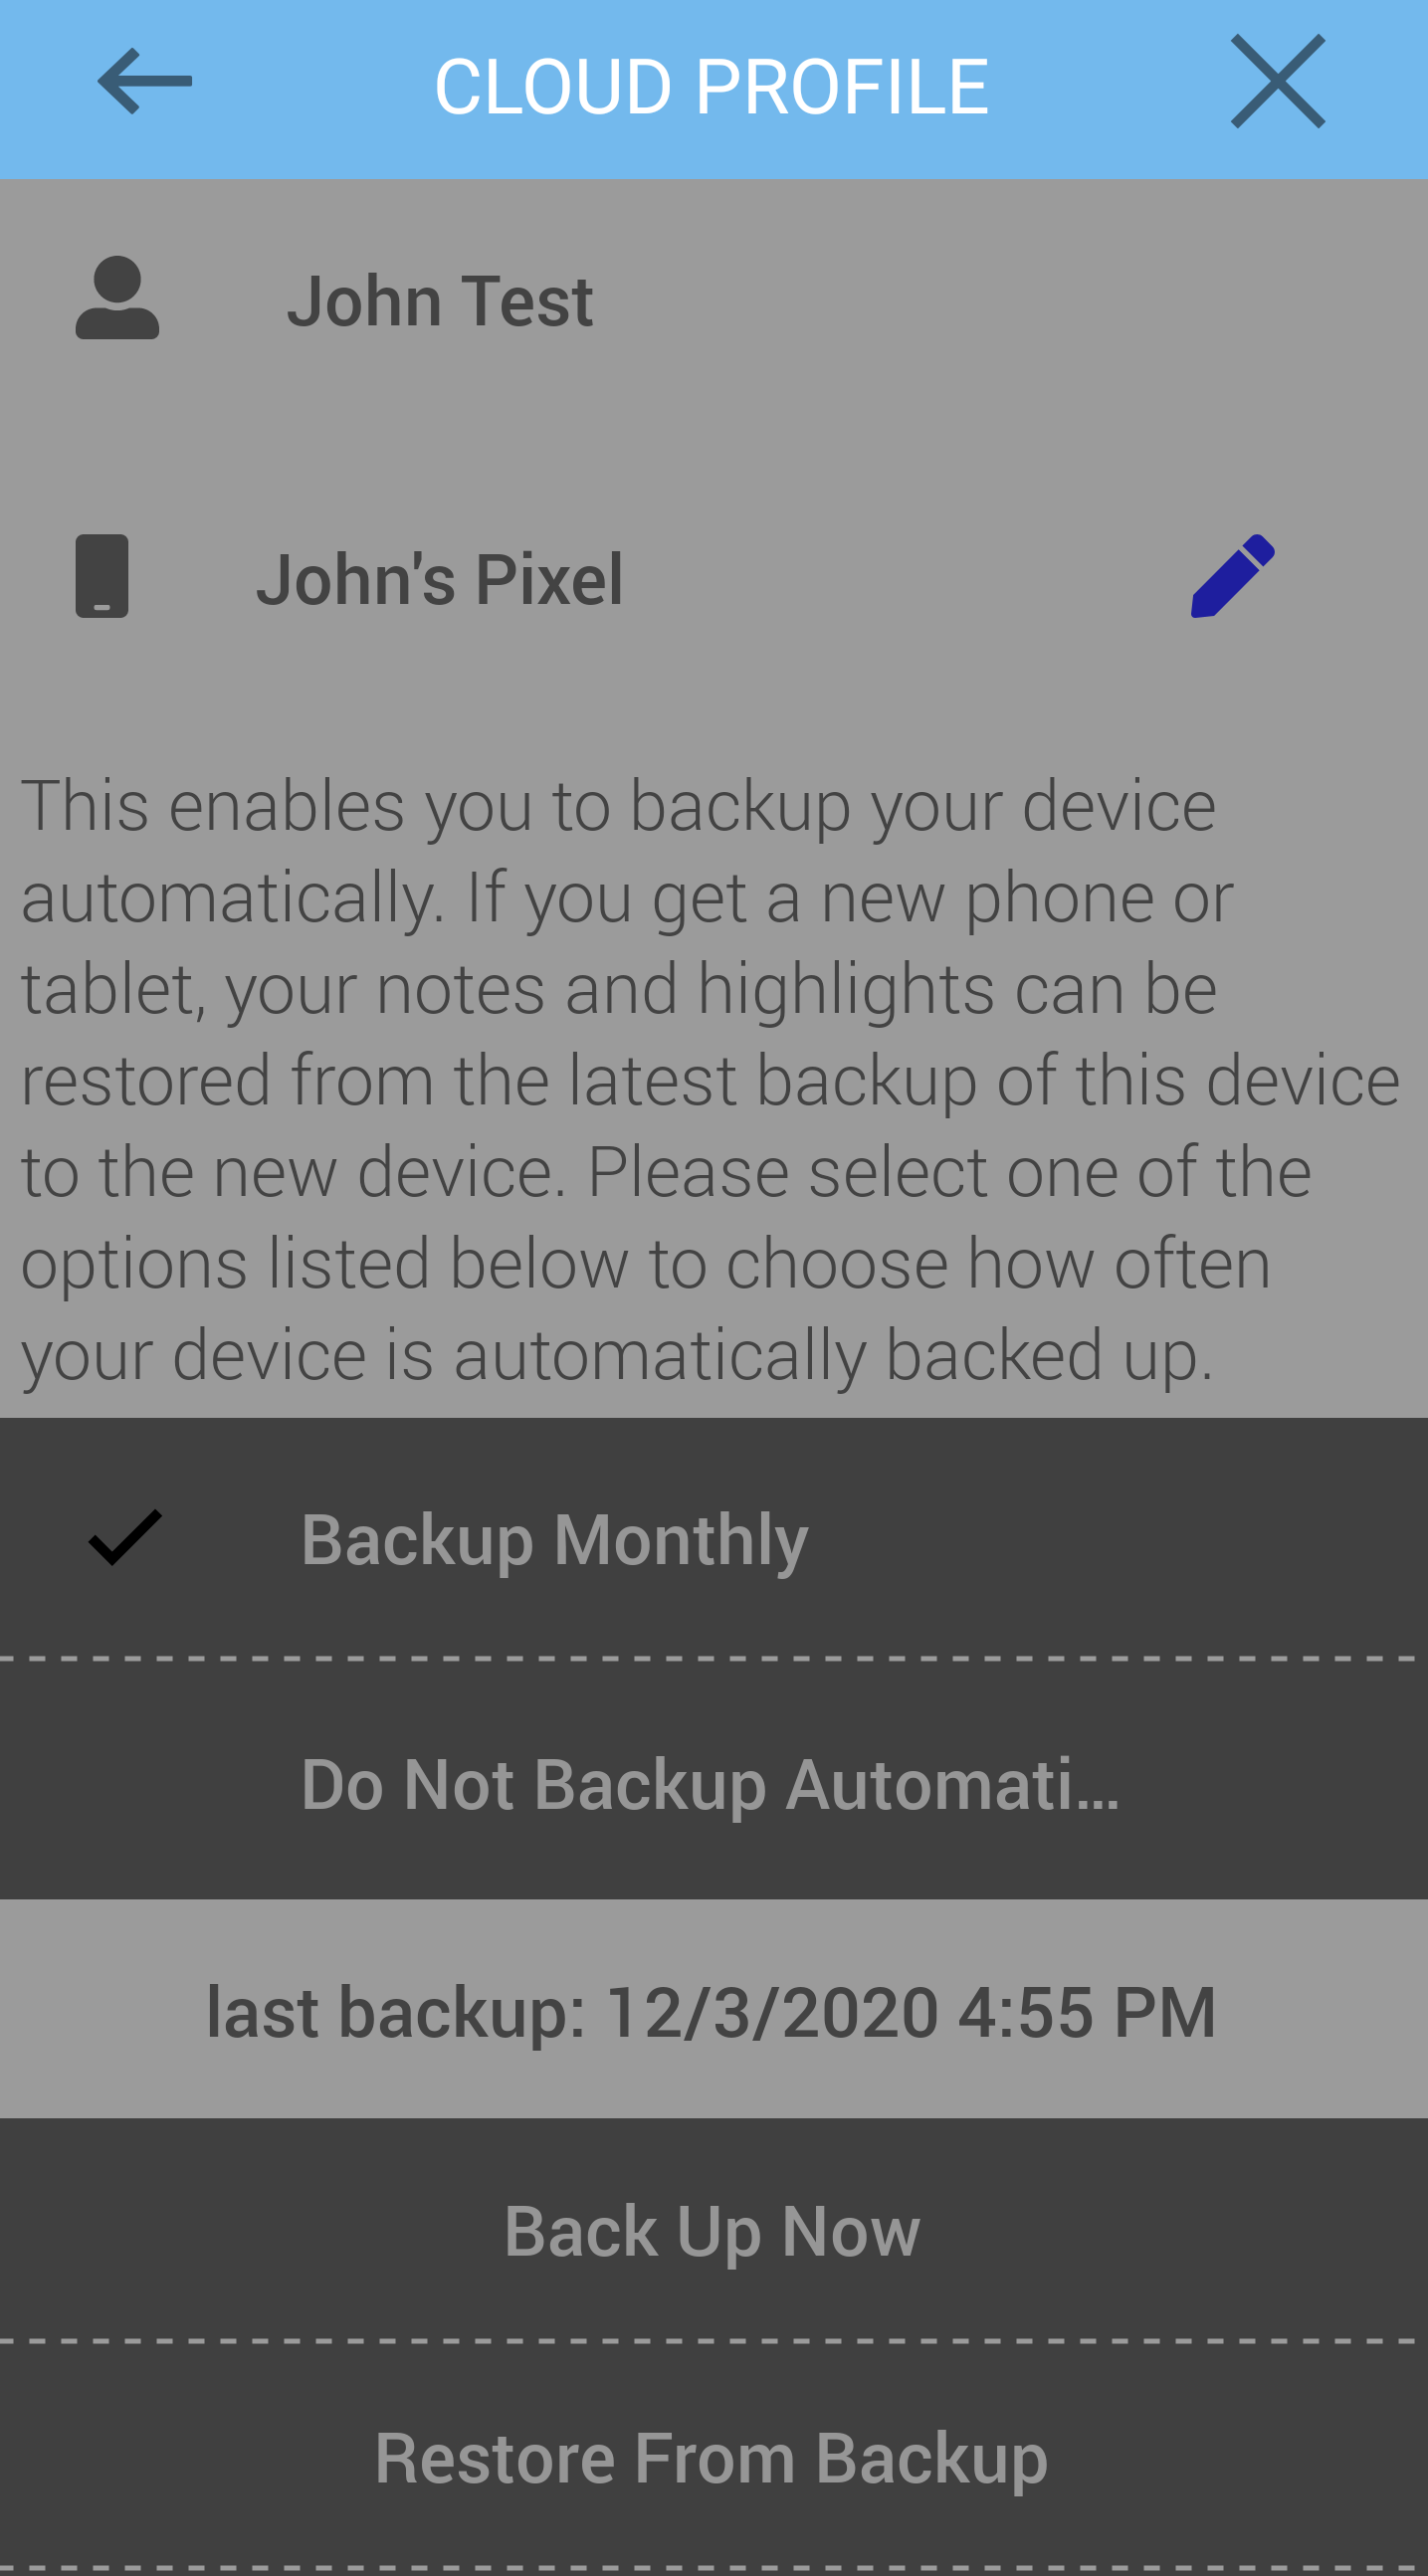
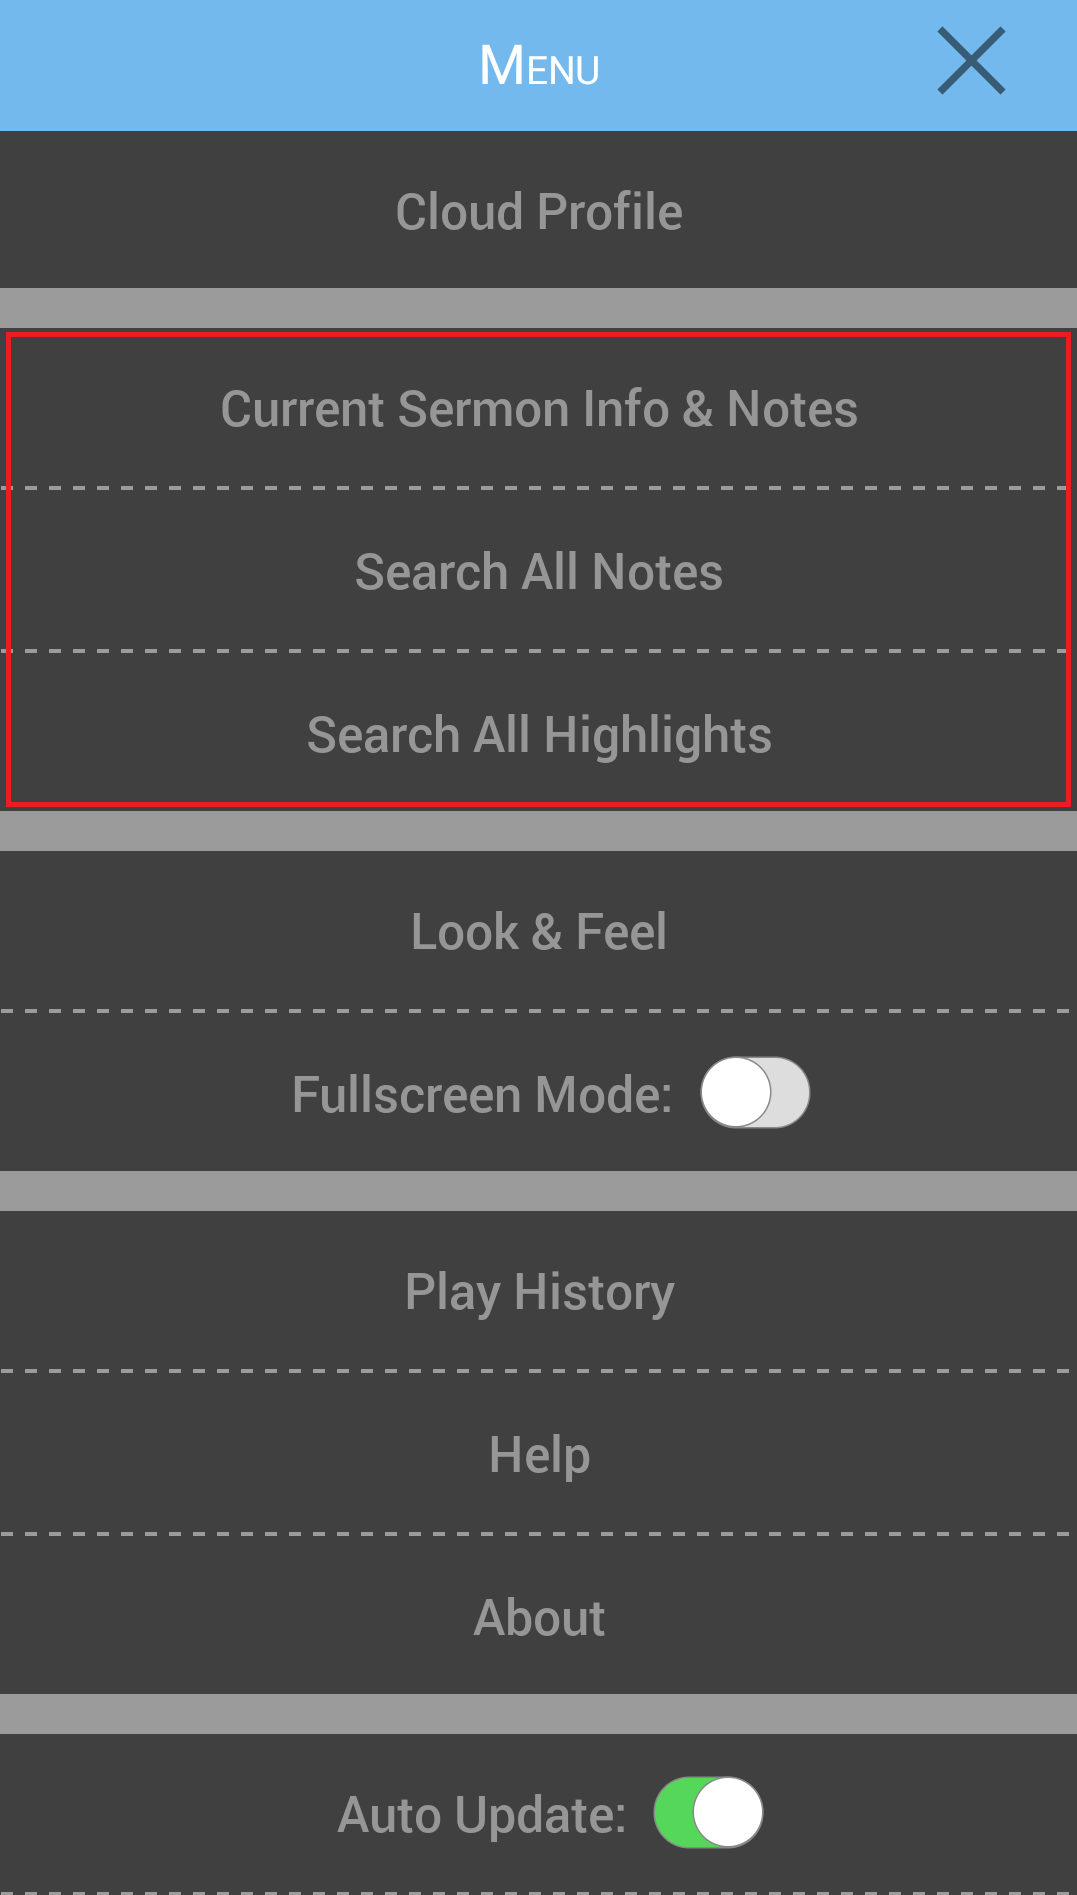
The Cloud Profile Menu is located under the Menu button in the top right corner of the app. (If you are not logged in, you will see a login button instead of the Cloud Profile button.)
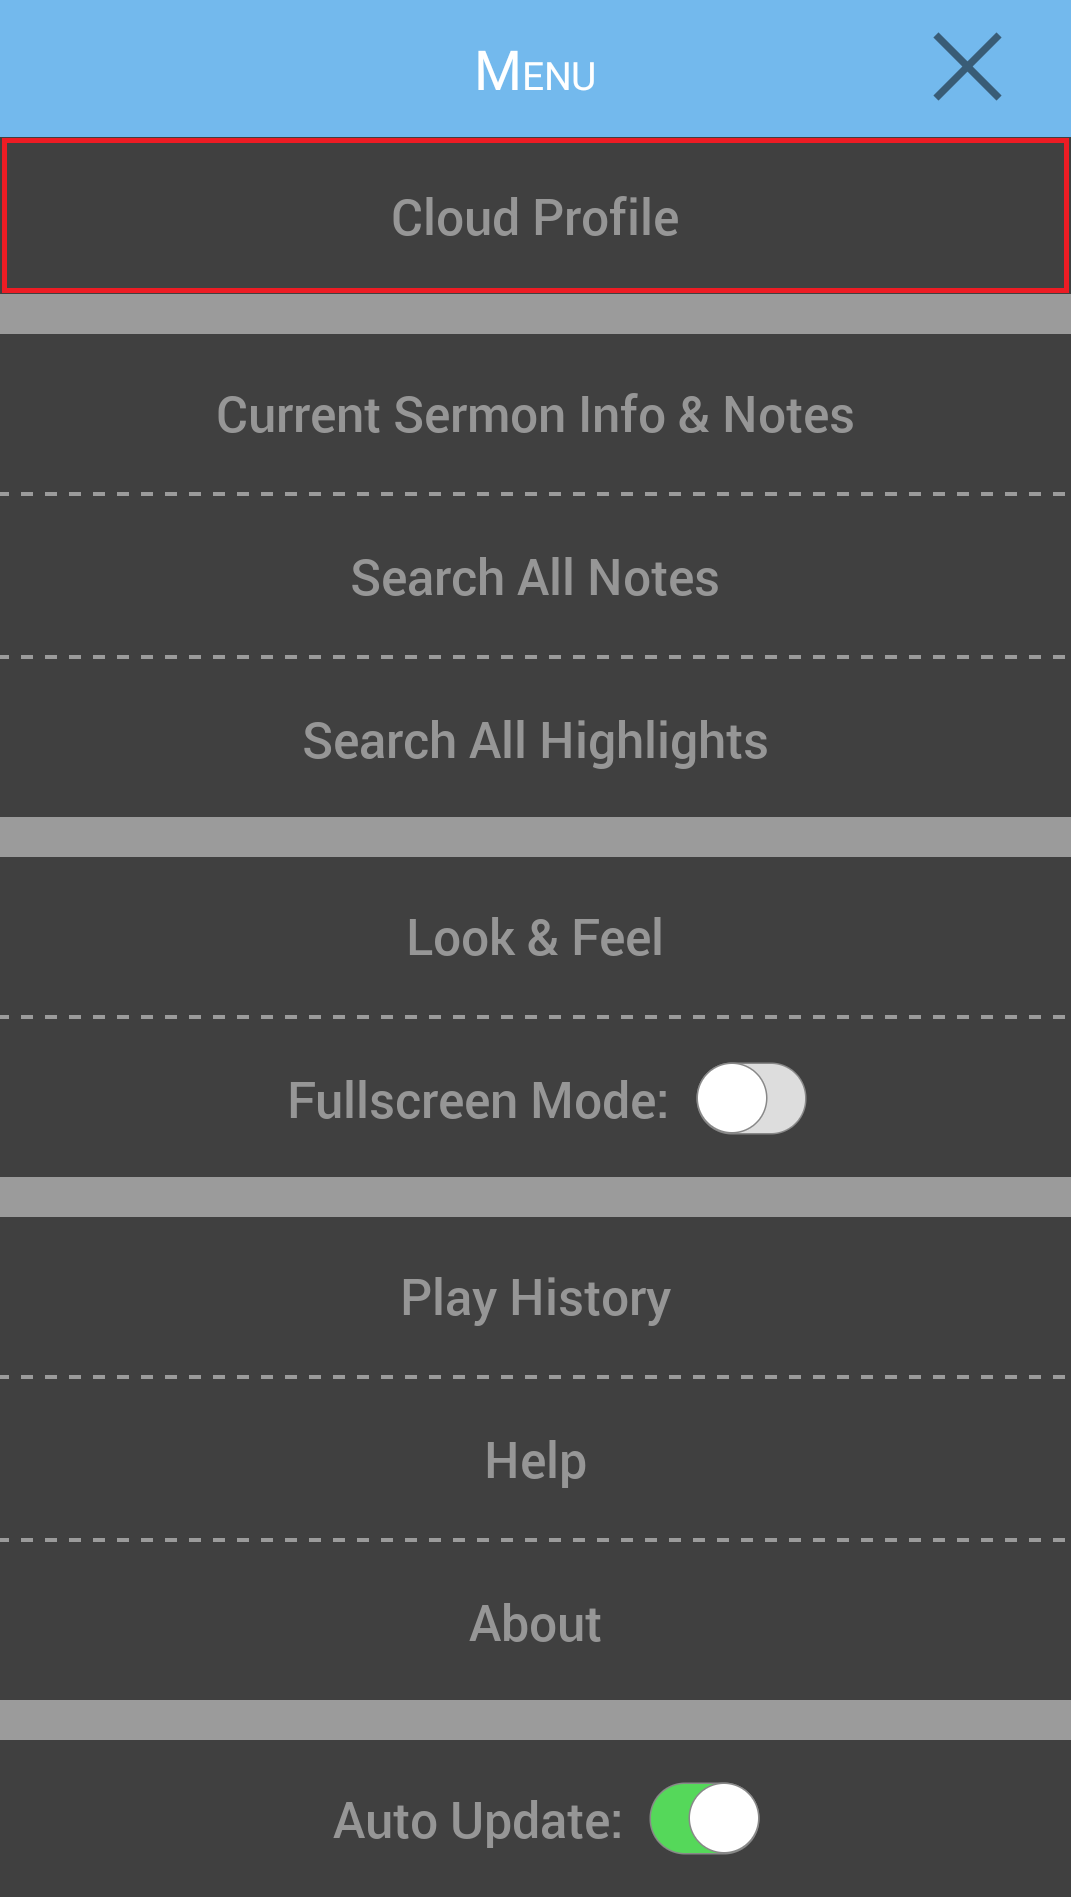
This menu allows you to edit your device name, choose how often your device is automatically backed up, create and restore backups, or log out of your account.
Edit Device Name
- Select the edit button to update the device name.
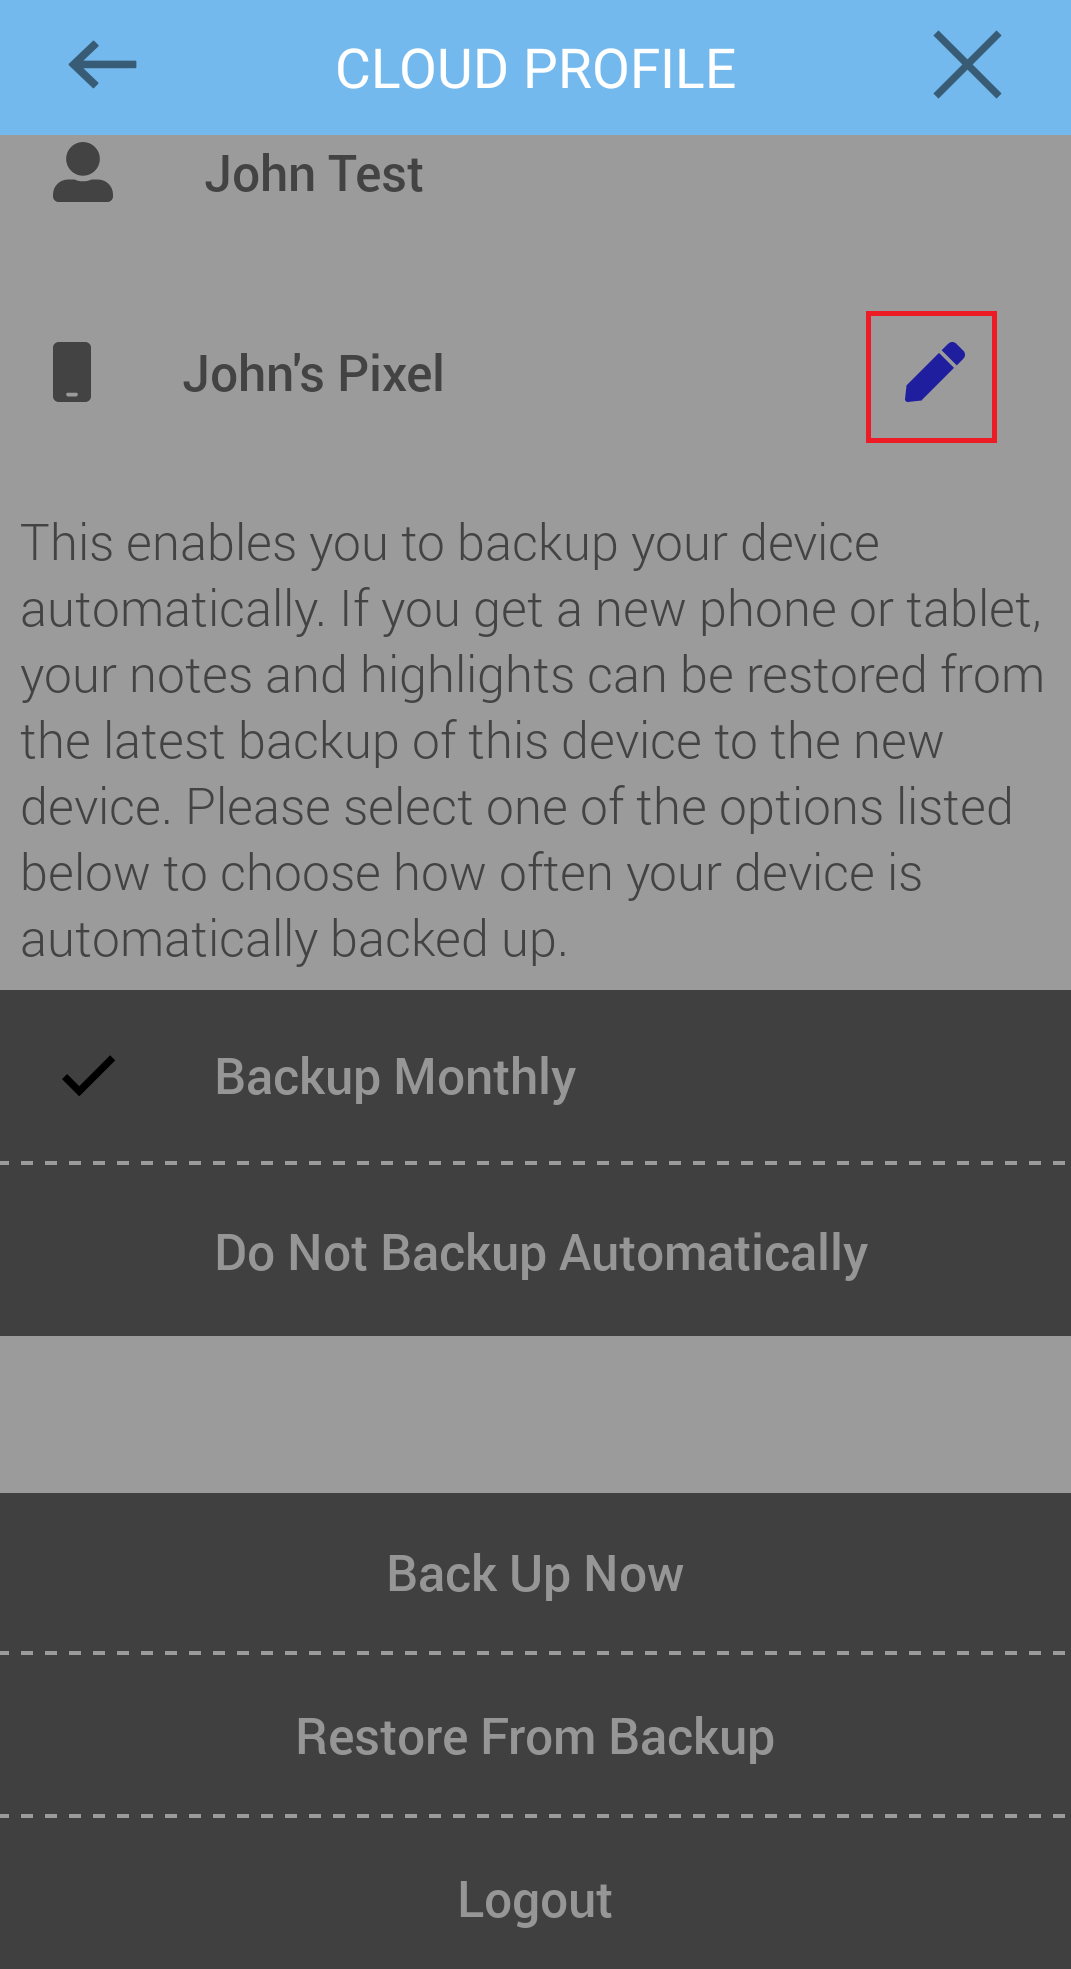
- An Update dialog will appear.
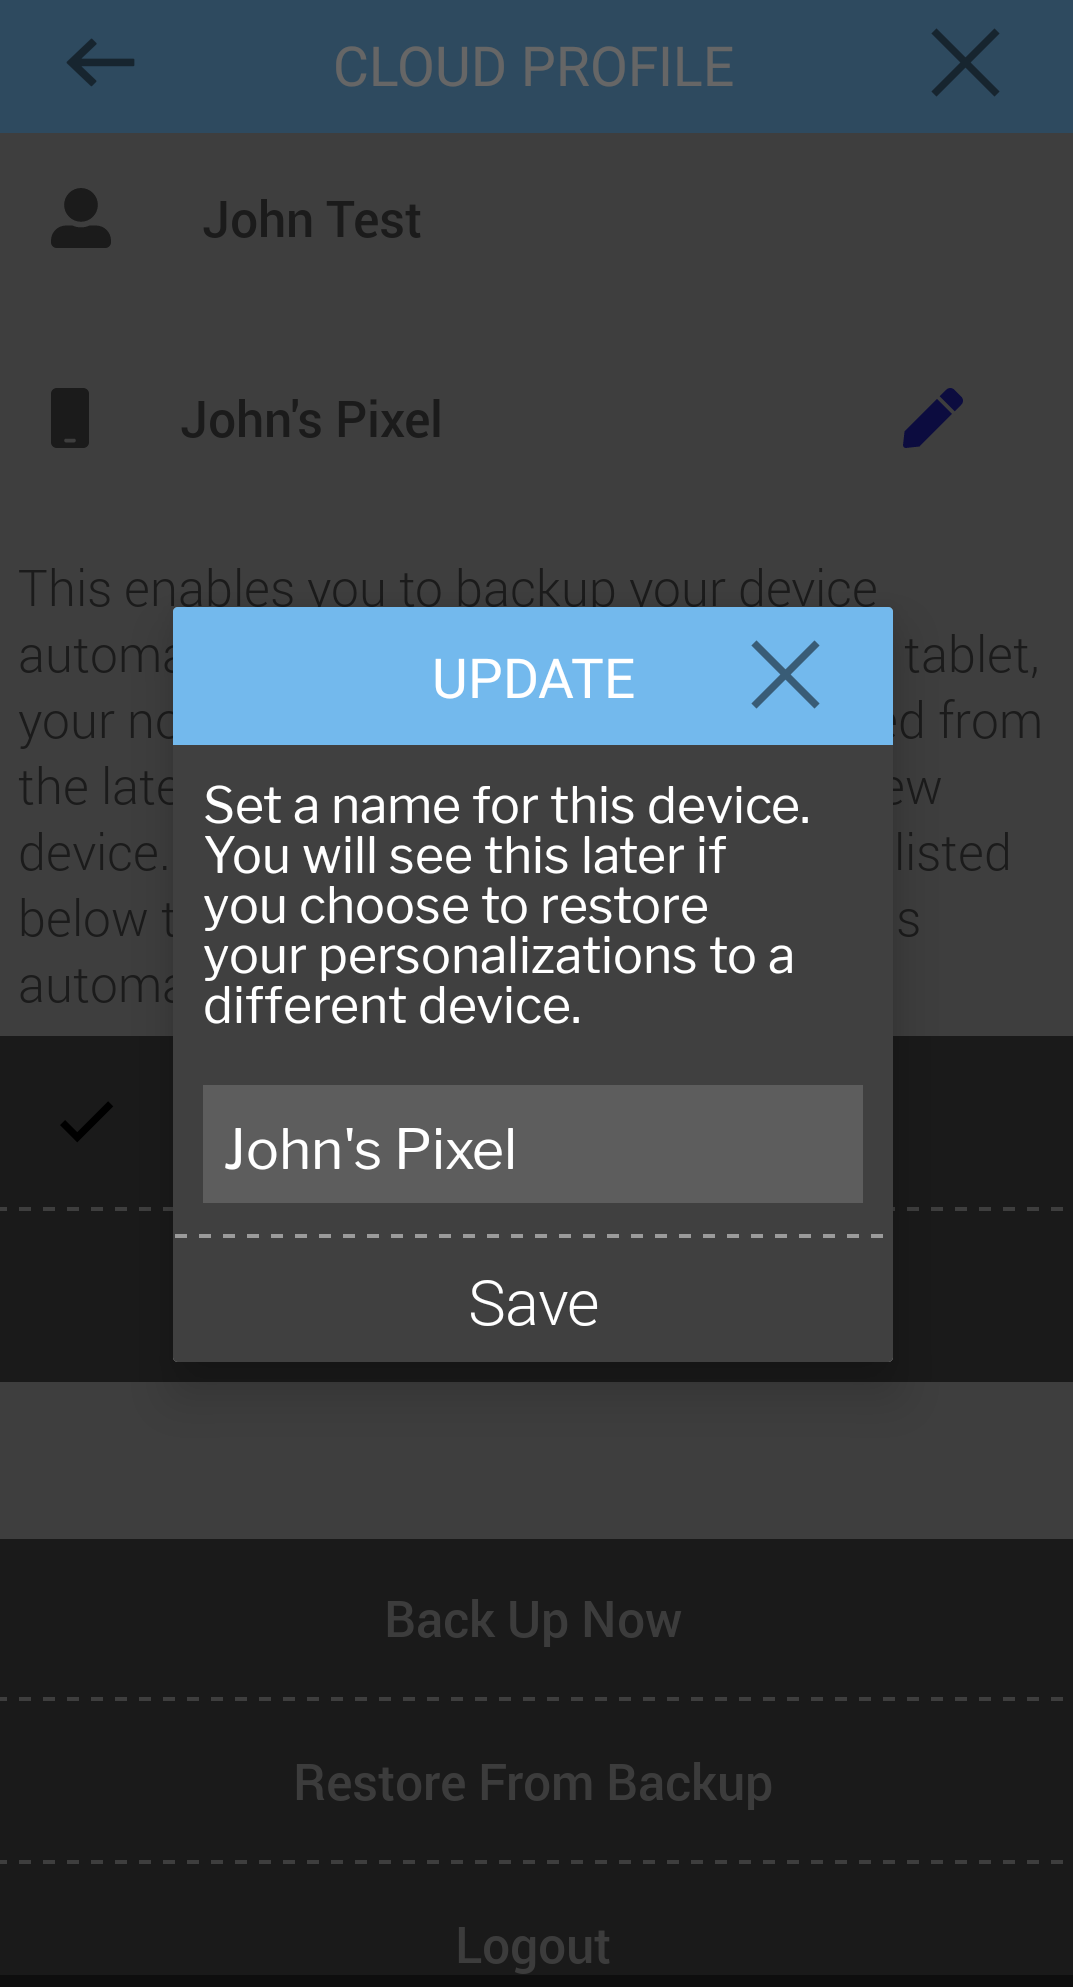
- Tap on the device name to edit it, then select save.
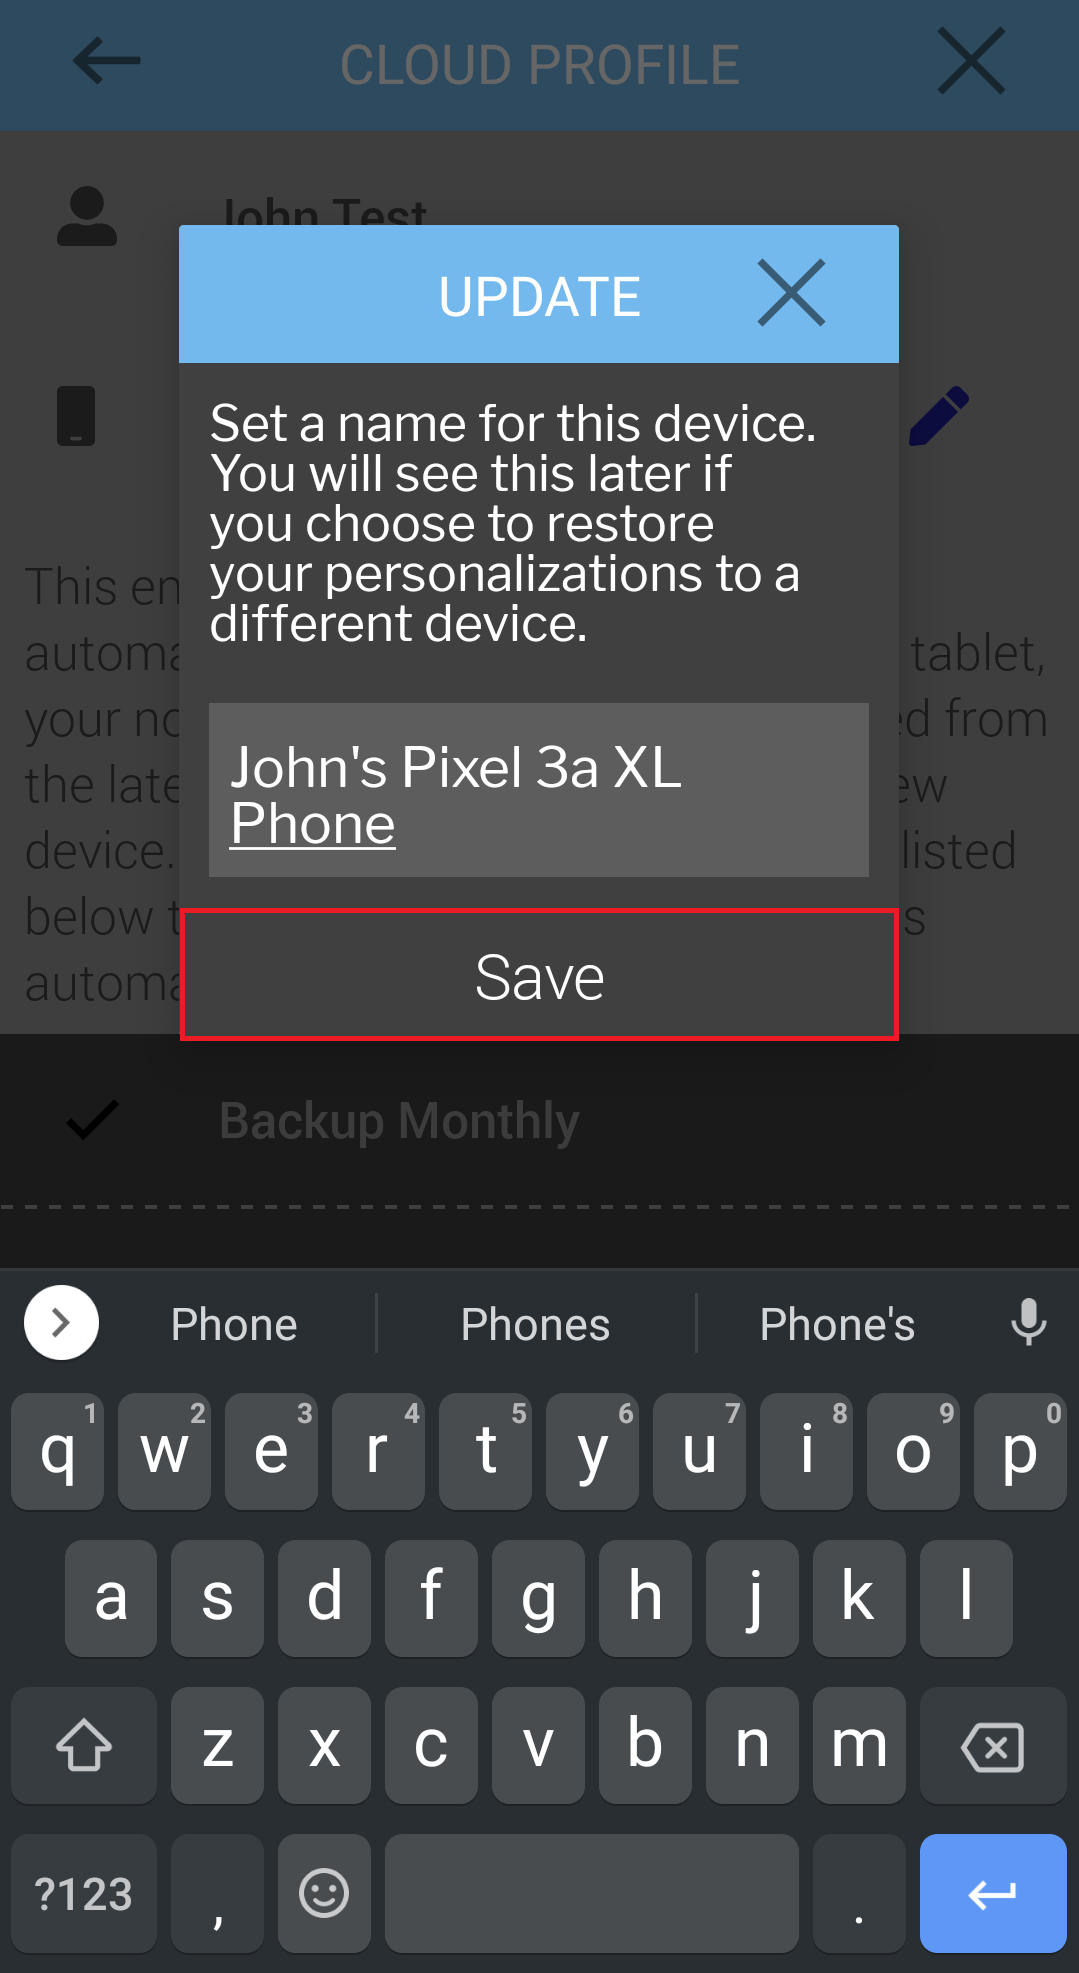
- The updated device name will appear in the Cloud Profile Menu.

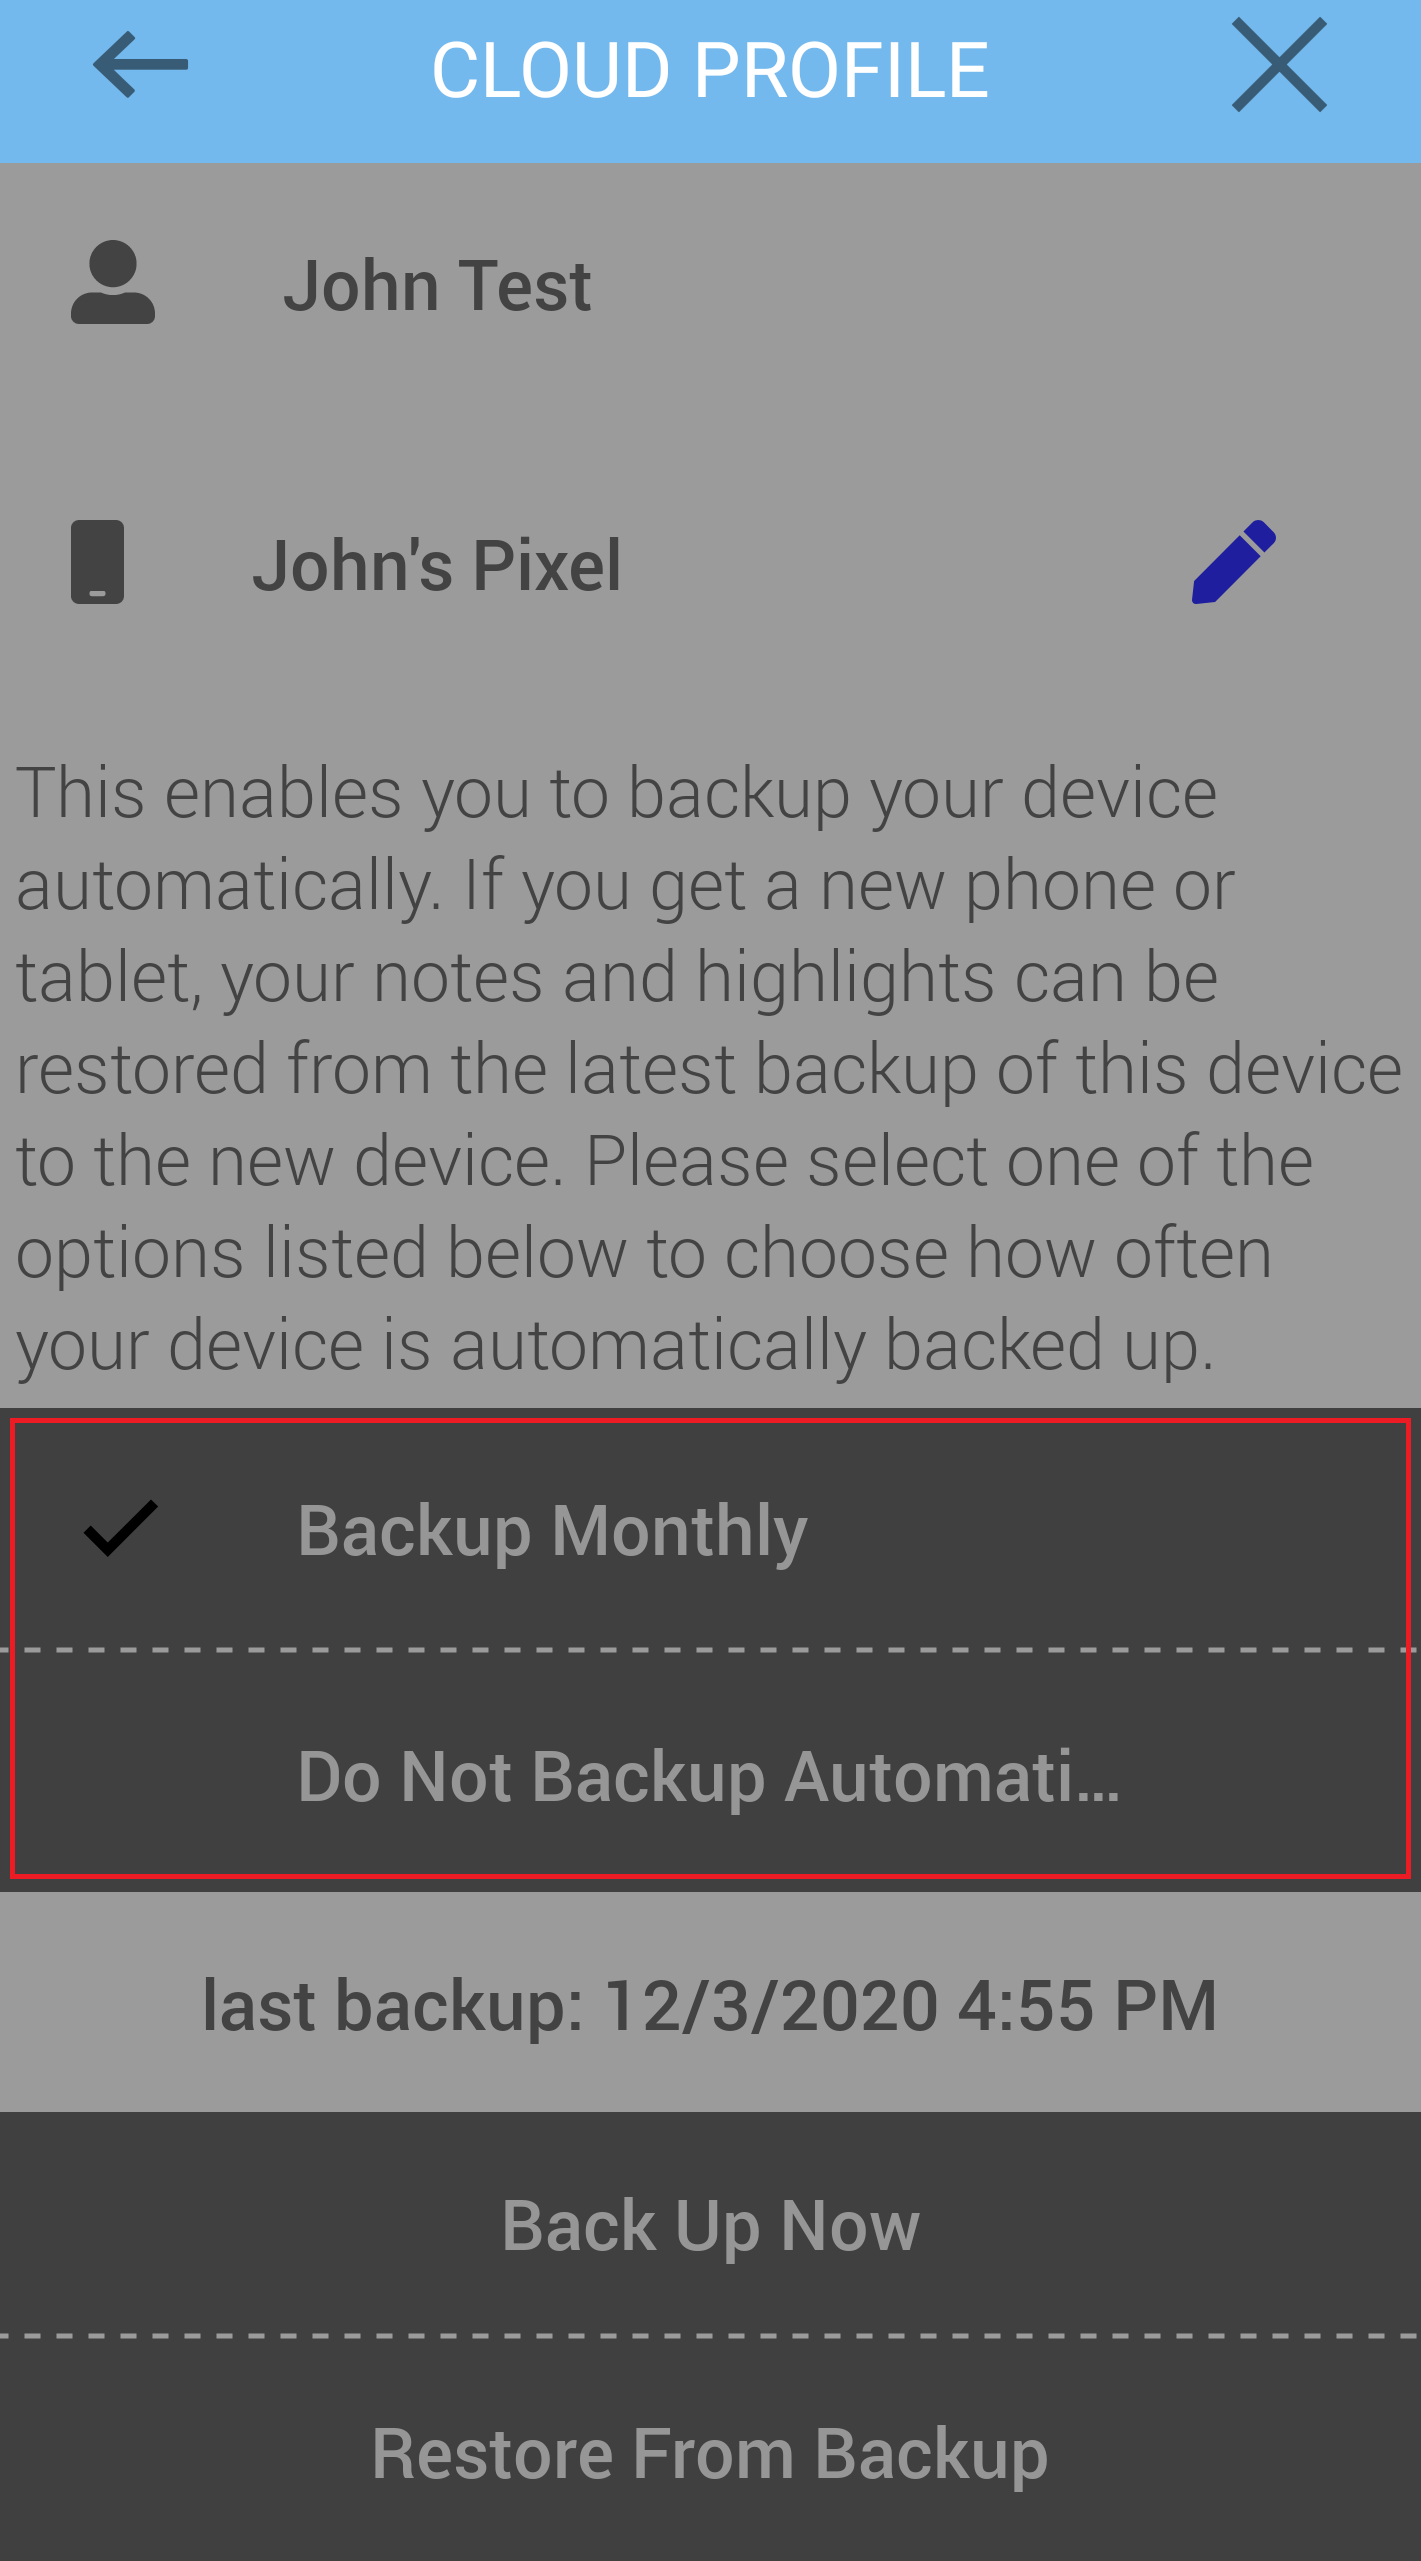
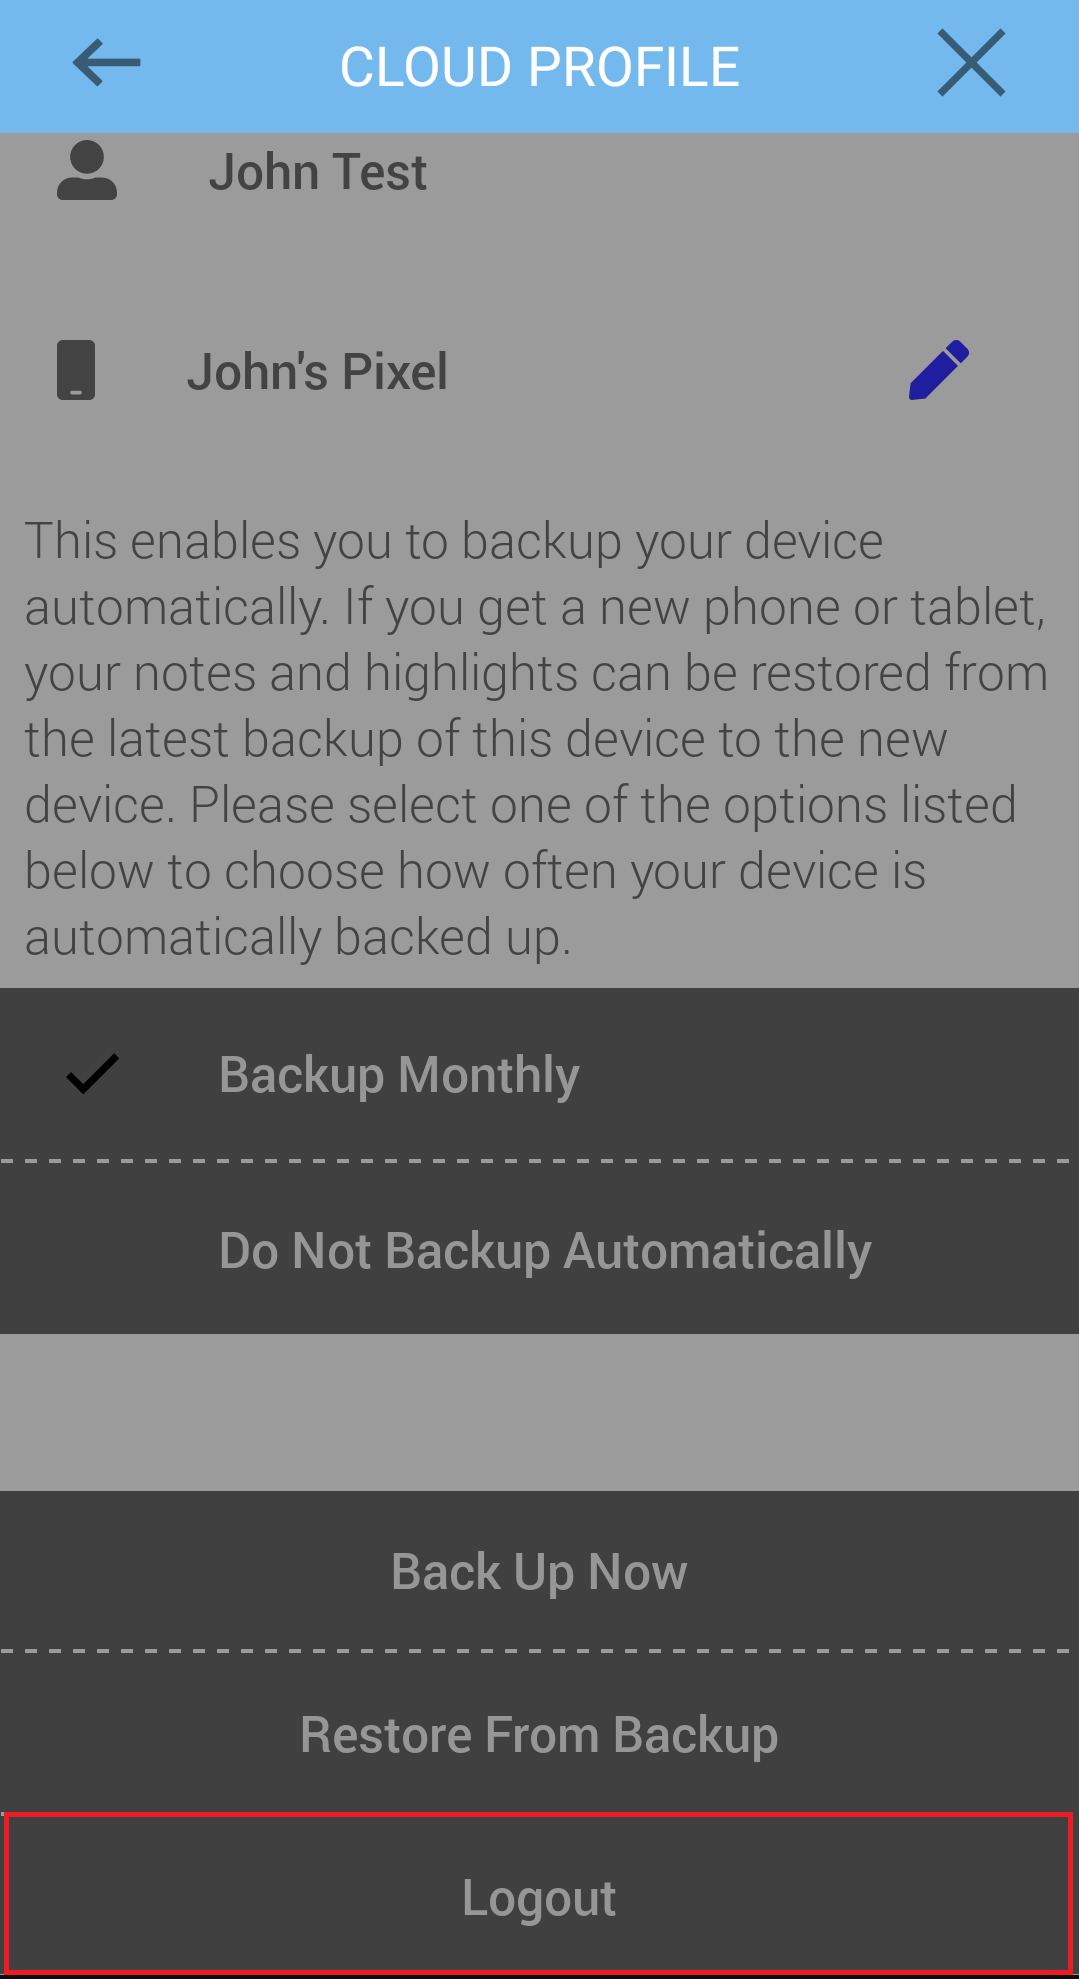
Backup Frequency Options
This section allows you to choose how often a backup is created. You can choose from the automatic backup options or do not backup automatically.
Backup Now
Select backup now to create a backup of your current notes and highlights.
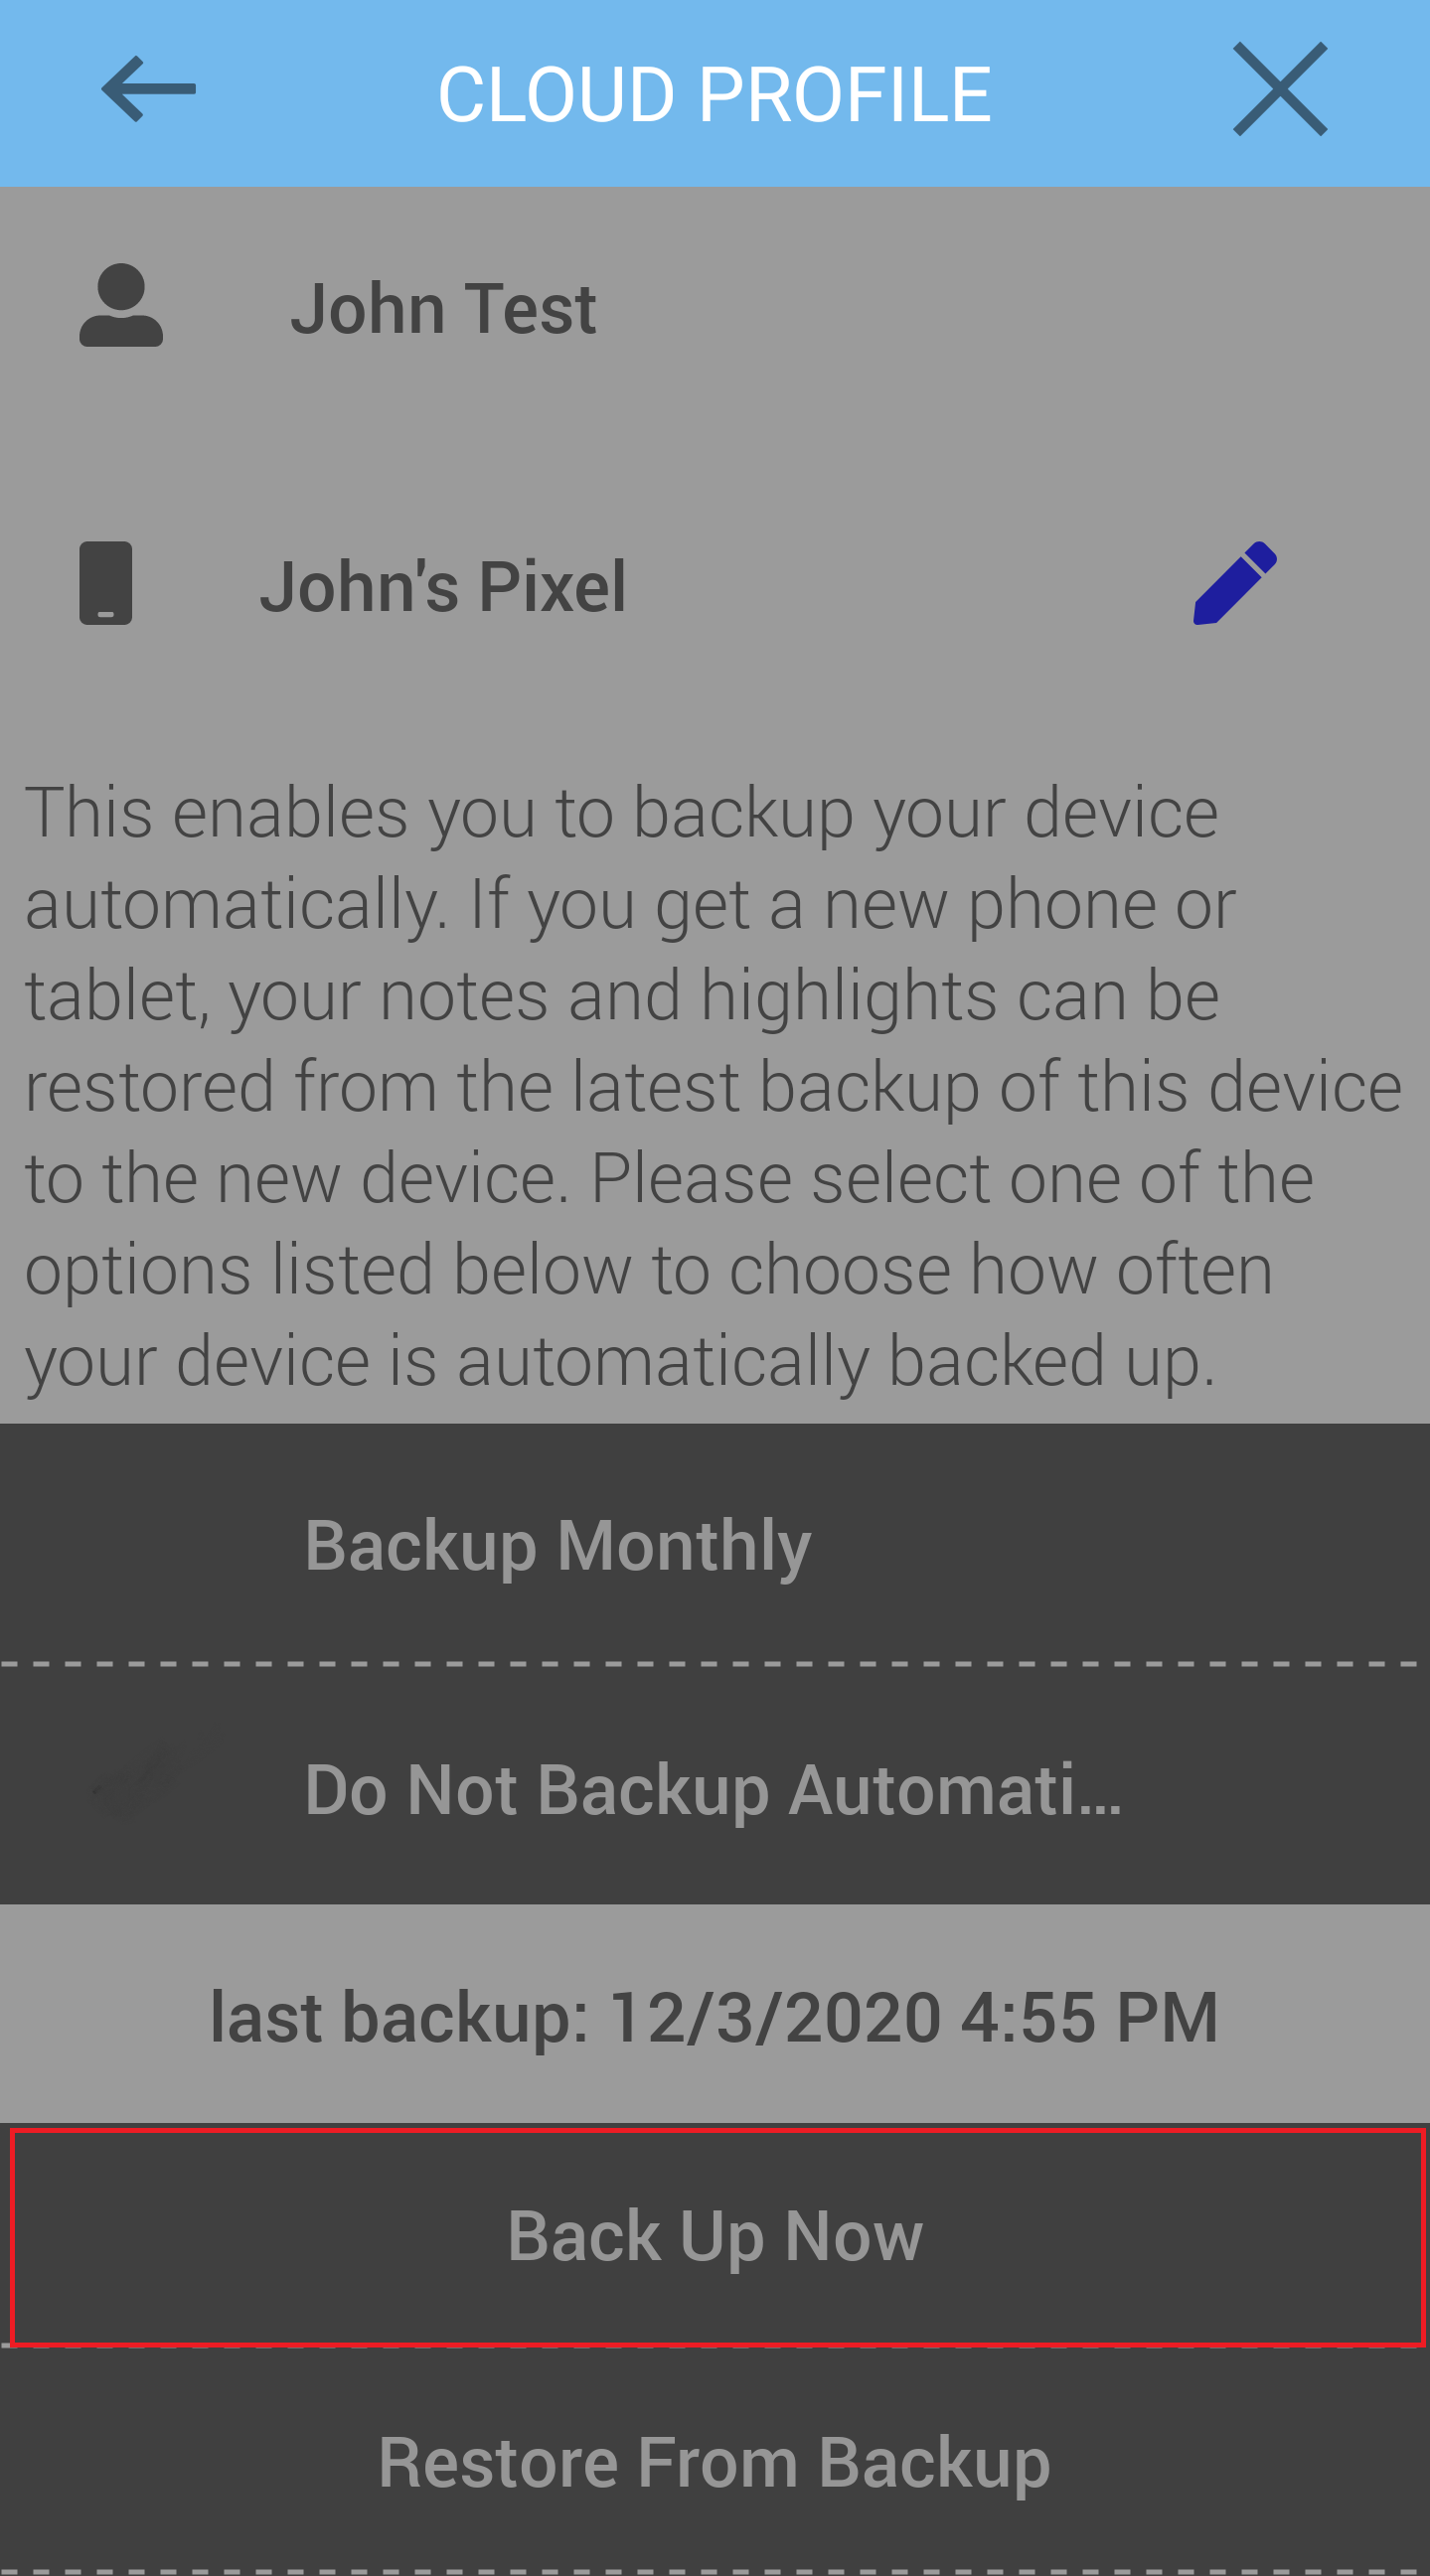
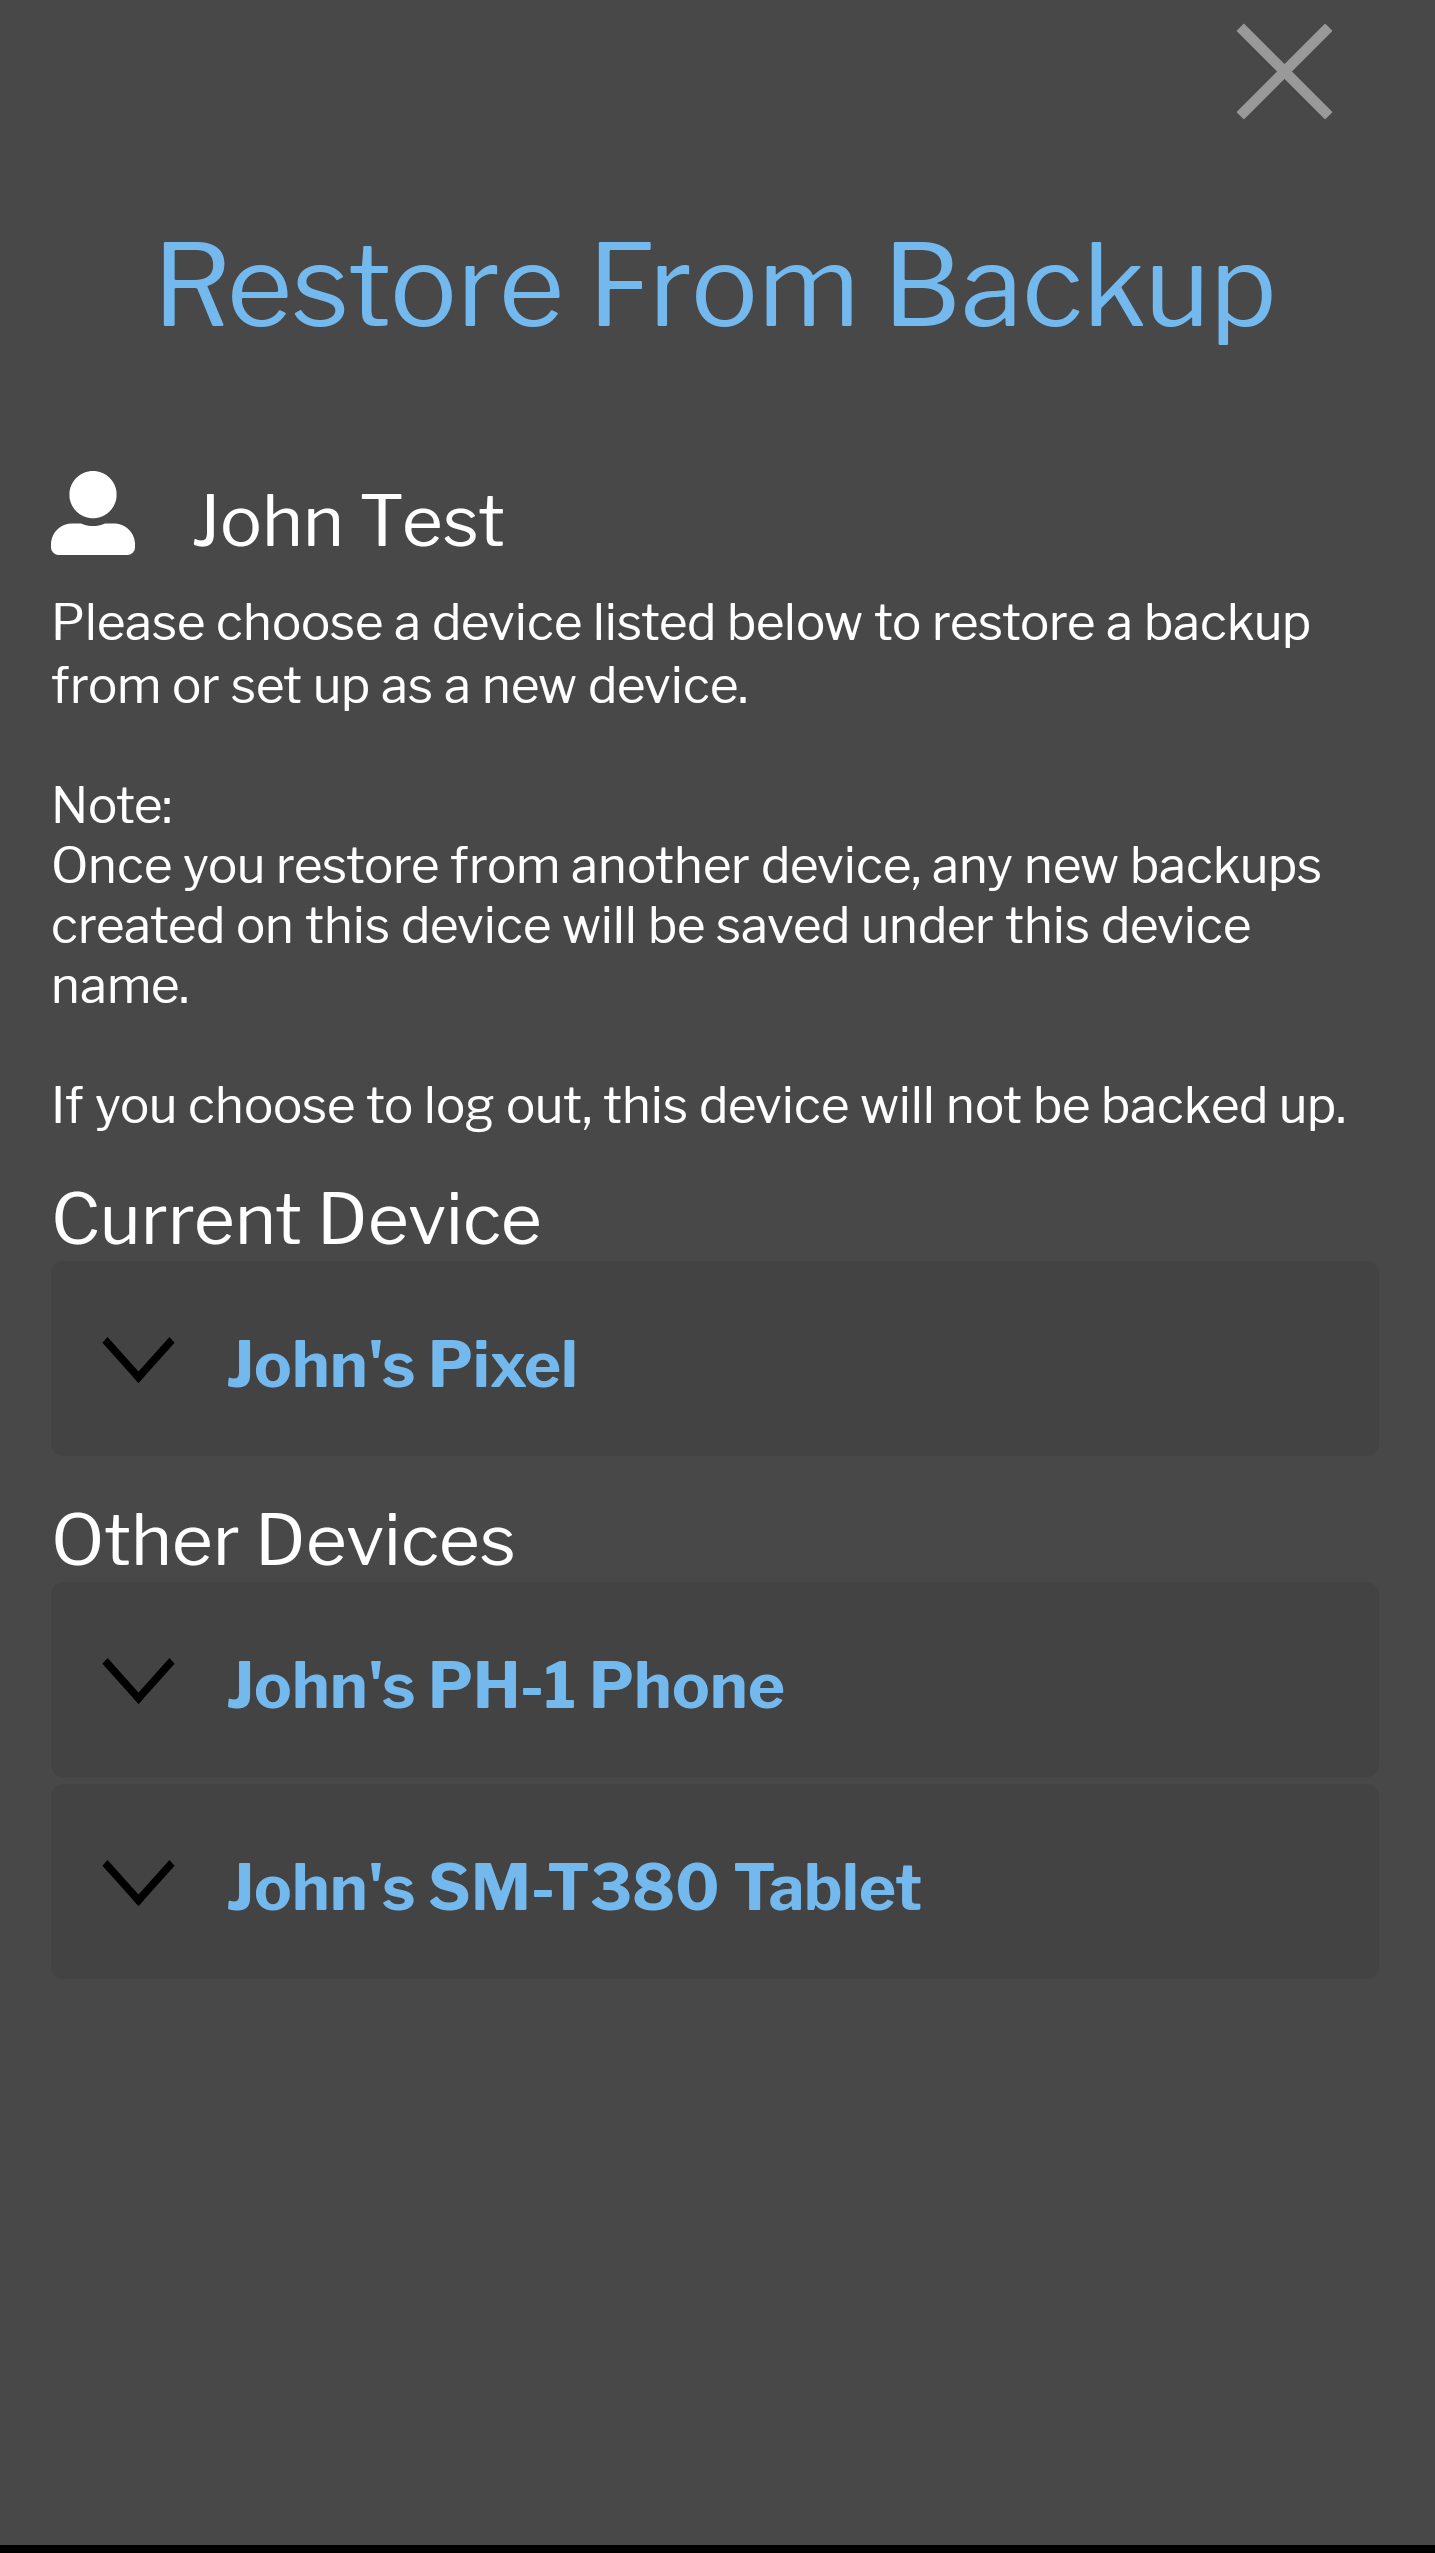
Restore From Backup
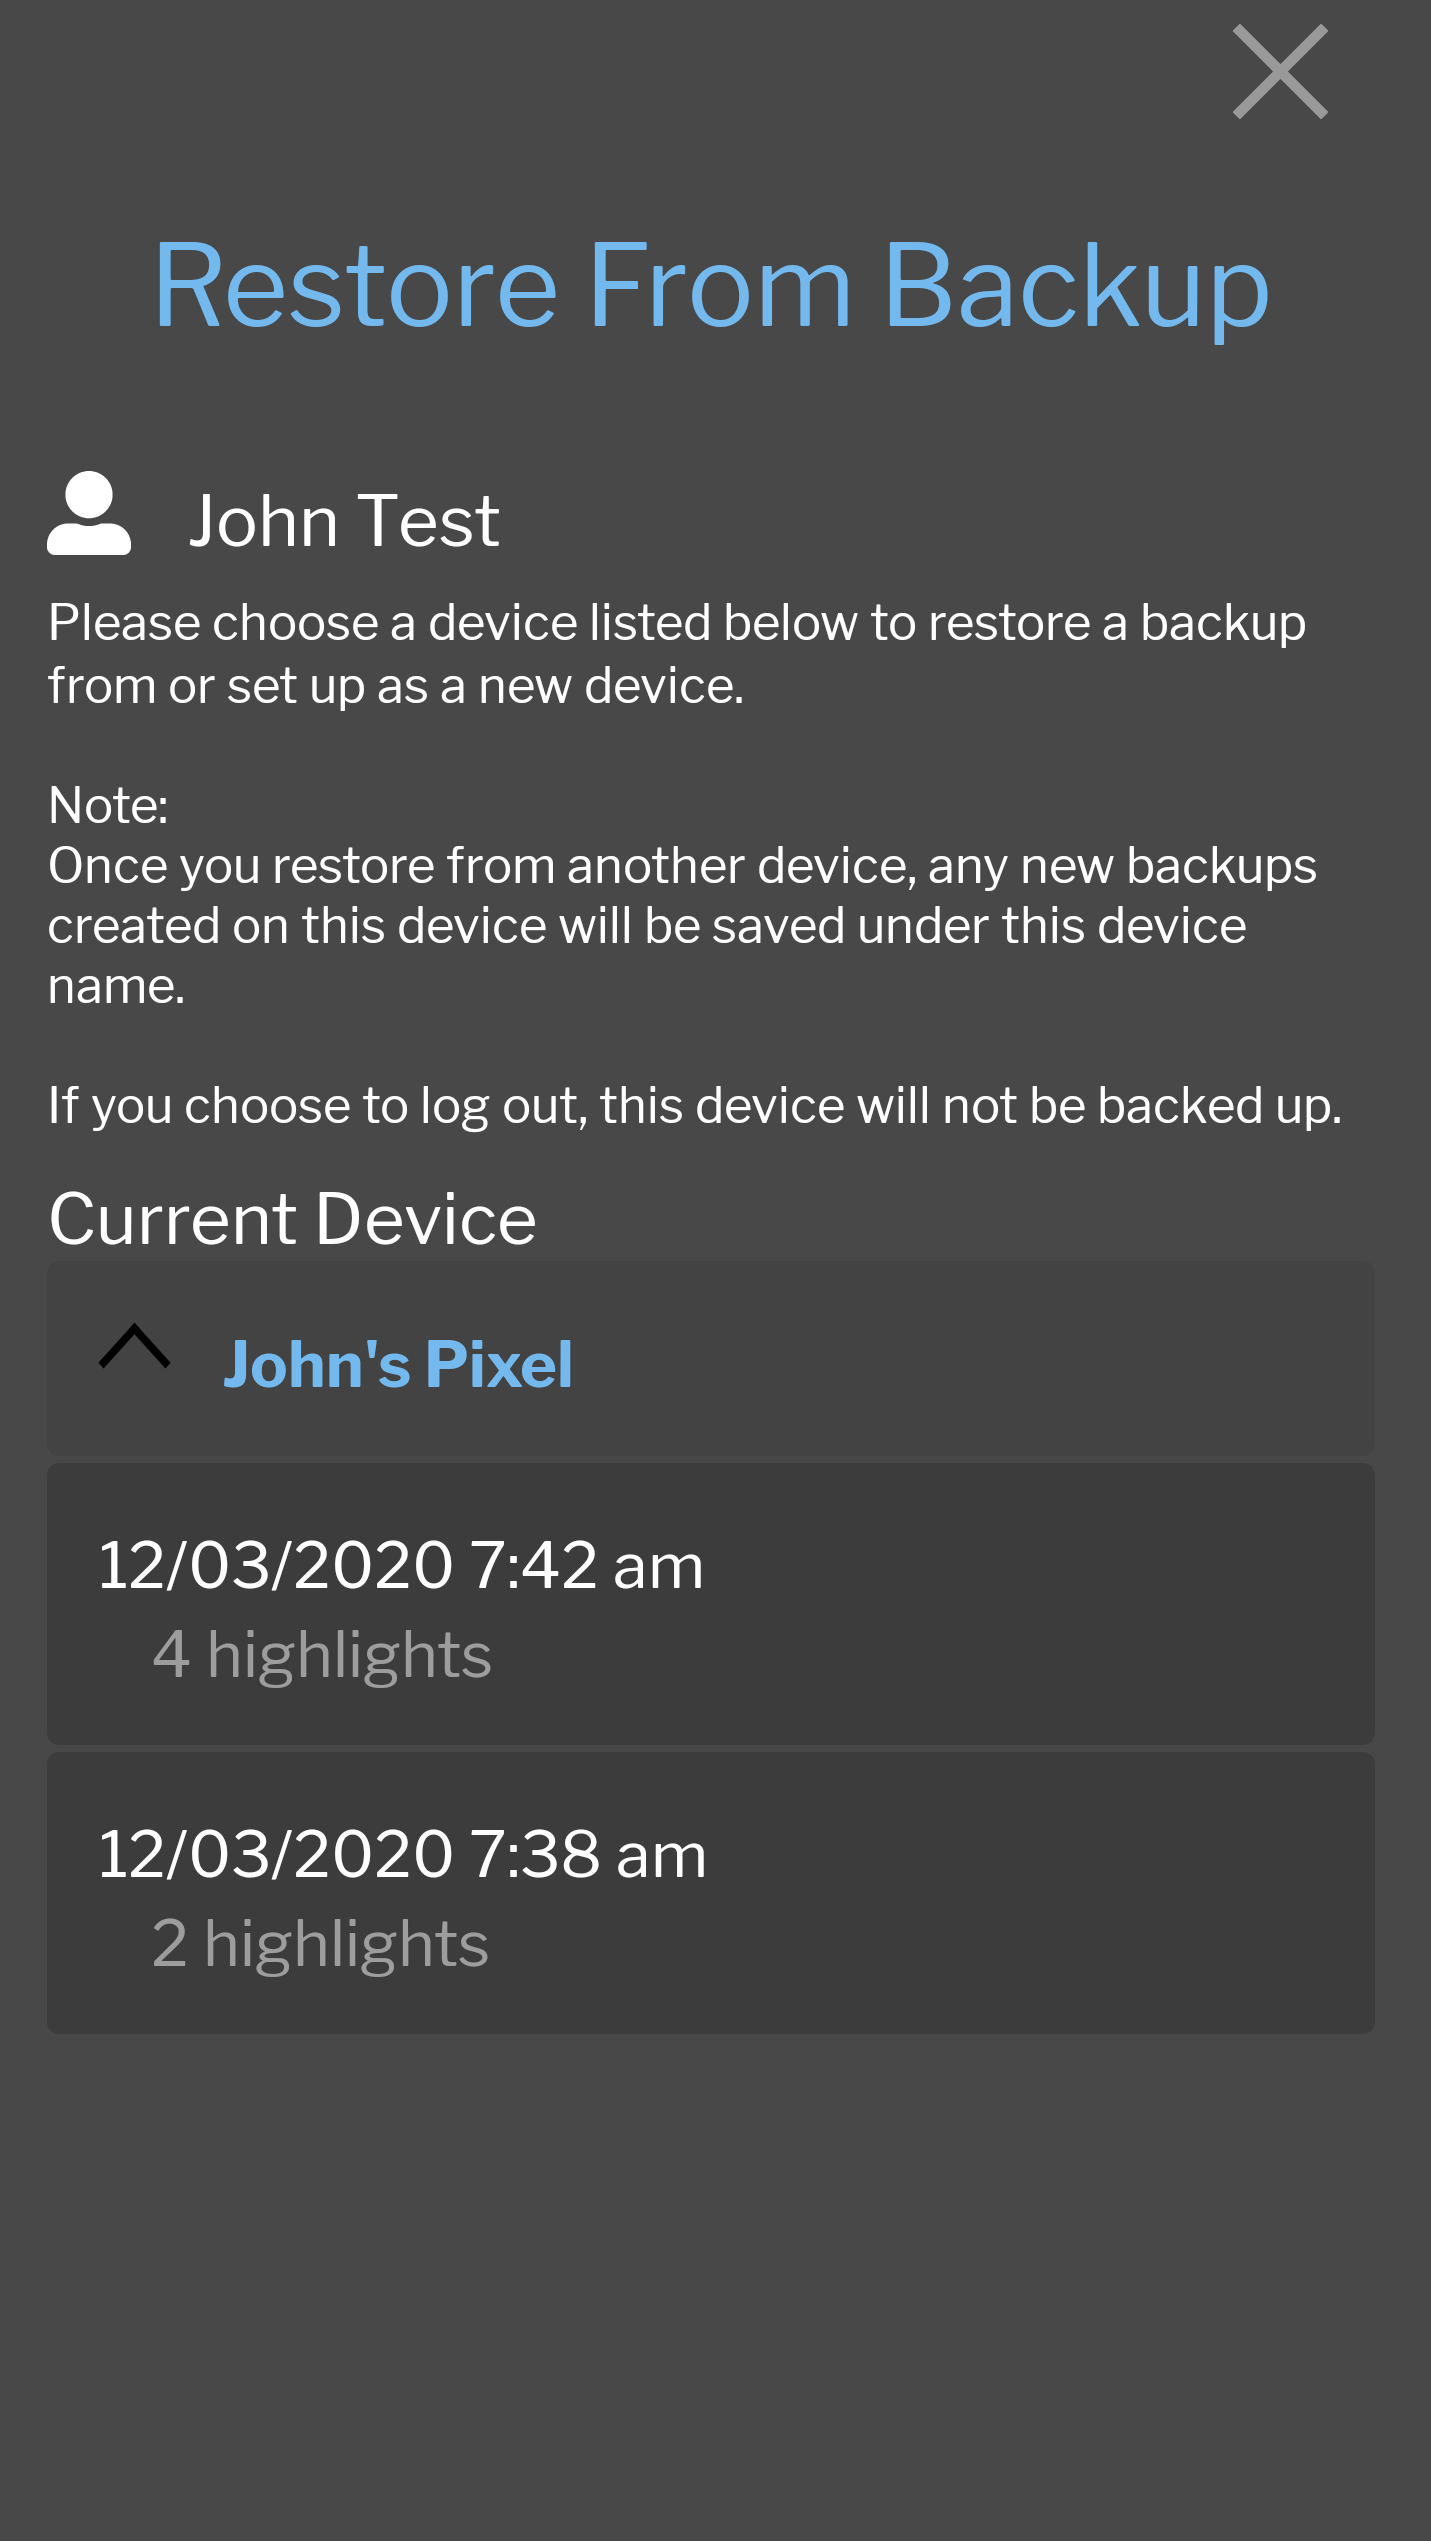
To view a list of all your backups or restore a backup from either the current device or a different device, choose the restore from backup option. (You may choose this option when you register the device name or later from the Cloud Profile Menu.)

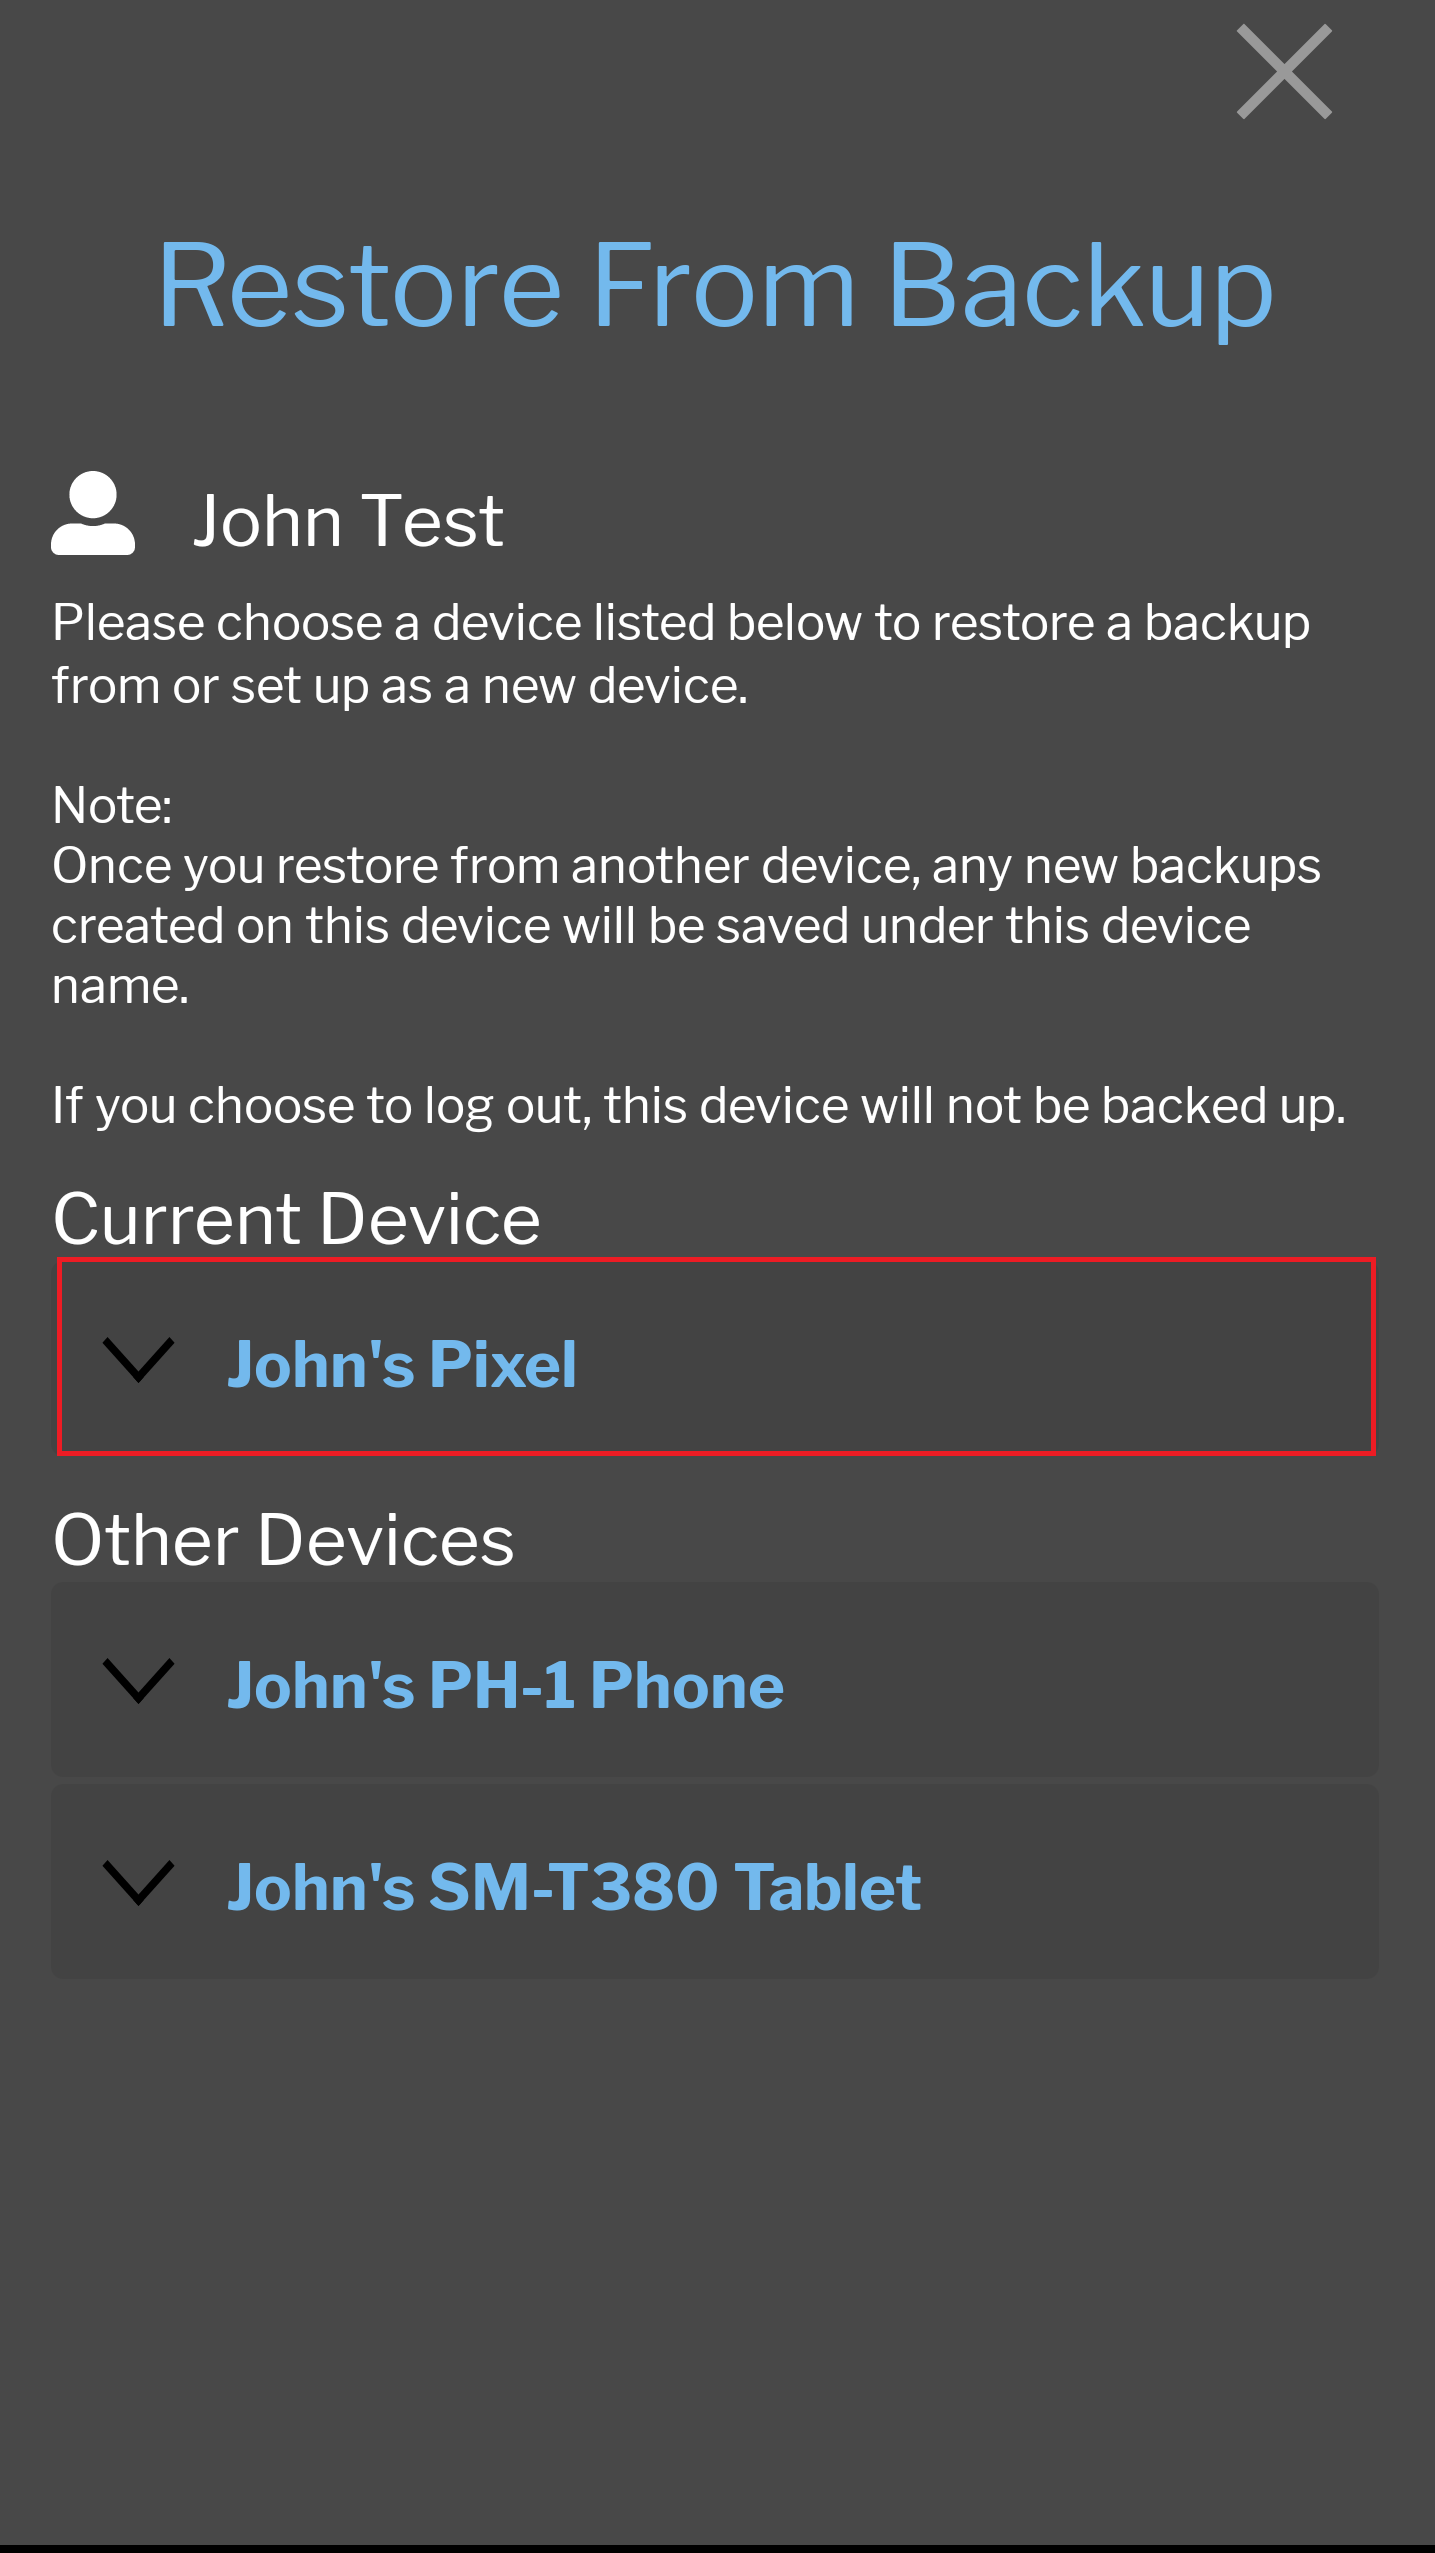
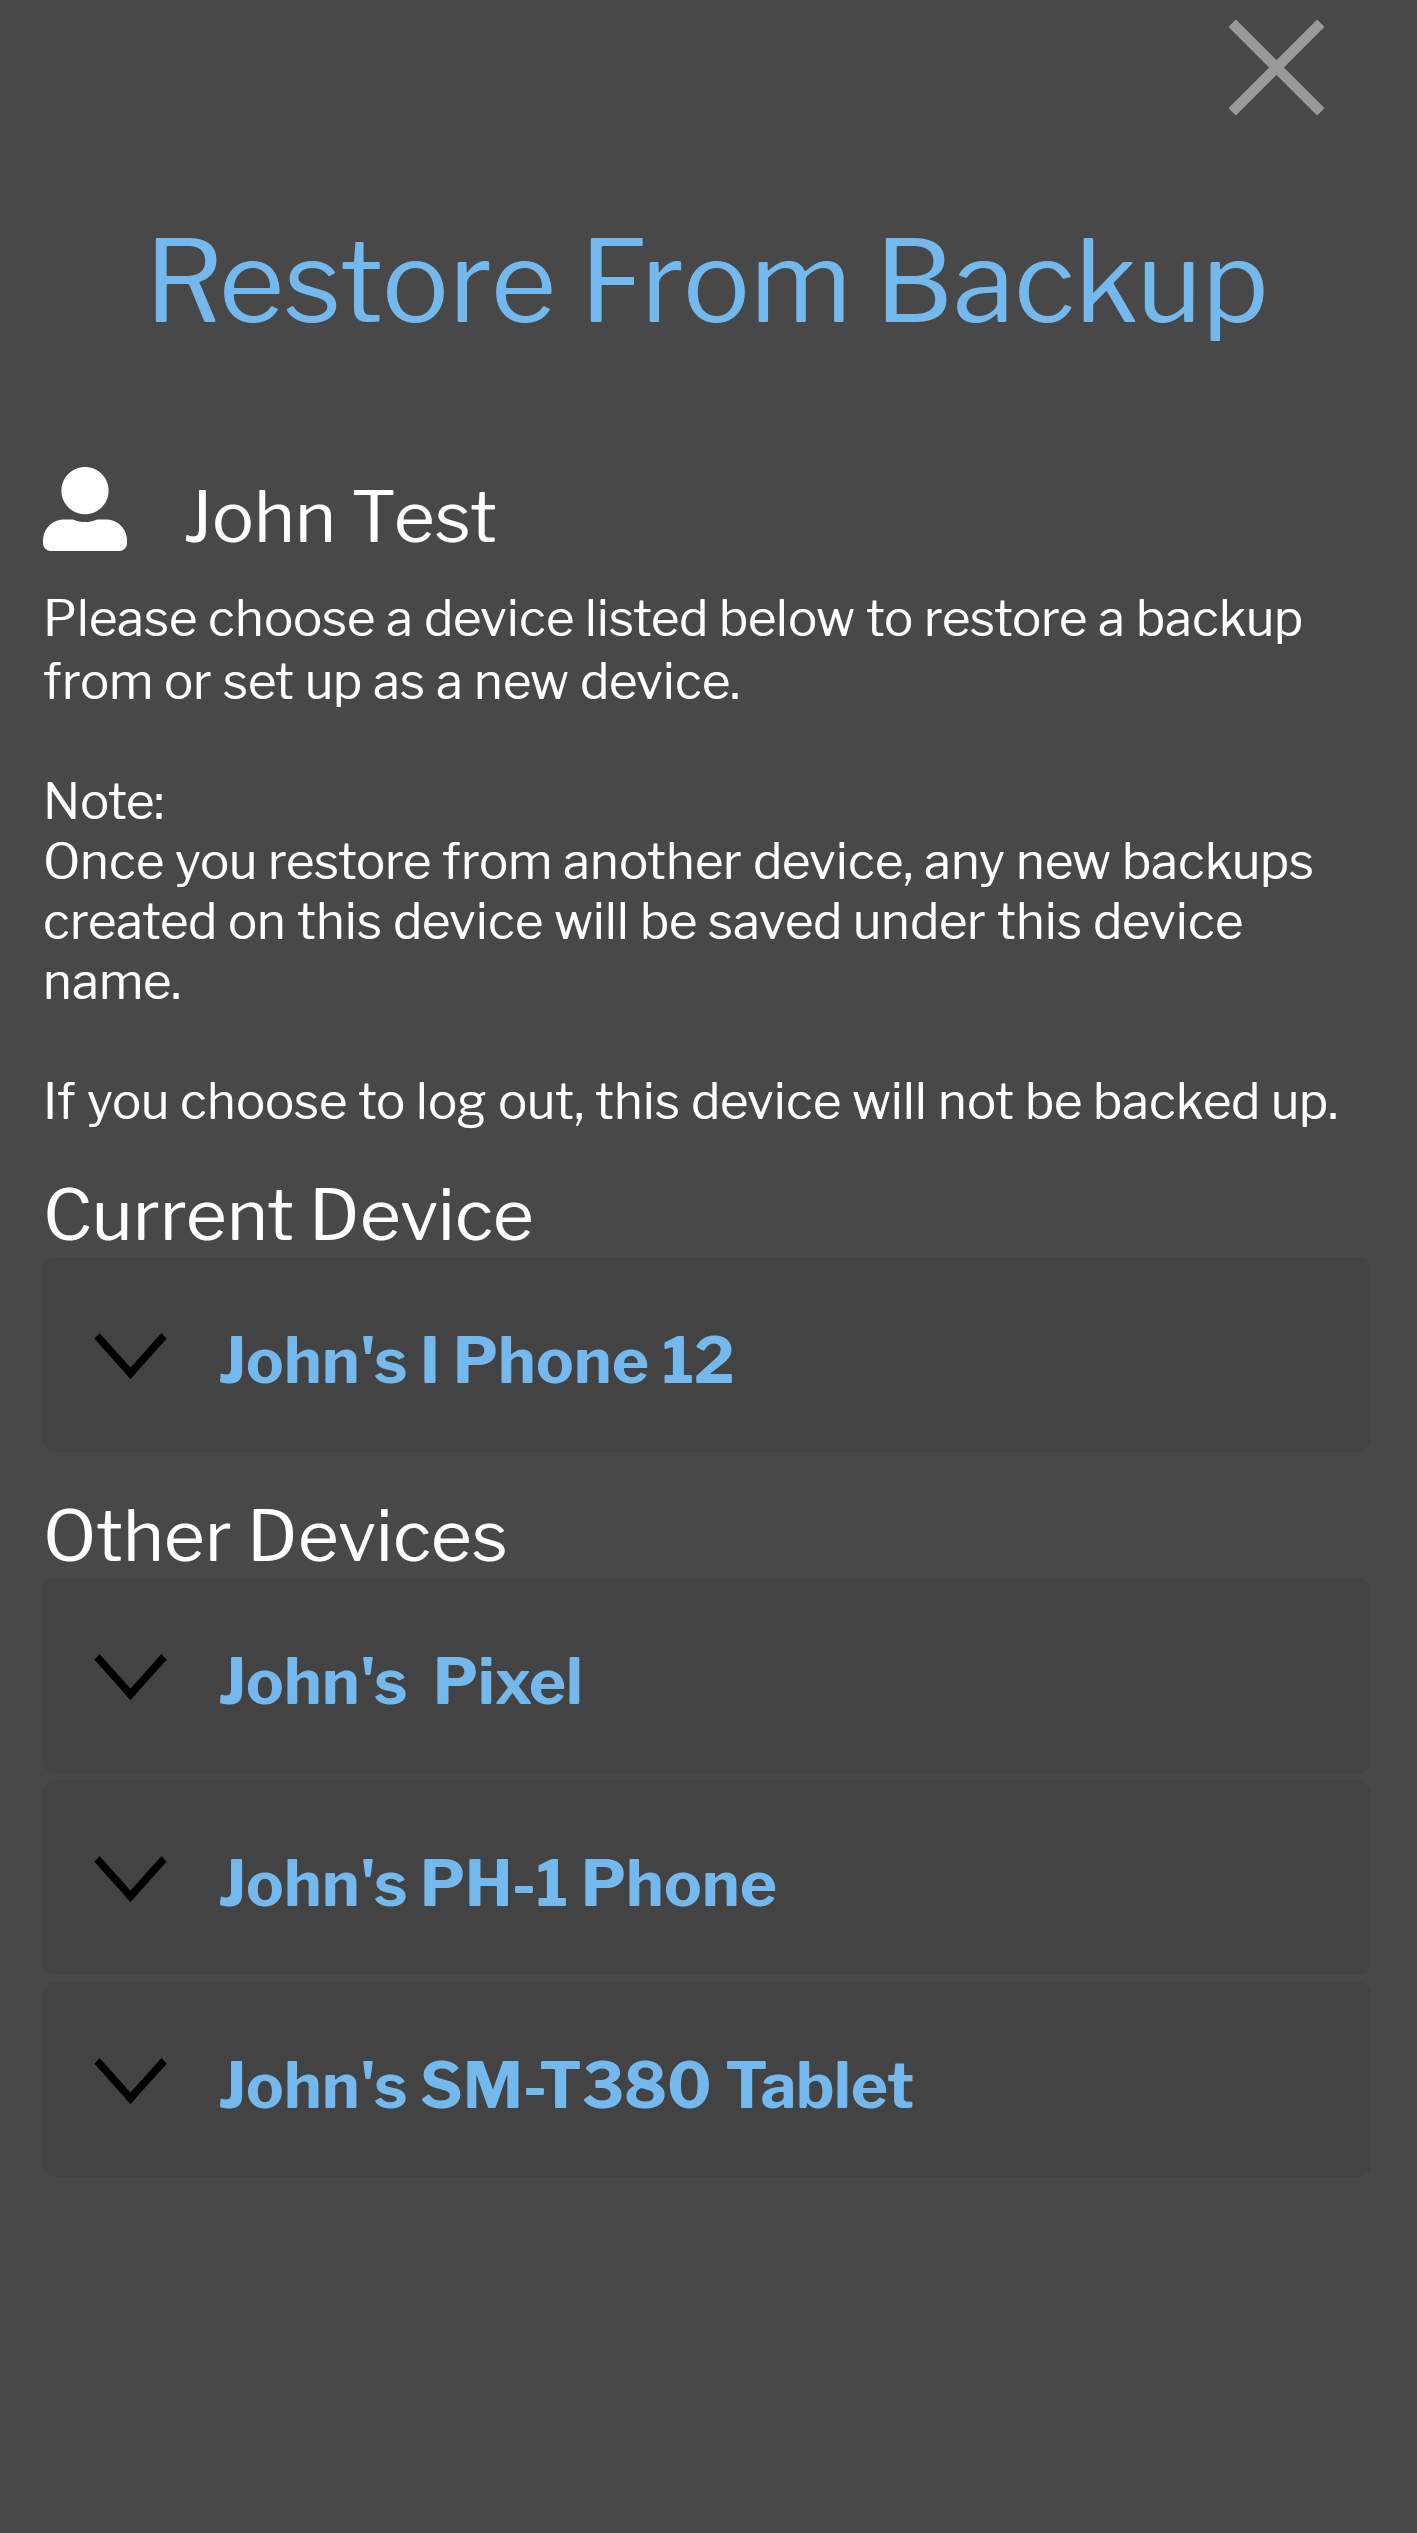
- When the Restore From Backup screen is loaded, a list of all devices saved to the account will appear.
-
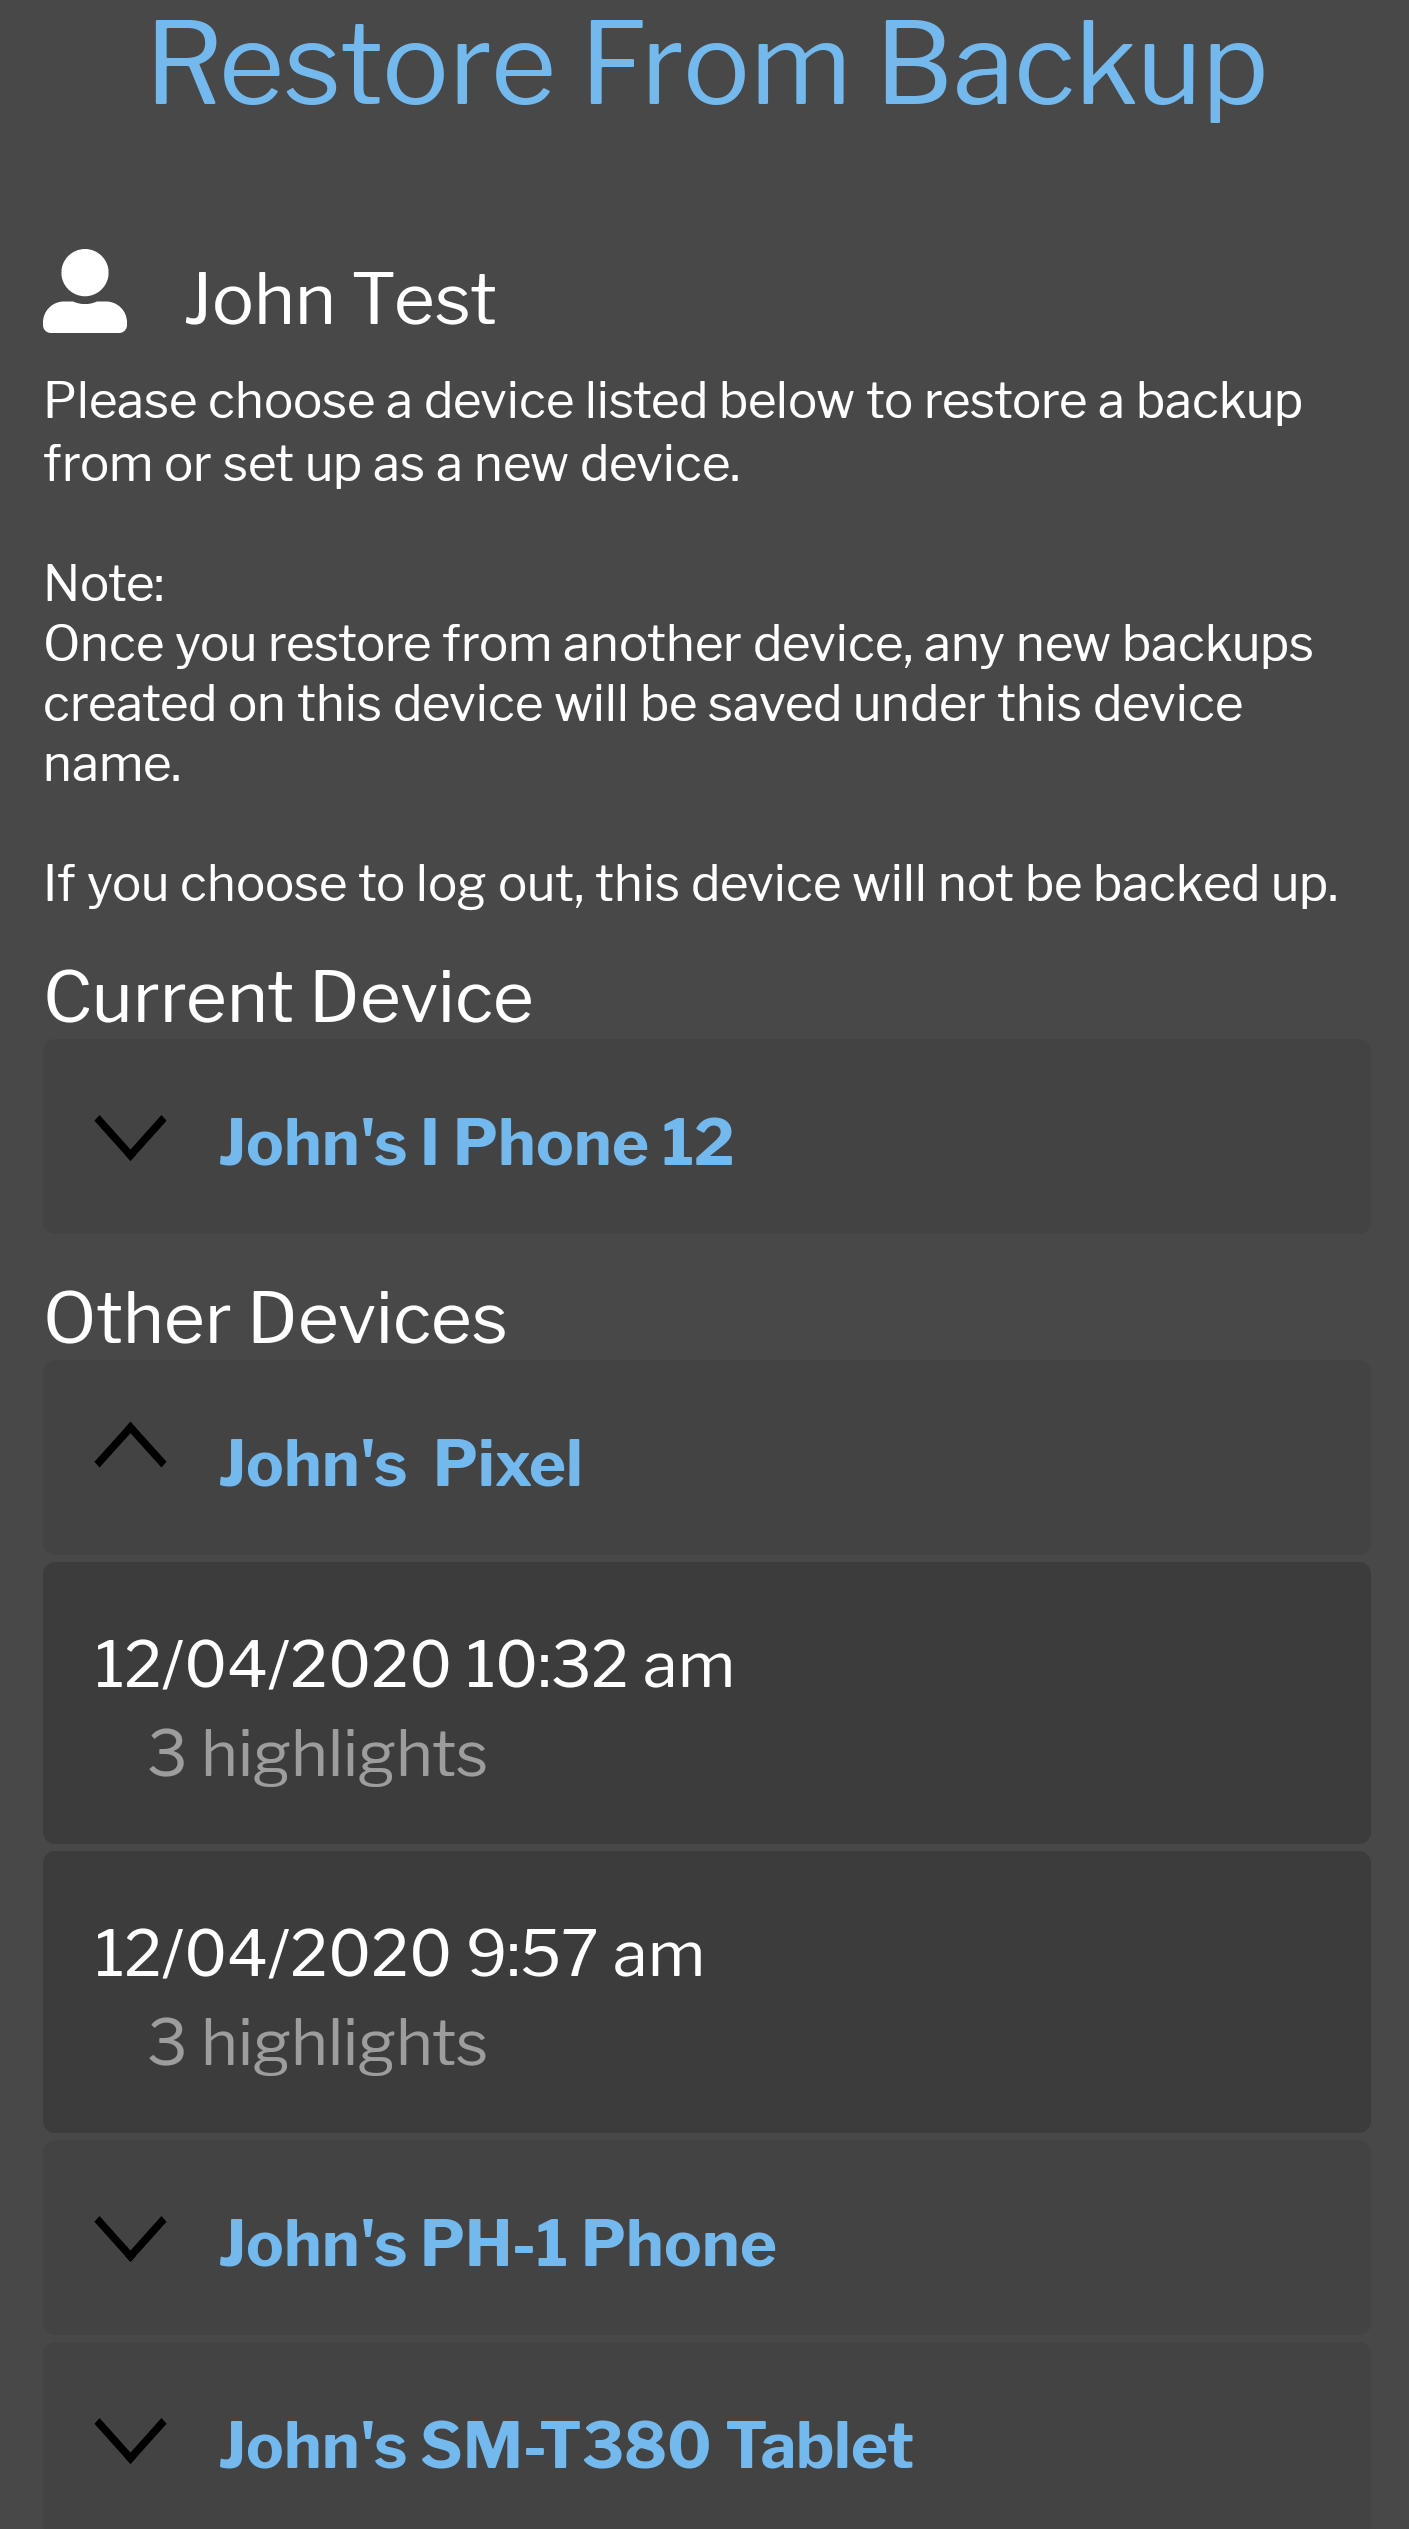
Select a device to view all the backups saved to it.
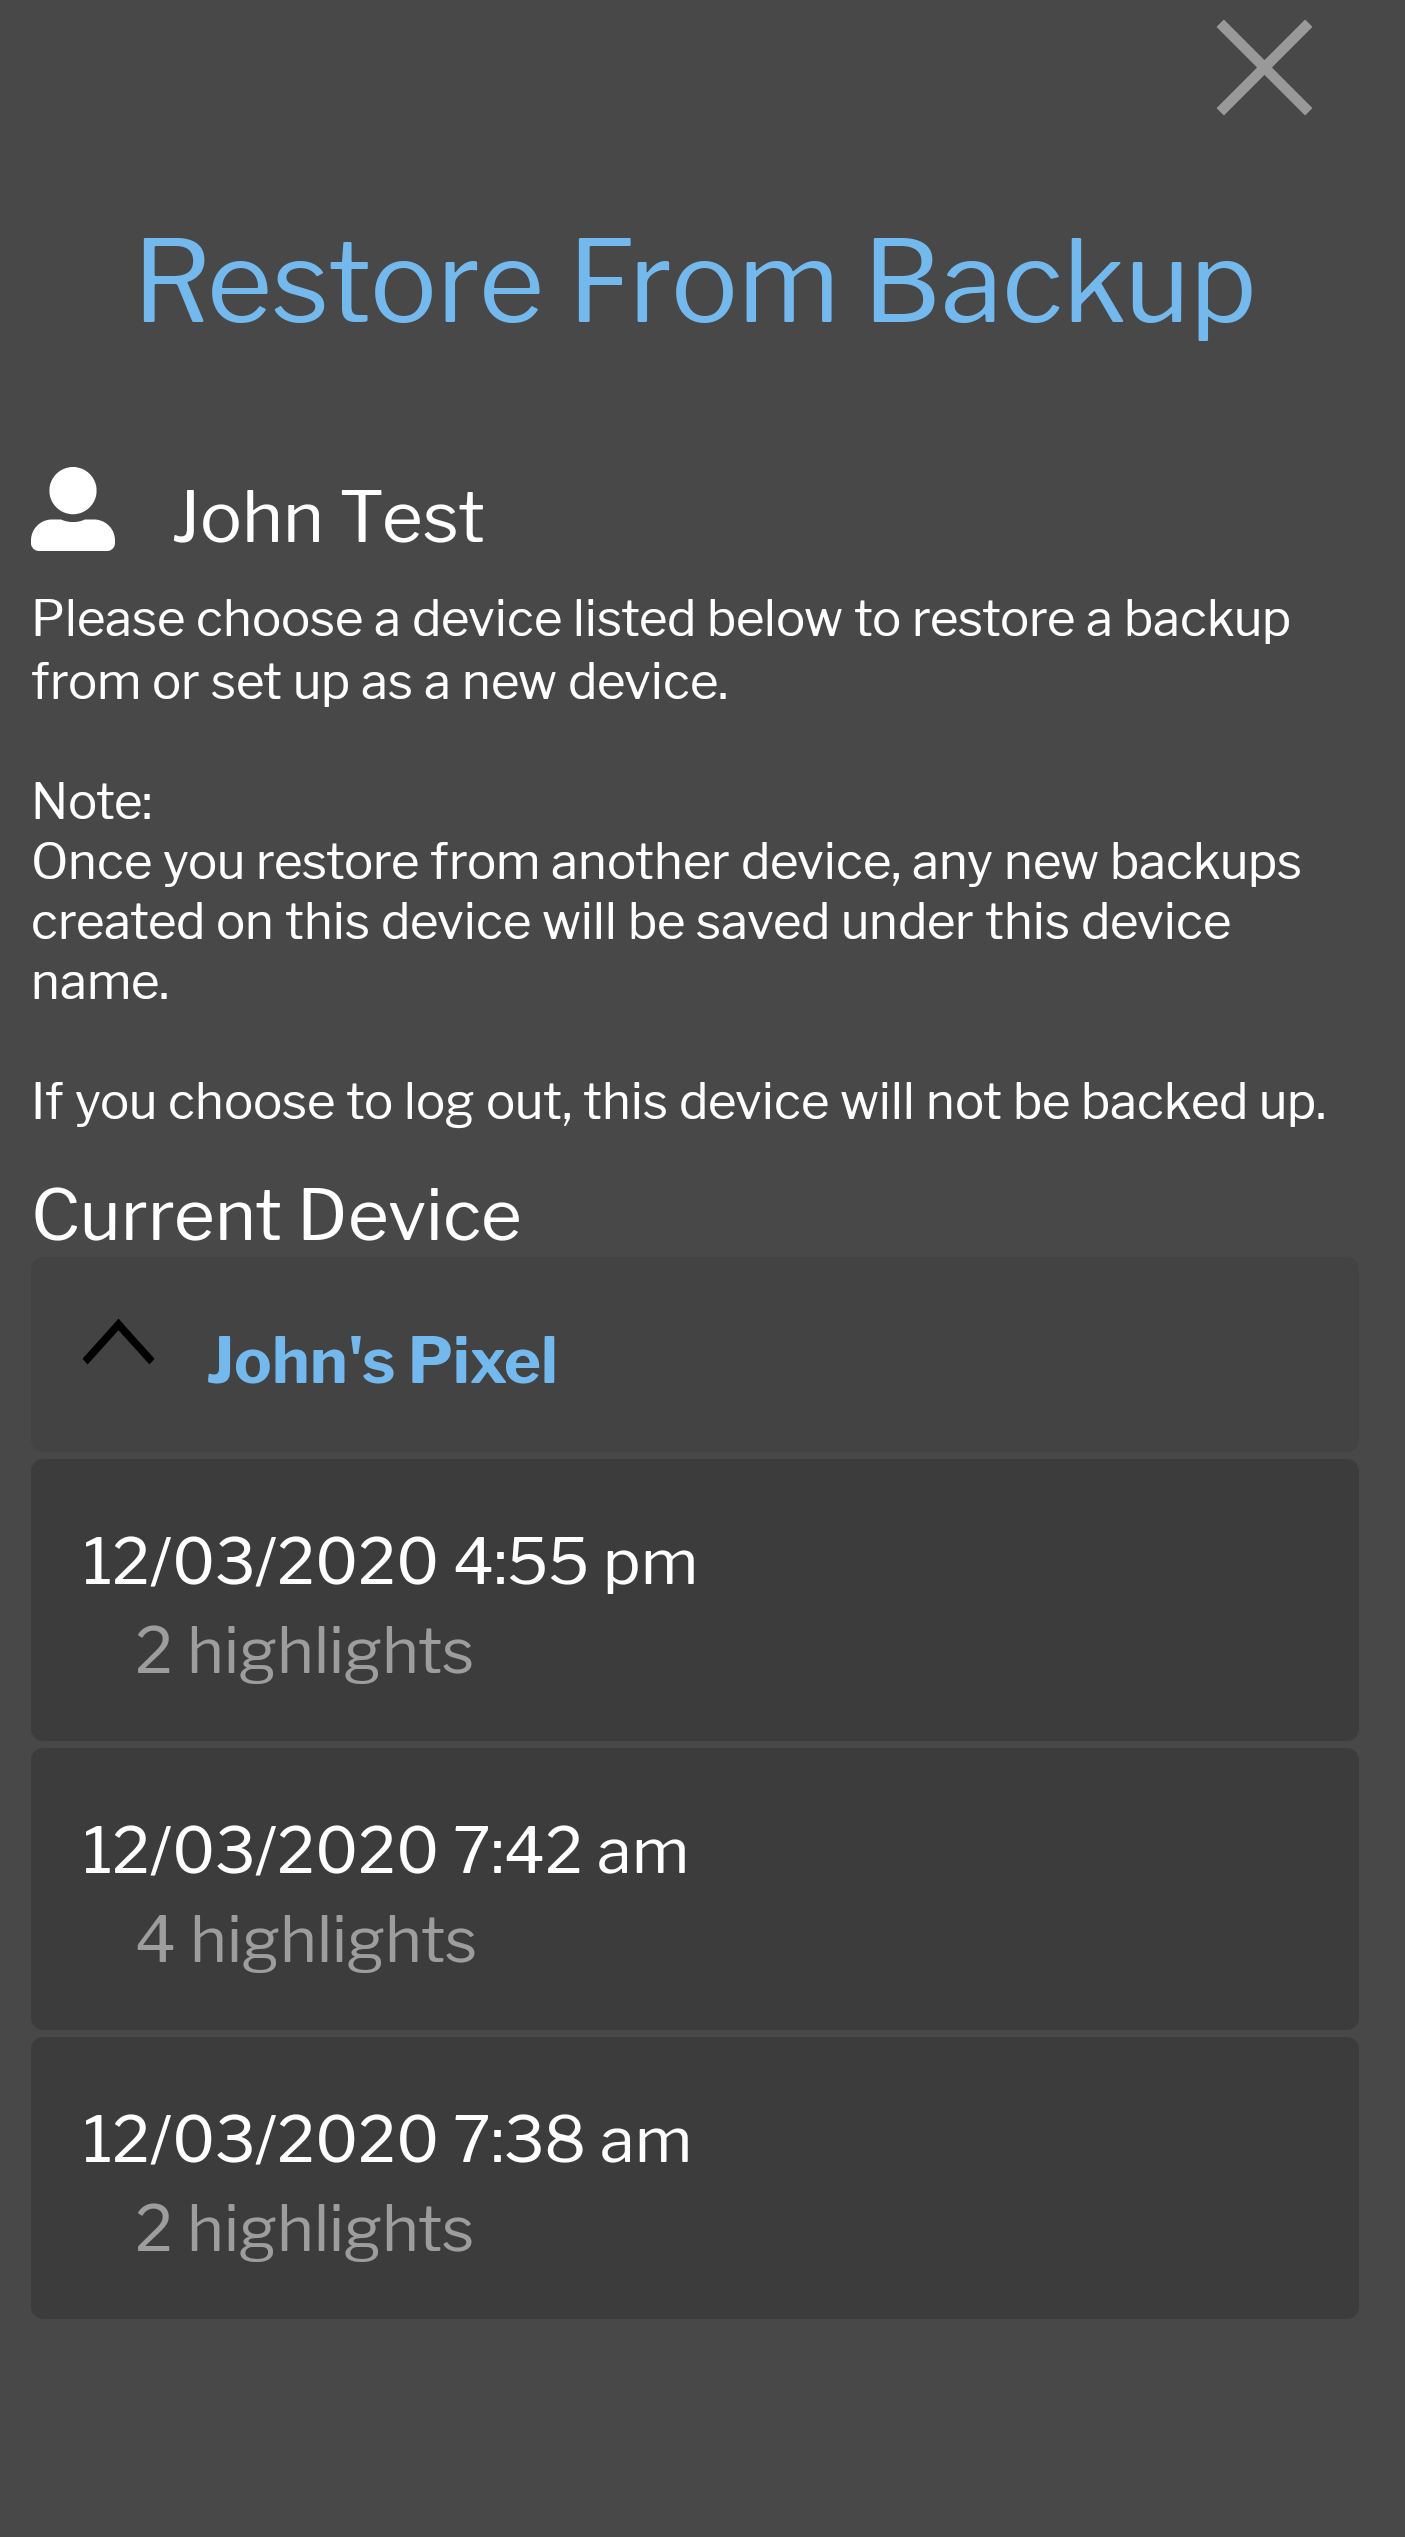 Note: Only the last five backups from each device are saved.
 - When you have located the backup you would like to restore from, select it.
-
Select yes, if you are sure you would like to restore the backup, replacing any notes and highlights currently in the app.
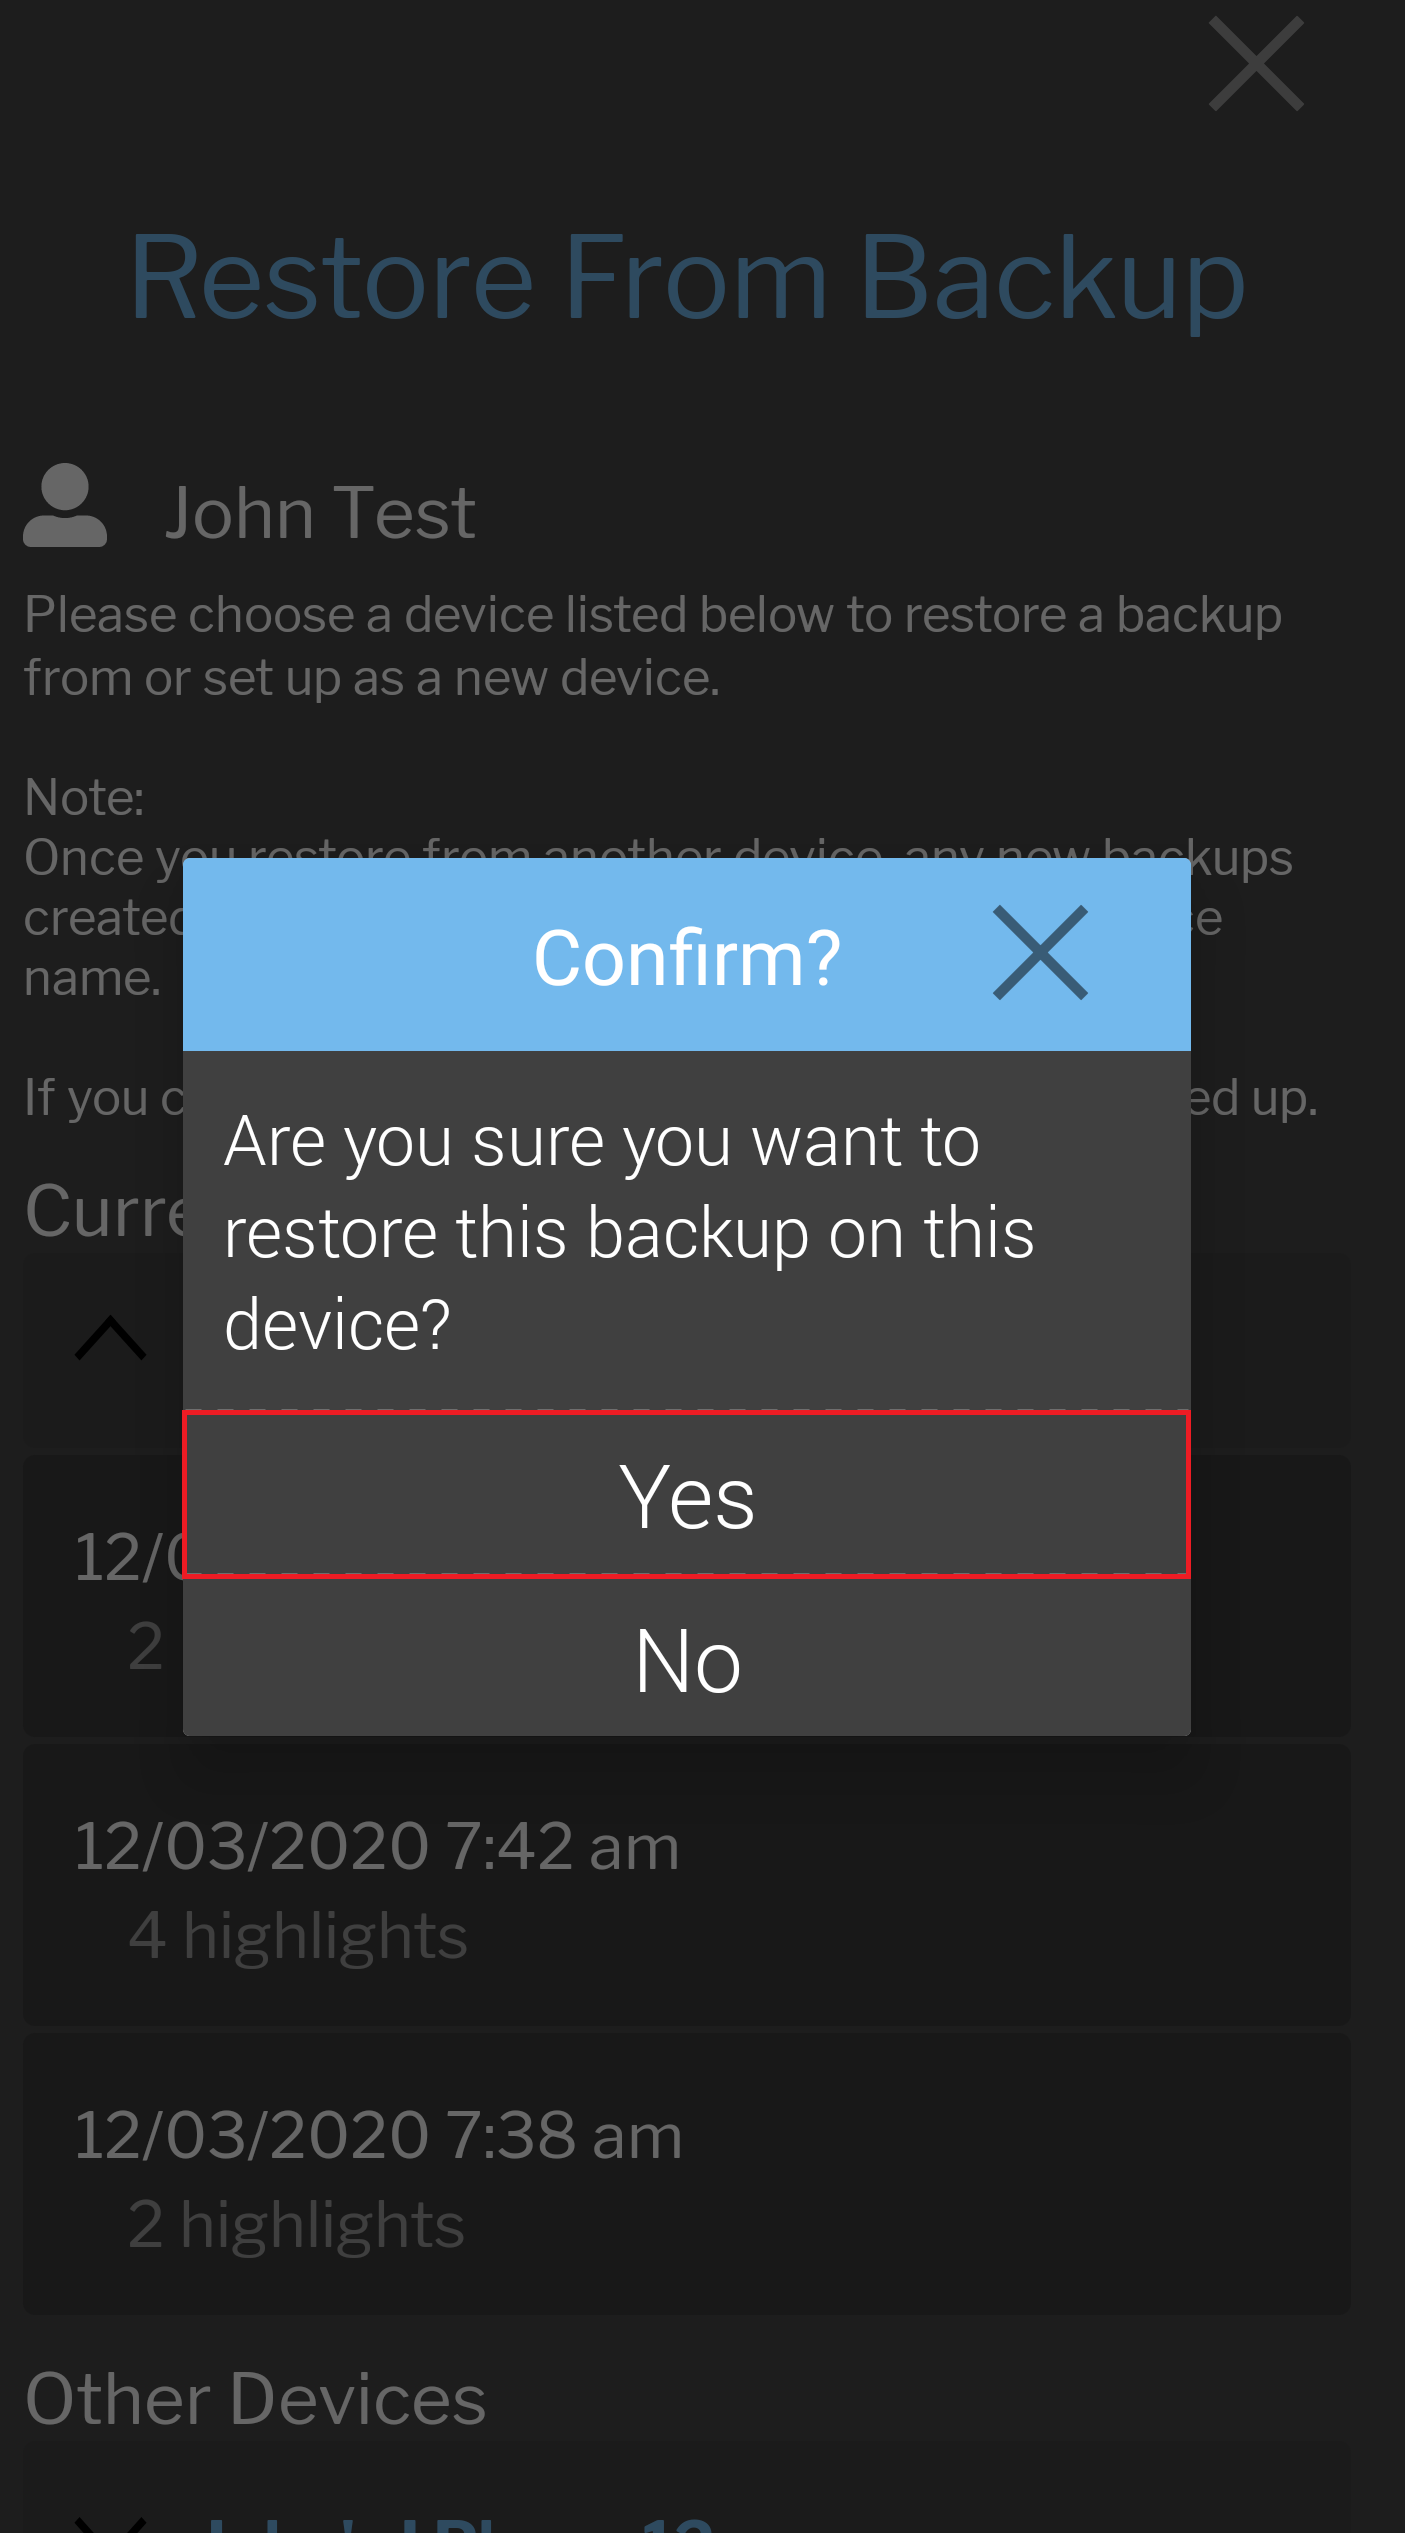 Note: If there are any notes and highlights are already in the app, they will be replaced with the notes and highlights contained in the backup you are choosing to restore from. Those current notes and highlights may not be retrievable if you are restoring from a different device without backing them up first.)
 - It will begin restoring.
- Once finished, open Search Notes or Search Highlights to view all the notes and highlights restored from the backup.

Logout
Please select the logout button to logout of your account at any point.
Multiple devices can be saved to a single account. Simply, log in to each device with the same account and save the device names when prompted.
A list of all devices associated with your account and their backups can be found by selecting the Restore From Backup option in the Cloud Profile Menu.
Please see Sign In To The Table Cloud Backups for log in instructions.
If you got a new device, you can restore backups made on your previous device.
- Be sure your notes and highlgihts on your previous device are backed up to your Cloud Profile by selecting back up now before beginning the process.
- Log in to your branham.org account on the new device by selecting one of the two login buttons.
- Select the new device name to edit, or leave the suggested device name.
- Choose the restore from backup option to restore a backup created on your previous device.
You can login to multiple branham.org accounts on the same device.
- Select backup now to create a backup of any changes to your notes and highlights.
- Once the backup process has completed, select logout.
- Login to different account.
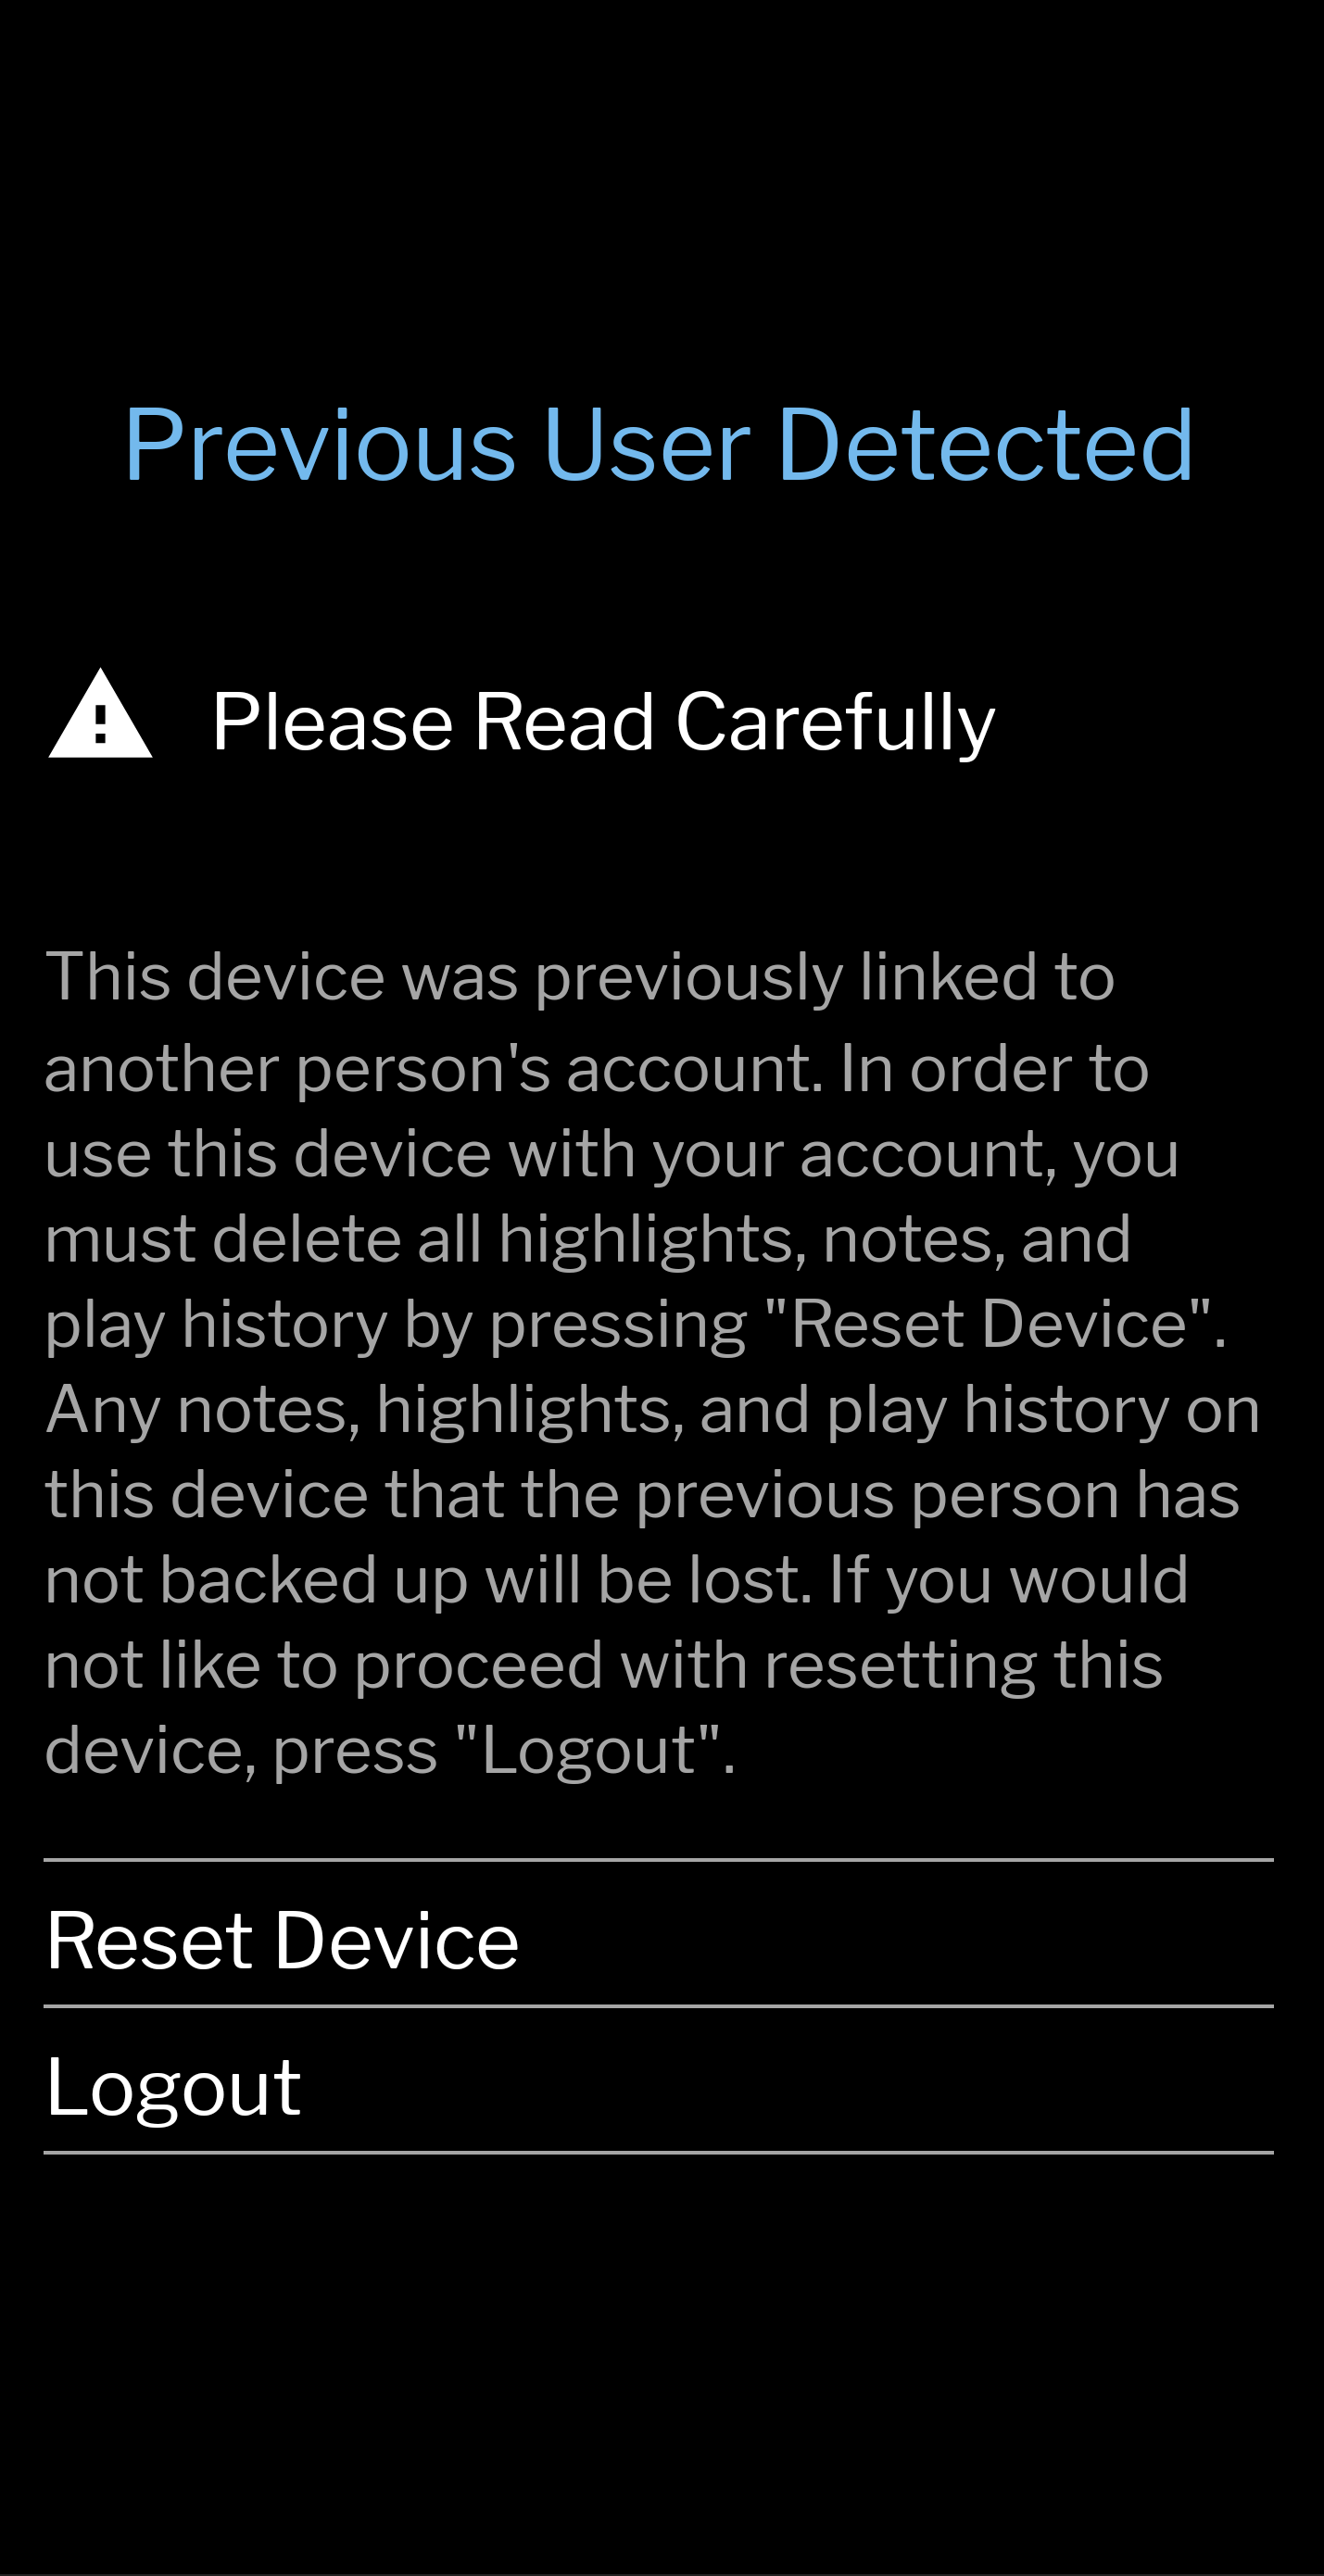
- A Previous User Detected screen will appear warning you that the device was previously linked to another person's account. In order to proceed, you must reset the device, meaning all notes, highlights and play history from the previous user will be deleted if they were not backed up before logging out.
-
If step 1 was completed, please select reset device to proceed. You have backed up the previous notes and highlights, and you can restore that backup later when you log back in to that account.
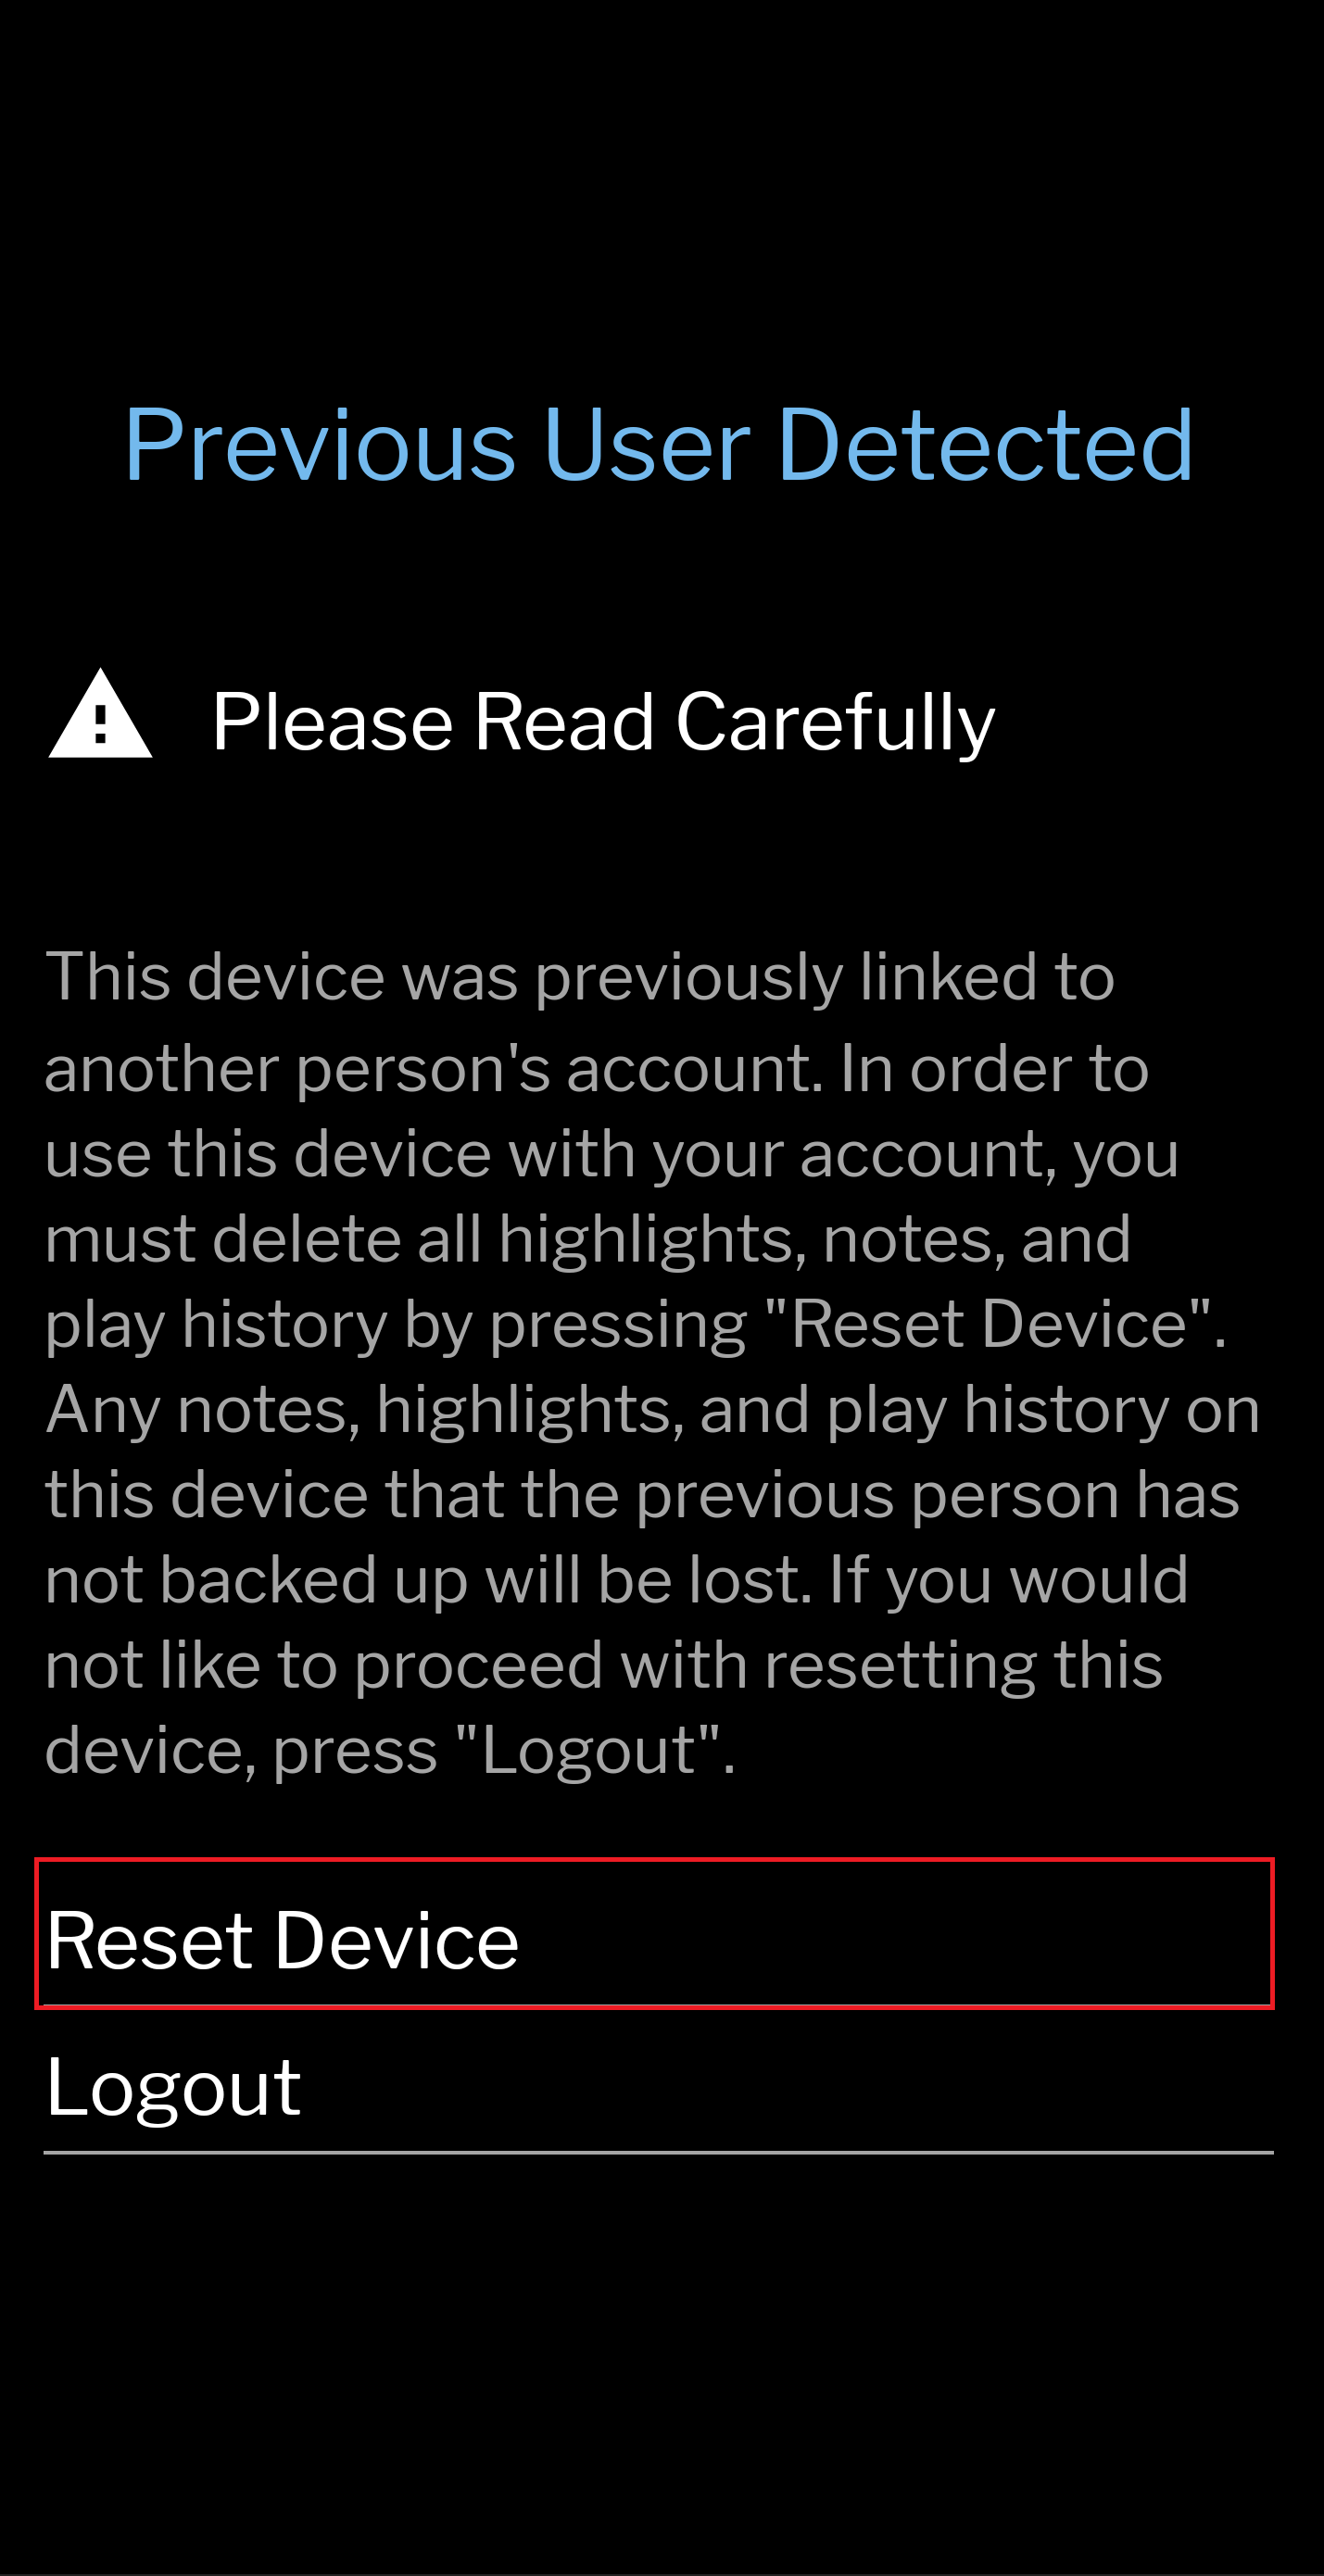 Warning: Do not proceed if step 1 was not completed, but logout, then back in as the previous user and backup the notes and highlights first.
 - After the device has been reset to the second user's account, open the Cloud Profile, to restore from any previous backups.